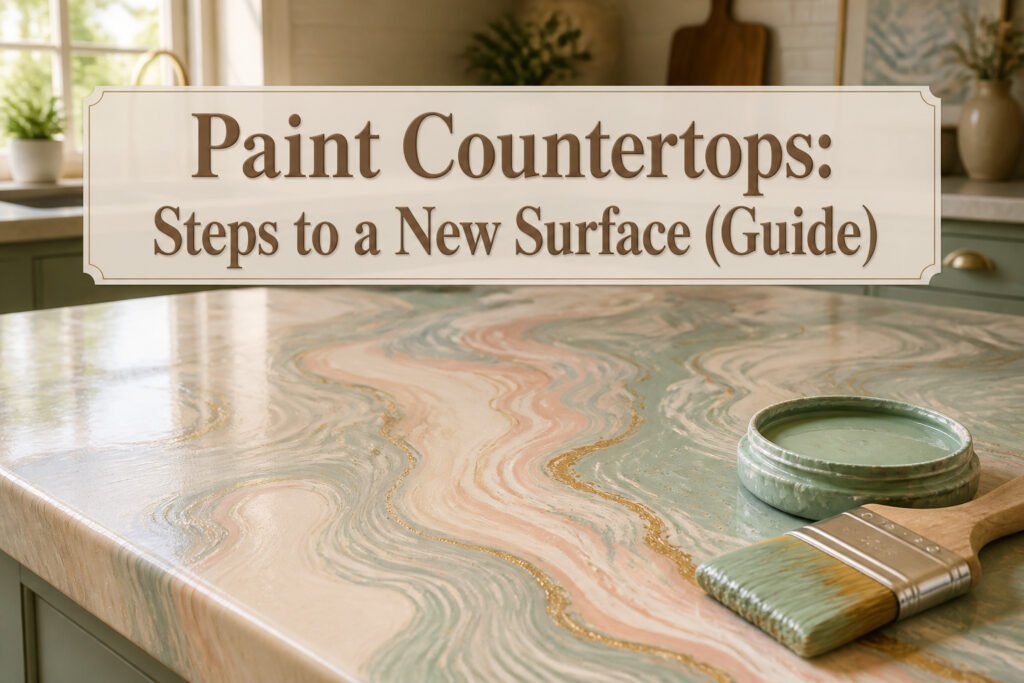
Painting countertops means applying layers of primer, acrylic, and sealer directly onto laminate, tile, or stone to buy another two to five years before full replacement. The catch is that grease you cannot see with a dry eye will make the paint peel in months if your degreaser step stops short of water sheeting off in an unbroken film. Real patience at the end matters just as much: epoxy feels dry after twelve hours, but setting a coffee mug on it before three full days leaves a permanent ring.
1. Preparation

Countertops collect more invisible grime than you’d guess. Degreaser is non-negotiable here, and TSP is the one that actually cuts through years of cooking residue. I learned what "clean enough" looks like the hard way: water should sheet off the surface in an unbroken film, not bead up anywhere. Beading means grease is still laughing at you, and paint will peel within months.
Painter’s tape goes along walls, around the sink, and over cabinet edges. Plastic sheeting underneath catches the sanding mess and the drips you don’t see coming.
Sanding starts with 100–120 grit, just enough to scuff the finish without digging in. You’re not stripping, you’re giving the paint something to bite. Follow with 440 grit to knock down any scratches the coarser paper left behind. The whole sanding job takes maybe two minutes per section if you’re doing it right; sore arms mean you’re pressing too hard. Let the dust settle, then wipe everything down again. The second wipe matters more than the first.
2. Priming

Bonding primer is the step that keeps a countertop project from peeling six months later. On laminate, the surface is too slick for acrylic or latex paint to grab, so the primer’s job is to create that mechanical bite. Zinsser makes a water-based version that several countertop painters reach for; skip anything oil-based here, since it can interfere with what goes on top.
I roll on two thin coats rather than trying to cover everything in one pass. The first coat looks patchy, which is normal, and the second fills the gaps in about twenty extra minutes of work. Between coats, let the primer dry as long as the can specifies; rushing this is where the roller marks set up hard and you end up sanding more than you planned. A quick pass with 440-grit paper knocks down any texture, then the dust has to come off completely before paint touches the surface.
3. Painting
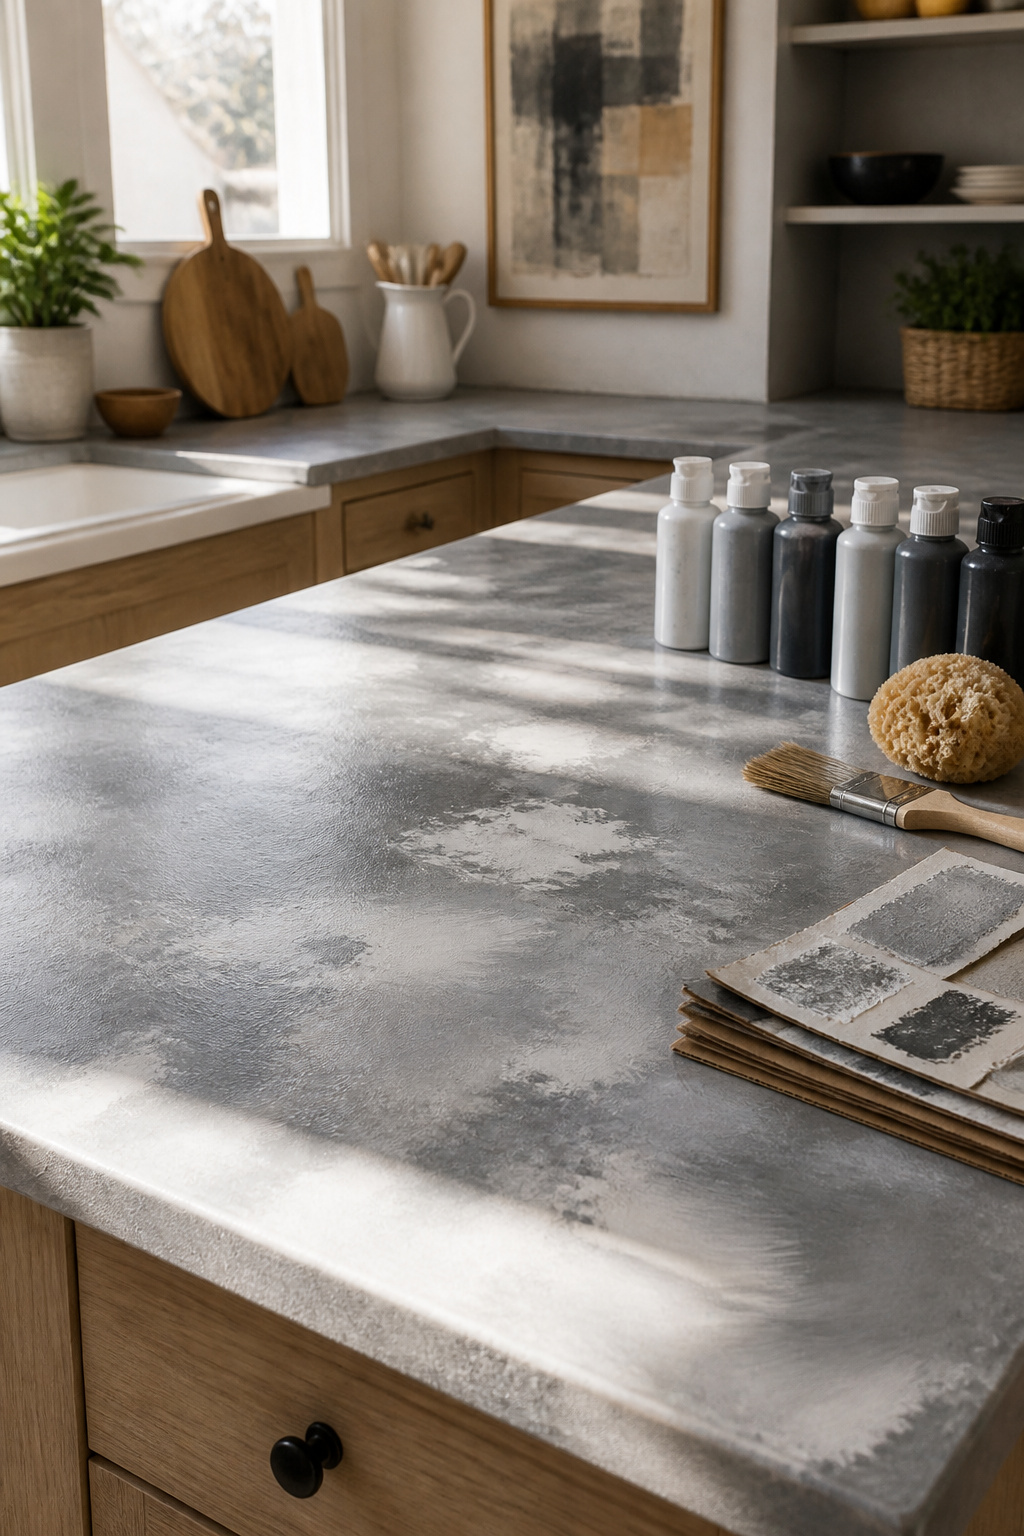
Acrylic paint goes on in layers, and the tool in your hand changes the result more than the color on the label. A sea sponge leaves soft, mottled patches that read like stone from a few feet back. A brush gives you veins and deliberate marks. The first pass is never the finished surface, so cereal-box practice is worth the twenty minutes; you need to see how the three shades of gray sit against each other before they land on the counter. I mark every bottle after opening it. Two grays that look distinct in the shop read identical once the light shifts, and mid-project guessing ruins the marble effect you are chasing.
Humidity between 30% and 70% keeps the open time workable without letting the surface stay wet half the night. Outside that range, the paint skins or sags.
The Dutch Pour method is an option if you want something less controlled: thin the paint to a pourable consistency, layer the colors in one cup, and flip or drag them across the surface so they bloom and feather without a brush touching down. Sources treat this as advanced, not a first-pour experiment, but it is one way to get veining that no sponge will replicate. Budget about 1.5 hours of actual painting for a standard countertop once your practice boards are done.
4. Sealing
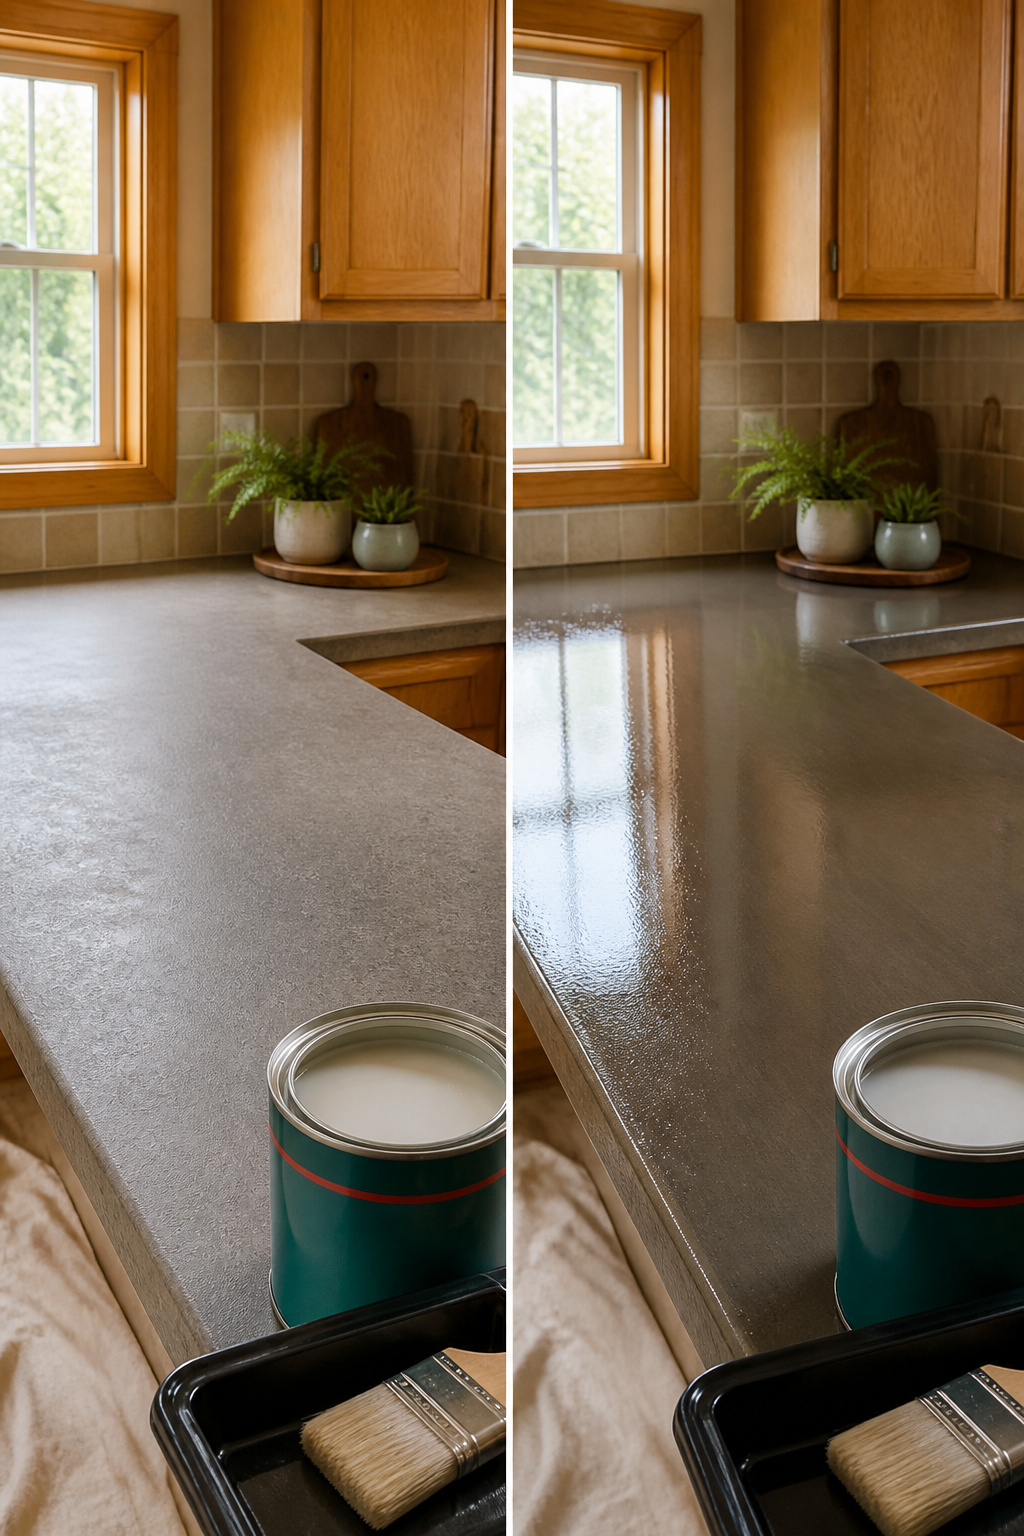
The final coat needs protection or the paint underneath wears away in weeks. Two sealers dominate this space, and the choice between them comes down to how hard the surface will work and how much time you have to apply it.
Minwax Polycrylic runs about $20 per can and behaves like thick water-based paint. Cleanup is soap and water, the fumes stay mild enough that a window and a box fan handle ventilation, and it dries fast enough to get three coats done in an afternoon. The satin finish adds almost no gloss, so busy patterns stay visible but do not pop. Durability is moderate; it scratches and it stains, which makes it a fit for bathroom vanities, laundry surfaces, or kitchens where you are gentle with knives and hot pans.
Epoxy demands more from you and gives more back. The mix is two-part, the working time is unforgiving, and the fumes mean real ventilation and time away from the room while it cures. What you get is a thick, self-leveling glass surface that shows depth under light and takes real abuse. Busy households, constant cooking, or any surface that sees standing water push toward this option despite the hassle.
Polycrylic hides its own application; you cannot always see where you have already been, and corners pool if you are not watching. Epoxy hides nothing but leaves no room for do-overs.
5. Curing

Epoxy feels dry to the touch long before it has actually cured. The surface might seem solid after eight or twelve hours, especially in a warm room, but three full days is what separates a finish that holds up from one that dents under a coffee mug. I learned that distinction the hard way on a small table project years ago, confusing dry for done and leaving a permanent ring where a book sat overnight.
Curing means the chemical reaction has finished and the coating has reached its full hardness. Dry to the touch only means the top layer has skinned over enough that dust won’t stick. Place anything with weight on it during that window, and the object will sink in slightly or bond to the surface. Heat makes it worse; a warm plate fresh from the dishwasher will leave marks that no amount of buffing fixes.
The waiting is the most tedious part of painting countertops, and also the most difficult to redo. Once the damage is set, you are stripping back to bare surface or living with the flaw. If the kitchen is your only workspace, those seventy-two hours require real planning. I have set up folding tables in adjacent rooms and treated it like a temporary relocation. The inconvenience beats starting over.
What You Need
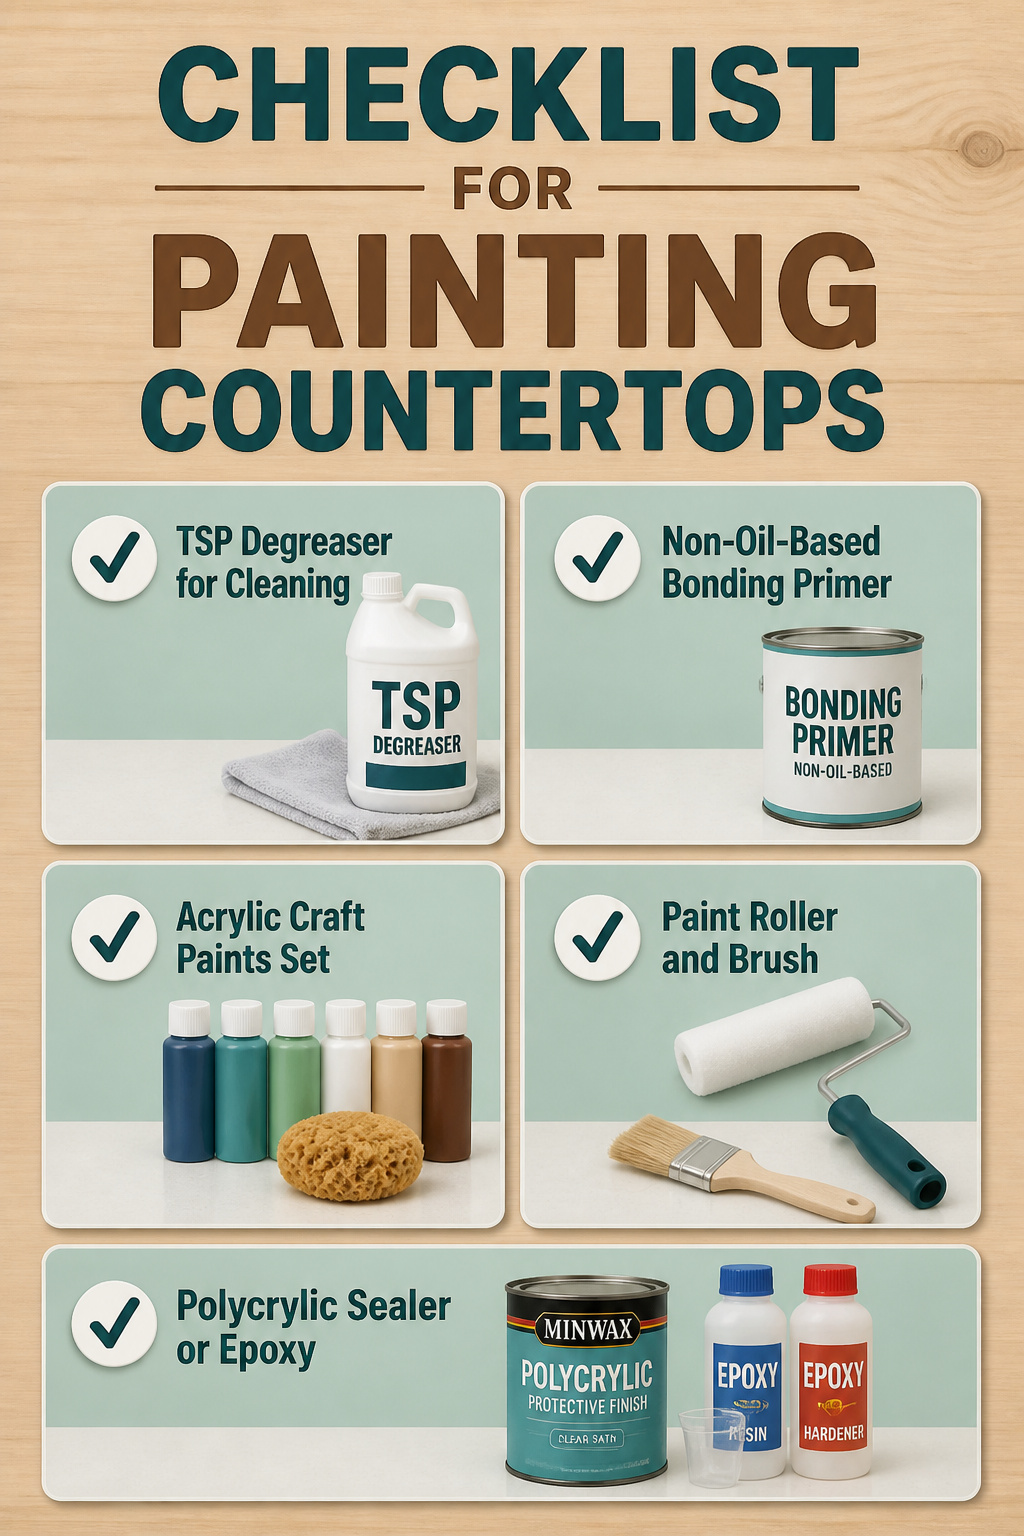
Most of these items are cheap enough that the real cost is knowing which ones you cannot swap out. The TSP degreaser runs a few dollars at any hardware store and does what soap cannot. A bonding primer, not oil-based, is where shortcuts fail; acrylic paint grips poorly on its own, and skipping this step means peeling inside a month. The acrylic craft paints themselves cost under $10 for a set, plus a few dollars for a sea sponge if you want a mottled finish. A paint roller and brush, 100-120 grit sandpaper, and painter’s tape are probably already in your closet. The sealer is the last purchase that matters: Polycrylic runs about $20, or you can use epoxy, but going without a sealer means the surface will not survive a single hot pan.
DIY Kits or a Pro
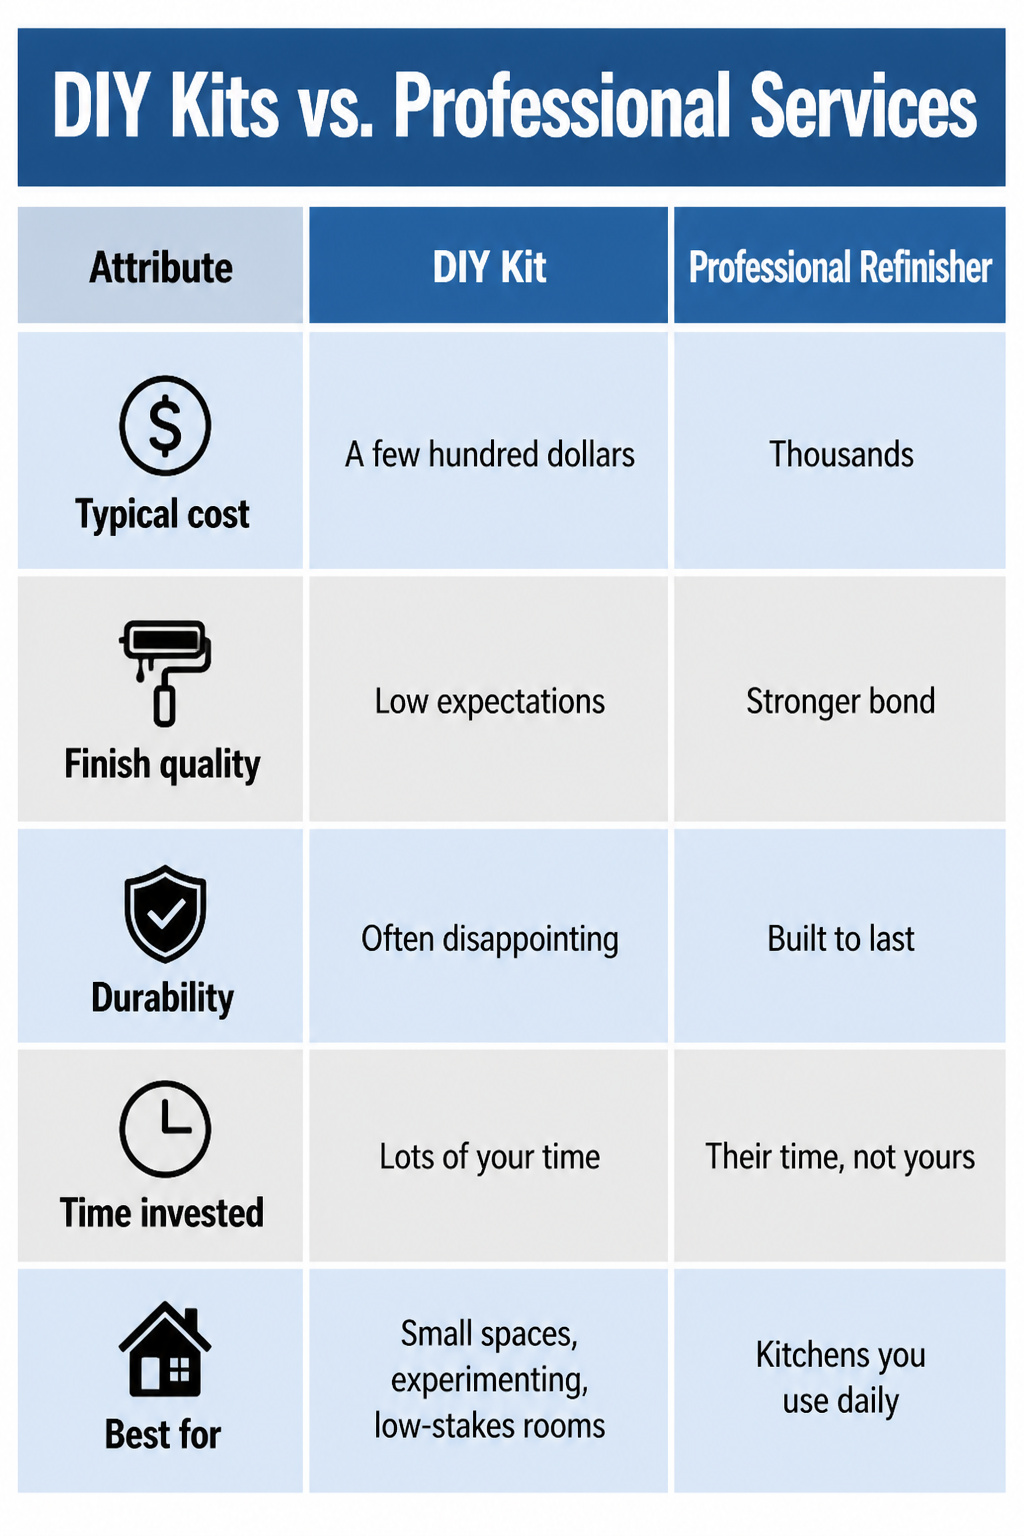
A full kitchen refinishing from a company like Miracle Method runs into the thousands, while a kit from Rust-Oleum or an acrylic pour setup lands closer to a few hundred dollars. That gap is real, but so is the gap in what you get.
Most DIY kits demand patience, the right equipment, and money you can afford to lose. Peeling is the common failure mode, and fixing a botched job usually means calling a pro anyway. Spray-applied professional finishes bond harder and last longer.
| Attribute | DIY Kit | Professional Refinisher |
|---|---|---|
| Typical cost | A few hundred dollars | Thousands |
| Finish quality | Low expectations for smoothness; prone to peeling | Spray finish, stronger bond |
| Durability | Often disappointing | Built to last |
| Time invested | Lots of your time | Their time, not yours |
| Best for | Small spaces, experimenting, low-stakes rooms | Kitchens you use daily |
The break-even point sits around a typical kitchen’s worth of square footage. One counter or a bathroom vanity, the kit gamble makes sense. The whole kitchen, the pro route pays for itself in durability alone.
Surface Types

Laminate, granite, and tile each demand their own prep before a paint coat has any shot at lasting. Laminate is the forgiving one, the surface most weekend projects target, and it only needs thorough cleaning and sanding so the primer bites into something other than its sealed face. Tile adds grout lines to the problem, those recessed channels that will telegraph through a thin paint layer unless they are filled flush first. Granite and other natural stone present the opposite issue: they are porous, they drink in moisture, and standard primers will not bridge that gap. A dedicated stone undercoat, an epoxy-based primer meant for the job, is what separates a granite project from the laminate routine. The tools stay the same, the HVLP sprayer or smooth roller, but skipping the right primer for the surface underneath is where the finish peels six months later. Oil-based primers are the wrong call across all three; they fight with the acrylic topcoats this work relies on, and the adhesion fails from the start.
Cost and What Changes It
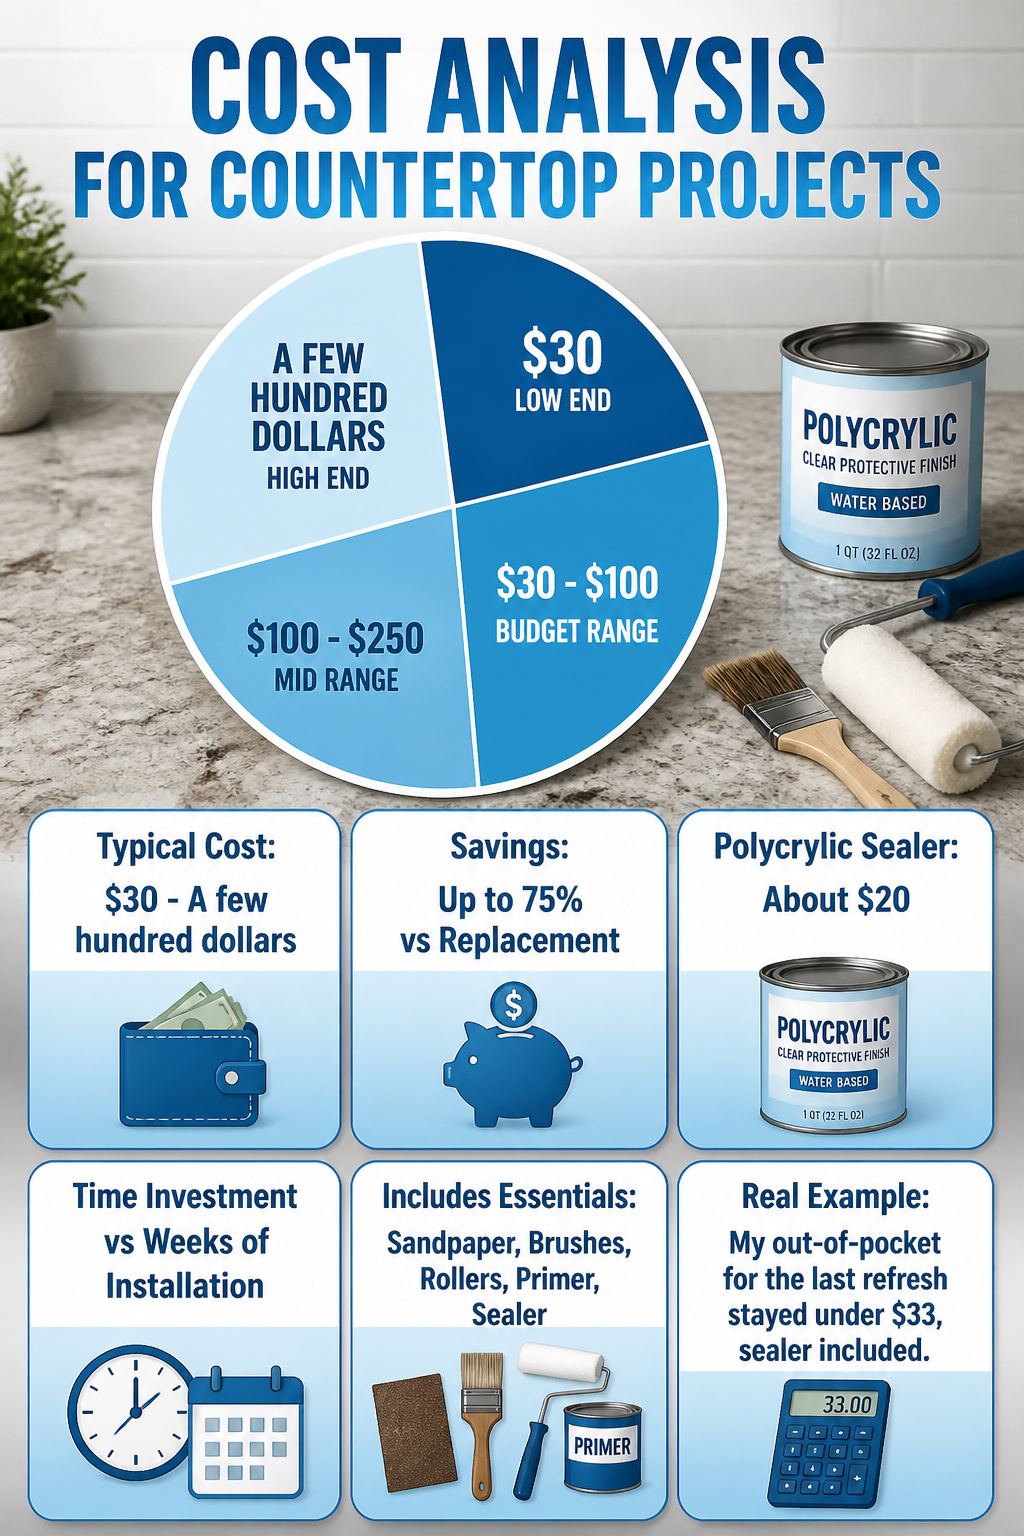
Most countertop painting projects land somewhere between $30 and a few hundred dollars, and where yours falls depends almost entirely on what you already own. Sandpaper, brushes, rollers, and primer are the kind of supplies that accumulate in a garage or closet, and having even two of those on hand shifts the math dramatically. The sealer is usually the swing vote on cost: a can of Polycrylic runs about $20, while specialty countertop sealers can push the total much higher. Square footage matters less than you’d think for small kitchens, since a quart of paint covers a surprising amount of laminate, but large surfaces or multiple coats eat through material faster.
Replacement, by contrast, starts in the thousands and climbs from there. Refinishing, whether you do it yourself or hire out, typically saves up to 75% against ripping the old surface out. The real budget win is time: a Saturday of sanding and brushing versus weeks of templating, demolition, and installation. My own supply closet held enough that my out-of-pocket for the last refresh stayed under $33, sealer included.
What Goes Wrong
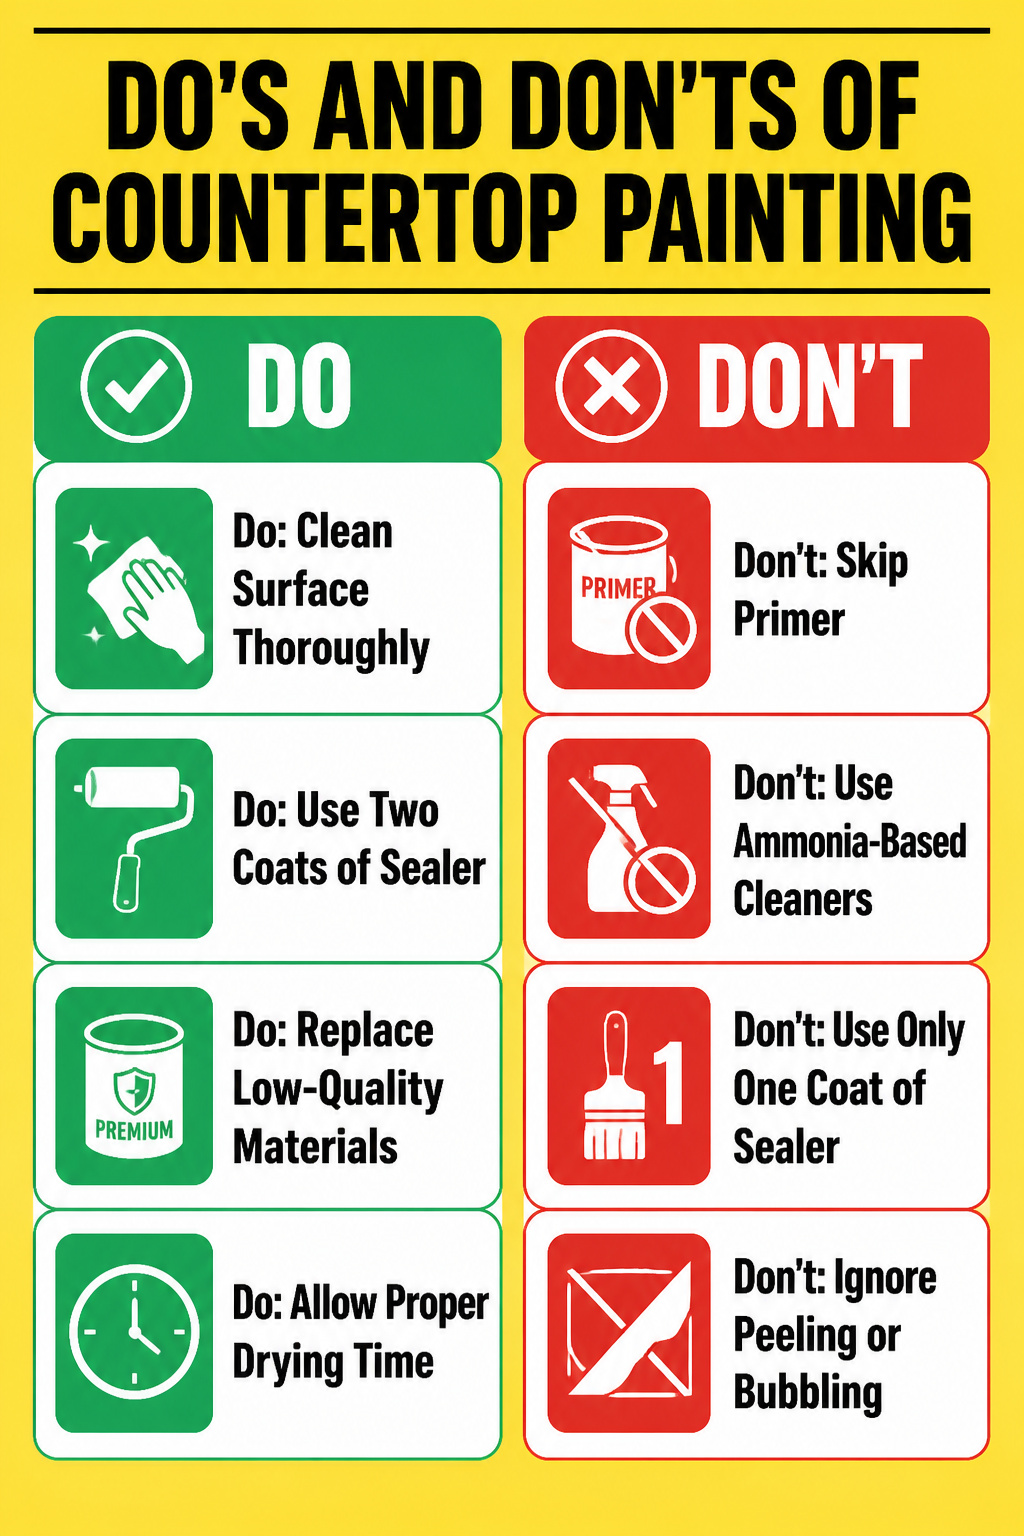
Peeling paint almost always traces back to grease left on the laminate, not the paint itself. The Miracle Method process runs two separate cleaning steps before anything else touches the surface, and skipping even one lets oils sit under the primer like a layer of saran wrap. Primer is what makes it all stick on laminate; without it, acrylic or latex paint lifts in sheets within weeks.
Inadequate sealing shows up as yellowing or water rings, not immediately but six months in when the clear coat has worn through at the sink edge. Two coats of a non-yellowing, waterproof acrylic topcoat is the standard that holds color, and cutting that to one or using a product that yellows turns white counters cream in patches you cannot scrub away.
Low-quality materials telegraph early: bubbling within days means the bonding agent failed, and that only happens with off-brand kits that skip a proprietary bonding layer entirely. Bubbling can sometimes be sanded back to sound primer and patched. Yellowing through a thin sealer means stripping to substrate and starting over, because the discoloration is in the paint film itself, not sitting on top.
Keeping the Finish

A painted countertop finish lives or dies by what hits it daily. Ammonia and bleach-based cleaners strip sealer within months, so dish soap and warm water are the safer routine. Heat limits matter more than most guides admit. A hot pan left sitting will bubble or soften the finish even through a trivet that slides, so the trivet stays put or the pan stays off.
With normal use, the surface holds up about two to three years before wear shows at the sink and prep areas. Touch-up is possible without redoing the whole counter if the original paint is still sold. What convinced me, reading through a dozen of these projects, is that the people who got five years were the ones who treated the surface like laminate they wanted to keep, not like stone they already had. That means cutting boards for everything, wiping spills before they sit, and accepting that a painted counter is a temporary upgrade done well, not a permanent one done cheap.
Frequently Asked Questions
Is painting countertops a good idea?
Yes, if you prep properly and seal the finish. It costs a fraction of replacement, saves up to 75% versus ripping out old surfaces, and gives two to five years of solid use depending on how carefully you treat the surface afterward. The catch is that it is a temporary upgrade, not a permanent fix, and skipping steps like degreasing or priming leads to peeling within months.
What supplies do I need to paint my countertops?
You need TSP degreaser, a bonding primer that is not oil-based, acrylic paint, a paint roller and brush, 100-120 grit and 440 grit sandpaper, a sea sponge for mottled effects, and a sealer such as Polycrylic or epoxy. Painter’s tape and plastic sheeting protect the surrounding area. Most of these items run cheap if you already own basic painting supplies, and the whole setup can stay under $33 if your toolbox is half-stocked.
How long does it take for painted countertops to cure?
Three full days. The surface may feel dry to the touch after eight or twelve hours, especially in a warm room, but the chemical reaction needs 72 hours to reach full hardness. Setting anything heavy on the counter before then risks dents, rings, or bonding to the finish, and heat from a warm plate will leave marks that buffing cannot fix.





