You can strip a concrete or wood floor bare for the cost of a scraper and a stockpot of boiling water, but only if the adhesive is water-based. Solvent-based and urethane glues demand commercial removers like Sentinel 626, rented sanders, or both, and the bill climbs fast. The mistake most people make is pouring remover over thick residue without scraping first; that wastes product and adds hours of drying time you cannot get back.
1. Scrape Off Excess Glue
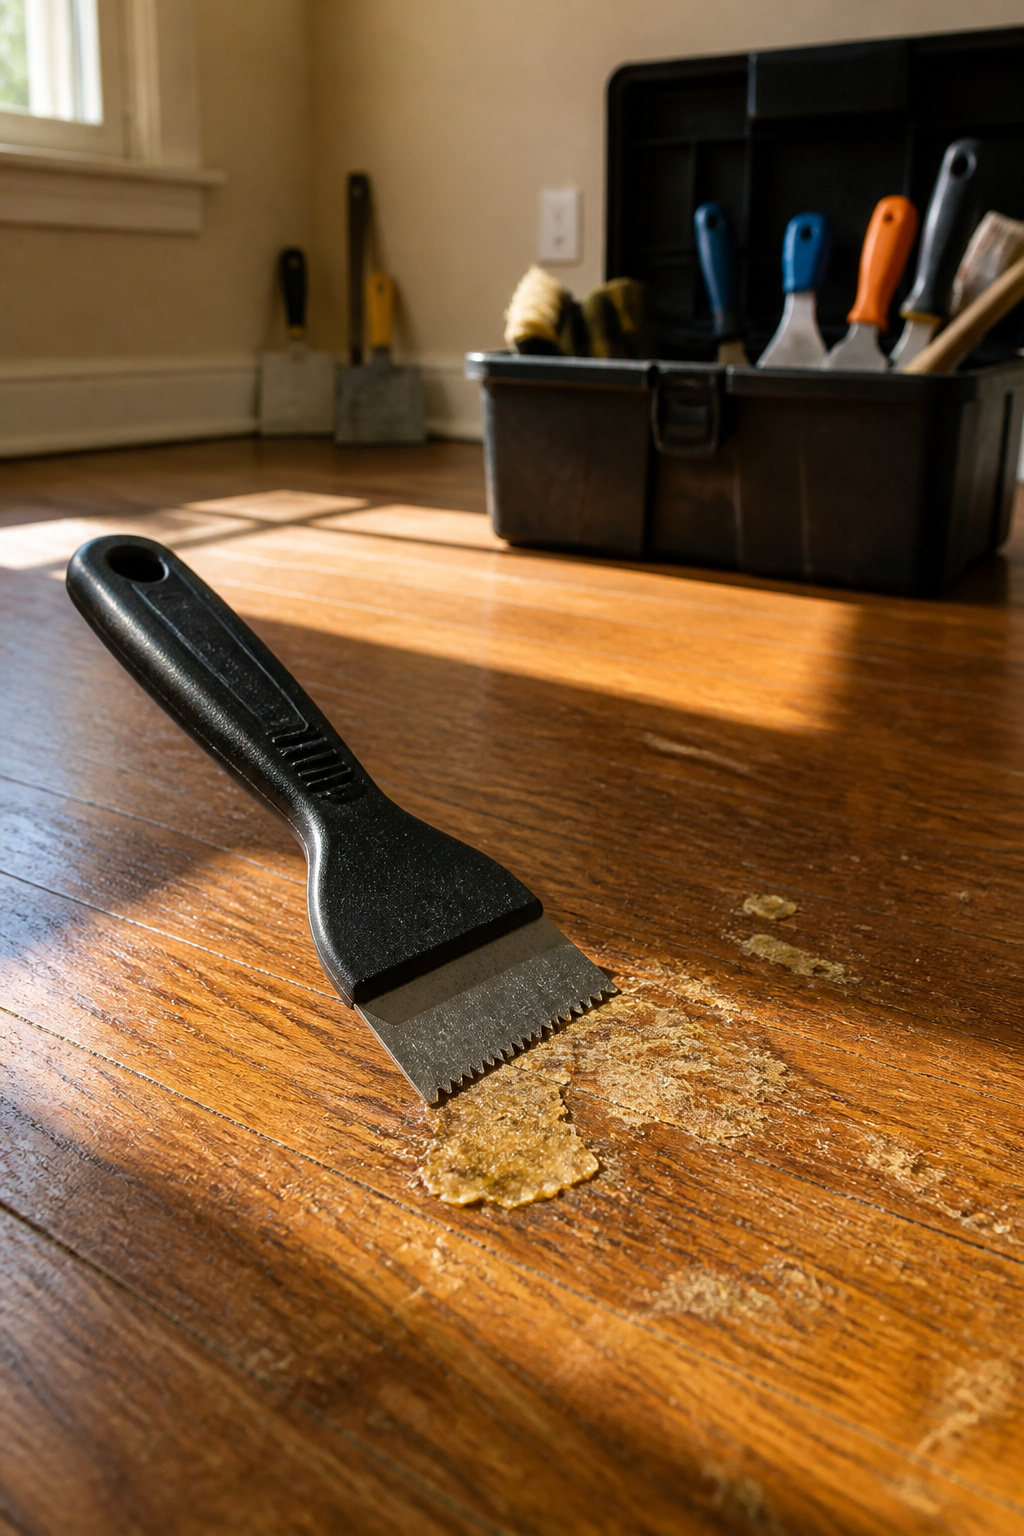
A floor scraper with a wide, stiff blade is the right starting tool for concrete. The blade needs to be sharp enough to bite under the glue without chipping the surface beneath it. I have seen people reach for a putty knife first because it is already in the drawer, and that works in a pinch, but the narrow blade means more passes and more time on your knees.
On wood, the risk changes completely. A metal blade can leave scratches or gouges that show through whatever finish comes next, so a plastic scraper is the safer call. The tradeoff is that plastic dulls faster, which means stopping to swap or resharpen more often.
The goal here is not perfection. Remove as much glue as possible in solid chunks before any liquid or heat touches the floor. Sometimes the adhesive lifts almost entirely in this step, especially if it was already aging or poorly bonded. More often, thin residue stays behind, and that is fine. Sweep the loose pieces clear, check what is left, and only then decide whether boiling water, solvent, or heat is the next move. Skipping this step and pouring remover over a thick layer wastes product and adds drying time you do not need.
2. Apply Boiling Water
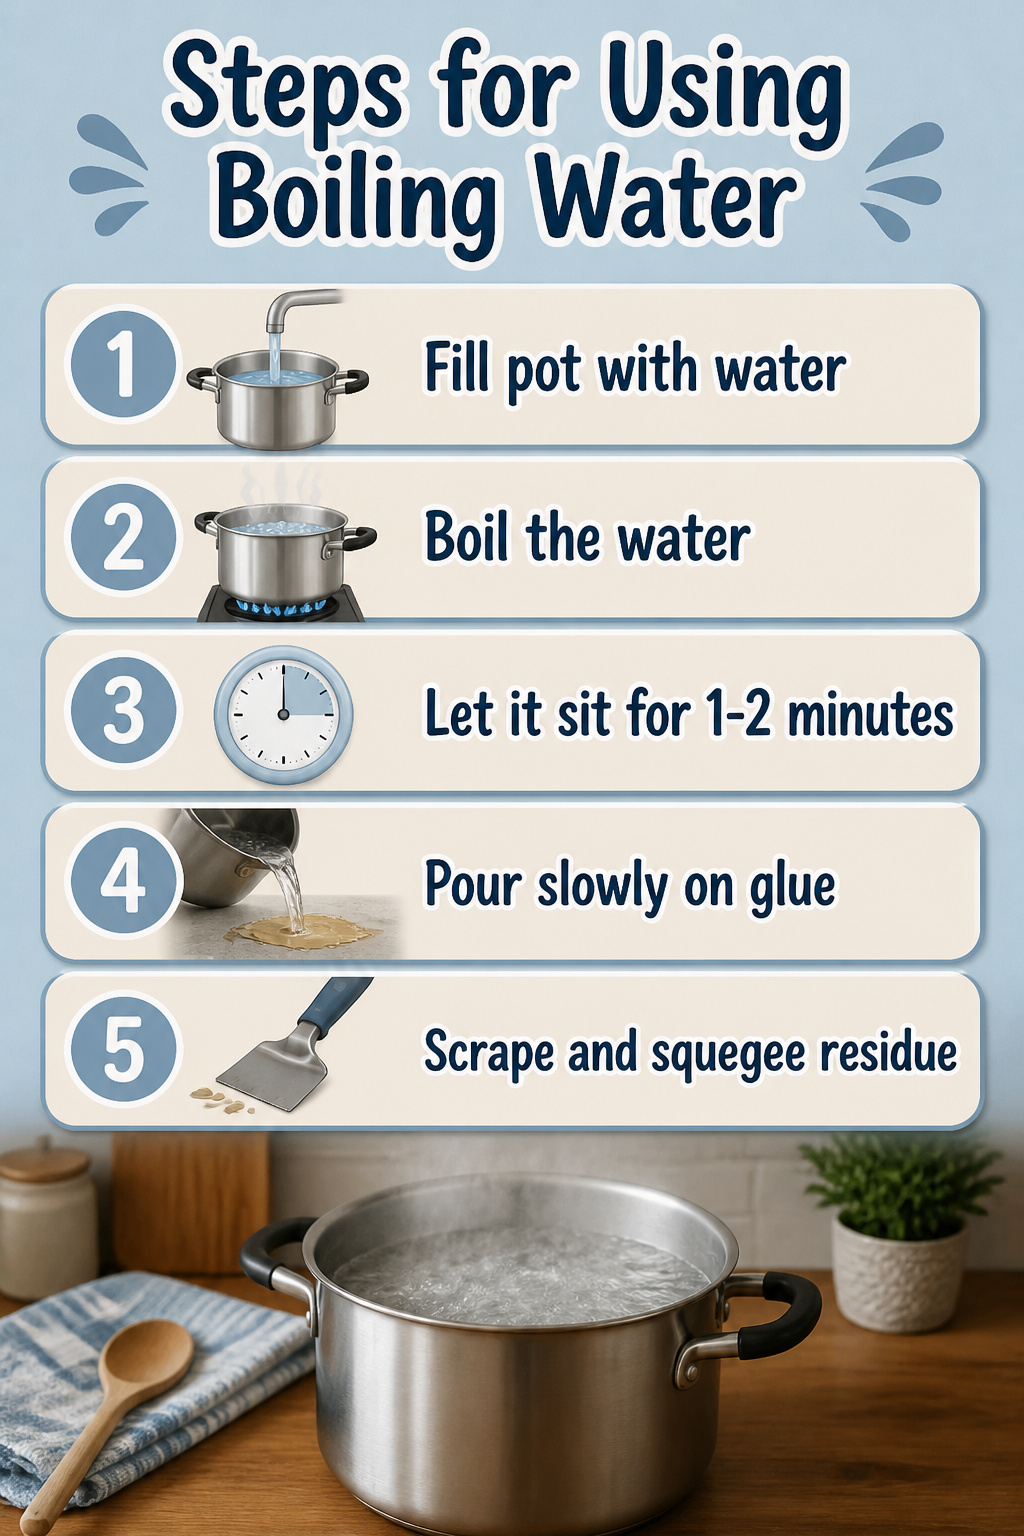
Boiling water is the free starting point that costs nothing but the time to heat it, and for water-based adhesives it often does enough of the job that you never need to buy anything stronger. Let it sit for 1-2 minutes so the heat can work into the glue before you start scraping.
A stockpot from the kitchen works fine for small patches. If the glue covers a larger area, switch to something bigger so you are not making constant trips back to the stove. The real hazard here is the splash. Lower the pot close to the floor and pour slowly; concrete and wood do not care about a little spill, but skin does.
This method loosens glue about as well as a commercial product like Sentinel 626, without the expense or the ventilation worries. The tradeoff is speed. Hot water works best when you can chip away at the project over several afternoons, not when the floor needs to be bare by morning. When the glue softens, scrape it up and squeegee the residue into a dustpan. A five-gallon bucket lined with kitty litter will absorb the sludge for disposal at the local dump.
3. Use Steam or Heat
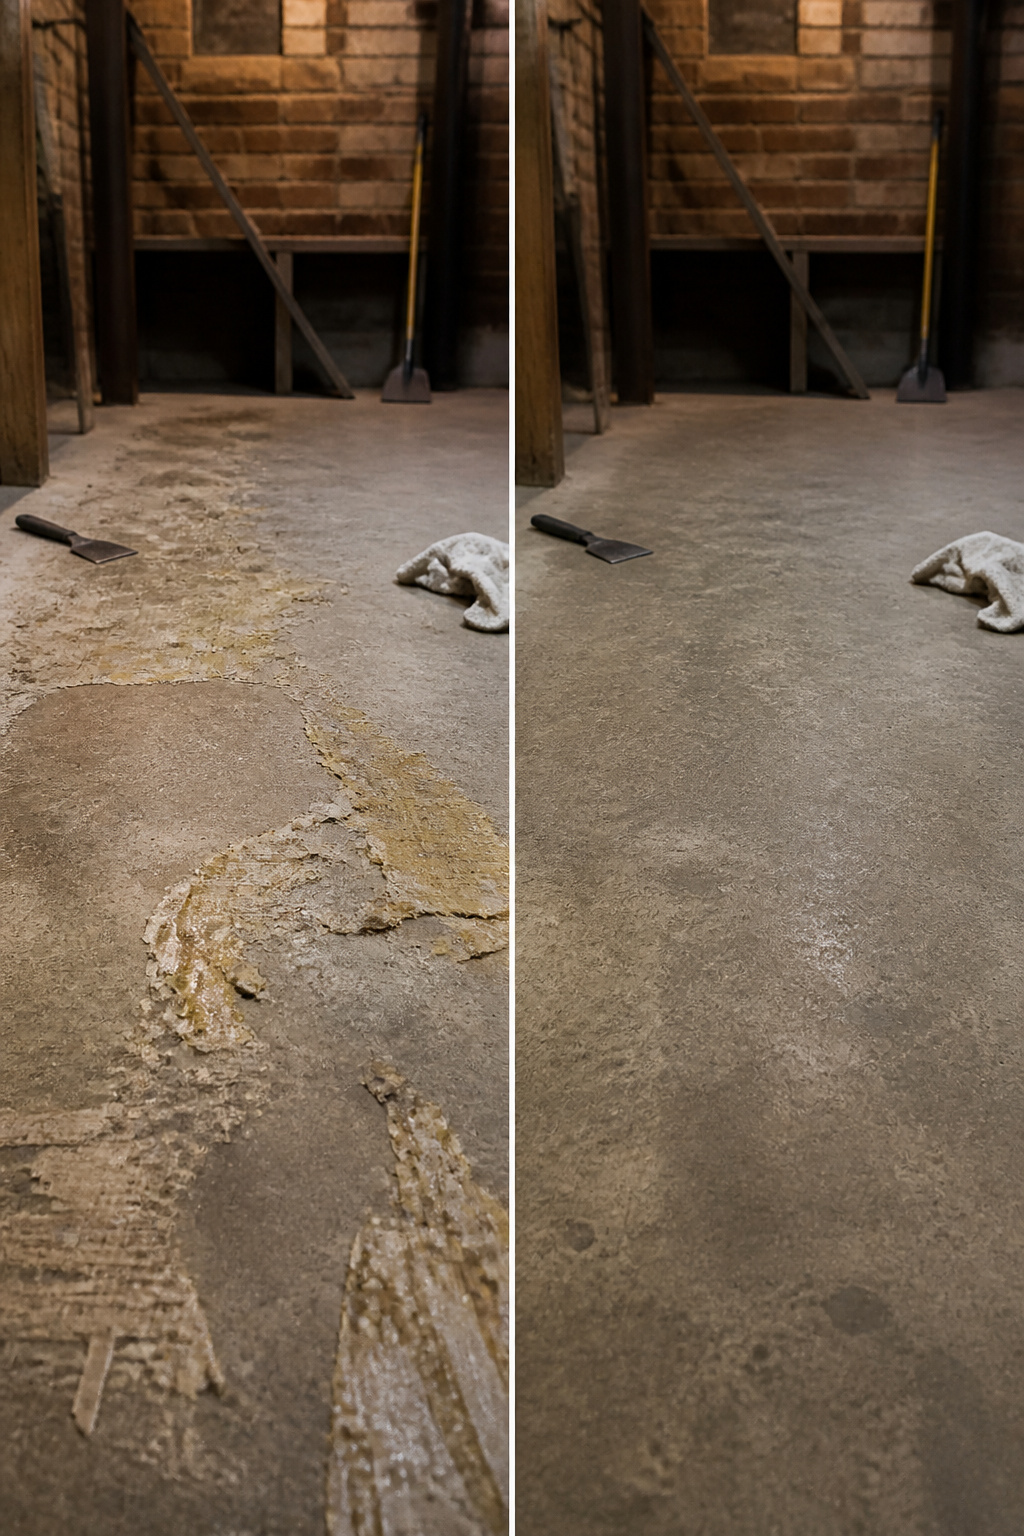
Some adhesives shrug off boiling water the way concrete shrugs off rain. The heat softens the surface but never reaches the binder underneath, and thirty minutes later you are scraping the same patch again. Steam fixes this by pushing deeper into the residue without adding chemicals to the floor.
A handheld steamer with a wallpaper attachment covers more area than the nozzle-style cleaners sold for tile grout. An iron works too if you lay a damp towel over the glue first, though you will move slower and the towel needs rewetting often. Thirty seconds of steam at a time keeps the adhesive pliable without overheating the concrete underneath. Let it rest, scrape with a putty knife while it is still warm, then hit the next patch. The glue comes up in longer strips and less dust, which matters if you are working a basement with bad ventilation.
4. Apply Adhesive Remover
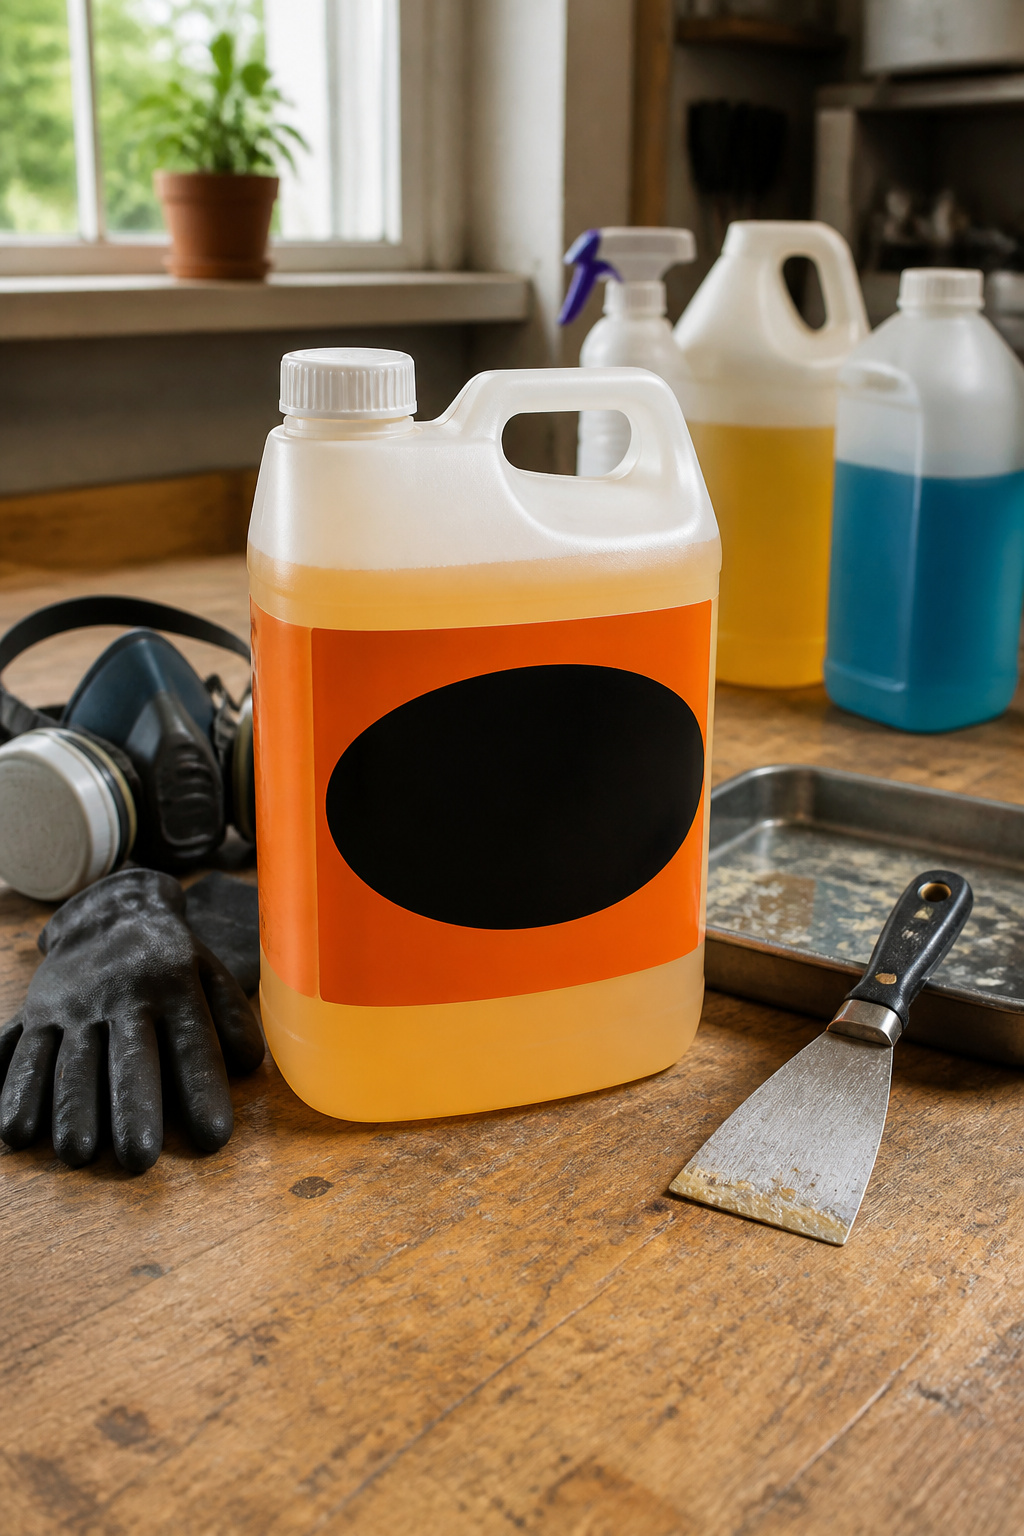
Some carpet glue refuses to budge even after hot water and heat have had their turn. That is when a commercial adhesive remover becomes the next move, and the product choice matters more than the label claims.
Sentinel 626 is the one I would reach for first. The sources describe it as low-odor and heavy-duty, which matters in a basement or a room with one window. Goo Gone Pro-Power softens glue well enough, but on a full room of concrete or wood it turns impractical fast. You will spend more time reapplying than scraping.
Ventilation stops being optional here. Open windows, run a fan, and still wear a respirator if the product label calls for one. The same goes for gloves and eye protection. These removers work by chemically softening what mechanical methods could not touch, and that chemistry does not stay politely on the floor. Follow the dwell time on the label exactly; cutting it short leaves hardened glue behind, and leaving it too long risks the finish on wood or an oily residue on concrete. Once the glue softens, scrape with the same putty knife or stiff brush from the earlier steps, then wipe clean with a damp rag before the residue resets.
5. Sand the Surface
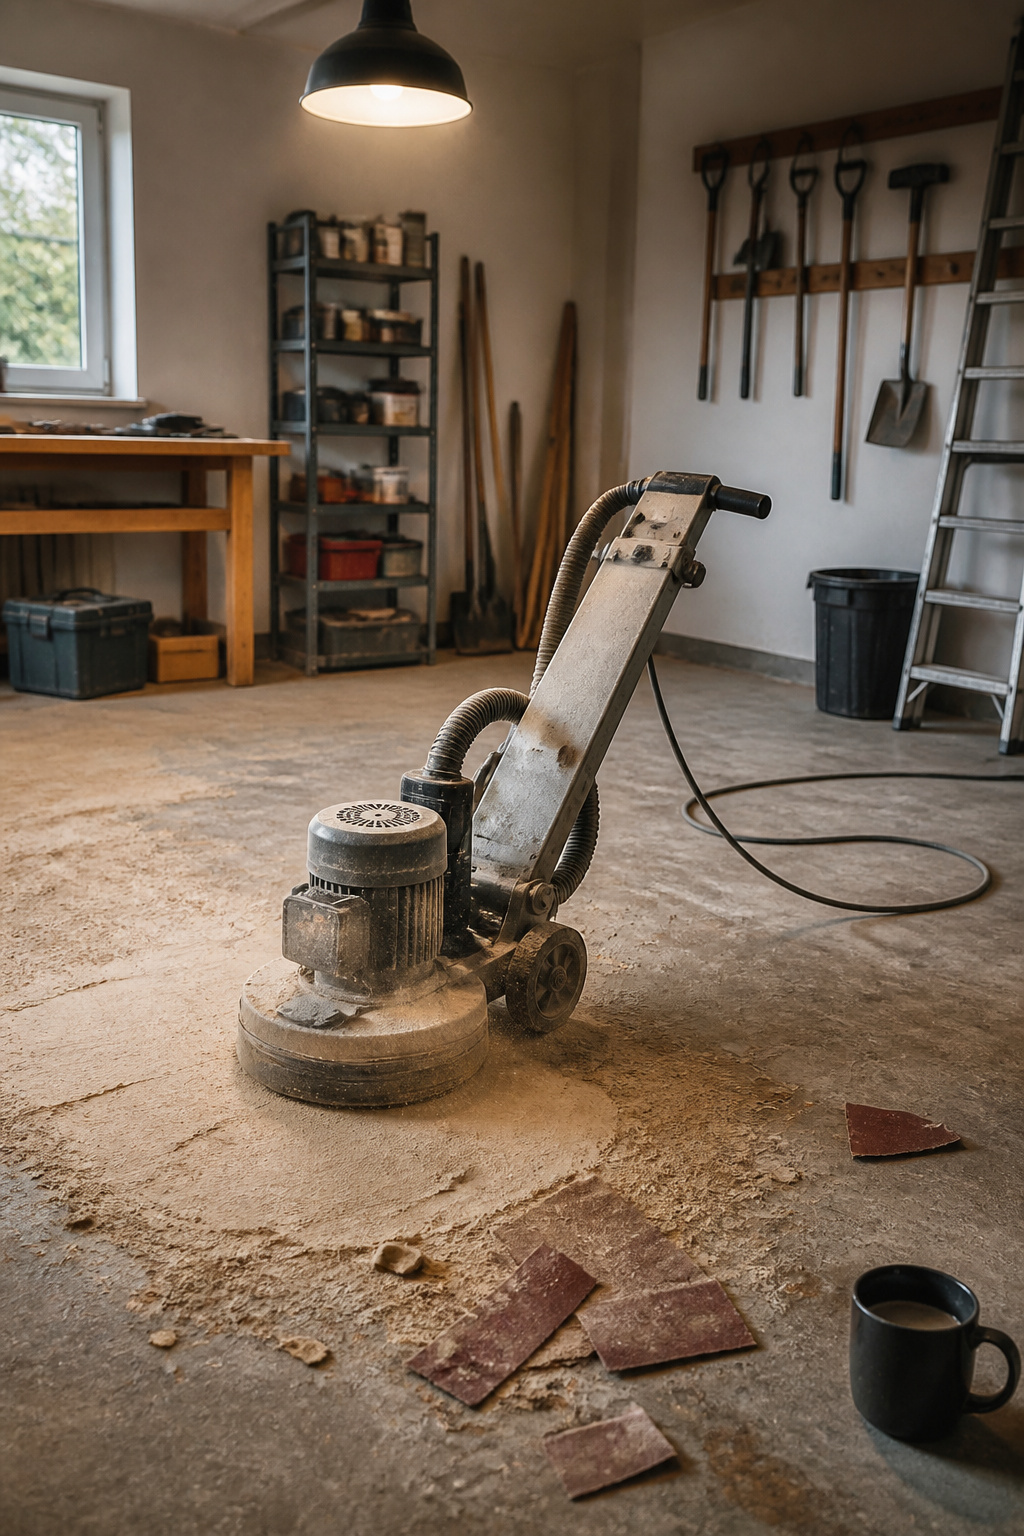
Sanding is where you go when the scraper and the solvent both said no. A rented floor sander or a buffer with a sanding disk takes the bulk of what’s left, and concrete in particular holds glue in its pores where other methods never reach. Start with an aggressive grit to chew through the residue, then finish in the 300’s range so the surface is smooth enough for whatever comes next, stain or seal or bare concrete left alone.
The disc will clog. One old-timer’s trick is broadcasting silica sand across the floor as you work; the grit speeds cutting and buys you more passes before the glue packs the paper solid. Wear a respirator if you try it. Silicosis is permanent, and the dust is invisible long before it hurts you.
Stop before you hit aggregate. Concrete sands faster than you think, and the floor gets more porous as you go, drinking up extra stain and sealer later. This step is the mechanical last resort, not the whole plan.
6. Final Cleanup
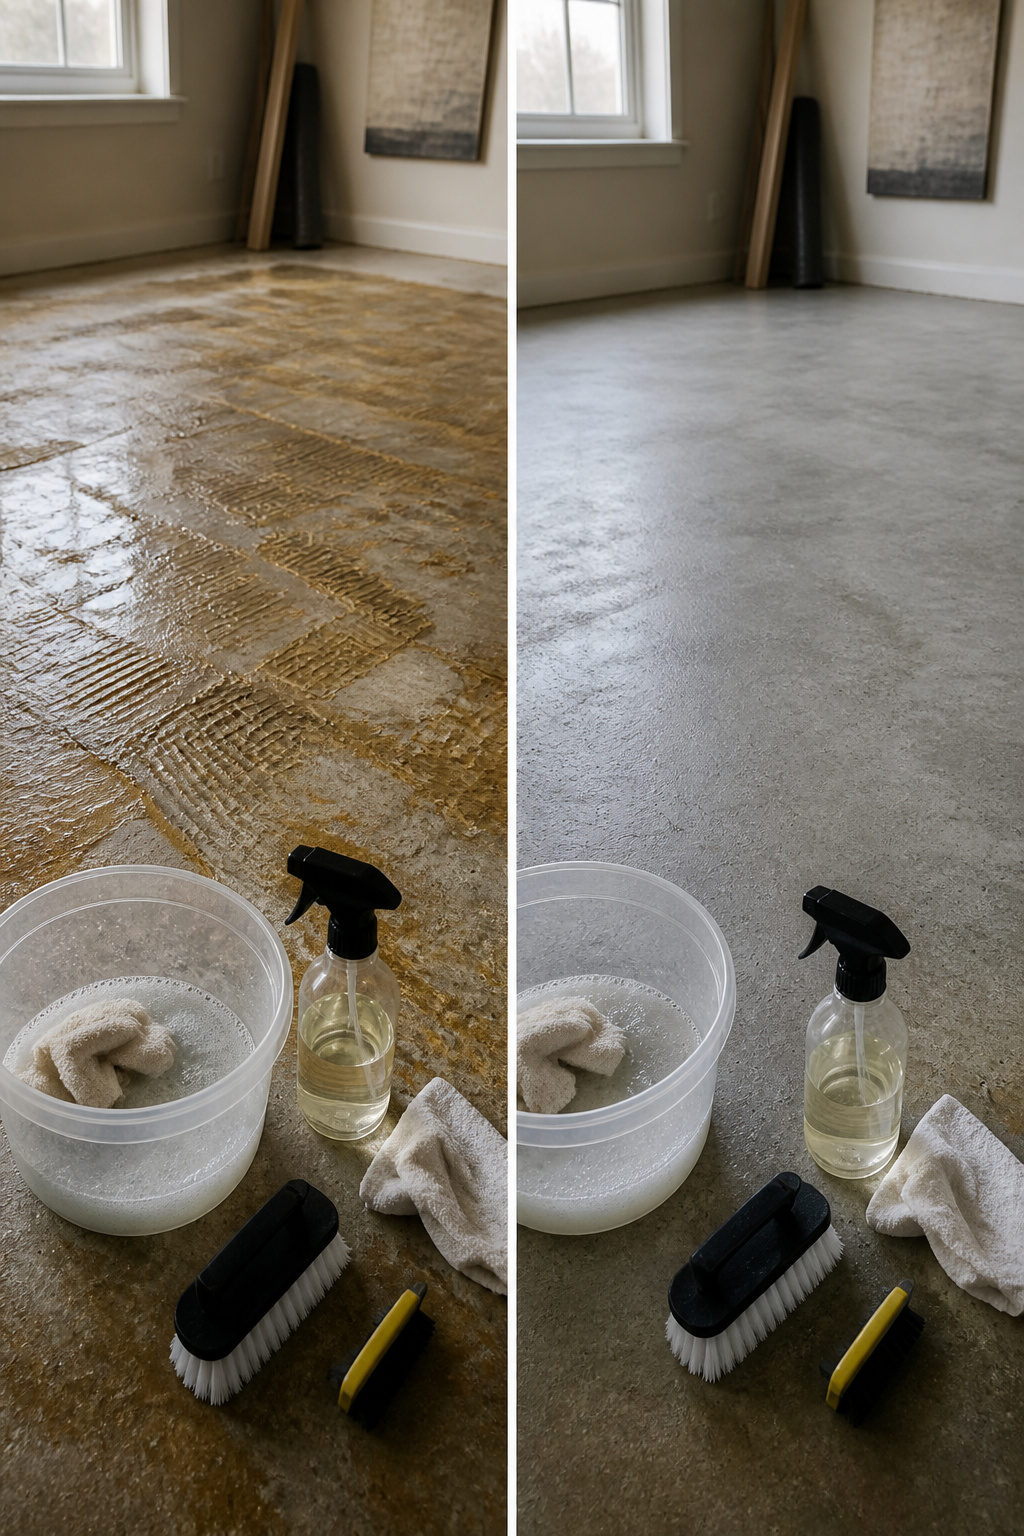
Warm water and a mild detergent take care of whatever film the scraper and solvent left behind. I make a second pass with a dry cloth after, especially on wood, since lingering moisture does more damage than the glue ever did. Skip this step and your new flooring may not bond right; that residue layer acts like a buffer the adhesive cannot grab. On concrete, the same film interferes with stain or sealer if you are leaving the floor bare. A quick inspection once everything dries catches any spots I rushed past the first time.
Tools Needed
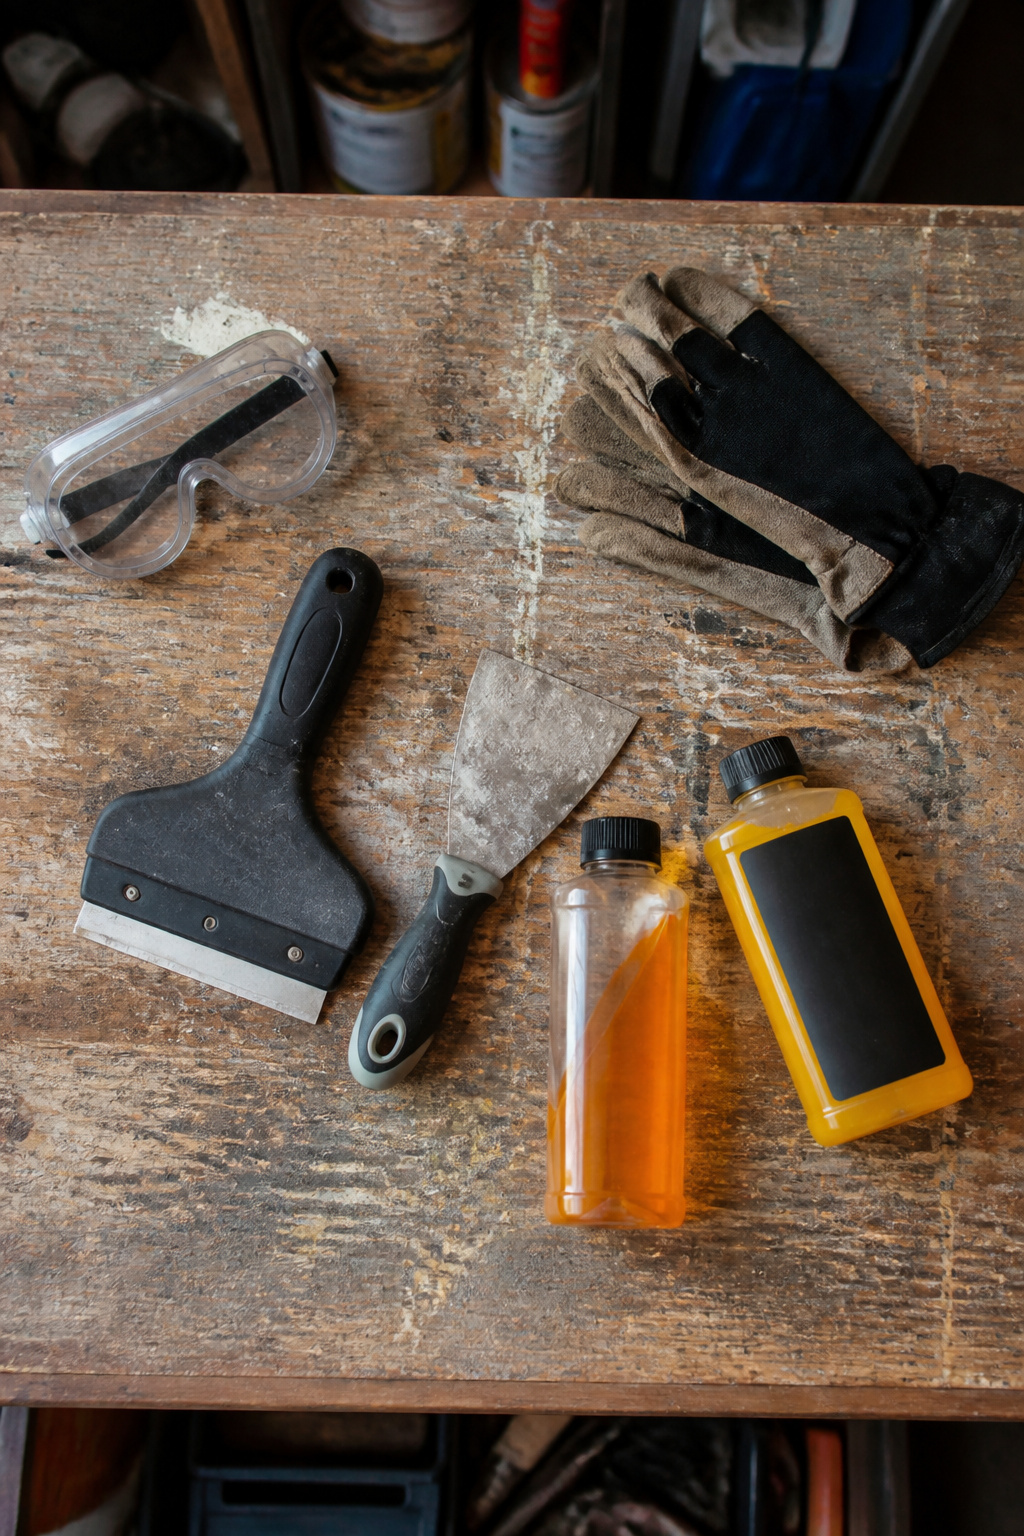
A floor scraper with a wide, stiff blade is the first tool to grab for concrete; on wood, plastic scrapers save you from fresh scratches and gouges that metal would leave behind. A putty knife fills in for corners and detail work the wide blade cannot reach.
For softening the adhesive, a handheld steamer or a clothes iron you already own does the job without an extra purchase. Commercial removers like Sentinel 626 or Goo Gone Pro-Power cut through what scraping alone will not; match the product to the glue type, since orange-oil solvents handle general yellowish adhesives while tar-based brown residue needs mineral spirits instead.
A floor sander belongs only on wood, never concrete. For concrete pores that still hold glue after scraping, a grinder with an aggressive grit clears the bulk and a fine grit in the 300 range finishes the surface without exposing aggregate underneath. Warm water with mild detergent handles the final wipe-down, and proper ventilation plus protective gear are non-negotiable when solvents enter the mix.
Types of Adhesives

Not all carpet glues respond to the same treatment, and figuring out what you’re dealing with saves you from fighting the wrong battle. Water-based adhesives soften with boiling water, which is the cheapest first move and worth trying even if you only suspect that’s what you’ve got. Let the hot water sit on the glue for one to two minutes, then scrape.
Solvent-based adhesives put up more resistance. These formulas are built for heavy-duty bonding and shrug off moisture and heat, so chemical solvents become necessary to break down the bond. The specific formula matters here; some solvent-based glues need a heavier remover than others.
Urethane-based adhesives are the most stubborn of the three. These are designed for maximum durability and strong bonding, which means mechanical removal paired with specialized solvents is usually the only path forward. I would not waste time with boiling water on urethane; the effort earns you nothing but frustration.
Safety Precautions
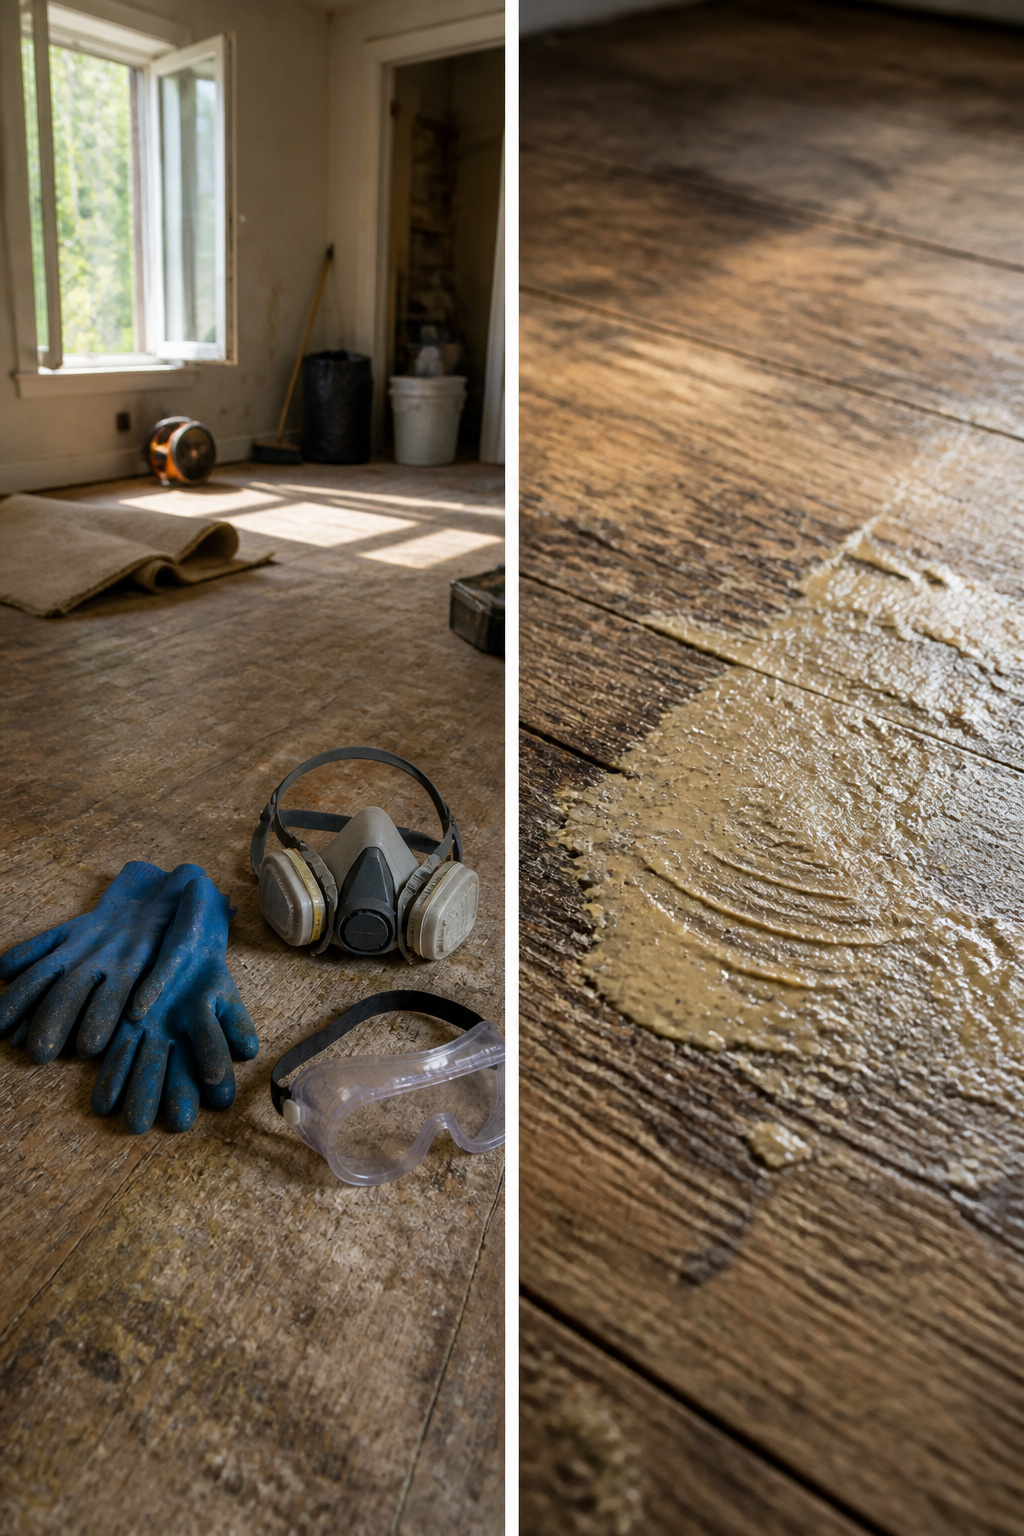
Protective gear comes before any tool touches the floor. Chemical adhesive removers and heat methods both demand gloves and goggles; one splatter or a shard of softened glue in the eye ends the afternoon fast. Ventilation matters just as much when solvents are in play. Crack windows, run a fan, and read the product label twice before you open the bottle.
Older adhesives carry a risk that stops everything. Before the 1990s, carpet glues often contained asbestos, and scraping or chipping dry residue can release fibers that cause lung disease over time. A DIY test kit runs about $33, and that cost is non-negotiable preparation for any house built before the era changed.
Before the 1990s, adhesives, including those used for carpet, were often made using asbestos. Be sure to test any older adhesive residues before attempting to scrape or chip, as this could release dangerous asbestos particles into the air.
A positive result means calling a professional abatement company. They have the equipment and training; this is not a corner to cut for the sake of finishing the same weekend.
Natural and Eco-Friendly Options
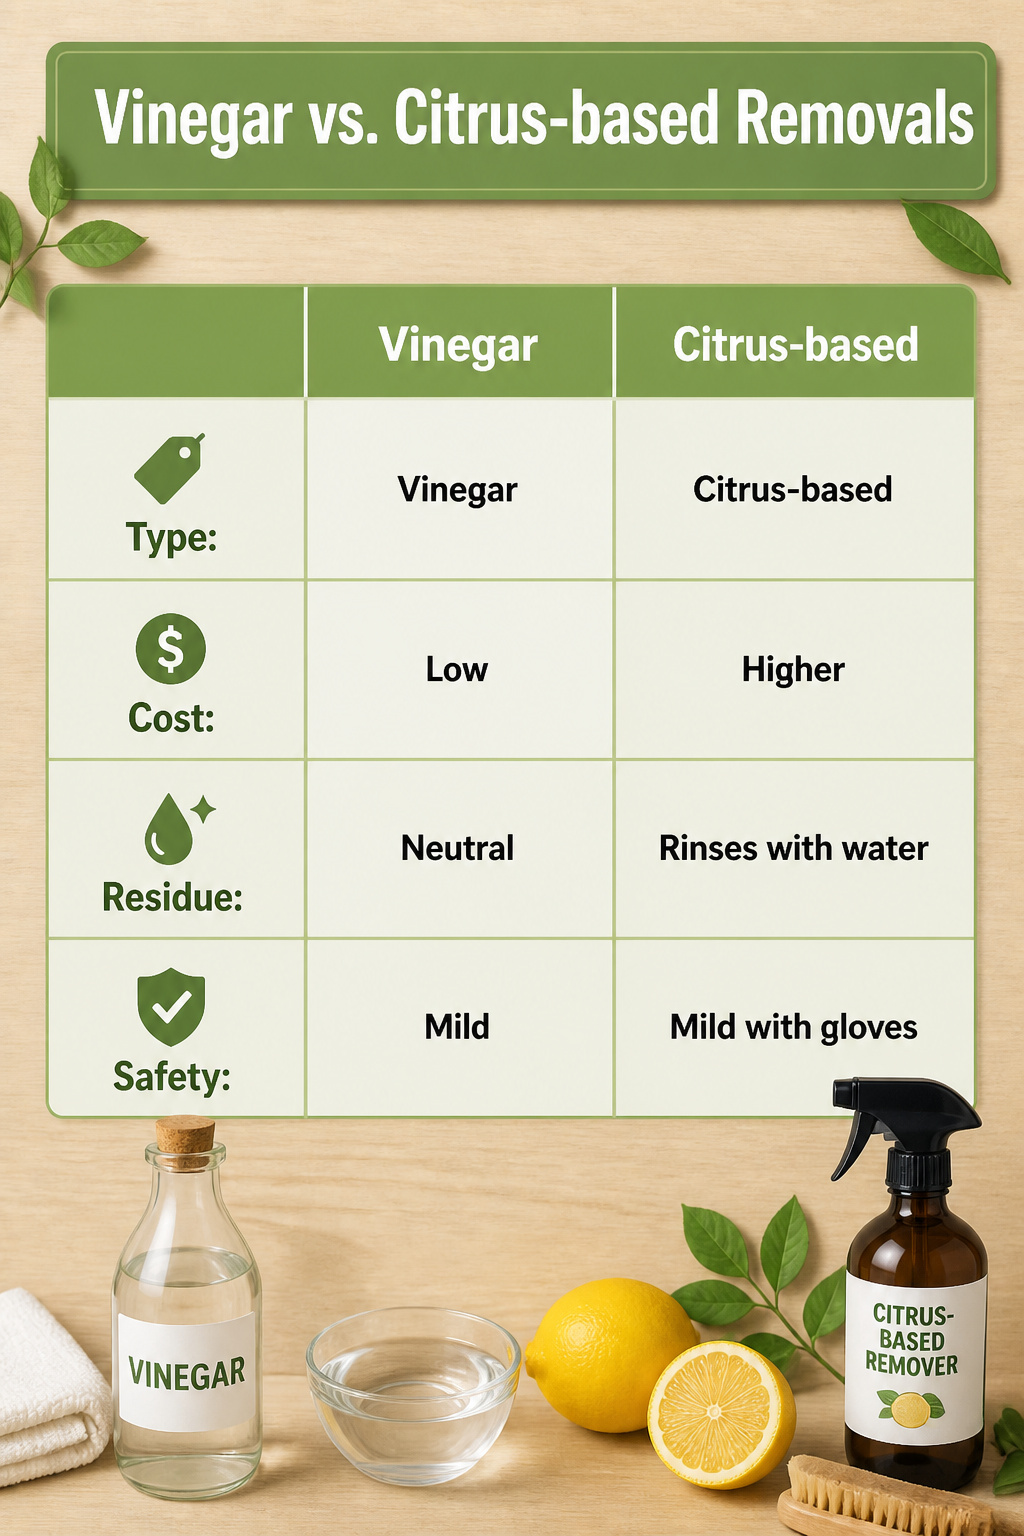
Vinegar sits in most kitchen cabinets already, and that makes it the first thing worth reaching for when the carpet glue leftover is thin or only covers a corner. Heat a cup of it until it steams, pour it onto the spot, and wait ten minutes before scraping. The acid softens water-based adhesives well enough that you can tell within one patch whether this fight is winnable without a trip to the hardware store.
Citrus-based removers work on the same principle, using d-limonene to break down the sticky stuff instead of petroleum solvents. They cost more than vinegar and the smell lingers in a closed room, but the residue rinses away with plain water, which matters on a basement floor you do not want coated in oil. A brush helps work either option into the grain if you are dealing with wood instead of concrete.
Both of these stay mild enough that you can skip the respirator, though gloves still make sense. My take, after reading through the back-and-forth on this: try vinegar on a two-foot square you do not mind sacrificing an hour to. If the adhesive lifts, you have your method and your afternoon back. If it gums up the scraper and you are still fighting after twenty minutes, that is the signal to switch to something stronger.
Frequently Asked Questions
How do I remove carpet adhesive from concrete?
Start with a floor scraper with a wide, stiff blade to lift off as much solid glue as possible. Then pour boiling water over the residue, let it sit for 1-2 minutes, and scrape again. If any glue remains, apply a commercial adhesive remover like Sentinel 626, let it dwell per the label, and scrape once more.
What is the best way to remove carpet glue?
The best approach depends on the adhesive type, but the general sequence is mechanical scraping first, then heat or boiling water to soften what is left, and finally a chemical remover for stubborn residue. Water-based adhesives often come up with just hot water; urethane-based glues usually need specialized solvents and more elbow grease.
Is it safe to remove carpet glue myself?
Yes, with the right precautions. Wear gloves and goggles for any method, ventilate well when using solvents, and test any adhesive from before the 1990s for asbestos before scraping dry residue. A DIY asbestos test kit costs about $33; if it is positive, hire professional abatement rather than continuing yourself.





