
A DIY kitchen remodel in 2026 can run anywhere from $10,000 to $15,000, or balloon past $50,000 if you hire out. What separates the projects that finish from the ones that stall is knowing which skills match which job: a backsplash tile swap is a weekend, a custom range hood is three trades at once, and electrical behind the wall is where a mistake costs a house, not a Saturday. The $400 glass subway tile backsplash works because prep, not placement, is where the real labor lives; old adhesive has to come down to clean substrate or the new mastic fails.
1. Replace the Backsplash Tile

Glass subway tile is the choice that keeps coming up for a reason: the surface catches light differently than ceramic, and the grout color actually shifts how the tile itself reads. For less than $400 in materials, you can cover the typical run between counter and cabinet. That price assumes standard subway tile, not specialty sizes, and shopping two stores matters because the spread between suppliers can be wide.
The real work is prep, not placement. Old adhesive has to come down to a clean substrate or the new mastic fails. A rented wet saw with a fresh blade handles the edge cuts; Habitat ReStore rents these cheap if you do not own one. Peel-and-stick vinyl exists as a fallback, and it holds up fine in low-splash zones like a powder room, but behind a stove it is a short-term fix.
What makes this project rank high on impact is the ratio of visible surface to cost. The backsplash is eye-level for anyone standing in the room, and new tile reads as full renovation even when cabinets and counters stay put. Plan your grout choice before you buy; with glass, the joint color becomes part of the tile color, and reversing that decision after the fact means starting over.
2. Update Cabinet Hardware
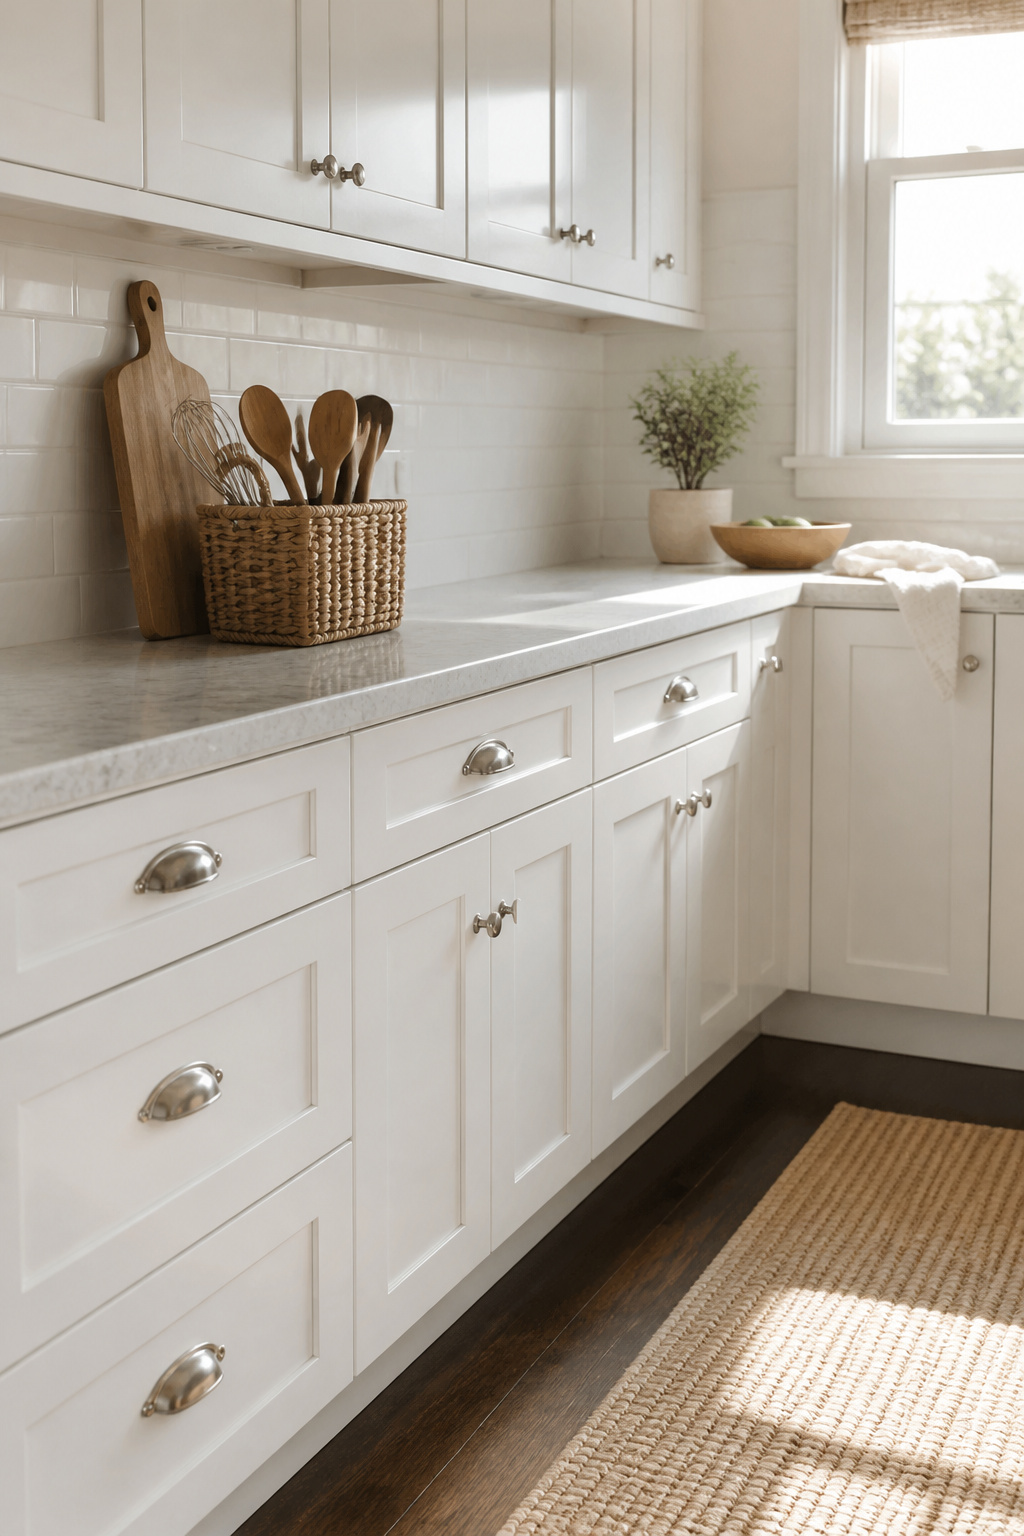
Swapping cabinet hardware lands in that sweet spot where a small change reads as a full refresh. Knobs and pulls sit at eye level, so new ones reframe the whole kitchen even though the boxes underneath stay the same. Amerock has held up well for me; the finishes match what they show online, and the screws are long enough for standard doors without a trip to the hardware store.
The catch is hole spacing. Pulls on drawers and upper cabinets rarely share the same center-to-center measurement, so measure your existing holes before you order anything. A tape measure and two minutes save the grief of drilling new ones that miss the mark. When the old holes do not line up with a new pull you love, a backplate covers the gap without looking like a repair.
Two hours covers the whole job if you work methodically: one door at a time, old hardware off, new hardware on, move to the next. An electric screwdriver helps, but a regular one works fine. The only real delay comes from realizing three pulls in that you grabbed the wrong length screw. Sort those first and you will finish before the afternoon is out.
3. Paint Kitchen Cabinets
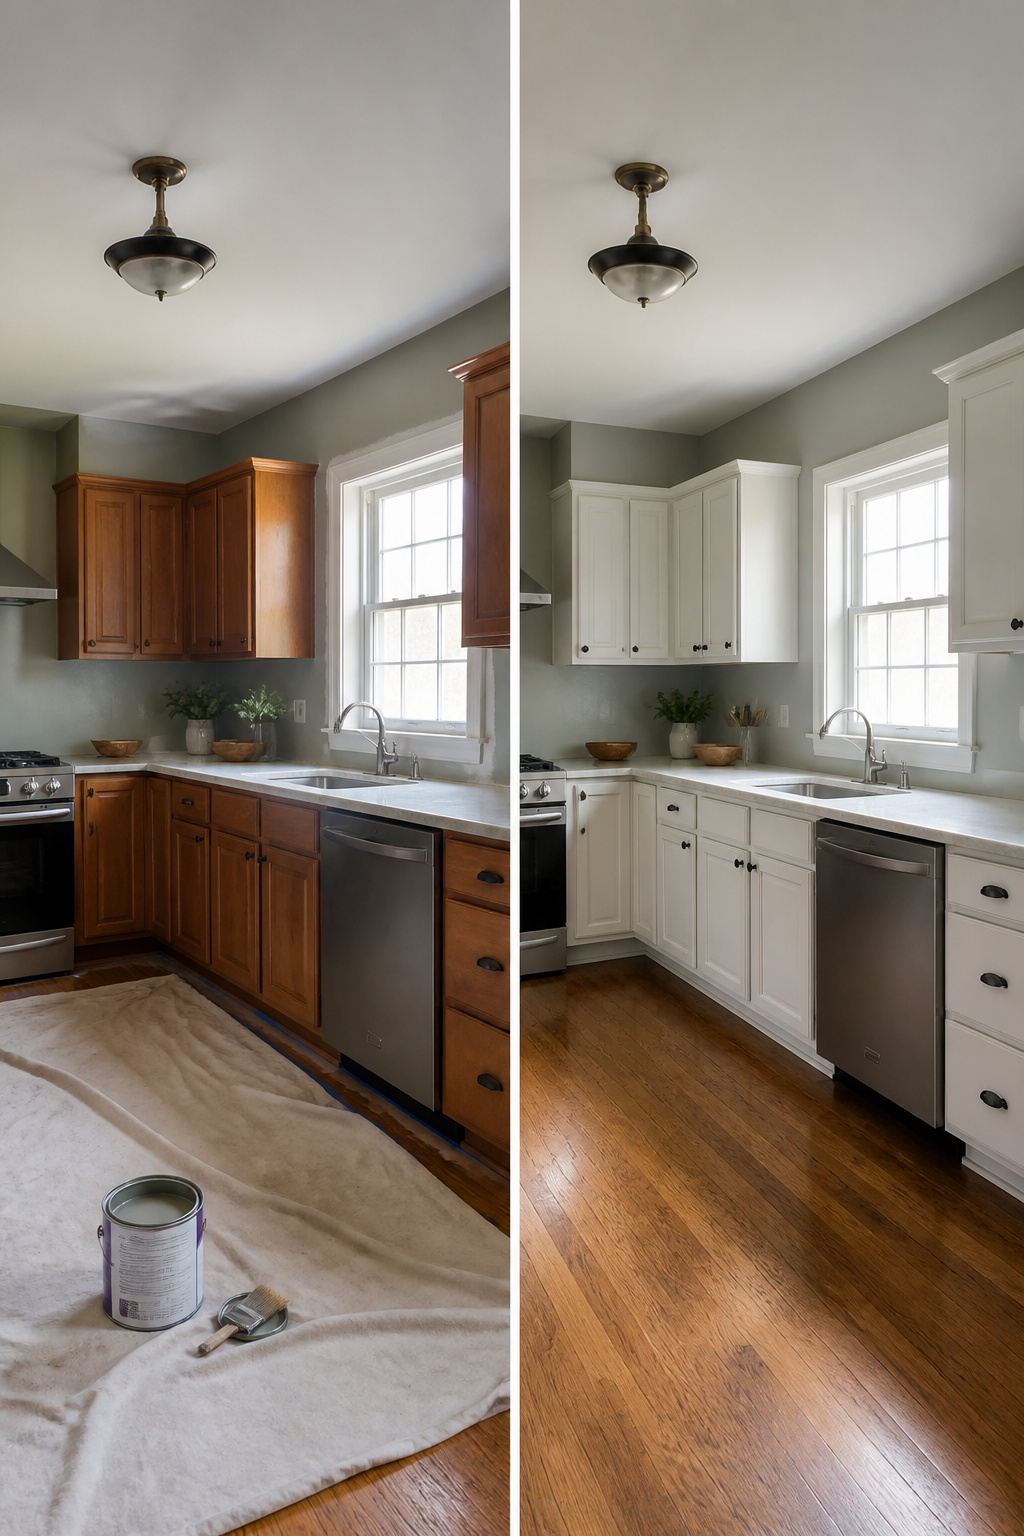
Nothing else in a kitchen remodel changes the whole room as fast as painted cabinets. The color takes over every wall at eye level, so the choice matters more than backsplash or hardware ever will.
I spent a lot of evenings reading threads about which paint survives cabinet life. What convinced me was the number of people coming back years later to say Benjamin Moore Advance still looked intact. It levels out like an oil paint but cleans up with water, which matters when you are working in a kitchen you still need to use that night.
Prep is where the weekend gets eaten. Doors come off, hinges get labeled in sandwich bags, and every surface needs sanding past the gloss. Skip the deglosser liquid; sanding gives the new coat something to bite into, and you will feel the difference running your hand across it.
A sprayer gives that factory-flat finish everyone wants. I borrowed one once and spent more time masking the room than spraying. A good angled brush leaves faint marks only you will notice, and you can start the second coat the same morning. With Advance, plan on overnight drying between coats, so this stretches across Saturday prep, Sunday painting, and a second coat Monday evening before the hardware goes back on.
4. Install New Lighting Fixtures
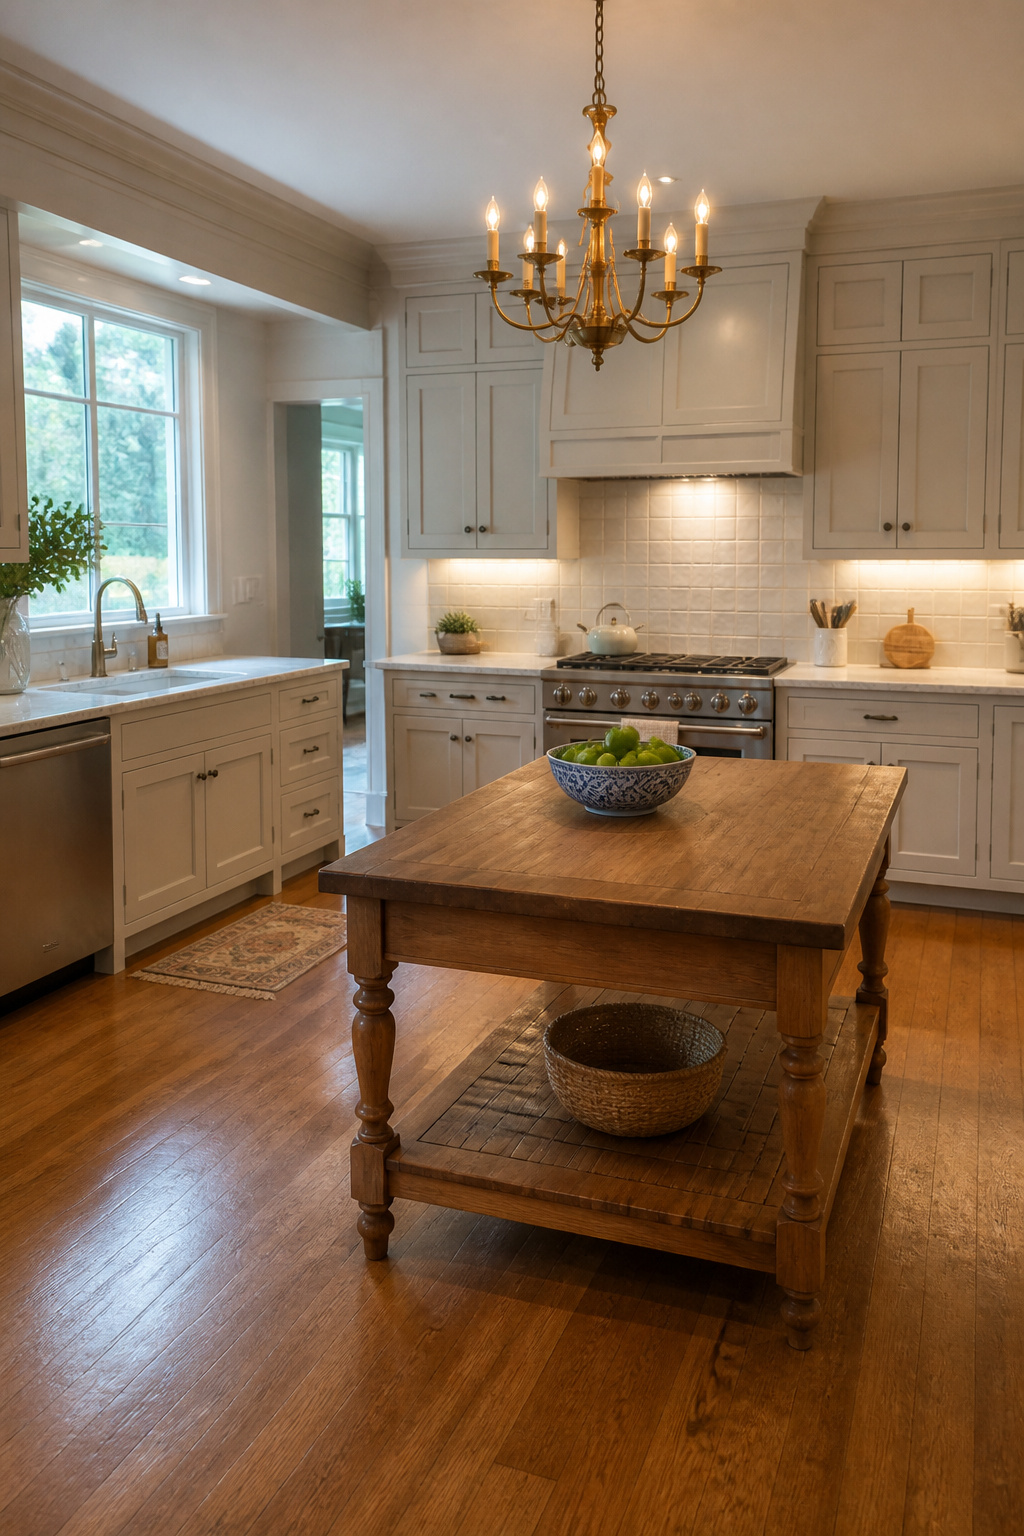
Overhead fixtures set the mood, but under-cabinet strips are what keep you from slicing toward your own shadow at six p.m. Swapping an existing ceiling fixture for something new stays squarely in DIY territory: kill the breaker at the panel, verify with a non-contact tester, and match wire for wire. Adding circuits where none exist, like pendant drops over a new island, is where an electrician earns their fee. Plug-in or battery-operated LED strips under cabinets skip the wiring entirely and still change how the room reads after dark. Daylight bouncing off counters feels clinical and open; the same space at night, lit only from below and above, turns smaller and warmer, more like a working kitchen and less like a display.
5. Add Open Shelving
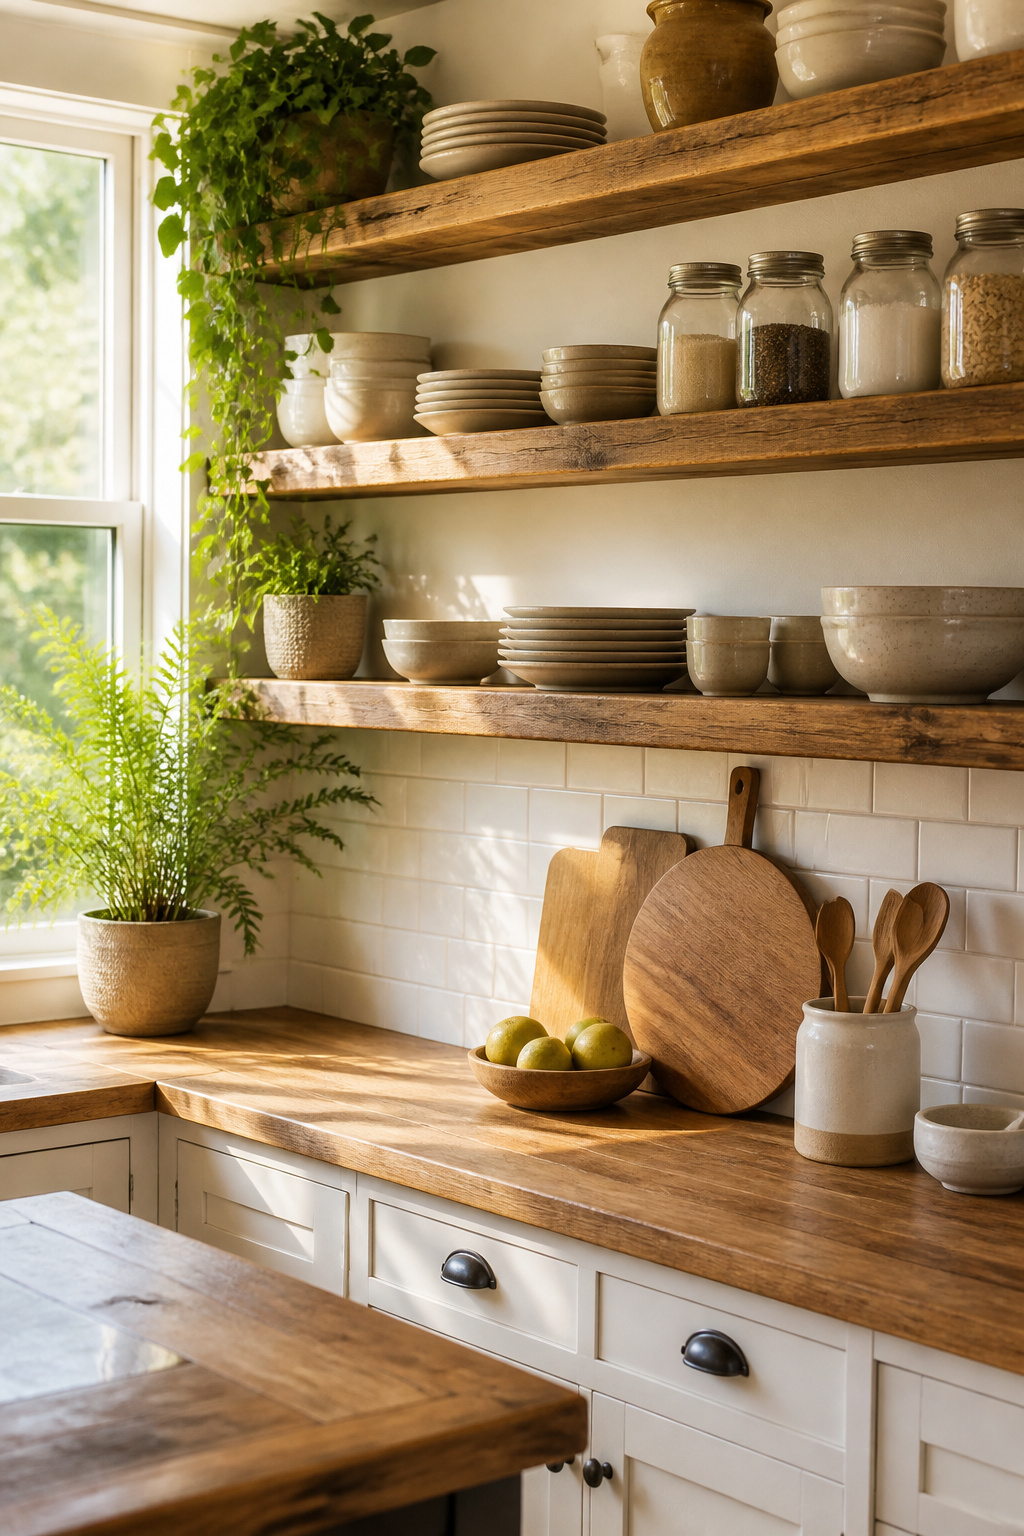
Opening the cabinets one Saturday morning convinced me the uppers had to go. The doors stuck, the hinges sagged, and the boxes themselves ate light the kitchen barely got. Swapping them for open shelving turned out to be the single change that made the room feel built in this decade instead of inherited from a landlord who never lived here.
The first wall taught me what the second wall would not. A stud finder saves an hour of patch and paint for every minute you spend with it, and floating hardware needs something solid behind it or you will watch dishes walk themselves off the wall. Bracket shelves are less fussy about placement, which matters in older houses where studs wander like they were laid by guess.
Weight splits unevenly across what you store. Stacks of plates sit heavy and still; rows of drinking glasses look light until you multiply one by twelve. The math runs on total load, not appearance, and the brackets or cleats you choose need to speak honestly about what they hold.
What nobody warned me was the editing. Every mismatched mug, every cereal box, every plastic lid without a mate now curates your kitchen for you. The shelves reward the ruthless.
6. Update Countertops
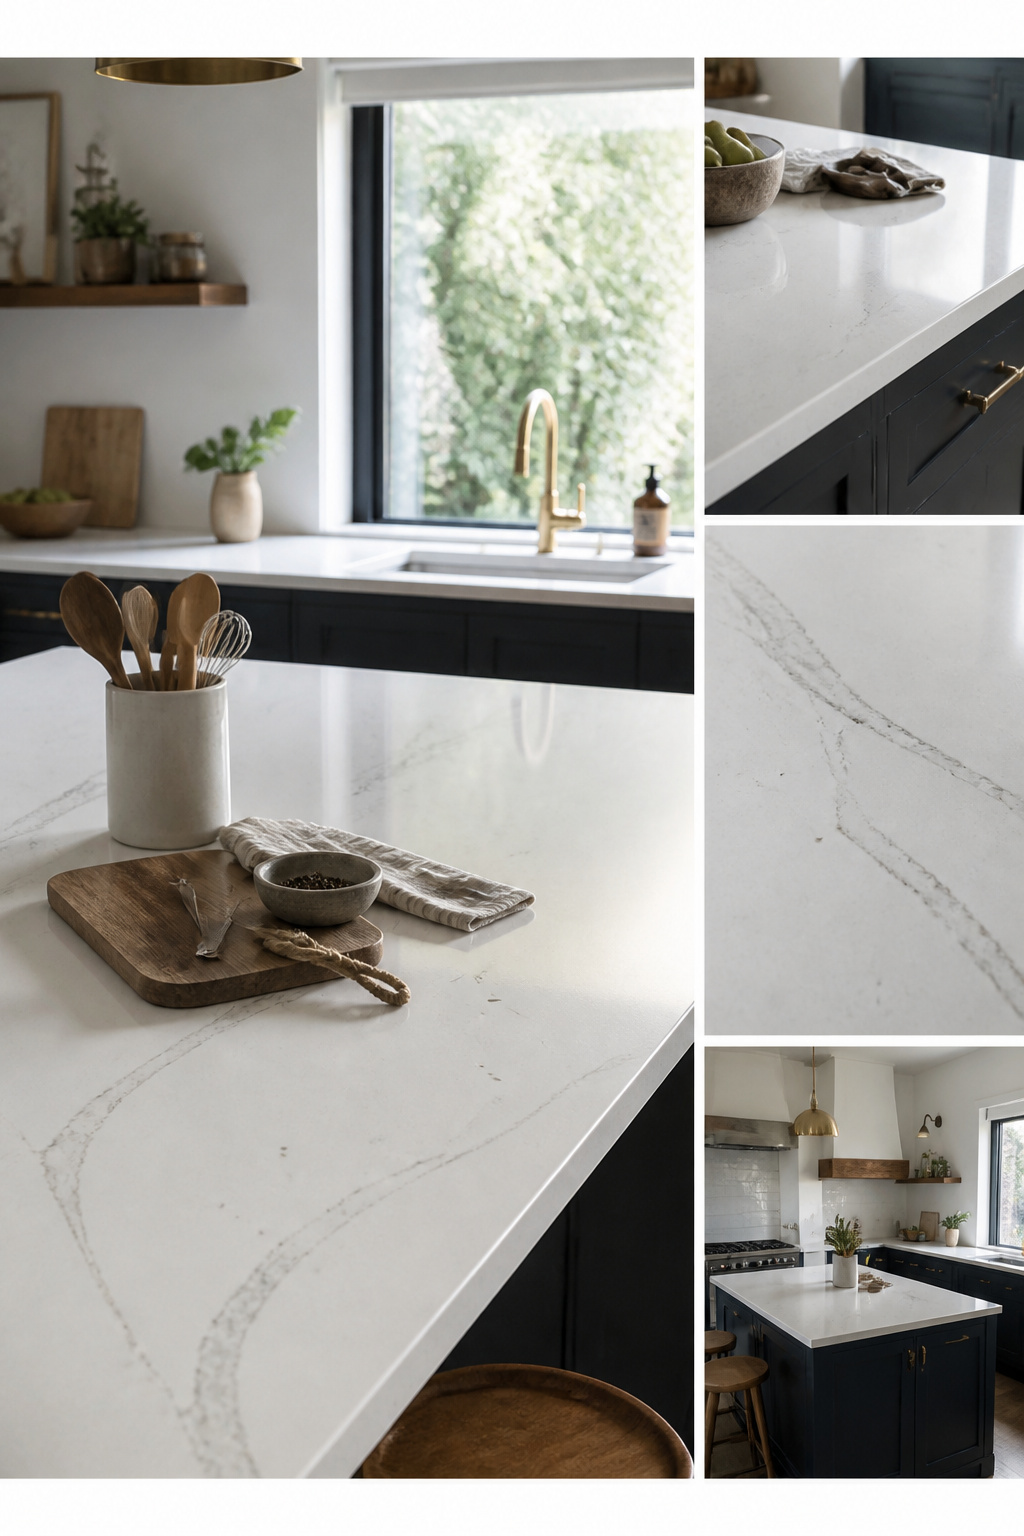
Quartz and Caesarstone countertops can anchor a kitchen’s whole look, but the install itself rarely fits in an afternoon. The slabs run heavy, the cuts are permanent, and measurements need to be precise down to the eighth of an inch because a gap at the wall or a misaligned seam is exactly the kind of mistake that costs you another slab. If you want solid color without granite’s pattern variation, quartz delivers that clean, modern surface. Caesarstone’s Raven in dark gray against white cabinets, or Misty Carrera marble-look white on an island, are two pairings that actually work in real kitchens.
A full replacement of cabinets plus countertops runs an estimated 1-2 weeks and lands in the $2,000-$5,000 range if you DIY, versus $6,000-$8,000 contracted. The timeline is what pushes most people toward professionals. One way to split the difference: tackle only the island or a bar section in a bold stone, and leave the perimeter as-is or swap it for something faster like butcher block. That keeps the impact without the full install.
7. Install a Kitchen Island
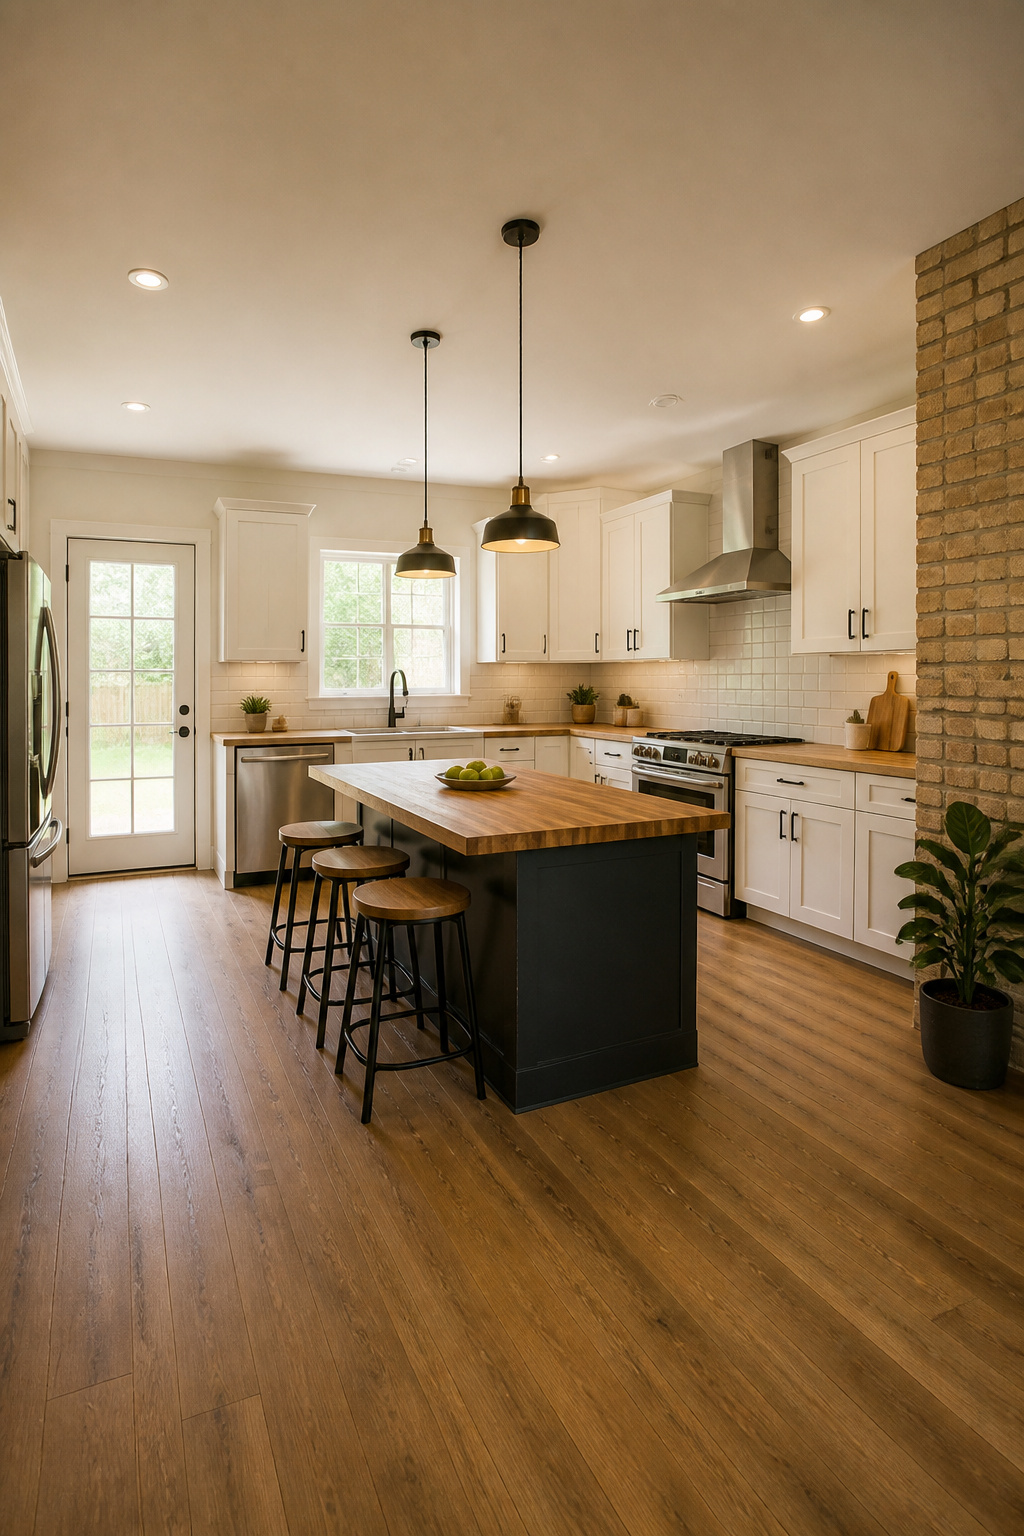
A kitchen island eats up floor space faster than most people expect, which is why 36 inches of clearance on all sides is the minimum for safe traffic flow. Anything tighter and two people cannot pass with the dishwasher or oven open at the same time.
Freestanding islands on casters solve this for smaller kitchens. You roll it in when you need prep space, roll it out when you do not. The tradeoff is stability; a wheeled unit shifts when you lean into dough or chop hard. Screwing an island to the floor fixes that, but it becomes a fixed obstacle and usually triggers electrical code. Once an island is anchored, it needs at least one outlet if the countertop is 12 inches or wider, which means running wire through the floor and possibly upgrading the circuit panel to handle the load.
The surface matters too. Stainless steel holds up to heat and bleach but shows every fingerprint. A wooden cutting-board top takes oiling and scars over time. Wayfair sells islands in both, though assembly runs long enough that you should count it as half a day on its own. Storage underneath is the real gain, basically adding cabinet space without mounting anything to the wall.
8. Replace Flooring
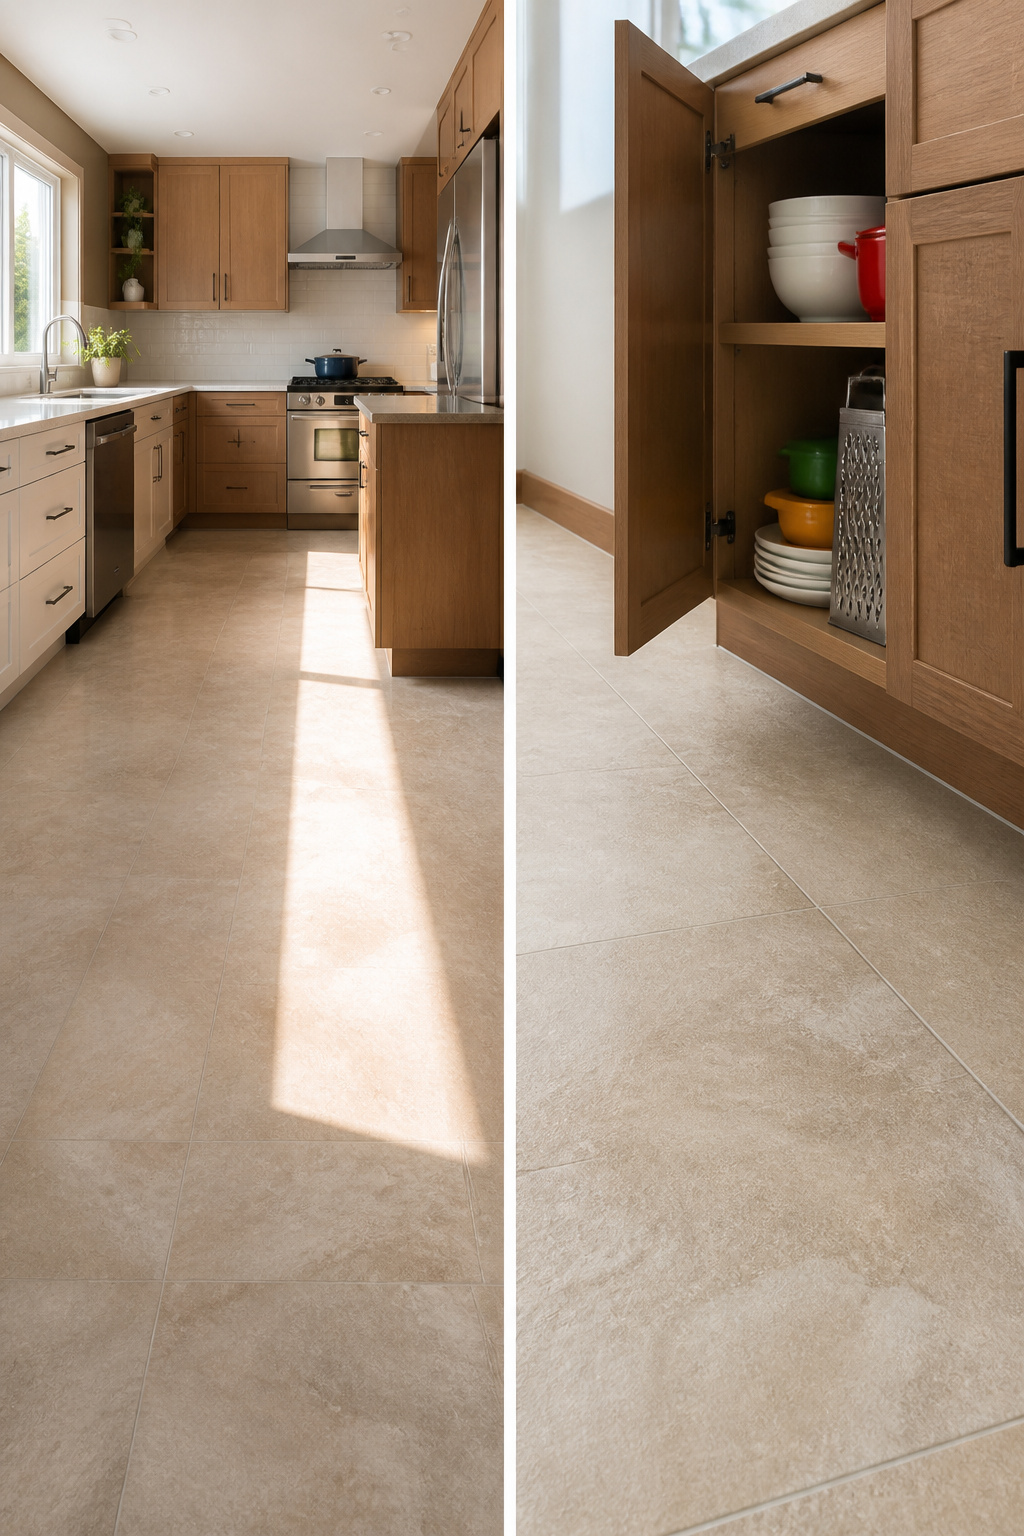
New flooring changes how the whole kitchen feels, but it rarely finishes in a single afternoon. Luxury Vinyl Tile (LVT) is the material to look at if you want to lay it yourself: it clicks together without mortar, forgives a slightly uneven subfloor, and Mannington’s Adura Max line in a color like "Stucco" gives the warm look of stone or wood without the maintenance. My own reading turned up estimates of $1,000–$3,000 for a DIY floor against $3,000–$8,000 if you hire out, with the job stretching 1–2 weeks once you account for moving appliances and letting materials acclimate.
Whether the old floor has to come up depends on what is down now. Solid wood can often stay if you sand and refinish it instead. Sheet linoleum that is truly ancient may let you float a rigid-core product like NuCore directly over it, saving the demolition day entirely. Tile almost always has to go, and you need to budget for the subfloor prep that follows. That is where the multi-day reality sets in: one day to pull and patch, another to lay, a third for trim and shoe molding. Plan for the kitchen to be half-unusable between steps, not for a tidy Saturday miracle.
9. Build a Custom Range Hood
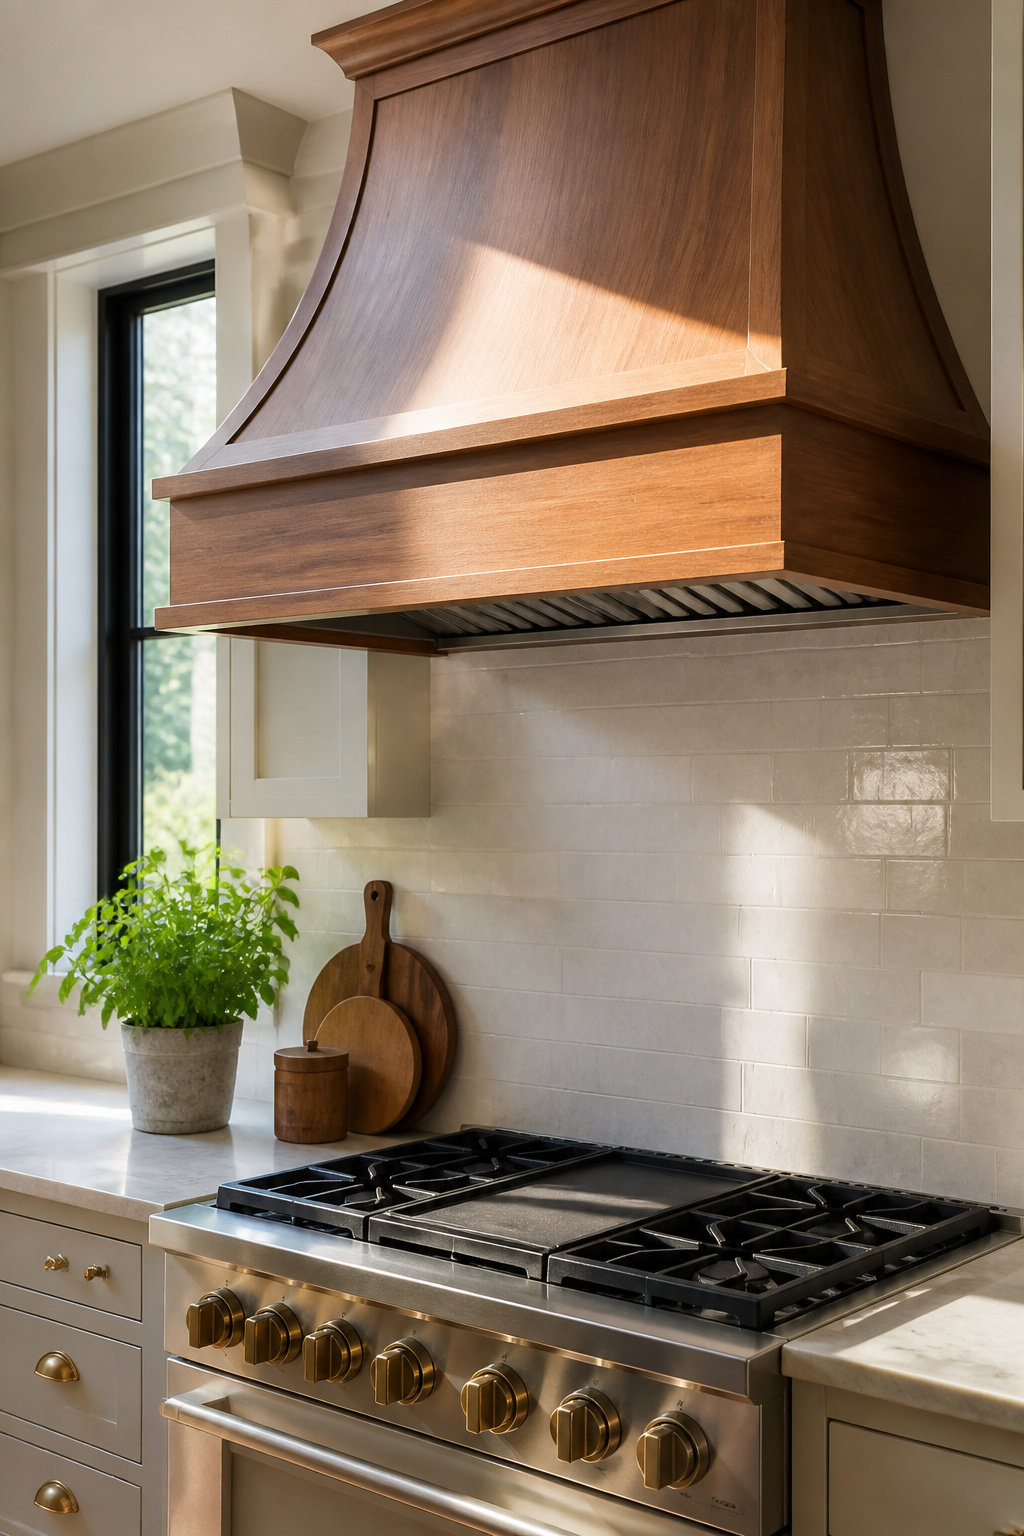
A custom range hood cover is the project that separates a kitchen refresh from a kitchen that looks like it was built together. Most DIY roundups skip it because the venting is not negotiable: your blower needs a dedicated duct to the outside, sized to the range below, and that duct has to stay round and smooth all the way through. Boxing it in with wood means planning around metal that gets hot enough to matter.
The materials that survive up there are narrower than Pinterest suggests. Standard MDF softens with steam cycles; paint buys you months, not years. What actually holds up is hardwood or exterior-grade plywood, kept a few inches from the duct with a baffle of cement board where the surfaces get closest. Leave a removable panel or hinge the front face; the duct needs inspection and the filter needs reaching.
Fewer blogs cover this because it demands three trades at once: carpentry, metalwork for the transition, and either electrical or HVAC know-how for the fan hookup. The finished look is dramatic, but the path there is closer to building a small cabinet that happens to breathe fire.
10. Add Crown Molding
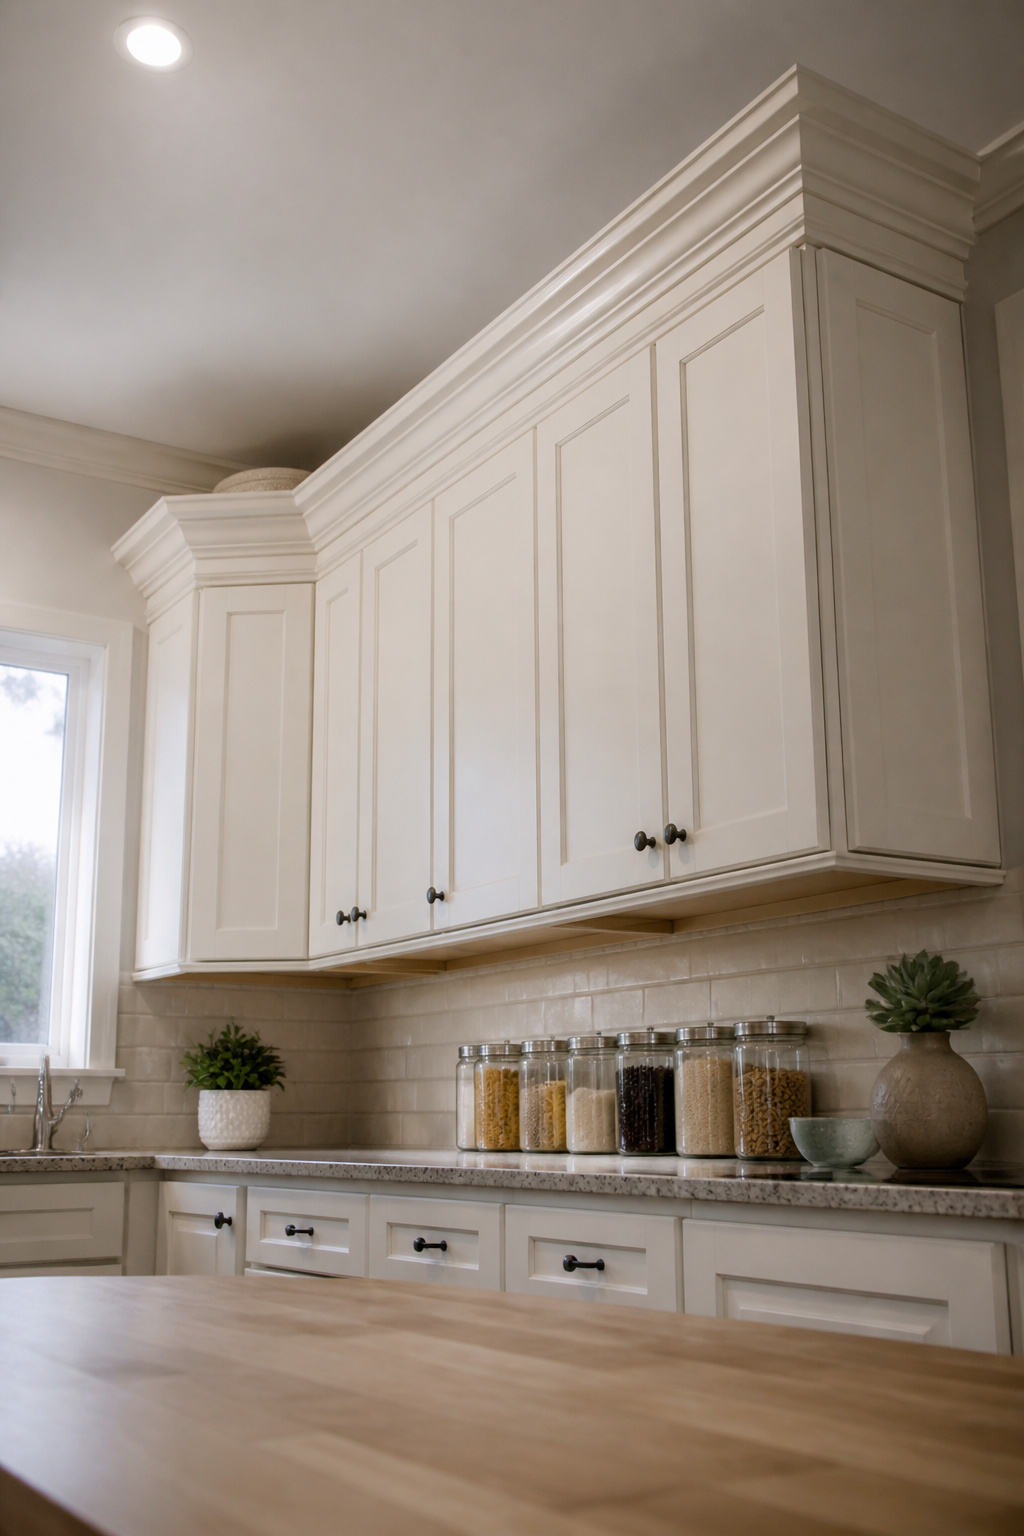
Crown molding lives in two places in a kitchen: where the cabinets meet the ceiling, and where the walls meet the ceiling itself. The cabinet version is forgiving. The ceiling version is where old houses humiliate you.
Inside corners present a choice. Mitering sounds clean on paper, two 45-degree cuts meeting in a perfect point. In practice, walls are never square and the gap shows. Coping costs more time and a steadier hand, cutting one piece to fit the profile of the other so they overlap. The result survives the wobble of plaster that settled decades ago. Coping wins in any house built before 1980, and most after.
Caulk becomes your friend either way. Paintable latex fills the hairline cracks where molding meets wall, because the wall itself is not flat and never was. This is why crown work should come last. Paint drips on fresh molding, countertops get nicked while you’re hauling a twelve-foot length through the kitchen, and the dust from earlier projects finds every seam. Finish everything else, vacuum thoroughly, then install. The molding acts as the period at the end of the sentence, not a comma in the middle.
Set a Realistic Budget

A full DIY kitchen remodel runs about $10,000 to $15,000, while hiring a contractor lands you in the $20,000 to $50,000 range. That gap is why most of us start pulling our own tile in the first place.
The number that actually saves projects is the contingency. I set aside 10 to 20 percent on top of the total, and I have never once regretted it. Water damage behind the sink, a cabinet that won’t sit square, an outlet that needs moving: the surprises find you no matter how carefully you measured on Saturday morning.
Materials eat the bulk of it, then tools you don’t already own, then the professional help you swore you wouldn’t need. I prioritize cabinets, countertops, and flooring first, because those are what you see and what you touch every day. The pretty pendant light can wait if the subfloor is soft.
Know Which Skills Match Which Project
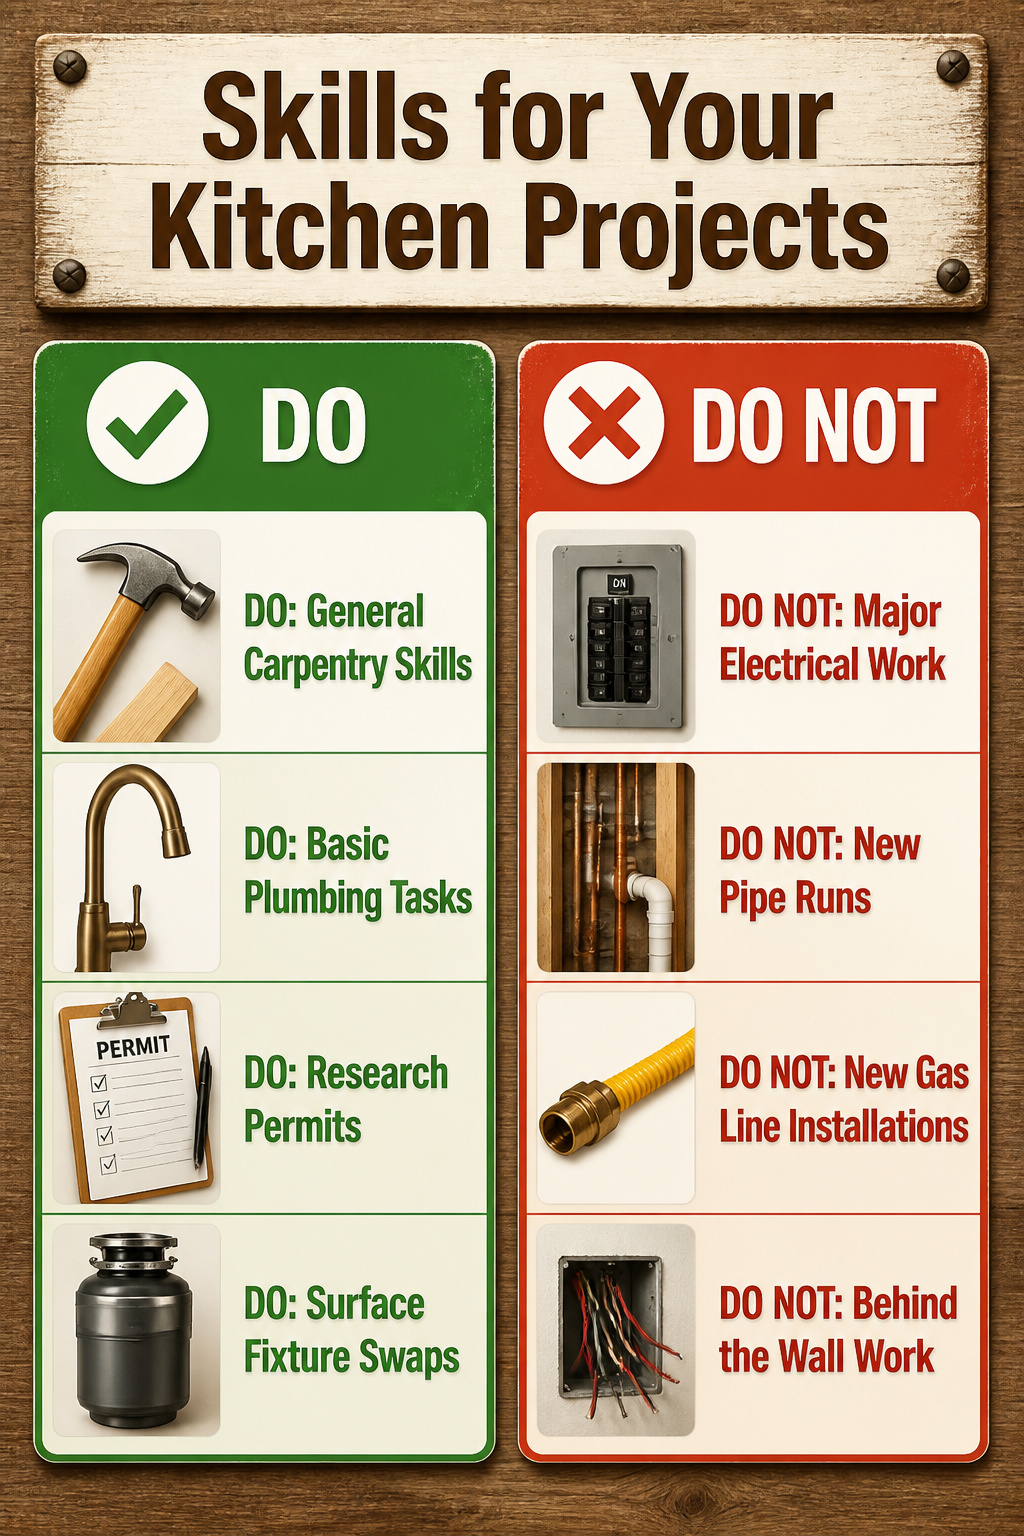
Basic carpentry, plumbing, and electrical knowledge shapes what you can realistically take on yourself. A new faucet might cost $500–$1,500 in DIY materials and eat up one to two weeks if you are learning as you go, but swapping a drip-prone old fixture for a champagne bronze replacement is an hour or two of actual work once you have done your first. The projects that stay DIY are the ones where a mistake costs a weekend, not a house. Electrical and plumbing mistakes run into thousands in damage and real safety hazards, so the line sits at the breaker box and behind the wall: surface work like a faucet or disposal swap is learnable, anything requiring new runs or gas lines is not. Permits are your own research job, and they vary by city enough that calling your local building department before ordering materials saves more time than any single tutorial. Contractor pricing for that same electrical or plumbing scope runs $3,500–$6,000, which is the number to weigh against your own time, skill, and tolerance for stopping mid-project if an inspector says so.
Plan the Layout Before Buying Anything
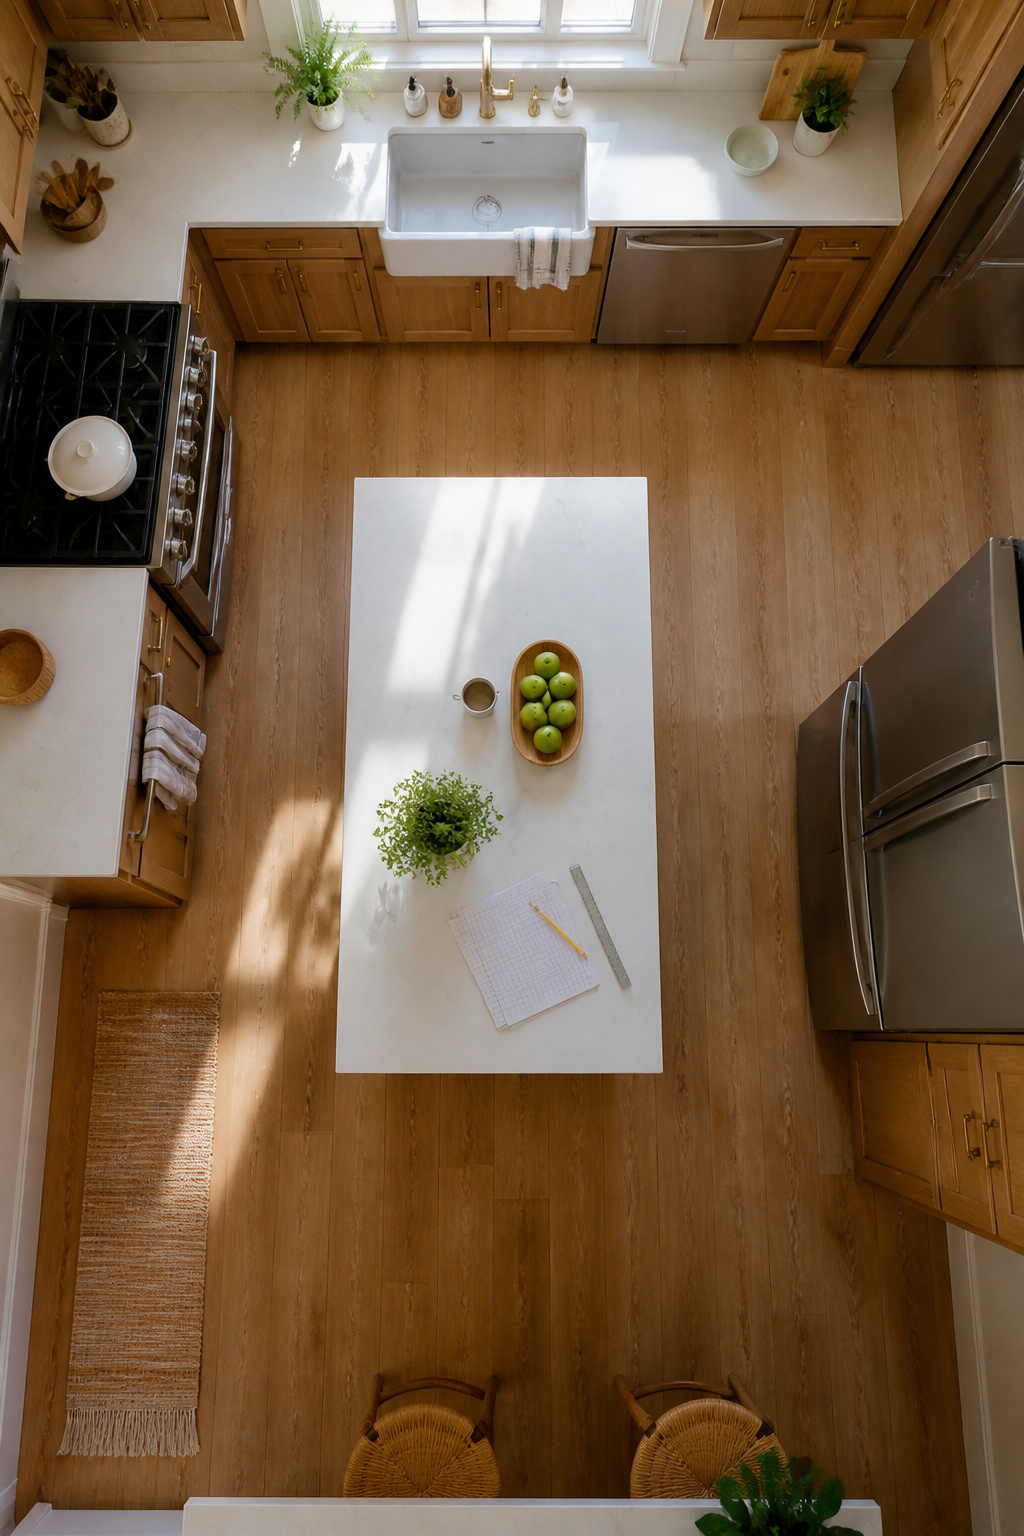
Most kitchen remodel guides tell you to measure your space, but they stop there and move on to mood boards before you’ve figured out what those numbers actually mean for your morning routine. The height, length, and width of the room matter, sure, but the first thing I pull out is the distance between my sink, stove, and refrigerator. That triangle is what determines whether you’re pivoting smoothly between tasks or doing laps around an obstacle course with a hot pan in your hand.
The work triangle principle keeps those three points close enough to be efficient without cramming you into a corner. Once that rough geometry is down, windows, doors, and fixed features like plumbing and electrical outlets get added to the sketch, since moving any of those costs money most DIY budgets do not have. Graph paper works fine; digital tools like SketchUp or RoomSketcher help if you want to test an island placement before committing. Leave 42 inches of clearance around any island or you will bump your hip on it daily and resent every dollar you spent. Cabinets, appliances, and islands all need to fit the space, but more importantly they need to function inside it. A 36-inch range that leaves you six inches of counter on either side is a fit that fails.
Gather Inspiration Without Losing the Plot
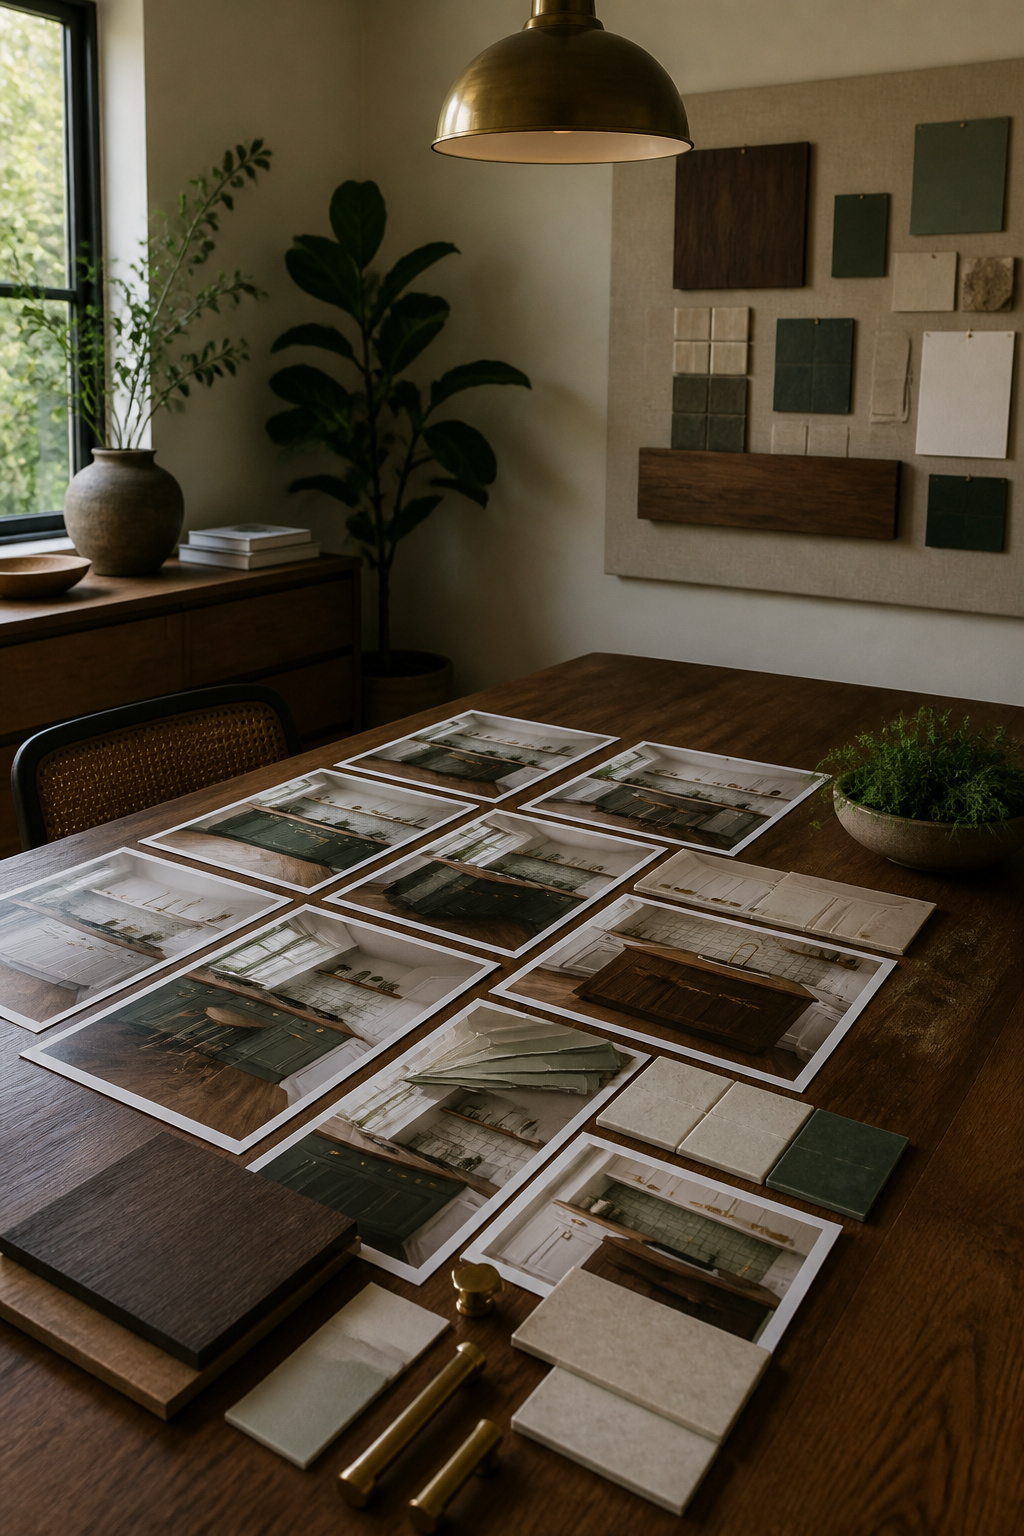
Pinterest and a stack of magazines can build a kitchen or bury it under contradiction. I learned that the hard way during my last remodel: every photo that caught my eye got pinned, no filter applied. White farmhouse sinks sat next to sleek black slab cabinets. Brass hardware shared a board with brushed nickel. The result was five competing kitchens stuffed into one twelve-foot space, and the contractor looked at my phone like it was a cry for help.
The fix is simpler than the mess. Pick one anchor element first: a countertop material, a cabinet color, a backsplash tile that stops you mid-scroll. Everything else ladders up or down from that choice. Two-toned kitchens work because the perimeter and island answer to each other, not to every saved pin. White uppers with a dark walnut island only holds together because the hardware repeats and the counters talk to both.
A physical board helps more than a digital one. Print the ten images you keep returning to, lay them on the table, and remove anything that fights the anchor piece. If the mood is "warm and handmade," the high-gloss European kitchen goes back in the folder. That single edit saves more money than any coupon.
What Paint Actually Does in a Kitchen
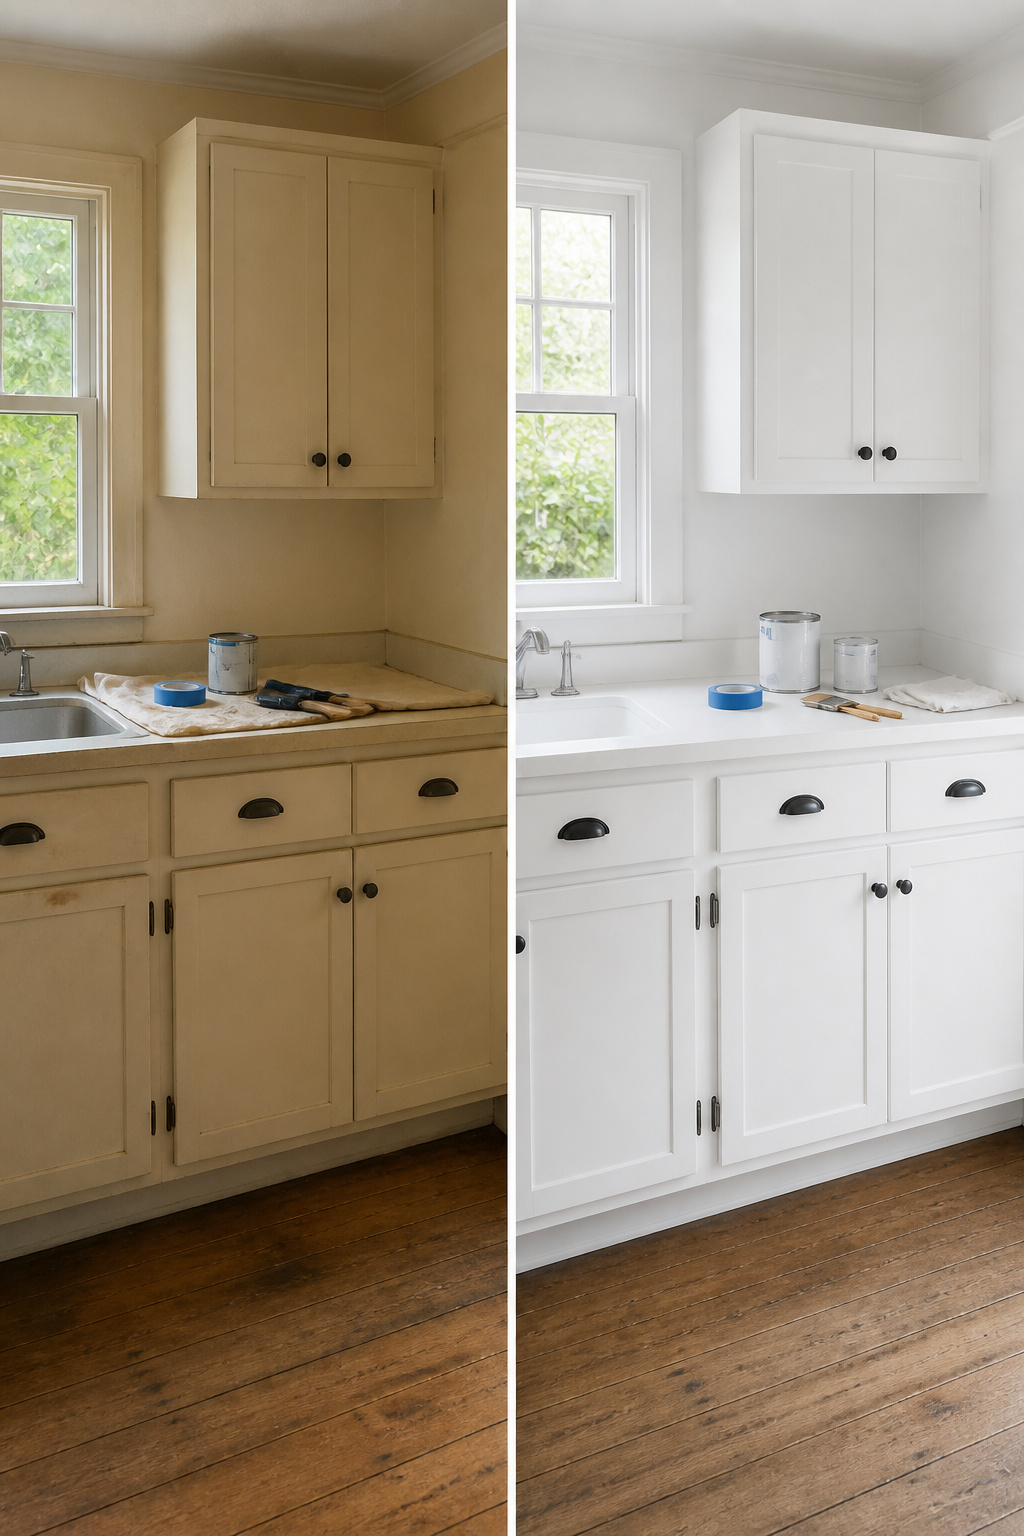
Paint does the heavy lifting in a kitchen refresh because cabinets and walls eat most of the visual space. A gallon of Benjamin Moore’s "Chantilly Lace" on the walls and a crisp white on the cabinets can make a dated room feel like a deliberate choice rather than a leftover from the previous owner. The catch is that prep takes longer than the painting itself, and skipping it is where the project falls apart.
Oil-based paint on cabinets holds up, but milk paint has become the forgiving alternative for people doing it themselves. The finish hides brush marks and, in one comparison, proved just as durable as the professional oil job that ran about $1,200. For walls, satin enamels in bright white bounce light around a room that might only have one window.
The real work happens before the first coat. Grease and oil soak into cabinet wood over years, so a stain blocker is non-negotiable on older kitchens, and a primer on top of that saves you from watching dark wood bleed through your light color. Dark-to-light is the riskiest leap, which is why the prep gets the attention it does.
Frequently Asked Questions
How can I remodel my kitchen on a budget?
A full DIY kitchen remodel runs about $10,000 to $15,000, compared to $20,000 to $50,000 for a contractor. Focus on cabinets, countertops, and flooring first, since those are what you see and touch daily. Set aside 10 to 20 percent on top of your total as a contingency; surprises like water damage behind the sink or an outlet that needs moving find you no matter how carefully you planned.
What are some easy DIY kitchen projects?
Painting cabinets, updating hardware, and replacing the backsplash are the most approachable starting points. Swapping cabinet hardware takes about two hours and reframes the whole kitchen even though the boxes underneath stay the same. A new backsplash ranks high on impact because the visible surface-to-cost ratio is strong; it reads as full renovation even when cabinets and counters stay put.
What is the best way to update kitchen cabinets?
Painting them with Benjamin Moore Advance changes the entire room fastest, since cabinets eat most of the visual space at eye level. Prep takes longer than the painting itself: doors come off, hinges get labeled, and every surface needs sanding past the gloss. New hardware is the quicker route; just measure your existing holes before ordering so you do not end up drilling new ones that miss the mark.
How do I choose a backsplash for my kitchen?
Glass subway tile catches light differently than ceramic and the grout color shifts how the tile itself reads, so plan your grout choice before you buy. For less than $400 in materials you can cover the typical run between counter and cabinet. Peel-and-stick vinyl works as a fallback in low-splash zones, but behind a stove it is a short-term fix.
What are some popular countertop materials?
Quartz delivers solid color without granite’s pattern variation, giving a clean, modern surface. Caesarstone’s Raven in dark gray against white cabinets, or Misty Carrera marble-look white on an island, are two pairings that work in real kitchens. A full DIY replacement of cabinets plus countertops runs about 1-2 weeks and lands in the $2,000-$5,000 range, versus $6,000-$8,000 contracted.





