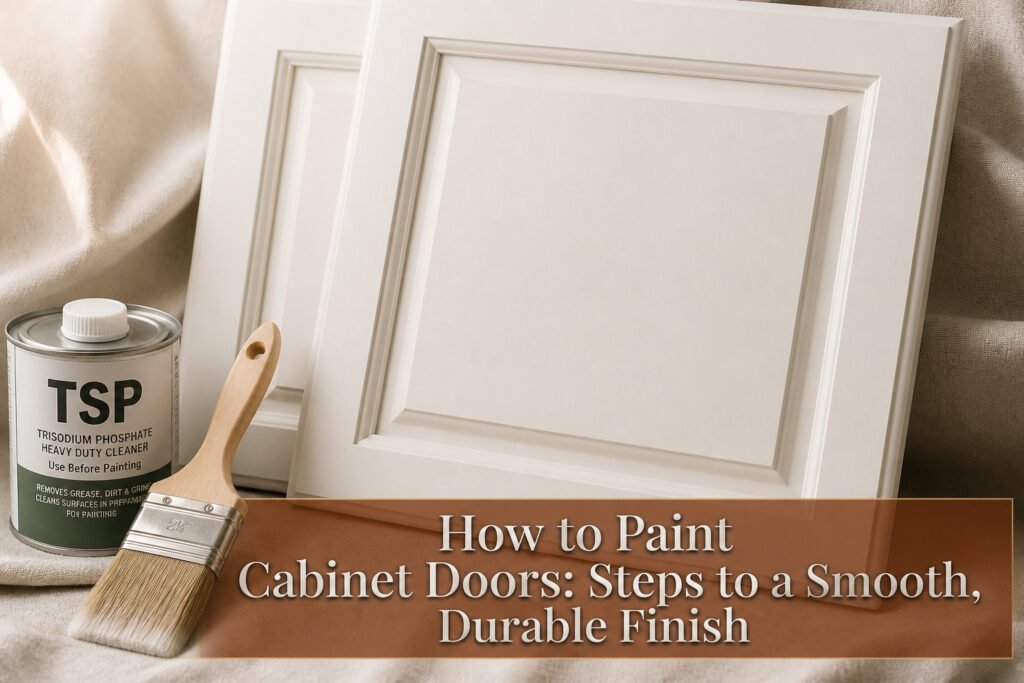
A factory-smooth cabinet finish takes two full days of drying between coats and the patience to sand twice, but most failed jobs trace back to a single shortcut: painting over grease that looks clean. TSP cuts through the residue standard cleaners miss, and primer on damp wood is primer you will be sanding off again.
1. Remove and Label Everything

Raffle tickets are the cheapest insurance policy in this whole job. I tape one half to the back edge of a door, the matching half to the inside of the cabinet frame right where the hinge sat, and suddenly every slab has a home address. The number of doors that look identical until they do not is every door.
Hinges and handles go into labeled sandwich bags, one per door if you are reusing the old hardware. Flat painting surfaces are what separate a cabinet job from a fence job; doors lying horizontal let gravity work with the finish instead of against it. Sherwin-Williams warns that paint buildup on door edges will eventually stop a door from closing clean, and that is the kind of functional detail you notice six months later when the kitchen starts clicking every morning.
A cleaner degreaser comes next, and TSP is the one that actually cuts through kitchen grease. The oil that collects near stoves and handles is invisible until you try to paint over it, and then it telegraphs through every layer. Wipe it twice if the rag still picks up yellow. Let the surface dry overnight before you sand; primer on damp wood is primer you will be sanding off again.
2. Sand to 220 Grit

The first time I skipped sanding, the primer beaded like water on waxed linoleum. Two coats later I could scratch the finish off with a fingernail. 150 to 220 grit is the range that actually scuffs the surface without chewing through it, and that mechanical roughness is what gives the primer something to grip.
Hand sanding works fine for a single door or a small bathroom vanity. A palm sander saves twenty minutes per side on a full kitchen, and the uniformity matters more than the speed. The motion should be light enough that you are not removing the old finish, only dulling the shine. Every surface that will take paint needs the same treatment: face, back, and all four edges.
Dust removal after is not a quick wipe with the back of your hand. A tack cloth picks up what a dry rag pushes around. I have also used a vacuum with a brush attachment followed by a barely damp microfiber, but the tack cloth leaves nothing to chance. Any particle left behind becomes a bump in the final coat.
Proper sanding ensures primer adhesion. Sanding cabinet doors will scuff the surface, opening the wood’s pores to better absorb primer.
That pore detail matters: primer sitting on top of sealed wood skins off, primer drawn into opened grain locks down. The 220 grit finish is smooth enough that your topcoat will level, rough enough that it will not slide.
3. Prime with Zinsser or Benjamin Moore

A coat of primer is non-negotiable on laminate or stained wood, and the product name that keeps surfacing is Zinsser Bulls Eye 1-2-3. For doors with old knots, water stains, or that dried-out desert look, Zinsser BIN Advanced Shellac primer blocks bleed-through better than anything else I have seen recommended, and it is dry enough to flip in about 45 minutes.
Oil-based primer still has its defenders for cabinet work, even though the cleanup means mineral spirits and the smell means open windows. My own read of the split is this: if the surface is already clean and you are not fighting stains, Bulls Eye 1-2-3 saves you the headache. If you are painting over wood with dark knots or old damage, BIN Advanced is worth the extra step.
Cabinet doors are the slow part because both sides need their own window. I have read of people using Solo cups to prop the wet face up while the back dries; the key is keeping the edge off the ground so you do not fuse the door to your drop cloth. Let the primer cure fully before you sand it, or you will gum up your paper and start over.
4. Sand the Primer Smooth

Primer dries with a slight nap that telegraphs straight through cabinet paint if you skip the next step. After my first kitchen job, I learned to sand the primer smooth before the color coat goes on.
The dry time matters more than the can advertises. Sherwin-Williams calls for a full day; KILZ 3 Premium claims one hour in decent airflow. Benjamin Moore splits the difference at an hour but adds the sensible warning about drips pooling in corners and along seams. Those ridges need attention, not just the broad flat faces.
I use 220-grit, same as the first sanding, but the pressure changes. This pass is a skim, not a strip. The goal is knocking down the fuzzy surface the primer left behind, not cutting back to bare wood. A sanding block keeps the pressure even; fingertips round over edges without meaning to.
Wipe-down order counts. Damp cloth first, then let it dry. Tack cloth works too, though on a humid afternoon the damp rag wins for grabbing the fine dust without leaving residue behind. The surface should feel dull and uniform under your palm, not slick or gritty. That hand-check is the test I trust more than looking.
5. Brush Edges, Roll the Flat

The first coat goes on with a brush in one hand and a roller in the other. Benjamin Moore Advance handles edges and recessed panels; a nylon/polyester brush lays it into the corners without fighting the paint. Flat surfaces take a microfibre roller, which keeps the finish even and avoids the texture a brush leaves on broad areas.
Sherwin-Williams pitches Emerald Urethane Trim Enamel for the same job, and it levels out well enough that overlapping brush marks mostly disappear if you catch them while wet. Their pairing is a Purdy Clearcut Dale brush with a WhiteDove roller, which tells you the tool matters as much as the paint.
I work the detailed areas first, then roll the flats before the brushed sections skin over. The door stays flat on the bench the whole time; flipping it too early is how fingerprints get baked into a cabinet door forever. One coat is never the end, so let it dry fully before deciding whether it needs another.
6. Second Coat After Dry

A second coat applied too early traps solvent underneath, and the surface will gum up or wrinkle by morning. The first coat needs to go fully dry to the touch, which runs longer than the label’s recoat window if your garage is humid or below 65 degrees. Sherwin-Williams puts the first-coat wait at 24 to 48 hours; Benjamin Moore wants it completely dry before you proceed. In my reading, the split is instructive: the shorter end works in dry climates with fast-cure alkyd formulas, while 48 hours is the safer call for waterborne cabinet paints on a damp weekend.
The second coat goes on with the same tools as the first: microfibre roller across the flat panels, brush at the edges and inside profiles. Pressure stays light; the surface has enough build already that heavy loading risks runs in the corners. I would not sand between coats unless you picked up dust nibs or a stray hair, in which case a 400 to 600 grit sponge knocks them flat without cutting through to the first layer.
Cure time is the number that gets skipped. Jenna Sue Design notes five to seven days before reinstalling doors, with full hardness at thirty days. That means hardware back on at the week mark, but no slamming or scrubbing until the month is out.
7. Wait 24 to 72 Hours Before Reinstalling

Paint feels dry long before it has finished curing. The surface loses its tack within hours, but the film underneath is still softening and bonding to the primer beneath it. 24 hours is the minimum wait before reinstalling cabinet doors, though two or three days is the safer bet for a kitchen that actually gets used. Full hardness and adhesion keep developing even after that, so holding off on heavy cleaning or scrubbing for five to seven days helps the finish reach its full durability. I like to lean toward the longer end of the range, especially on doors that will see daily handling around the pulls and edges. The extra patience pays off in fewer dings and less risk of the doors sticking to their frames when you close them that first week.
Enamel, Acrylic, Chalk or Cabinet-Specific Paint

Enamel paint is what you want if the cabinets see daily abuse. Hickam, the Sherwin-Williams color expert, put it plainly: it holds up to wear and tear, or "abuse, depending on how many kids you have." Oil-based enamel dries harder and more moisture-resistant than the alternatives, though cleanup demands mineral spirits and spills are unforgiving. Sherwin-Williams Emerald Enamel and Benjamin Moore Advanced are the two names that kept coming up as cabinet-grade options worth the shelf space.
Acrylic latex is the easier path. Soap-and-water cleanup, less odor, faster dry time. The tradeoff is durability, Culp was direct that latex "does not dry hard enough" for this job.
Chalk paint gives a matte, vintage look but needs a separate topcoat to survive kitchen duty. That extra step erases most of the "simple" appeal.
Then there are the cabinet-specific formulas, like the Magnolia Home by Joanna Gaines line. These are built to self-level and flow out smooth on flat panel surfaces, which matters more on doors than on walls.
| Paint type | Durability | Ease of use | Best for |
|---|---|---|---|
| Oil-based enamel | Highest | Lower | High-traffic kitchens |
| Acrylic latex | Moderate | Highest | Quick refresh, low-fume priority |
| Chalk paint | Low (without sealant) | Moderate | Matte, distressed look |
| Cabinet-specific | High | Moderate | Smooth, factory-like finish |
I would skip standard wall latex and chalk paint unless you are sealing aggressively or touching up a guest bath that barely gets used. For a kitchen that actually gets cooked in, enamel or a dedicated cabinet paint is where the money goes.
What I Actually Buy

I learned the hard way that cheap supplies turn a Saturday project into a Sunday do-over. This is what actually lives in my cart now.
- Zinsser Bulls Eye 1-2-3 primer for the bond. Solvent-based BIN exists, but the water-based 1-2-3 handles kitchen grease without the fumes.
- 150-grit to 220-grit sandpaper for the first pass. I stop at 220; anything higher before primer is just extra work.
- TSP or heavy-duty degreaser. Paint over cooking residue and you’ll be scraping chips by fall.
- Enamel paint: Benjamin Moore Advance or Sherwin-Williams Emerald Urethane Trim Enamel. The Advance levels out like oil but cleans with soap and water. The Emerald Urethane takes the beating my kids dish out.
- A quality brush and a foam roller. The brush cuts in the edges; the roller lays down the flat fields without the stipple a nap roller leaves behind.
- A screwdriver for pulling hardware. I skip the drill here; stripped screws in soft cabinet wood are a headache I don’t need.
- Labels or tape for marking doors. "Upper left" written on painter’s tape beats a guessing game at reassembly.
Liquid Deglosser and Laminate

Some cabinet doors arrive with a factory gloss so slick that paint slides right off, and the quick way around that is a liquid deglosser wiped across the surface. It strips the shine without the dust storm of sanding, which matters when the doors are already hung and the kitchen is still in use. Liquid sandpaper on the boxes, orbital sander with 150-grit paper on the doors and drawers is the split I have seen work best, since the moving parts take the real abuse and need something mechanical to bite into the finish.
Laminate is a different animal entirely. The surface is non-porous, so standard primer can peel like a sunburn. Benjamin Moore’s All Purpose Primer or Zinsser Primer for All Surfaces are formulated for exactly this, and a patch test in a hidden spot will tell you fast whether your combination holds. One designer I trust skips laminate for heavy-use kitchens altogether, and after seeing a pantry door chip at the edge in year two, I understand the hesitation.
Frequently Asked Questions
What type of paint should I use for kitchen cabinets?
Enamel paint is the best choice for kitchen cabinets that see daily use. Oil-based enamel dries hardest and resists moisture best, though waterborne formulas like Benjamin Moore Advance clean up with soap and water while still holding up to wear. Standard acrylic latex does not dry hard enough for this job, and chalk paint needs a separate sealant to survive kitchen duty.
Do I need to sand cabinets before painting?
Yes, sanding is essential for paint that actually sticks. A pass with 150 to 220 grit scuffs the surface without chewing through it, opening the wood’s pores so primer grips mechanically instead of sitting on top like a skin. Skip this step and the primer can bead up or scratch off with a fingernail.
How long does it take for cabinet paint to cure?
Wait at least 24 hours before reinstalling cabinet doors, though 48 to 72 hours is safer for a kitchen that gets real use. The surface feels dry within hours, but the film underneath keeps hardening and bonding to the primer. Full cure takes five to seven days for light handling and about thirty days before the finish reaches maximum hardness.





