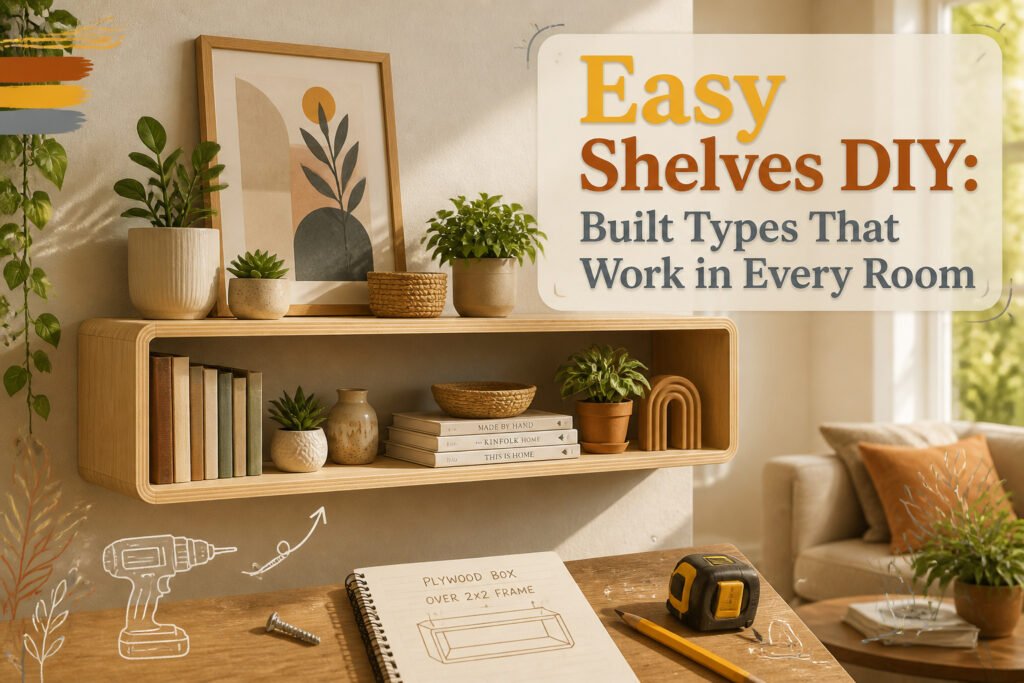
Built-in shelves do not need a carpenter. The floating shelf that looks most like something you bought is a plywood box slipped over a 2×2 frame, and it costs more in patience than in lumber. The trick is the thing that comes after the build: one screw through the box into the frame top, the step everyone skips until the shelf slides forward when you dust.
1. Basic Floating Shelf
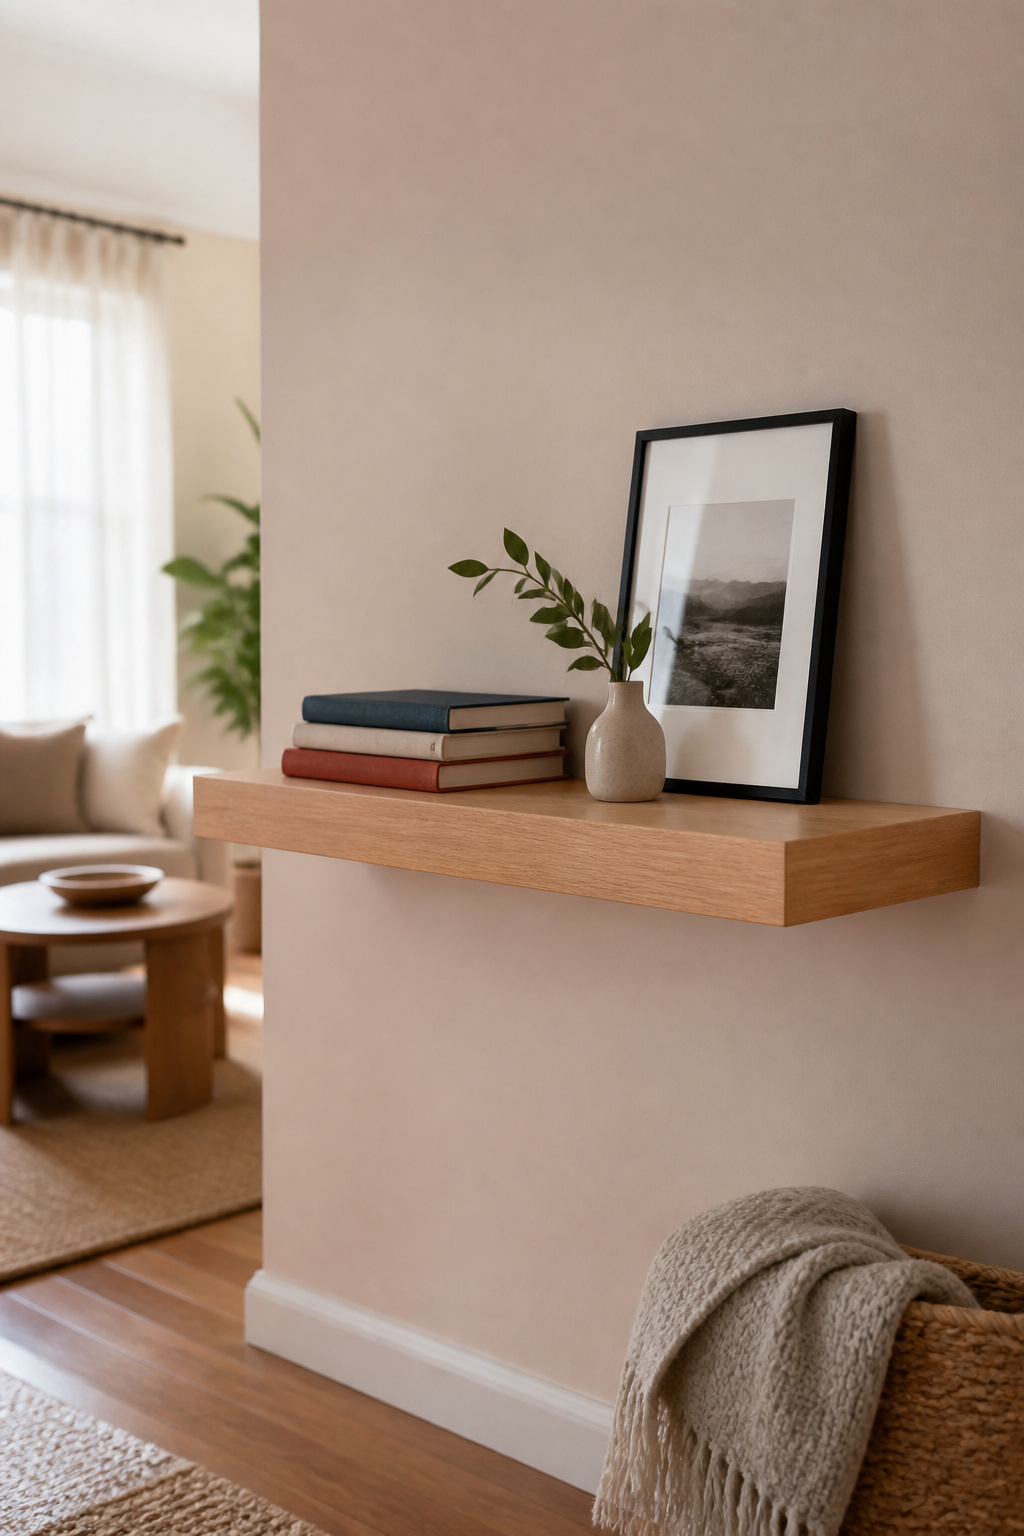
A floating shelf built from plywood and 2×2 and 1×3 boards hides its hardware completely, which is why the style still reads as clean even in a room full of clutter. The box slides over a frame screwed to the wall, so the shelf appears to hover without brackets. 2 1/2 inches thick by 6 3/4 inches deep by 30 inches long is the size I keep coming back to; it holds a small stack of books or a framed photo without dominating the wall.
The frame is the part that carries everything. Plywood works for the box, but the skeleton needs to cross at least two studs or the whole thing pulls out under load. For 16 inches on-center studs, plan the shelf at least 17 inches long. For 24 inches on-center, make it at least 25. I have seen shorter shelves fail because someone assumed the drywall would help; it will not.
For securing the frame, GRK Rugged Structural screws grip better than standard construction screws in old lumber or studs that have dried out. The shelf box slides on afterward, and a couple screws through the back into the top keep it from sliding off. That last step is easy to skip and annoying to forget, since the box will walk forward every time you dust.
2. Garage Shelves
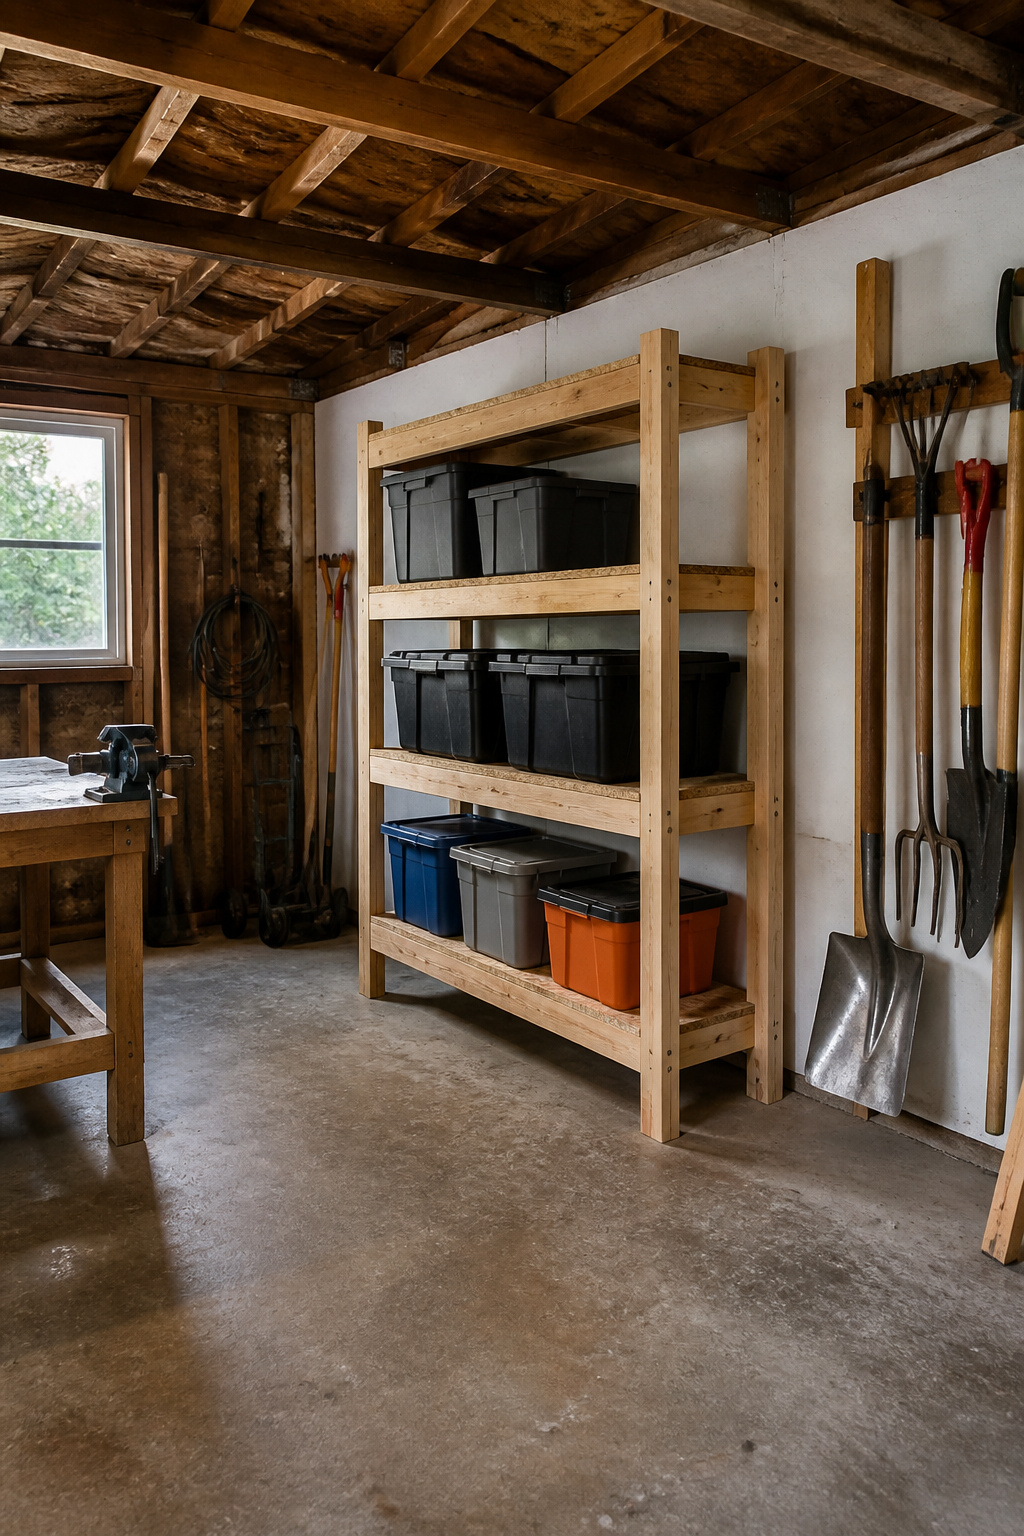
Garage shelving has to earn its keep, and a 2×4 frame with OSB decking does exactly that for under $60. The build I keep coming back to measures 6 feet long, 16 inches deep, and 75.5 inches tall, which leaves enough clearance to pull a car in without clipping the front corners of storage bins. Twelve 2x4s and one sheet of OSB make the whole carcass, with the 16-inch depth chosen specifically because standard stud spacing is 16 inches. That alignment matters if you want the back rail to hit solid wood without a lot of fussy blocking. Some builders prefer deeper shelves for bulky gear, and you can adjust for that, but the shallower depth keeps materials efficient and the footprint predictable. The first time I laid out the studs for one of these, I assumed I could eyeball the spacing and ended up with a rail that landed half on, half off a stud. Lesson learned: mark every 16 inches from a corner and trust the tape measure over the wall’s apparent symmetry.
3. Adjustable Shelves
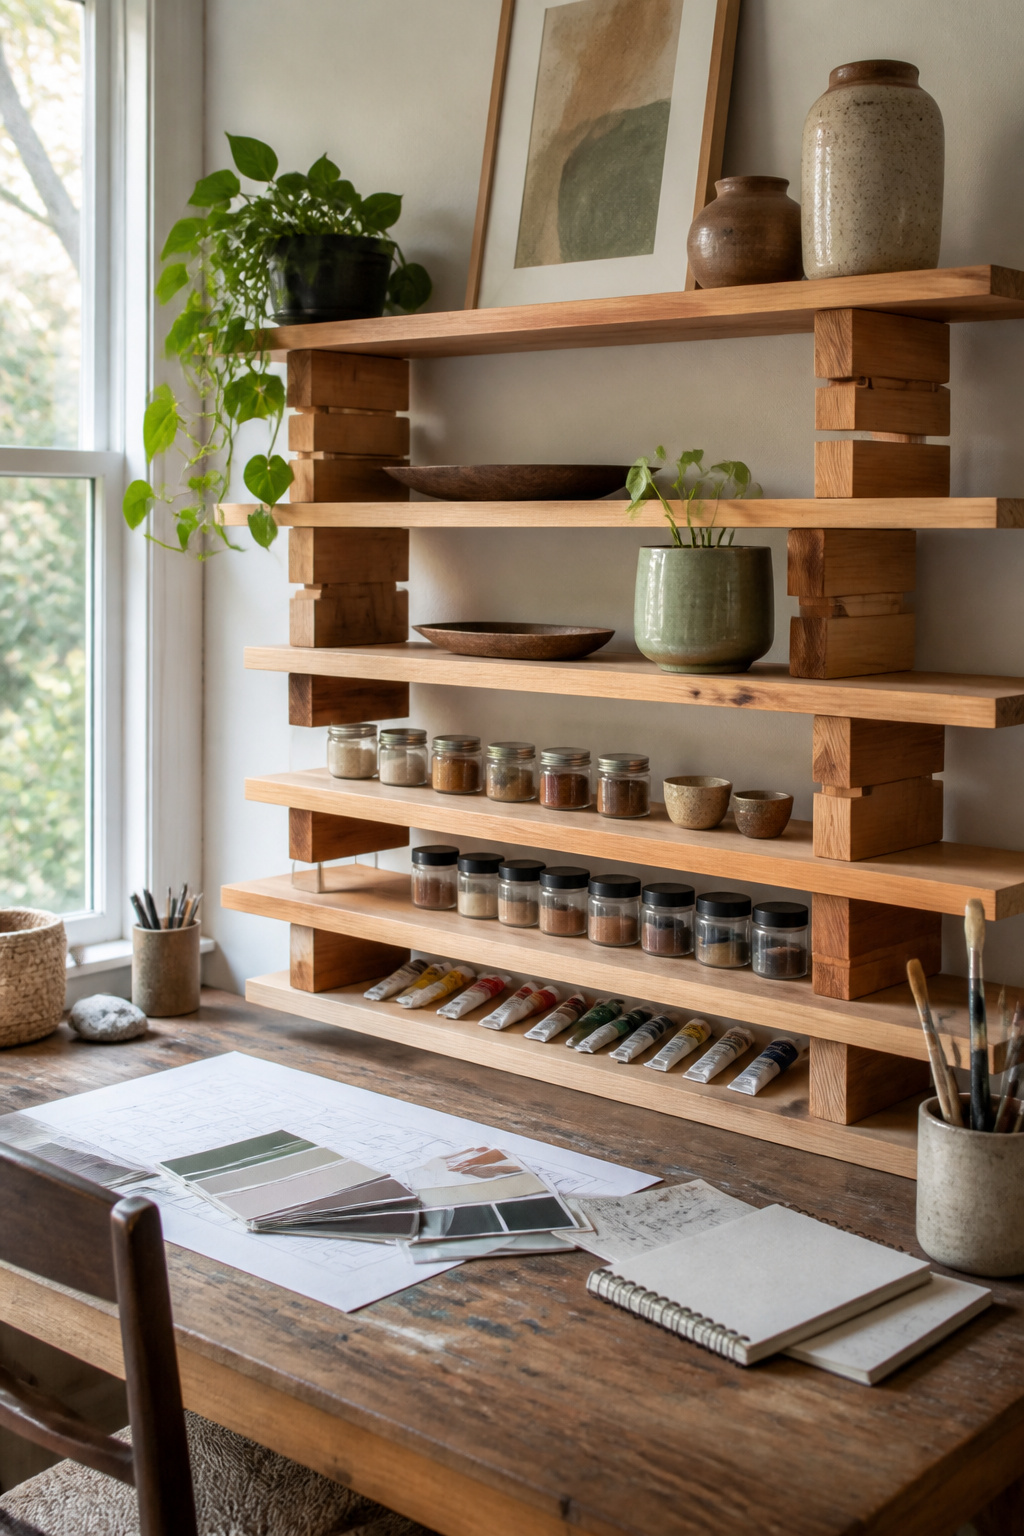
The block-and-plank system is about as close as easy shelves diy gets to furniture with moving parts. Cedar boards rest on wood blocks cut to whatever height you need, and the shelf height changes when you swap in taller or shorter blocks rather than redrilling brackets into the wall. The blocks sit directly on the surface below, each layer holding the next board up, so the whole column is only as stable as the stack itself.
Screwing the planks to the blocks helps, though the original build left them loose for maximum flexibility. A back brace or wall bracket is the smarter move if the load gets heavy or the shelf goes tall. These run shallow, which suits paint cans, spice jars, and the small stuff that otherwise disappears into deep storage.
4. Pallet Shelves
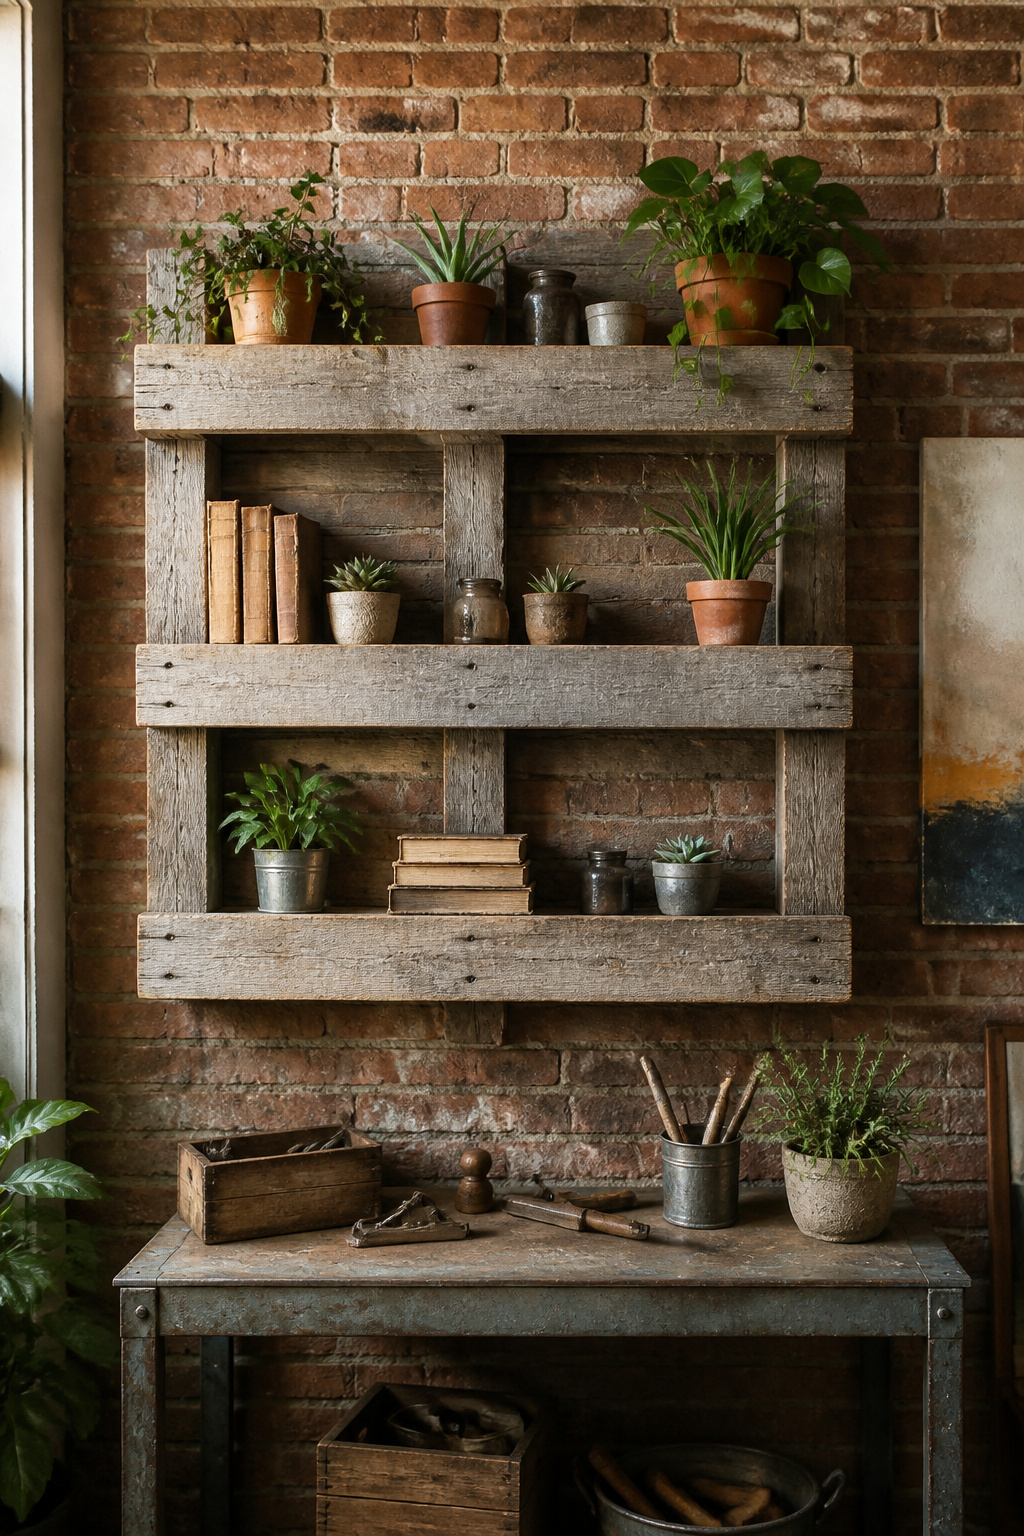
Pallet wood gives you a built-in story: nail holes, weathered gray patches, and saw marks that read as history rather than mistake. The trick is stopping the pallet from collapsing before you turn it into shelves.
Breaking one down safely means cutting the stringers free rather than prying boards off. A reciprocating saw with a demolition blade slips between the top deck and the center support and severs the spiral nails in about thirty seconds per joint. Pry bars bend the thin oak or pine slats and send cracks running. The first pallet I tried to salvage, I pried. Half the boards split lengthwise. Now I cut first and pull leftover nail shanks with pliers afterward.
Not every pallet is worth the effort. HT stamped on the block means heat-treated, safe for indoor use; MB means methyl bromide, and that one stays in the store parking lot. Look for hardwood slats, which ring when you knock them, and avoid the fluffy white pine that dents under a thumbnail. The best pallets come from tile or machinery shipments, heavy enough that the wood has to be dense.
For shelves, two or three slats across a pair of leftover stringers give you a rustic ledge in under an hour. The gaps between boards are part of the look; trying to plane them flat misses the point. A light sanding at 80 grit takes the splinters off without erasing the gray.
5. Industrial Pipe Shelves
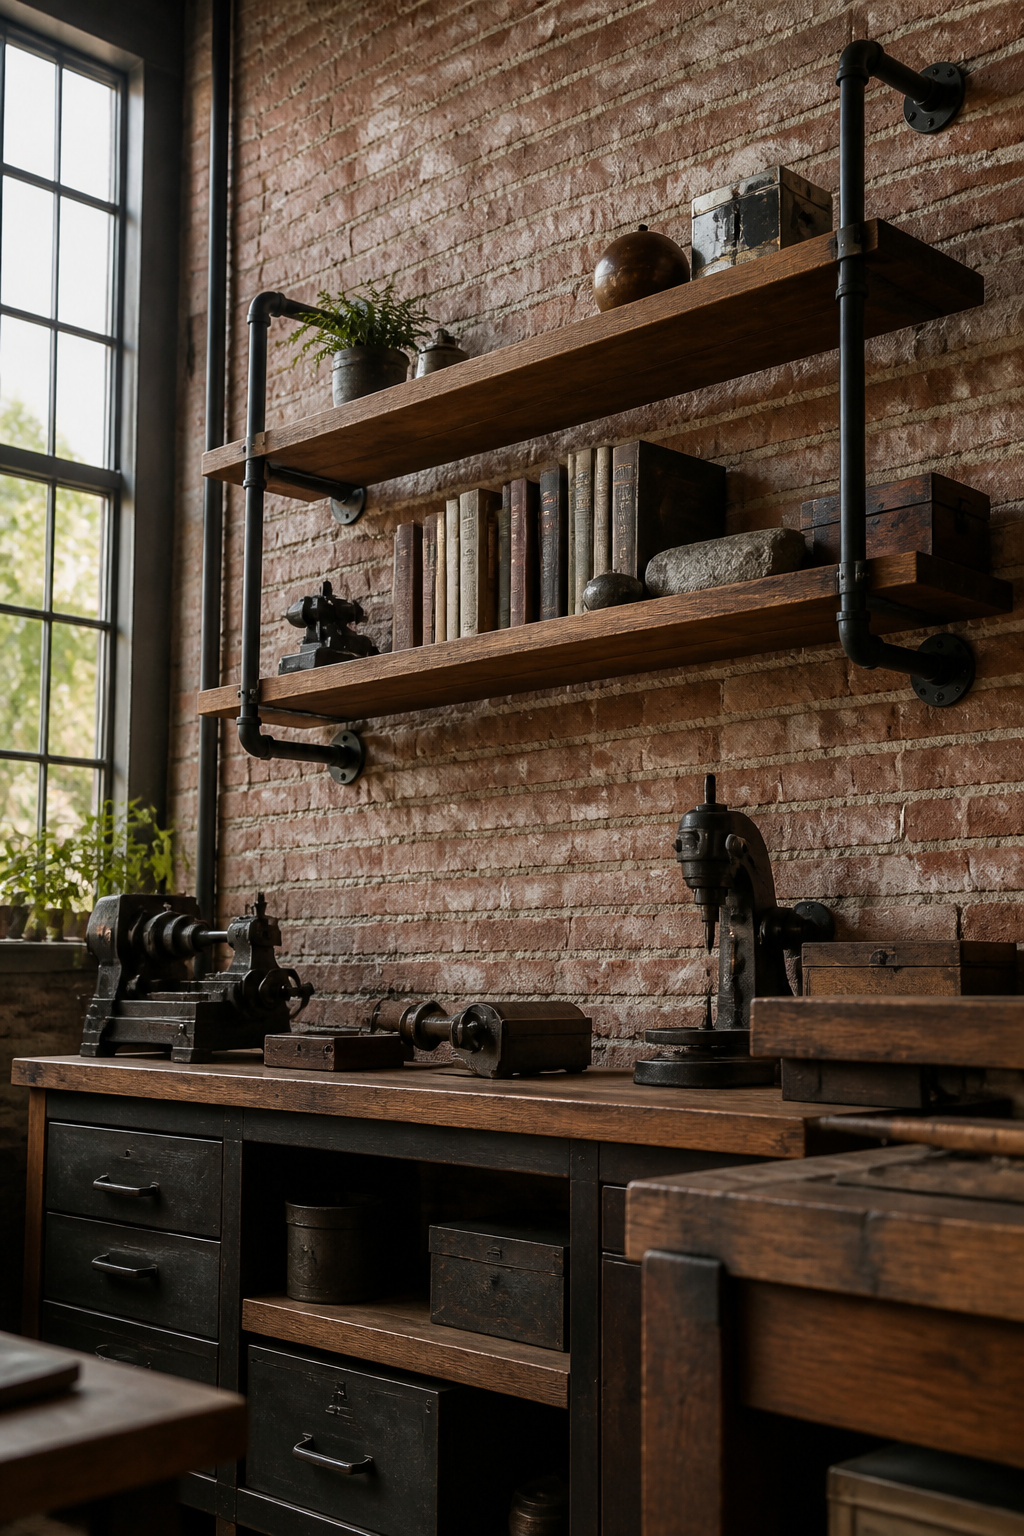
The first time I threaded pipe for a shelf, I assumed the fittings would pull tight on their own. They do not. You want the pipe vise or two pipe wrenches, not one, because the coupling needs to bite while the pipe resists, and a single wrench just spins the whole joint uselessly.
Black iron pipe builds the frame, and the threading lets you screw flanges to the wall, elbows to the corners, and short nipples to whatever length the shelf demands. The flanges carry the weight, so they need to hit studs or carry toggle bolts rated for more load than you think you’ll place. I have seen pipe frames that looked substantial sag because the wall attachment was an afterthought.
The wood planks sit on the horizontal pipes, usually two per shelf, and rest there without fasteners if the span is short enough. For longer runs, a pipe clip or a drilled hole through the plank keeps it from shifting when you pull a book free. The industrial look comes from leaving the pipe as-is or from a quick wire-brush and clear coat if the factory grease bothers you.
Threading your own pipe cuts the cost sharply against buying pre-cut lengths, but most hardware stores will cut and thread to order if you bring the measurements. The error to watch is the depth the pipe sits into each fitting; every threaded joint eats an inch you did not plan for, and a shelf that measures right on paper ends up an inch short in the room.
6. Reclaimed Wood Shelves
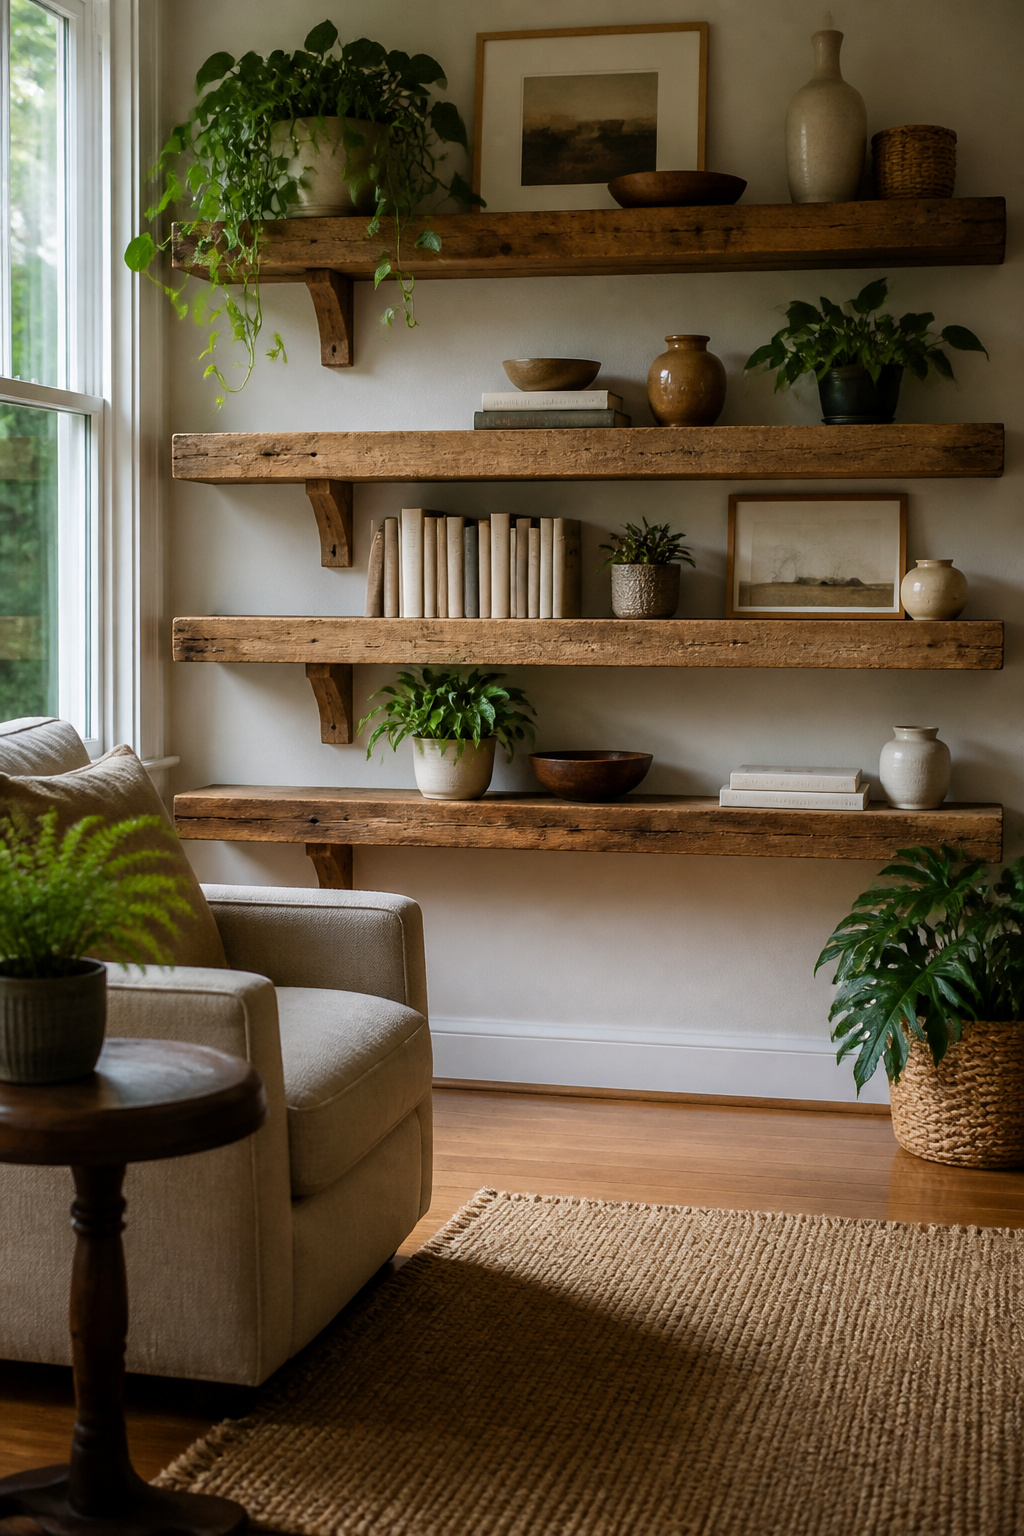
Reclaimed wood carries its own history, which is half the point. Every nail hole, saw mark, and weathered grain pattern tells you this board did something before it became your shelf. That uniqueness is what separates a built-in look from something that actually looks built.
Finding the material takes patience. Old barn wood, demolished fence boards, or pallets destined for the trash work fine, but the cleaning is non-negotiable. A stiff brush and soapy water knock off dirt, then a light sanding removes splinters without erasing the character that made you pick it up. Check for nails with a metal detector or just your eyes and a hammer claw; skipped metal ruins saw blades and router bits fast.
The environmental math is straightforward. A six-foot shelf from reclaimed lumber keeps a tree standing and diverts material from a landfill. The carbon cost of milling, treating, and shipping new lumber drops to zero. What you spend instead is time.
The finish depends on what the wood shows you. A clear oil lets the gray patina stay visible. Paint covers sins on boards too damaged to display. Either way, reclaimed wood shelves work best when you let the imperfections show rather than fight them. The wobble, the crack, the uneven edge: that is what makes it read as intentional rather than amateur.
7. Ladder Shelves
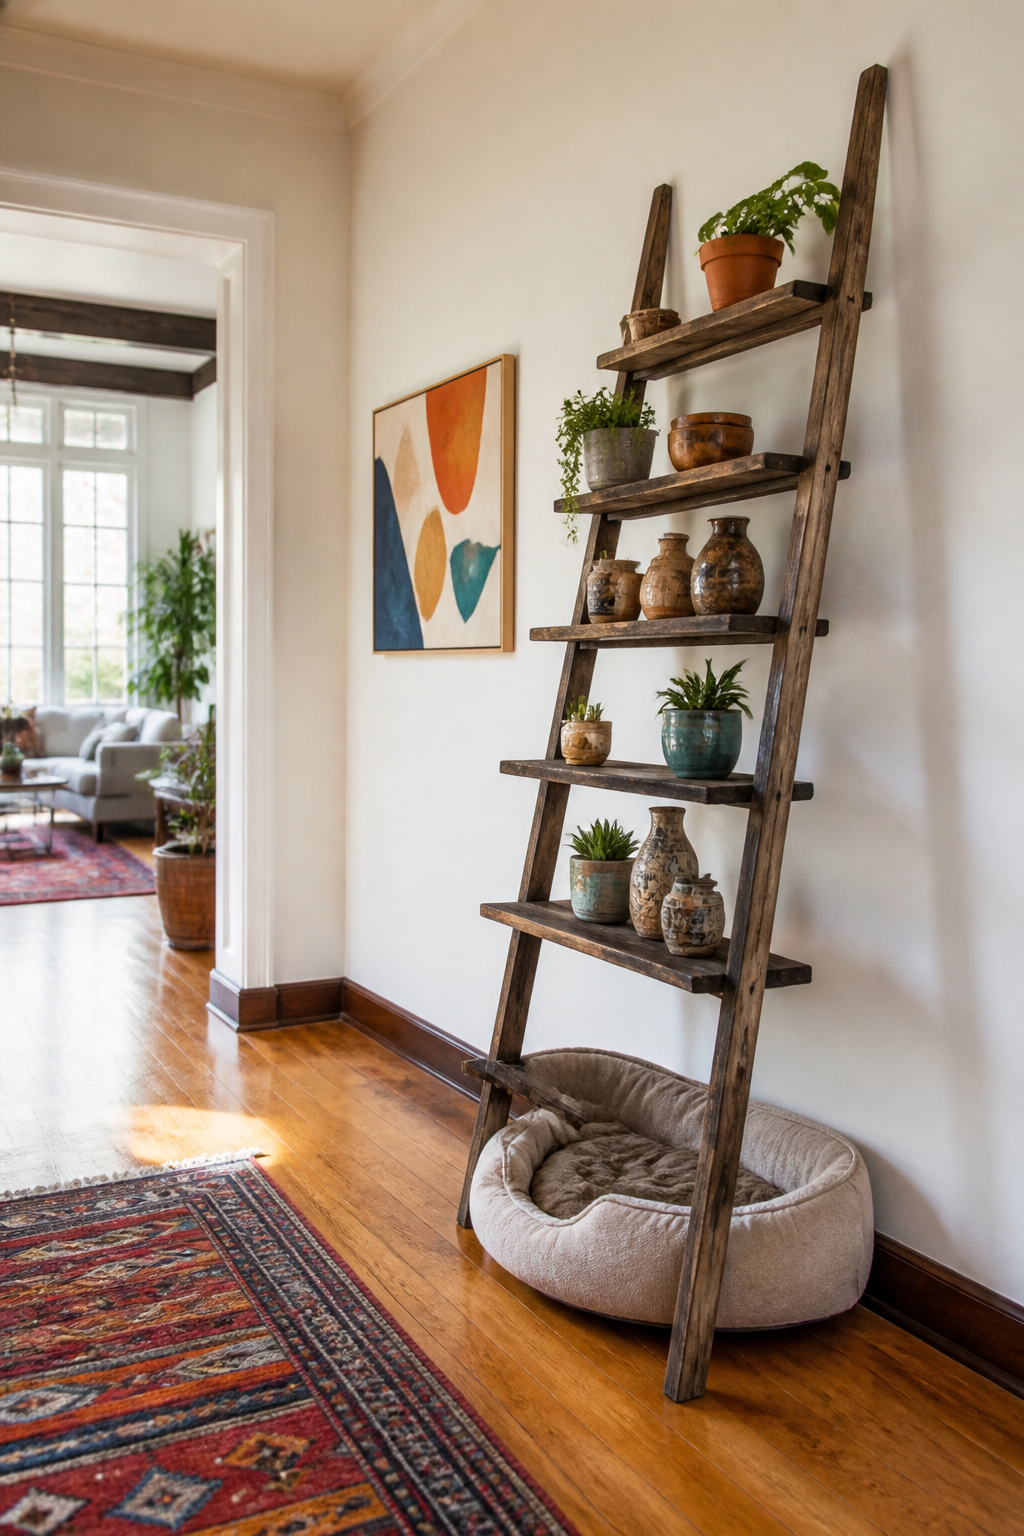
An old ladder left in the garage last spring became the shelf I actually use. The rungs were spaced unevenly, which looked like a flaw until I realized uneven spacing hides the fact that your planks are cut to different lengths.
Stability comes first. A ladder wants to fold or rock, so I screwed the hinges open with a short length of chain between the front legs, then added rubber furniture pads where the back rails touch the wall. That stopped the swaying without drilling into drywall.
Planks across the rungs need to sit level. I used 1×6 pine, nothing fancy, and let each end overhang by about two inches so objects don’t slide off at the rail. The lowest rung took the longest board for heavier items; the top rung got a short one for a single plant. I did not attach the planks permanently. Gravity holds them fine, and removing them lets the ladder fold flat if I ever move it.
Placement matters more than finish. Mine lives in a narrow hallway where a bookcase would stick out too far. The angle of the legs leaves floor space open underneath, which is where the dog bed went. Bathrooms work too, though humidity will eventually loosen the rung joints if the ladder is old pine rather than hardwood.
8. Wall-Mounted Shelves
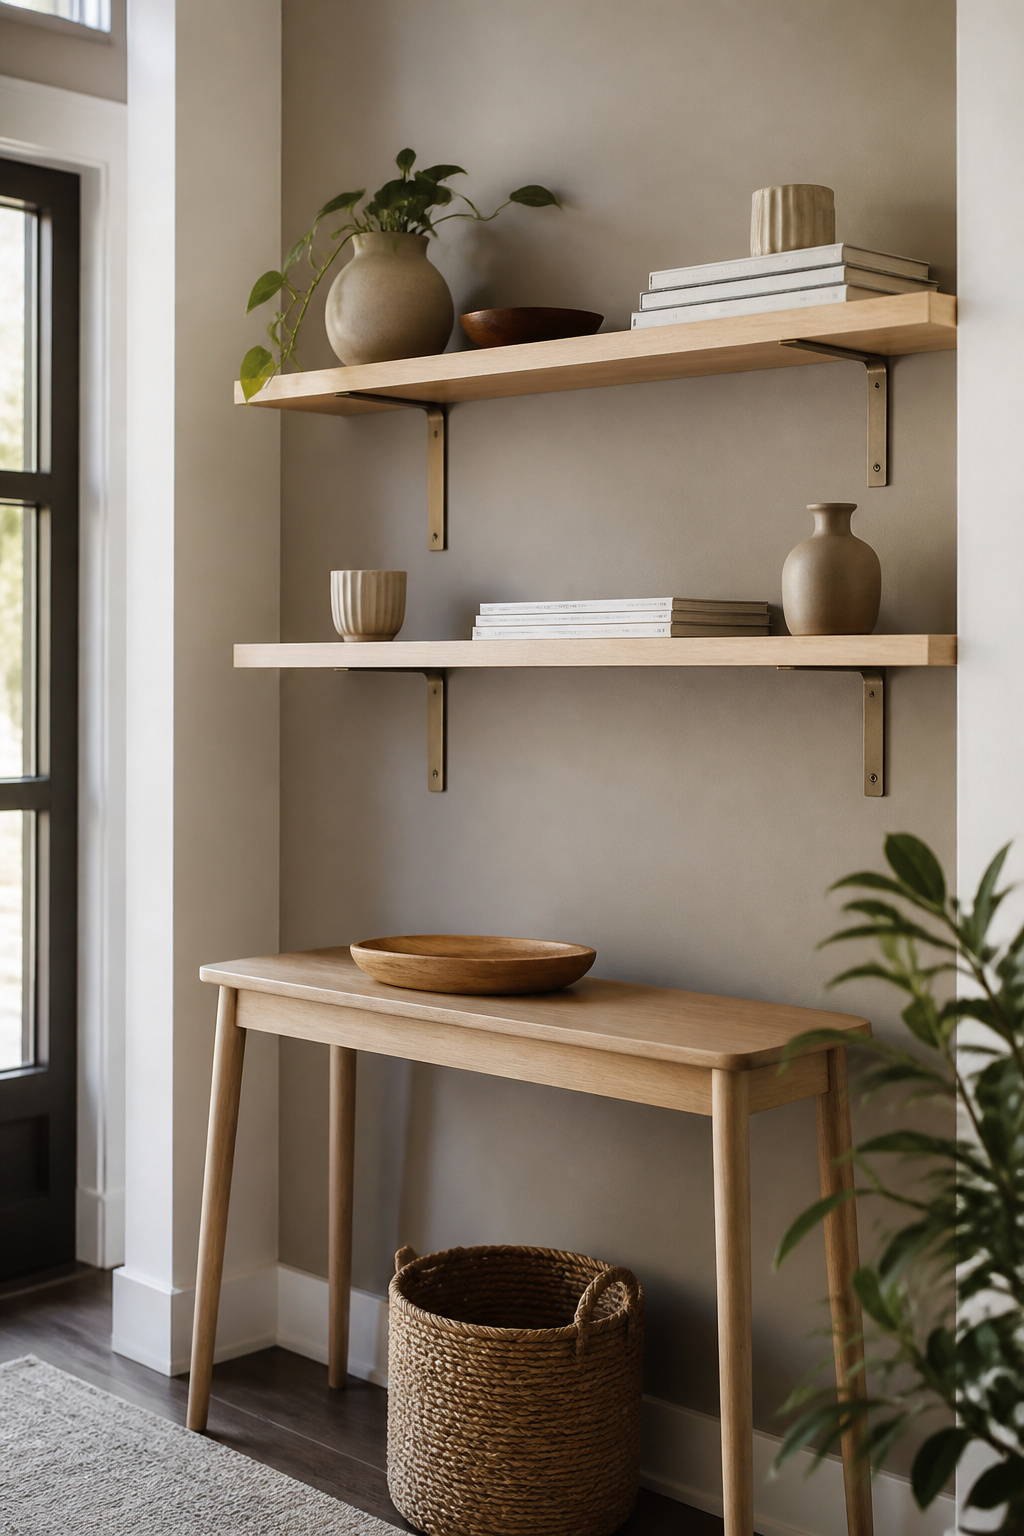
Wall-mounted shelves solve the tight-space problem by moving storage off the floor entirely. The bracket choice matters more than most people think; a bracket rated for 50 pounds looks identical to one rated for 200, so the number stamped on the package is worth reading twice. For drywall without a stud in the right spot, anchors work, but the shelf strength depends entirely on anchor quality. The better move is finding the stud: standard spacing is 16 inches on center in most US homes, so a shelf needs to span at least 17 inches to catch two. I prefer structural screws over lag bolts for this; the GRK RSS line draws the board tight with its built-in washer and rarely strips out, which matters when you’re working one-handed on a ladder. Material thickness adds up fast in small rooms. A 2½-inch thick shelf reads as heavy even at 30 inches long, while a ¾-inch plywood shelf with a front edge strip looks half the bulk and holds just as much. Keep the depth under 12 inches unless you’re storing something specific that demands it; anything deeper catches dust and blocks walkways in narrow halls or apartment entries.
What You Need Before Starting
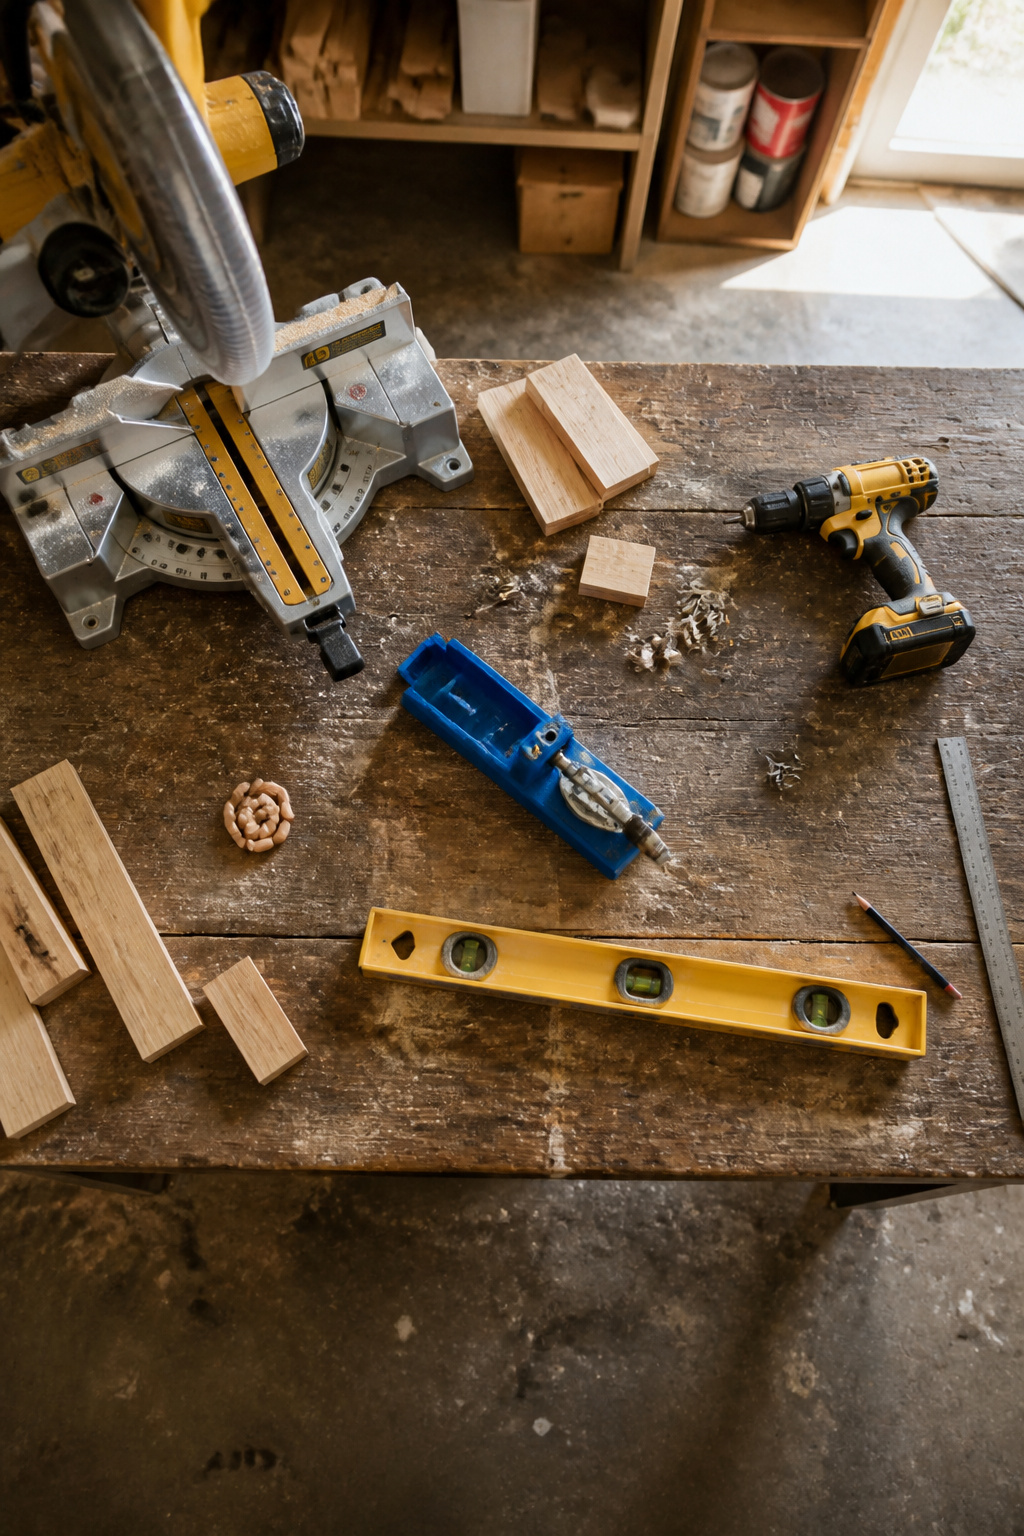
A miter saw, drill, and level cover the actual work of building easy shelves diy projects. The miter saw handles the straight cuts on 2×4 boards and 1×3 trim; a circular saw or table saw works too, though the miter saw keeps your ends square without fussing with a guide. The drill drives the structural screws; a drill-driver or impact driver both get there. The level keeps the shelf from the tilting-cookbook effect that wastes a whole afternoon.
Two tools sit on the border of necessary. A pocket hole jig shows up in almost every set of plans, and it does make joints cleaner. A brad nailer or finish nailer speeds up the trim and backing, but hand-nailing with 1¼" finish nails or 2½" pocket hole screws works fine for a first build. Clamps help more than most beginners expect; holding a joint square while you drive the first screw is the difference between a shelf that looks built and one that looks stacked.
The stud finder earns its place when you mount anything that holds weight. A long level helps here too. Plywood or MDF scraps work for the shelf surface if you are building from what is on hand; ½" plywood is the thickness most plans call out.
Sizing Shelves to Your Space
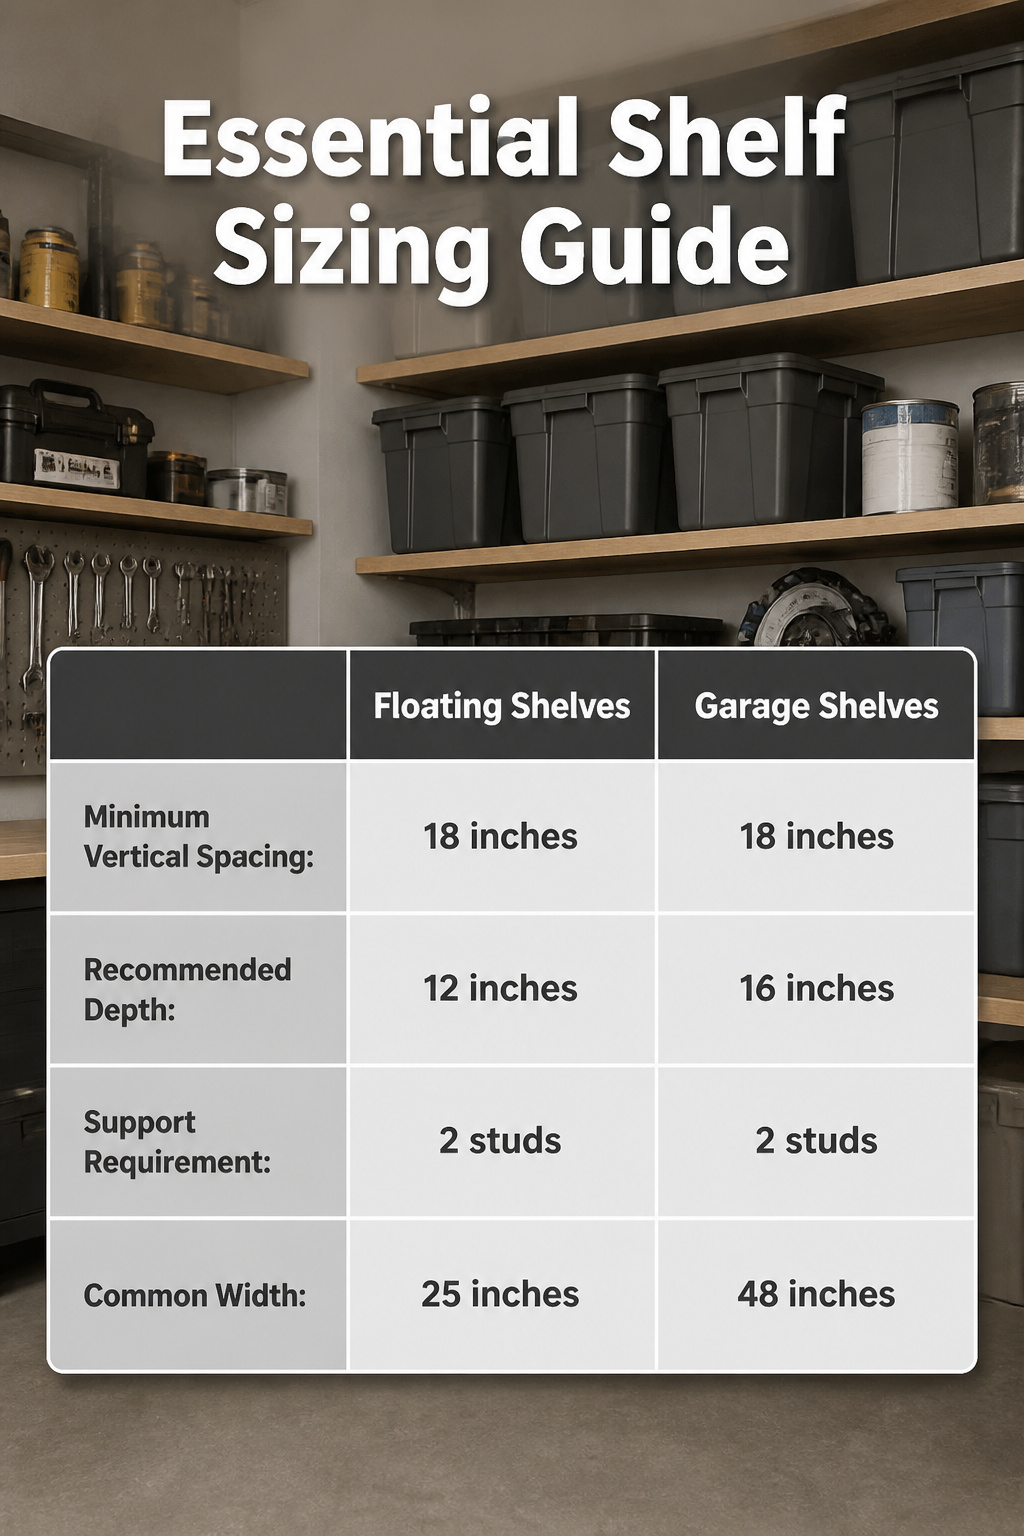
A tape measure and ten minutes of honest math will save you from the shelf that looks right but fits nothing. I start with the tallest thing I know I am storing, add two inches for the fingers that have to lift it, and that is my minimum vertical spacing. Plastic storage totes, paint cans, wet saws, whatever lives in that spot gets measured before a single board is cut.
Depth follows the same rule. Sixteen inches lands right for garage sidewalls when you still need room to pull a car in past the totes. Twelve inches or under keeps a floating shelf from tearing out of the wall under its own leverage. The shelf must cross at least two studs, so 17 inches for standard 16-inch centers, 25 inches for 24-inch centers, and nothing shorter unless you enjoy watching your work hit the floor.
The eight shelf types in this article all bend to these numbers. Wider, narrower, taller, shallower: the cuts change, the joinery does not. I keep a running note on my phone with the three dimensions that matter for each room, because the scrap 2×4 in my garage does not care what the Pinterest pin looked like.
What Building Your Own Actually Costs
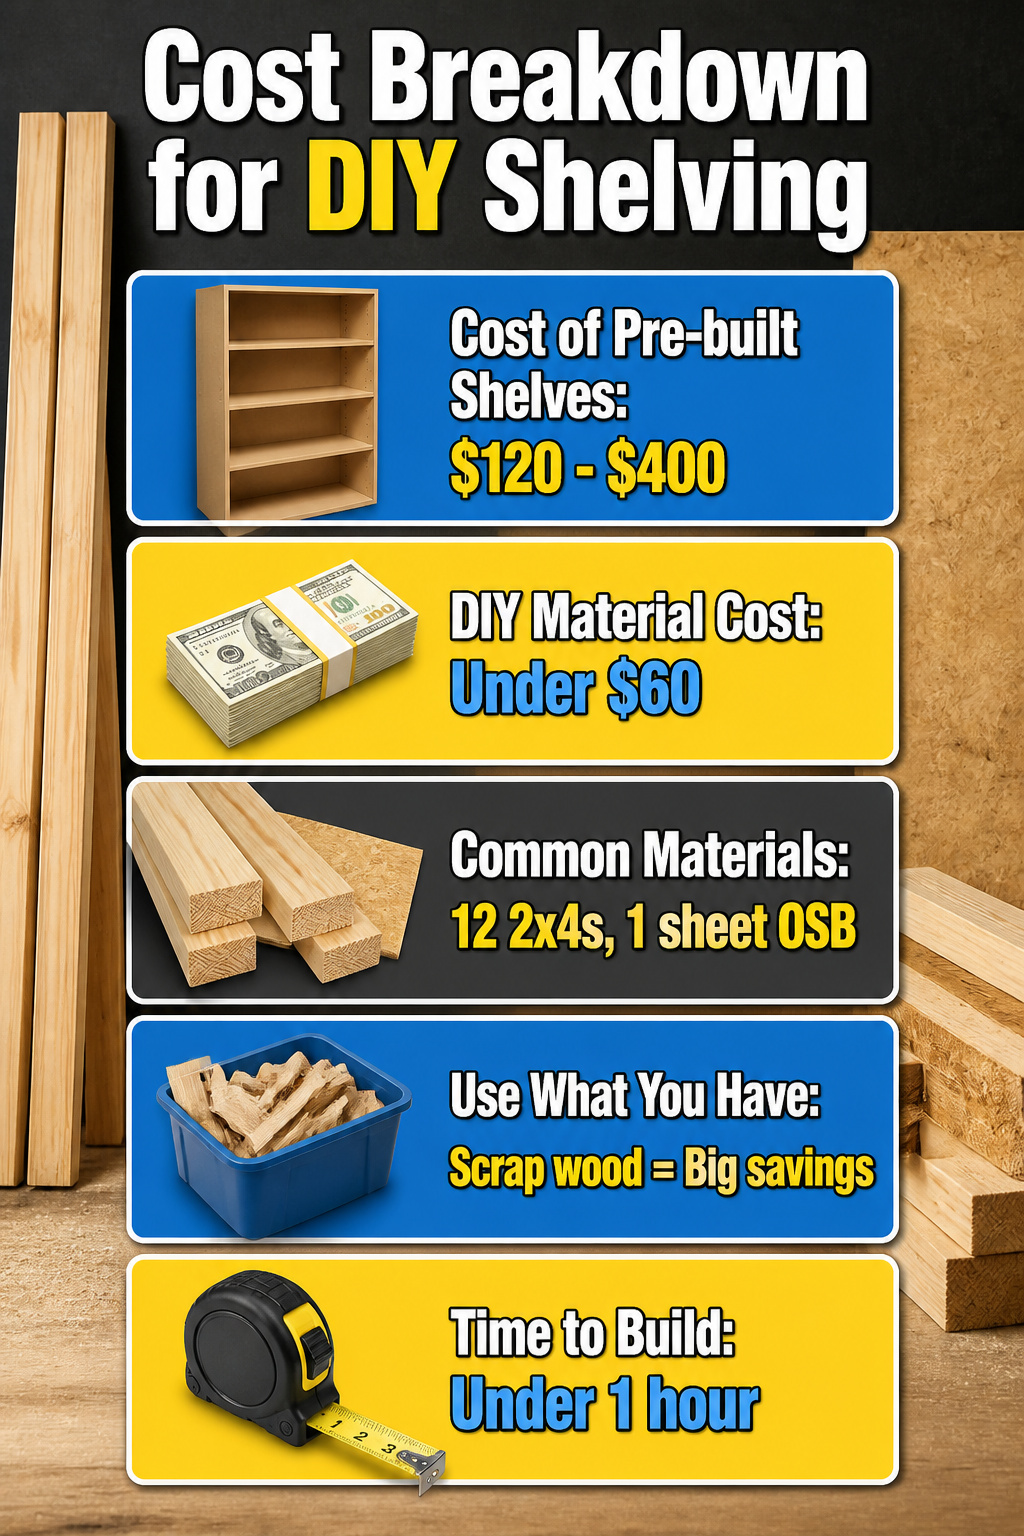
Pre-built shelving runs anywhere from $120 for a basic particleboard unit to $400 once you start looking at anything with real wood or decent depth. Building your own drops that figure fast. A full set of garage shelves, six feet long and sixteen inches deep, costs under $60 in materials: twelve 2x4s and one sheet of OSB. That leaves room in the budget for a second coat of paint or a better grade of plywood if the storage space sees moisture.
The real savings come from what you already have. Scrap 2x2s, leftover 1x3s, or a half-sheet of plywood from a past project turn an afternoon build into a near-zero-cost afternoon build. I have watched a small shelf come together from forty-eight inches of 2×2 and a scrap of half-inch plywood in under an hour. Time has value too, of course. If your scrap pile is empty and your Saturday is already full, a flat-pack unit from the store is not a bad call.
Frequently Asked Questions
Are floating shelves easy to put up?
Yes. A single builder can frame, slide on the box, and secure it within a couple hours. The trickiest part is balancing the frame while driving that first screw into the stud; after that, leveling and adding the remaining screws goes fast. The article notes the whole job is straightforward enough to do alone.
Do you need studs to attach shelves to the wall?
Hitting studs is the best bet for any shelf that will carry real weight. The article specifies that a floating shelf frame must cross at least two studs, which means 17 inches minimum for standard 16-inch centers or 25 inches for 24-inch centers. Anchors can work, but the shelf’s stability depends entirely on anchor quality, and drywall alone will not help.
How do you measure for floating shelves?
Start with the span needed to catch two studs, then add the depth and thickness that fit your wall and your stuff. The article’s go-to size is 2 1/2 inches thick by 6 3/4 inches deep by 30 inches long, which holds books or framed photos without dominating the room. For any wall-mounted shelf, keep depth under 12 inches unless you are storing something specific that demands more; anything deeper catches dust and blocks narrow walkways.





