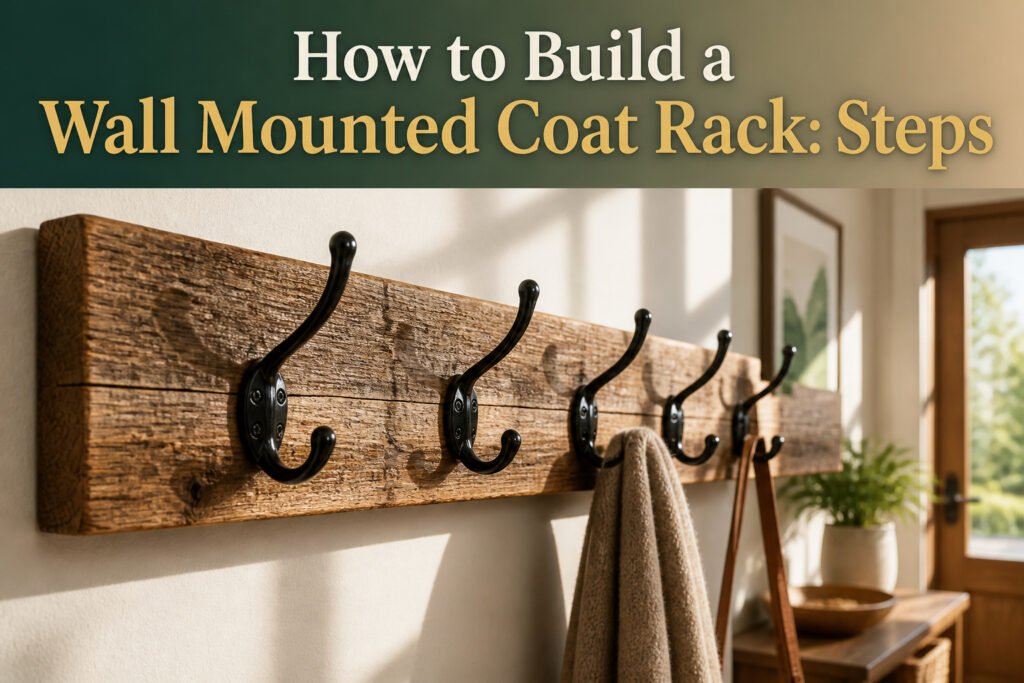
A wall mounted coat rack is a strip of lumber with hooks anchored to studs, and the studs decide its length more than your plan does. I had sketched mine at 32 inches and ended up cutting 36 to match the framing I actually found. That surprise is the first reason most DIY racks loosen after a month; the second is height, which 60–66 inches from the floor fixes if you measure before you drill.
1. Measure and Prepare the Wall
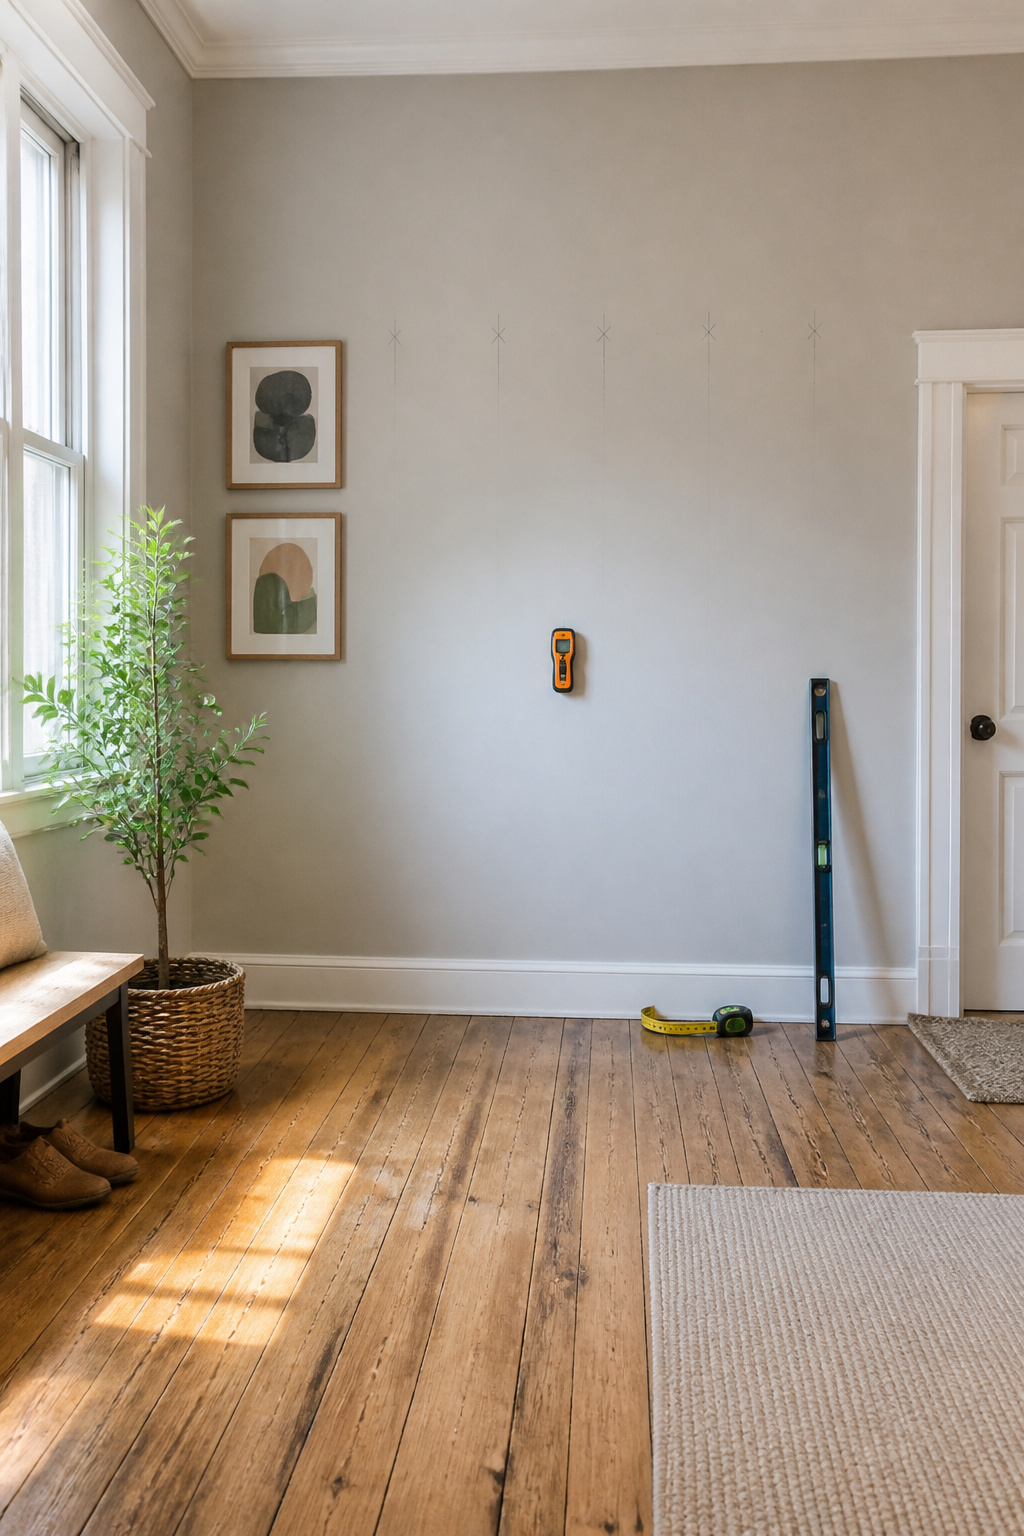
Finding the studs matters more than marking the rack length, since drywall anchors are a backup, not a plan. A stud finder will save you the headache of a coat rack that loosens every time someone grabs a jacket in a hurry. Mark the wall where the studs sit, then measure out the full length you want the rack to span.
Most tutorials skip height entirely, but 60–66 inches from the floor puts coats at a natural reach for most adults. Lower than that and long coats pool on the floor; higher and shorter guests are stretching. Before you drill anywhere, check for electrical. A basic non-contact voltage detector costs less than replacing a afternoon with an emergency call, and the time to use it is right now, not after the bit punches through Romex.
2. Cut the Wood
A 1x board is the standard starting point for a diy wall mounted coat rack, and the width depends on the look you want. The common choices run from 1×3 up through 1×4, 1×6, or 1×8. Thinner boards keep the profile slim against the wall; wider ones give you more visual weight and room to space hooks without crowding.
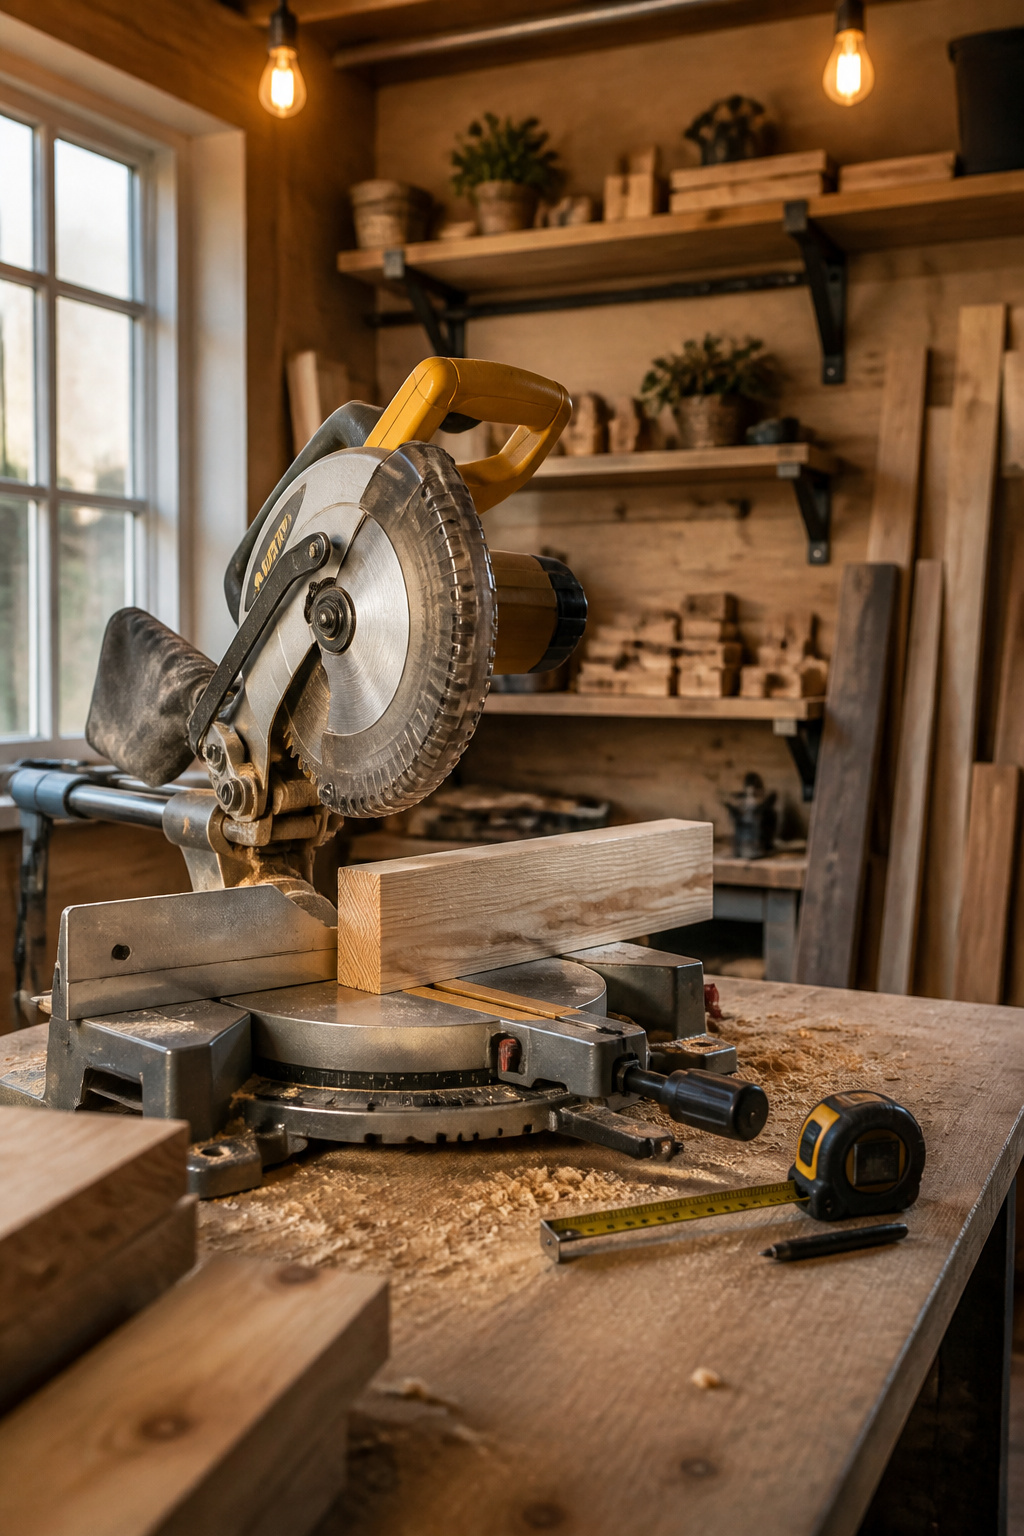
A miter saw is the faster tool here if you have one. The fence and stop block let you cut identical lengths without thinking. A circular saw works fine too, but clamp a straightedge to the board first. Freehand cuts wander, and a coat rack back is long enough that even a small drift shows.
I had sketched mine at 32 inches, assuming standard stud spacing. The wall told a different story. 36 inches matched the studs I actually found, so 36 inches is what I cut. Measuring the wall beats measuring the plan every time.
3. Sand the Wood
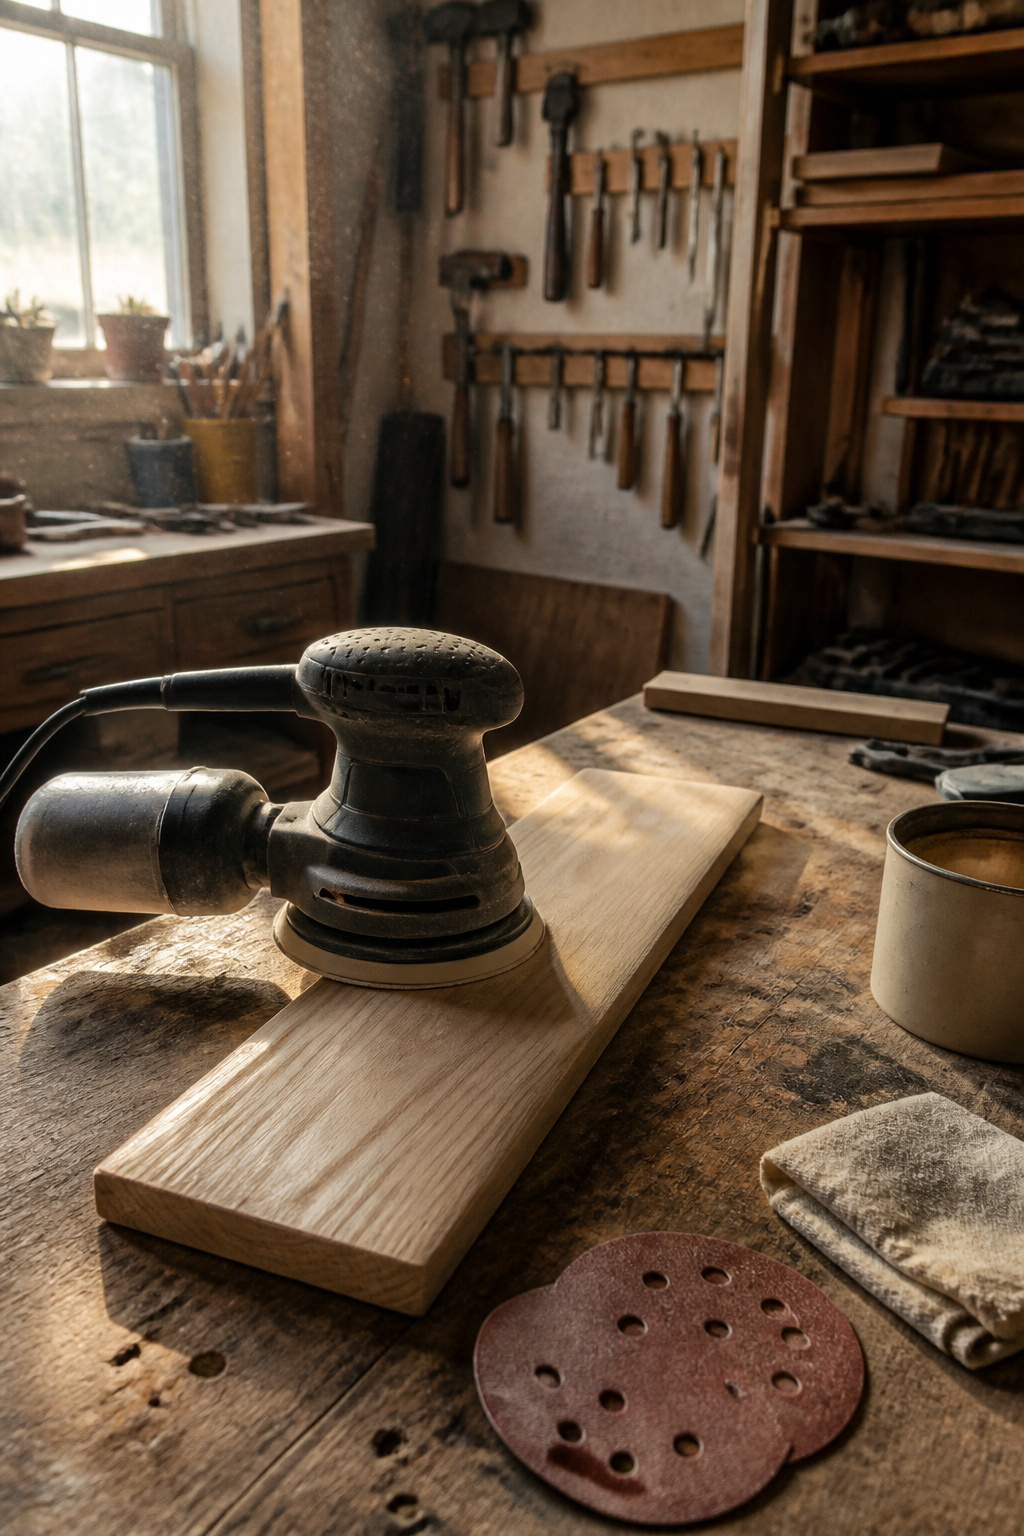
Sanding is where a coat rack stops looking like scrap wood and starts looking like something you meant to build. The jigsaw left my cuts wobbly, and a belt sander would have been faster, but 120-grit on a random-orbit pad smoothed the ragged edges flat in about ten minutes per piece. The real work comes after that, stepping up to 220-grit so the surface feels like furniture instead of fence pickets.
The front edge matters more than the rest. I used to leave it square because it photographed clean, but sleeves snag on that sharp corner every single time. Round the front edge slightly, just a soft chamfer, so coats slide off without catching. The back edge can stay square; nobody sees it, and it sits flat against the wall.
A tack cloth between grits picks up the dust that would clog the finer paper. Skip that step and the 220-grit scratches more than it polishes. The five minutes you save by stopping at 120 are lost tenfold when splinters find your knuckles later, usually while you are wrestling the rack into position for mounting.
If you are sealing with clear polyurethane instead of paint, the sanding shows. Every swirl mark, every skipped spot, telegraphs through the finish. Wet-coat climates wear harder on raw wood, so that topcoat layer matters for mittens and wet scarves that will sit on the shelf above the hooks.
4. Paint or Stain the Wood

Water-based finishes dry fast, which is why I used one on my first pine rack. The wood turned orange within six months. Oil-based stain with a clear topcoat has held on the replacement for three years now, so that is what I reach for on anything that will live near a door.
Paint, stain, wax, or any finish you prefer will work here. A foam roller covers the flat faces quickly; a brush gets into the edges and the grain. Let the piece dry at least 24 hours before you attach hooks or handle it, whatever the can claims about touch-dry times. In a wet or snowy climate, polyurethane over the stain saves the wood from the mittens and scarves that always end up piled on the shelf above the hooks.
5. Attach the Hooks
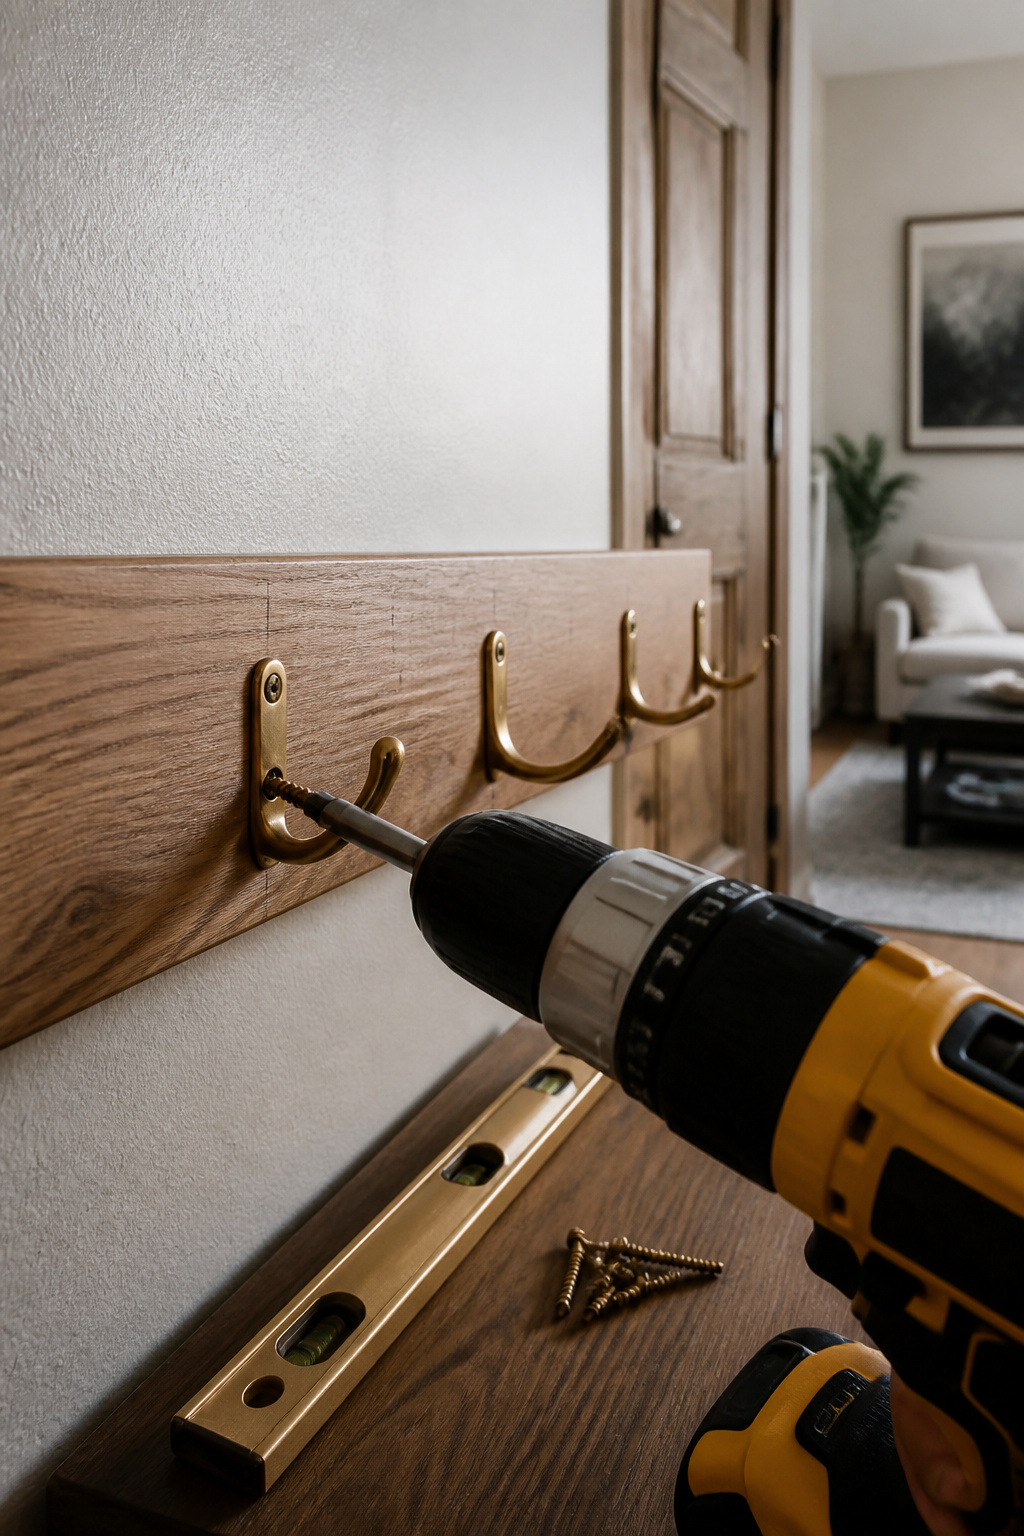
Hook placement starts with 9 inches between centers. That spacing leaves enough room for coats to fall naturally without bunching up, and it is the measurement that kept coming up as I read through builds. Mark each center point with a pencil, then drill pilot holes to keep the wood from splitting when you drive the screws.
The hooks themselves need 1-1/4 inch screws to bite deep enough without punching through the back of the board. On my first rack I skipped the tape measure and eyeballed the spacing instead. Two hooks ended up just close enough that a bulky winter parka had to choose between them, and neither hung right.
6. Mount the Rack
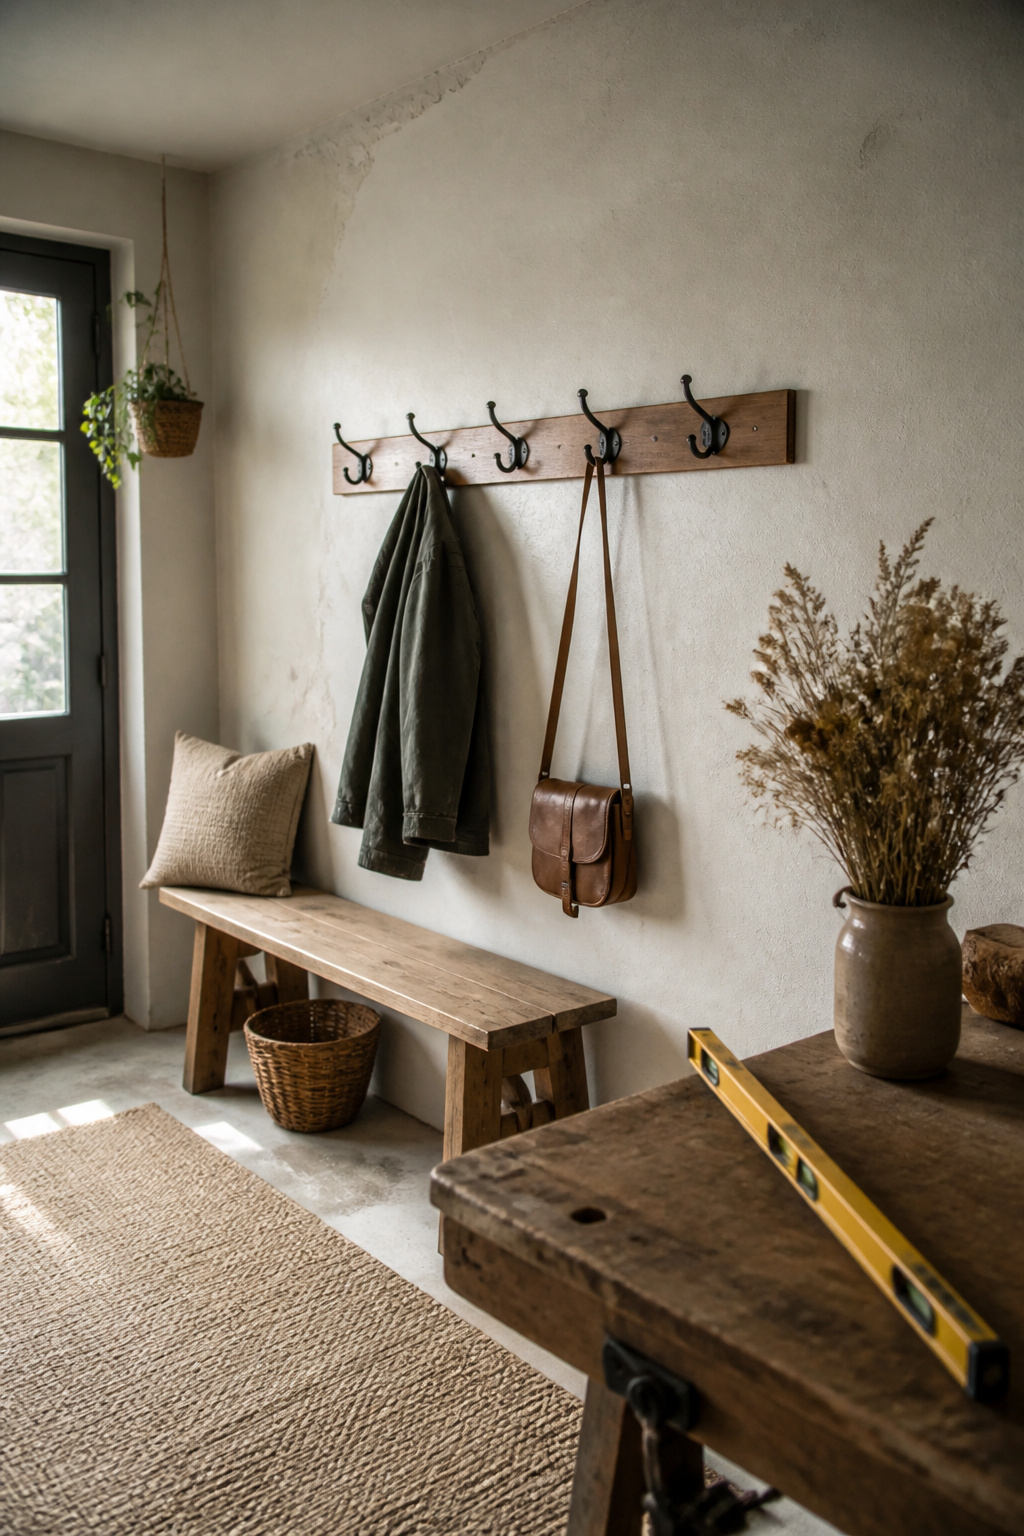
The rack is awkward to hold steady alone, so a second pair of hands helps, or a shelf of books at the right height. Hold it level, mark through your mounting holes onto the studs, then drive 2-1/2 or 3-inch screws into solid wood. A 2-foot board wants two screws minimum; longer racks want more. The level is not optional. A tilted rack looks wrong even when you cannot name why, and you will notice it every time you walk past.
If your bit finds drywall instead of stud, stop and switch to toggle anchors rated for 50 pounds at minimum. Coats, bags, and the occasional child add up fast. Some makers countersink the screws and hide them with wood filler and paint. Others hang with D-rings and anchors to keep the front face clean. Either way works; the clean front takes longer but photographs better.
7. Finish Up
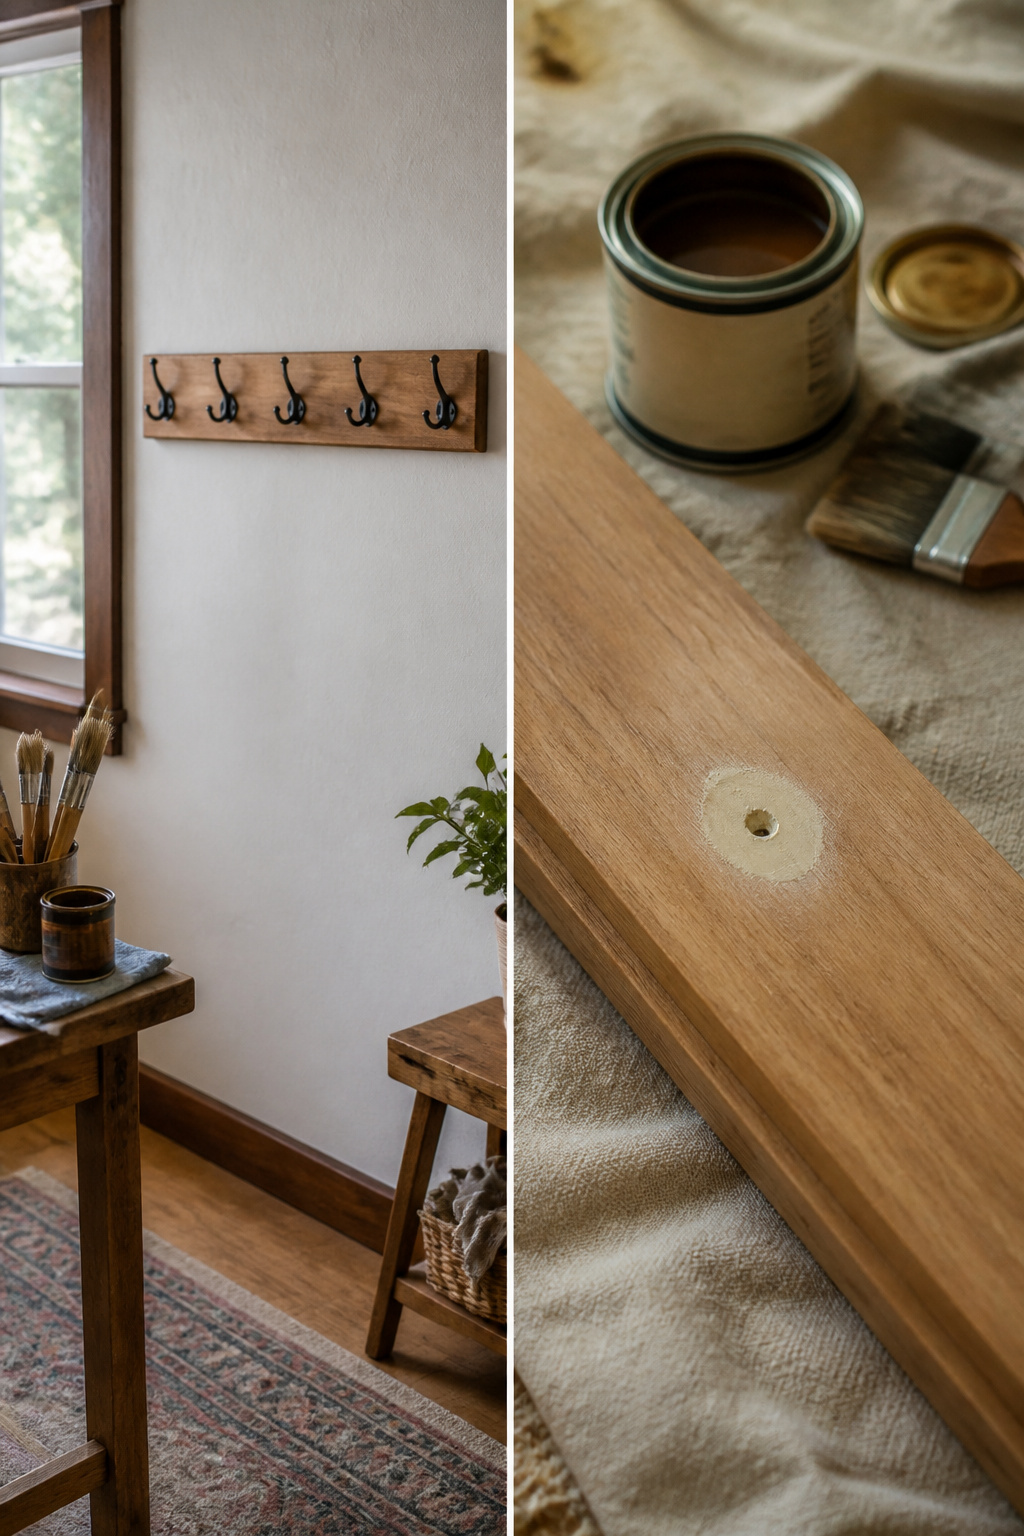
Visible screws need attention last, or they undo every careful step before them. I countersink each one so the head sits below the surface, then fill the pocket with wood filler and sand it flush once dry. The first coat rack I stained came out blotchy right at those spots; the filler drank the color differently than the surrounding wood and left pale dots staring back at me. Now I seal patched areas first with a thin coat of shellac before the final color coat goes on. The difference is the kind of thing no one notices when it works, which is exactly the point. Paint hides more forgivingly, but stain still needs that extra step if you want the repair to disappear.
Materials and Tools
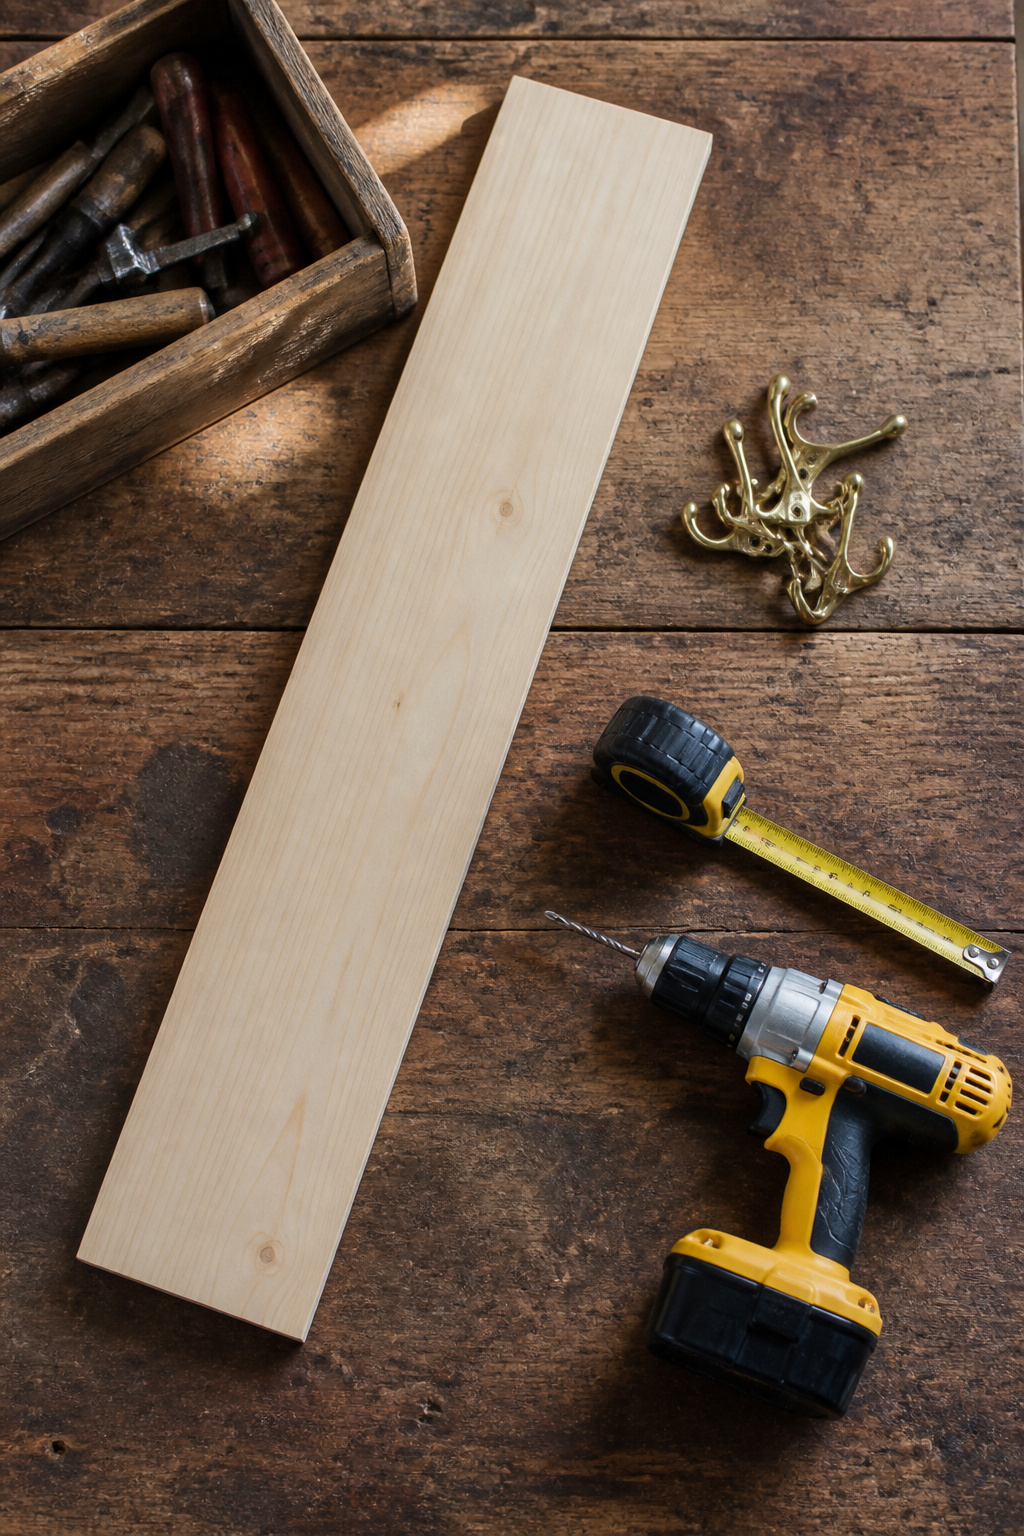
A 1×6 board cut to 54 inches is the standard starting point, though lathing lumber or reclaimed wood works if you want a different look. Brass hooks from the hardware store run about $3 each, while cast iron ones push the look more industrial. Either way, five hooks spaced 9 inches apart, centered on the board, is what most plans call for.
The tool list stays short: a saw (miter saw, circular saw, or even the free cut station at Home Depot), a drill, a level, and a stud finder so you are not anchoring into drywall alone. A sander and wood filler save you from obvious mistakes later, and primer plus paint or stain finish it. Budget anywhere from $10 to $150 depending on whether you scavenge the lumber and buy basic hooks or spring for walnut and oil-rubbed bronze.
Four Styles That Work
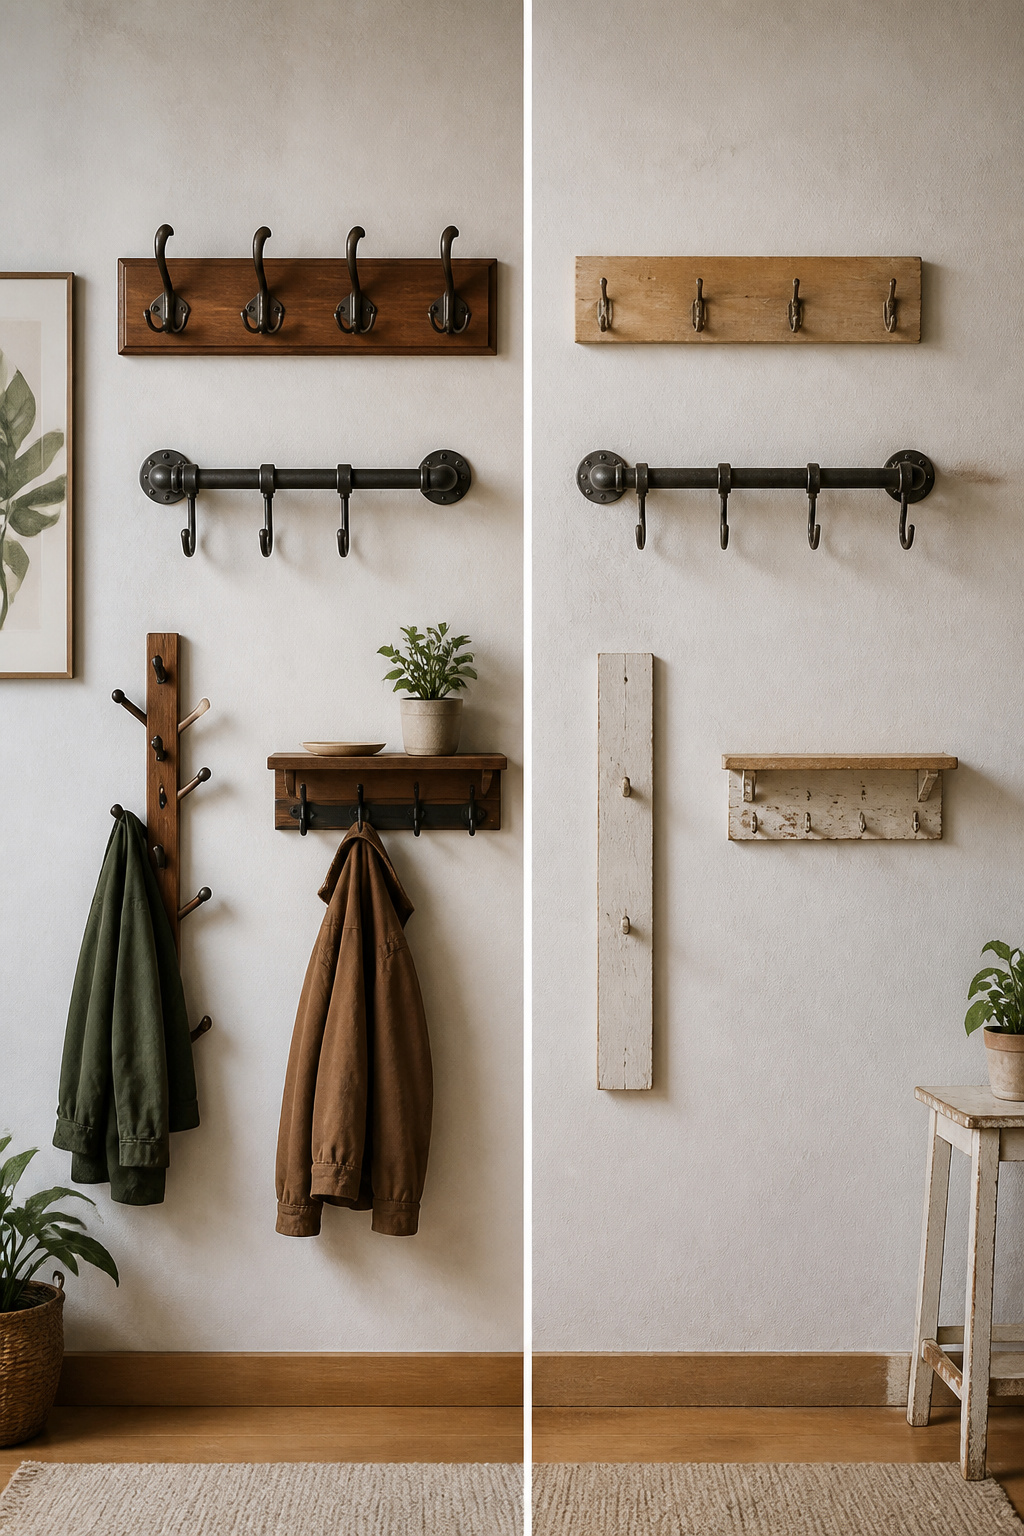
The same two screws into a stud will hold a traditional pine rack with four simple hooks or a 1×8 shelf-and-hook combo loaded with mail and keys. What changes is the visual weight you want against your wall.
A traditional wooden rack reads warm and familiar; a single board and some coat hooks that suit your style can be assembled in one afternoon. Industrial pipe racks using black iron fittings add heft and shadow, though you do not have to use pipe hooks, and your choice for hook styles is endless. The minimalist vertical rack, that abstract tree design built with a jigsaw and power drill, saves space in a small apartment or studio and can hang behind a bedroom door. The shelf-plus-hooks builds a mini mudroom: a 1×8 board with a 1×2 top edge, base trim, and white caulk for a built-in look.
| Style | Best for | Space used | Skill level |
|---|---|---|---|
| Traditional wooden rack | Quick afternoon build | Horizontal strip | Beginner |
| Industrial pipe | Raw, heavy look | Moderate | Beginner |
| Minimalist vertical | Tight entries, apartments | Vertical only | Beginner |
| Shelf-plus-hooks | Mail, keys, small items | Full wall section | Intermediate |
The vertical tree design wins for rentals and narrow hallways, but the shelf-plus-hooks is the only one that actually clears your counter of daily clutter.
Mounting Without Studs
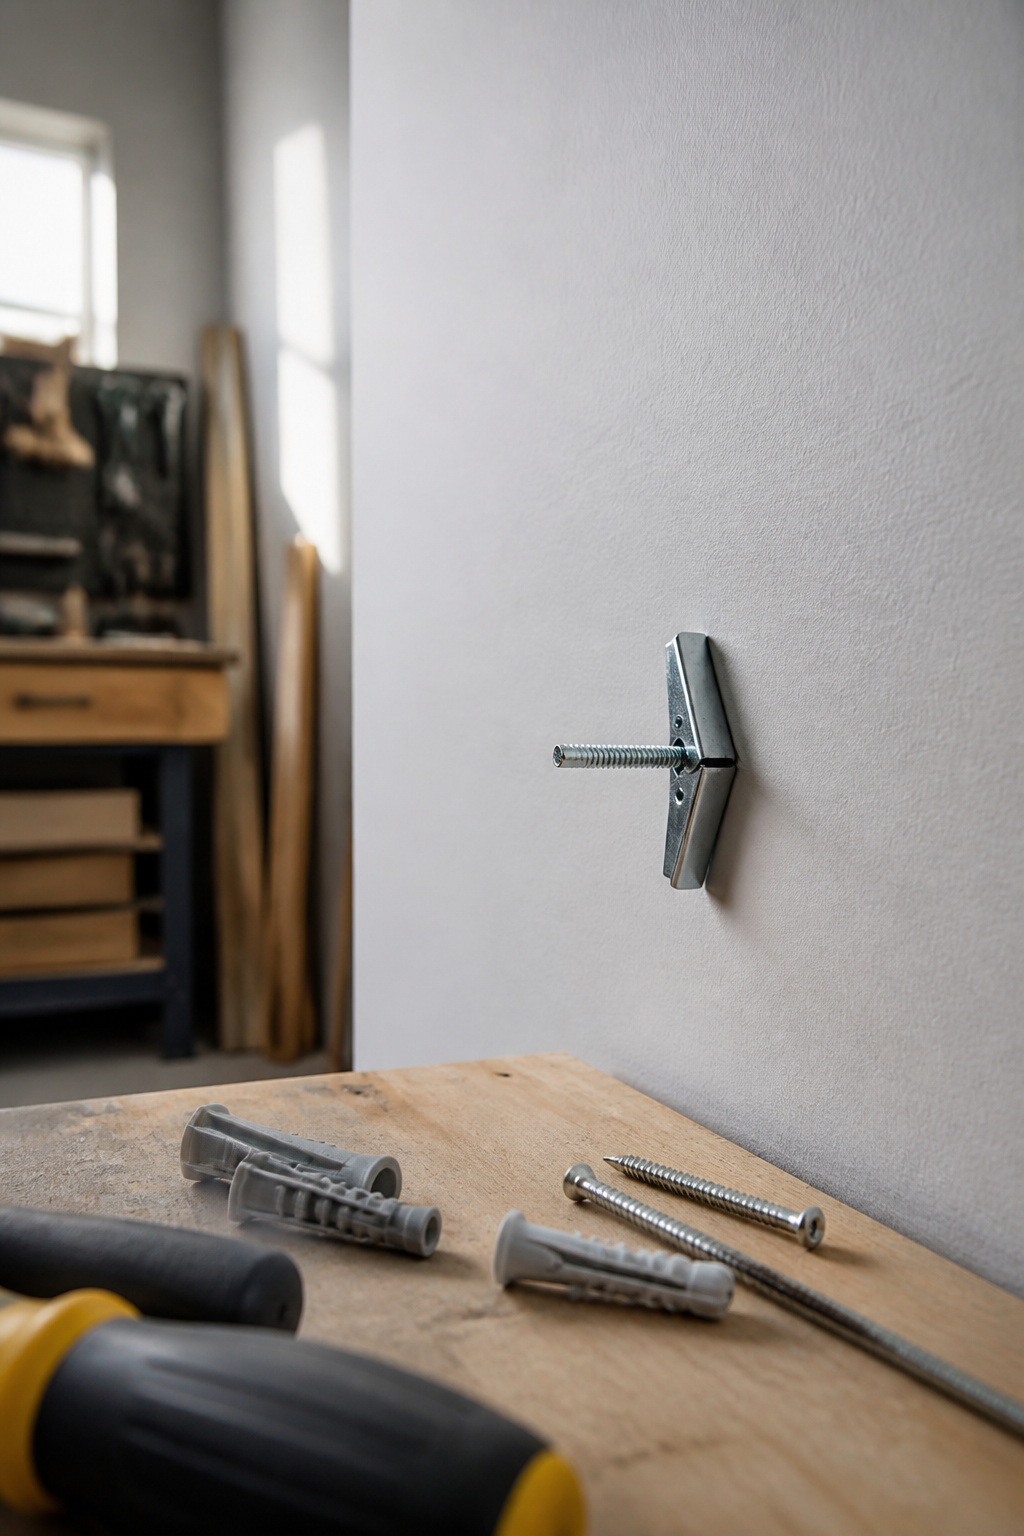
Studs rarely sit where you need them. A 36-inch pine 1×6 loaded with four coats weighs close to 15 pounds, and that weight pulls straight down and away from the wall with every grab. Toggle bolts spread the load across drywall by locking a metal wing flat behind the surface, while heavy-duty wall anchors with wide threads grip the gypsum itself. The package lists a weight rating, but cut that number in half for your real working load; a 50-pound anchor handles 25 pounds of actual coat rack, which leaves breathing room for wet wool and a heavy bag. I have hung racks on hollow walls before, and the only failure came from trusting the printed number without that margin. Drill the hole carefully, fold the toggle tight, and feel it snap open on the far side. Tighten until snug, but stop before the bolt spins freely and strips the wing.
What I Got Wrong the First Time

Pine boards dent. That was the first lesson, and the metal backs of the hooks pressed half-moon marks into the soft grain before the rack ever saw a coat. The dimples sit right where the screws pulled through, which happened because I spaced the hooks six inches apart. Two jackets filled that gap fast, and the overlap made the whole row feel crowded every single morning.
The real failure came two months in, when the plastic anchors I had used slipped clean out of the drywall. The rack itself still hangs in my basement, crooked now, kept as a reminder to read the stud finder twice and to never trust a wall anchor with the weight of wet wool and daily frustration.
Frequently Asked Questions
What wood should I use for a coat rack?
A 1x board is the standard starting point, with common choices running from 1×3 up through 1×8 depending on the look you want. Pine works and is cheap, though it dents easily under hook pressure and heavy use. Harder woods hold up better long term, and reclaimed lumber or lathing lumber can give you a different look if you want something less standard.
How do I secure a coat rack to the wall?
Drive 2-1/2 or 3-inch screws directly into wall studs for the strongest hold. A stud finder saves you from the headache of a rack that loosens every time someone grabs a jacket. If you hit drywall instead of stud, switch to toggle anchors rated for at least 50 pounds, but cut that rating in half for your real working load to leave margin for wet wool and heavy bags.
What tools do I need to build a coat rack?
You need a saw, drill, level, and stud finder at minimum. A miter saw makes faster cuts with cleaner repeatability, but a circular saw with a clamped straightedge works fine. A sander and wood filler save you from obvious mistakes later, and a non-contact voltage detector costs less than an emergency call if you accidentally drill into Romex.





