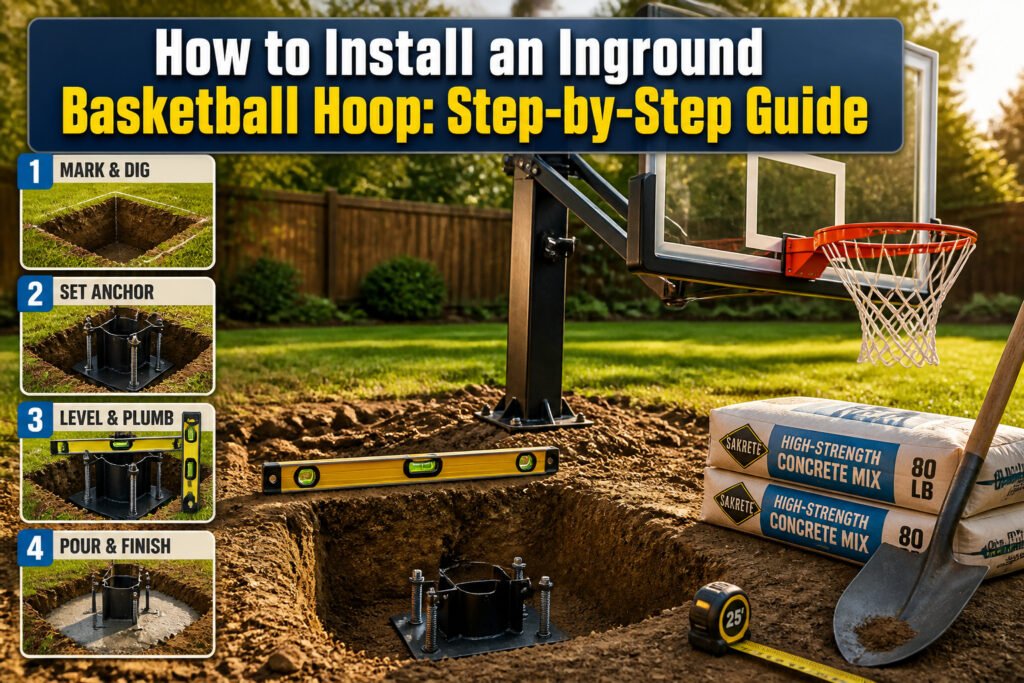
An inground basketball hoop is a permanent pole and backboard system set in a concrete footing below the frost line, not a portable base filled with sand. The catch is that most failed installs happen before the first bag of concrete opens, because a hole dug even two inches too shallow or off-plumb locks every later correction into place. I have watched a crew lift a 72-inch tempered-glass backboard three times to get the level right; the concrete cures in five days, but the anchor plate has to read dead level in both directions before that clock starts.
Choose the Location

Flat pavement matters more than the view. A slight tilt in the slab throws off every shot, and patching it later means tearing up what you just installed. I paced out roughly twenty feet in every direction from the spot I wanted, enough room to chase a rebound without stepping onto the lawn or into the flower bed.
The sun sits lower than you think during evening practice. Setting the hoop so you shoot north-south keeps the rim out of your eyes at either end of the day. East-west placement puts one backboard in blinding light half the year, and that glare does not move for anyone.
Overhead lines need at least twenty feet of clearance from the playing space. Arcs and wind gusts happen; utility height varies by street, so measuring beats guessing. Before any shovel touches dirt, call 811 to mark underground utilities. The dig for an inground pole runs deep enough to hit gas or electric you cannot see from the surface, and that delay is shorter than a hospital stay.
Dig the Hole

The hole for most inground systems runs 48 to 50 inches deep and 16 to 18 inches across, though the manual you actually have in hand wins every time. Goalrilla specifically calls for a 16-inch diameter hole 48 inches deep, and that exact spec is what I keep coming back to when people ask whether close enough works. It does not.
Before you break ground, call your local utilities to mark buried power, water, gas, and phone lines. That step costs nothing and skipping it can end the project in an ambulance.
A post hole digger works in theory. In practice, four feet of depth through anything but loose soil gets old fast. A rented auger saves your back, or if you have tractor access, use it and accept that the hole will overshoot. When that happened on a project I followed, the fix was a 16-inch by 4-foot cardboard form tube dropped in, leveled, and backfilled around. The tube keeps the pour clean and the dimensions honest.
The dig is the hardest physical part. Once you are down to depth and width, the rest of the afternoon belongs to concrete and leveling, not shoveling.
Mix and Pour Concrete

High-strength concrete is the standard move here, though fast-setting mix works if you are impatient or the weather window is tight. For a typical anchor hole, plan on 10 to 20 bags of either 60 lb or 80 lb concrete. Water ratios run 1.9 liters per 60 lb bag and 2.8 liters per 80 lb bag; a wheelbarrow and a shovel beat a bucket and a stick for keeping the mix consistent.
Pour in lifts and jab the wet concrete with your shovel as you go. Air pockets around the anchor are what you are fighting; they weaken the hold and can throw your level off later. Fill to grade, check plumb one last time, and walk away.
The concrete needs 72 hours minimum to cure before you hang a pole on it. Day five is the safer bet if you want the thing rock-solid. The pour itself takes an hour or two. The waiting is the work.
Install the Anchor

The anchor plate sits in wet concrete, and every pole, backboard, and rim above it will inherit whatever angle you leave behind. Four long J-bolts or a hinge-style plate both work, but the difference in effort is real. J-bolts demand more wrestling: threading, leveling, and holding position while the concrete wants to push everything around. A hinge anchor goes in cleaner and, later on, lets you relocate the whole assembly if the driveway layout changes or you move houses.
I spent more time than I care to admit checking and rechecking with a level, because the plate has to read dead level and square to the playing surface from the start. The footing needs four to five days to cure before the post goes up, and there is no adjusting the anchor after that concrete sets. The 15/16-inch wrench and socket are what most of these plates call for to snug the bolts down while the mix is still workable.
Attach the Main Pole

The anchor plate is where the pole meets the foundation you already poured. Some systems, like Dominator’s, hinge at the front of the base plate so the pole can rest on the ground while you work the bolts. That single detail saves a second person or a hoist, and I mention it because not every kit includes it; if yours doesn’t, a scrap 2×4 wedged under the pole buys the same hands-free moment.
Set the base plate over the anchor bolts and tighten the front two first, keeping the pole lowered. The lowered position is your working angle for the next ten minutes, not a temporary step, so get comfortable with it. Each bolt has its own level adjustment; run a level across the base plate and raise or lower individual bolts until the bubble sits flat. A laser level works if you own one, but a four-foot carpenter’s level laid across the plate catches the same error. Check from two directions, 90 degrees apart; a pole that looks straight from the driveway can lean like a sapling when viewed from the sidewalk. Once the plate reads level, snug the remaining bolts and torque to the kit’s spec. Concrete that has fully cured will not forgive a tilted pole the way wet concrete might, so this is the correction window.
Install the Backboard

The backboard ships in pieces, and the surface needs protection while you torque the bolts in the right sequence. Tempered glass gives the truest bounce and holds up for years; that is the material in the Goalrilla CV72S, a 72" × 42" board with a half-inch thickness that meets NBA/NCAA regulation size. Acrylic works better for parks or heavy public use, though the rebound comes off softer. Polycarbonate takes abuse without cracking, yet the ball response feels less like a real gym and more like a driveway toy.
Three people can lift most backboards, though the manual for that 72" tempered-glass unit recommends five. The truck-bed method helps: lay the assembled backboard, rim and net on a flat surface, then slide it up and bolt it home. Check level before the final torque, because a tilted backboard stays tilted. The STBLZR or similar dampening hardware cuts the shake after dunks, but only if the mounting plate sits square against the pole.
Install the Rim and Net

The rim bolts through the backboard from the front, so someone needs to hold it steady while the other person threads the hardware from behind. My arms were tired by this point, and the bolt holes never seem to line up on the first try. A socket wrench with an extension saves your knuckles here, because the backboard overhangs the bracket by a couple of inches and a standard wrench will have you cursing.
Once the rim is tight, the net loops over the hooks in a simple over-under pattern. Each loop of the net has to seat fully into the hook or the first dunk will pull it loose and you’ll be climbing the ladder again. The short loops at the top of the net go on first; the longer tassels hang down naturally once those are set.
Some backboards come with a wraparound pad that screws to the bottom edge and another for the pole. Those go on last, before you raise the hoop to check the height. The lift mechanism on most systems has a sticker with markings; line the 10-foot mark up with a scratch you make on the sleeve, and from then on you can drop it to 7.5 feet for kids or crank it back to regulation without measuring again.
Final Checks
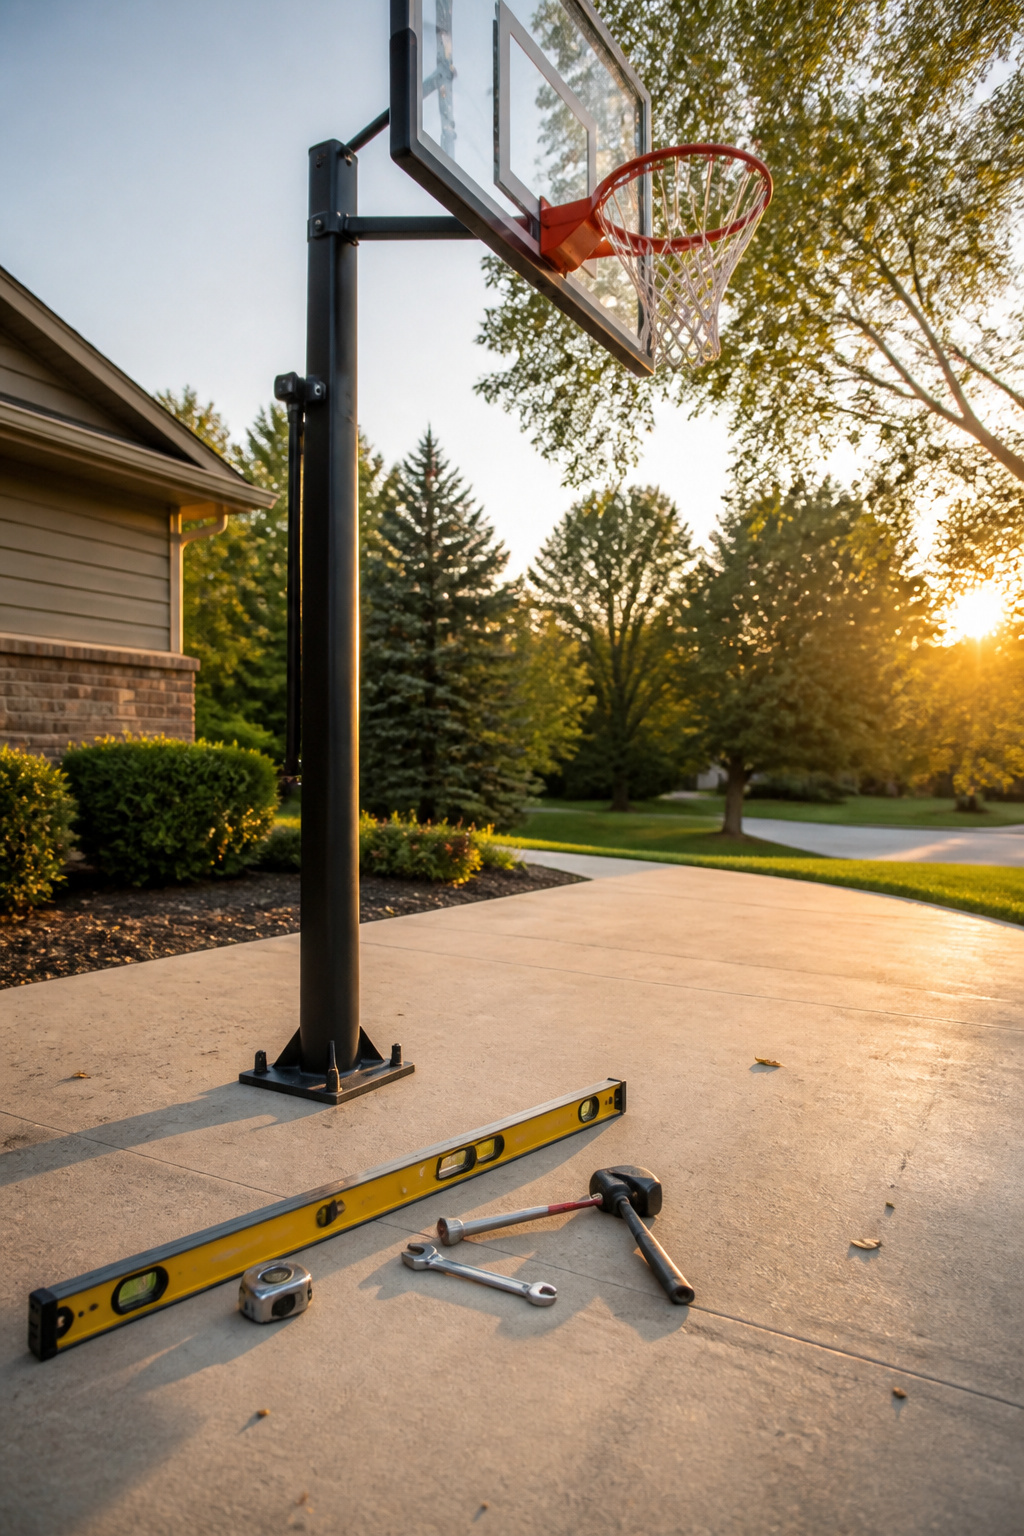
After the concrete has had its four to five days, the real test begins. Everything above that footing builds from a single reference point, so the mounting plate needs to read level from two angles before you stand the pole. A bubble that looks good from the driveway side only is a bubble that lies.
Rim height at exactly 10 feet is the standard check once the backboard is up, but squareness matters just as much. A backboard tilted even slightly throws every bank shot to the same wrong corner and the players notice fast. Torque every bolt to spec now, while the ladder is still out and the tools are dirty. Post-cure anchor bolt inspection is worth the ten minutes; vibration from the first few dunks loosens what felt tight on day one.
Pole padding sits in the optional column for most installs, though anyone with kids under twelve in the driveway ought to treat it as standard equipment. The warranty split is worth remembering: base work carries six months, above-ground assembly ninety days. Check your own paperwork before the first game, not after a wobble appears.
Tools and Help

A post hole digger handles the digging if your soil cooperates, though compacted ground or clay may push you toward a rented auger. I would not try this solo. The backboard and pole assembly run heavy enough that two extra pairs of hands save both the equipment and your lower back.
For the concrete work, a wheelbarrow and hose will mix bagged concrete in batches. A 15/16" open-end wrench plus a matching socket and ratchet handle the anchor bolts. A four-foot level checks the mounting plate, and a tape measure keeps the hole at 16 inches across and four feet deep. A cardboard tube form keeps the pour tidy if your hole ends up wider than planned.
Most of the concrete work is just patience: one 80-pound bag at a time, mixed thoroughly, with the anchor plate checked for level before the stuff sets.
Anchor and Backboard Comparison

The anchor choice shapes how much help you need on day two. A j-bolt anchor sets in concrete flush with the surface; later you lift the pole, line up the bolts, and tighten from underneath while someone holds it plumb. The hinge anchor, like the one Dominator uses, lets the pole rest on the ground while you level and tighten the front bolts first, which means one person can manage the early part of the job instead of three. Both need a level and patience, but the hinge cuts the crew requirement in half for that step.
Backboard material matters more over time than in the store. Tempered glass, the 72-inch kind that took three of us plus a truck bed to lift, plays truest: the ball bounces off it the way it does in a gym. Acrylic is lighter and easier to hang, but the rebound goes slightly dead. Polycarbonate takes abuse without cracking, which sounds good until you shoot on it and feel how much energy it absorbs. For a driveway that sees real play, glass is worth the weight; for kids learning form or a hoop that mostly holds a summer net, the lighter boards save your back during install and your worry about stray rocks.
| Feature | J-Bolt Anchor | Hinge Anchor |
|---|---|---|
| Ease of leveling | Requires helper to hold pole | Pole rests on ground; one person can start |
| Crew needed for attach | 2–3 people | 1 to start, 2 to finish |
| Concrete set | Flush with surface | Flush with surface |
| Feature | Tempered Glass | Acrylic | Polycarbonate |
|---|---|---|---|
| Bounce quality | Truest, gym-like | Slightly dead | Absorbs impact |
| Weight | Heaviest (72" needs 3+ people) | Lighter | Lightest |
| Durability | Cracks on hard impact | Scratches easier | Most impact-resistant |
What Installation Costs

Professional installation of an inground basketball hoop runs $400–$600 on average, though that figure shifts depending on where in the country you live. The real surprise cost is the one that shows up after the fact: a fine from your HOA or a stop-work order from the city. Most neighborhoods with a homeowners association require approval before you start digging, and some municipalities want a permit for any concrete pad over a certain size. A quick call to 811 to flag underground utilities is free; skipping it and hitting a gas line is not.
Cold weather is the other budget-killer people forget to factor. Pouring concrete below 40°F (4.44°C) demands hot water in the mix and curing blankets to trap heat, the tarp-like kind that run about $50–$60 at a home improvement store. Frozen ground has to thaw first; concrete placed on it cracks, crusts, and settles unevenly. Between the extra materials and the general misery of working in the cold, that $400–$600 pro fee starts looking like money well spent.
Frequently Asked Questions
How deep should the hole be for an inground basketball hoop?
The hole should be 48 to 50 inches deep and 16 to 18 inches across. Goalrilla specifically calls for a 16-inch diameter hole 48 inches deep, and that exact spec matters; close enough does not work. Your manual should win every time, but those dimensions are the standard most manufacturers expect.
How long should I wait before using my basketball hoop after installation?
Wait at least 72 hours for the concrete to cure before hanging a pole on it. Day five is the safer bet if you want the footing rock-solid. The pour itself takes an hour or two, but the waiting is what actually does the work.
What type of backboard is best for an inground basketball hoop?
Tempered glass gives the truest bounce and holds up for years, playing closest to a real gym experience. Acrylic works better for parks or heavy public use but rebounds slightly dead. Polycarbonate takes abuse without cracking, yet the ball response feels more like a driveway toy than a real hoop.





