
A diy painted accent wall can run from a $15 quart of single-color paint to a full weekend of wet-into-wet ombre blending, and the deciding factor is how much of your Saturday you are willing to give up. The catch is that most people buy exactly enough paint for two coats and leave nothing for the scuff that happens six months later. The leftover half-gallon you complained about is what saves you that second trip to the store.
1. Solid-Colored Accent Walls
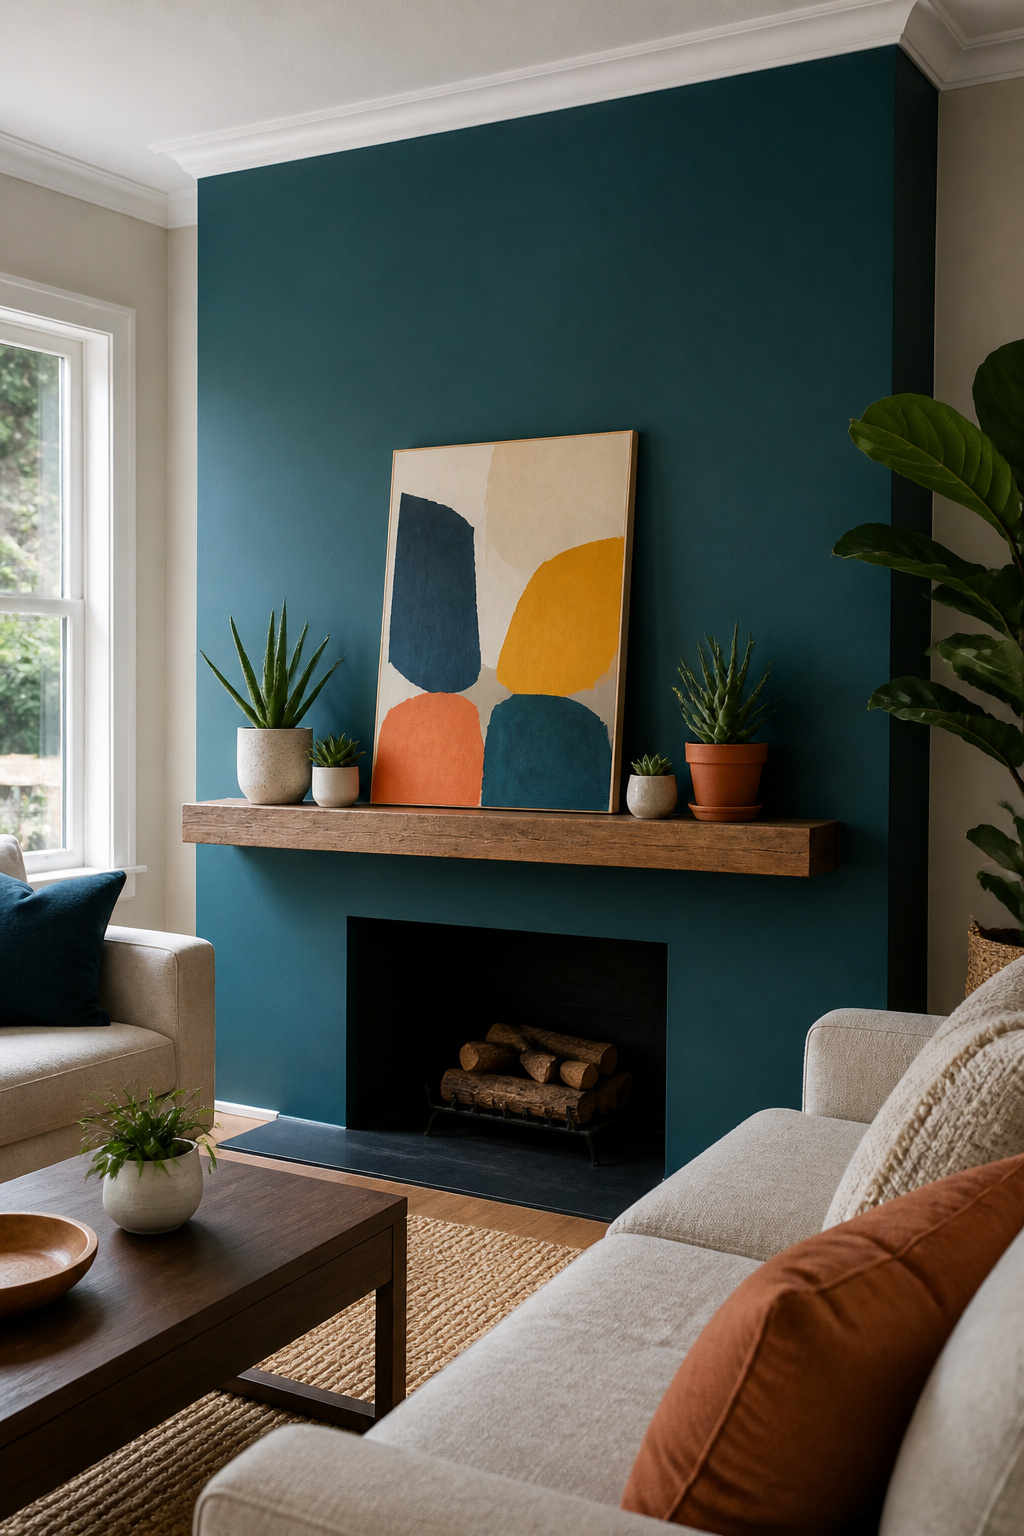
A single bold wall is the cheapest entry point into accent walls because you only need enough paint for one surface. The fireplace wall or the bed wall usually wins, since both already draw the eye and the color just sharpens what the architecture started.
For a smaller wall, a quart at $15–$35 finishes the job. Most feature walls need a gallon, which runs $25 or more and covers two coats with paint to spare.
For a feature wall, also called an accent wall, you will only need one gallon for two coats, and likely have paint leftover!
That means one trip to the store, no complex math, and a Saturday morning that actually ends on Saturday. The finish reads as intentional rather than timid, especially if you go a few shades deeper or lighter than the surrounding walls rather than matching the room’s existing tone. Dark on light wakes a space up; light on dark gives it room to breathe. Either way, the contrast does the work.
2. Hand-Painted Patterns
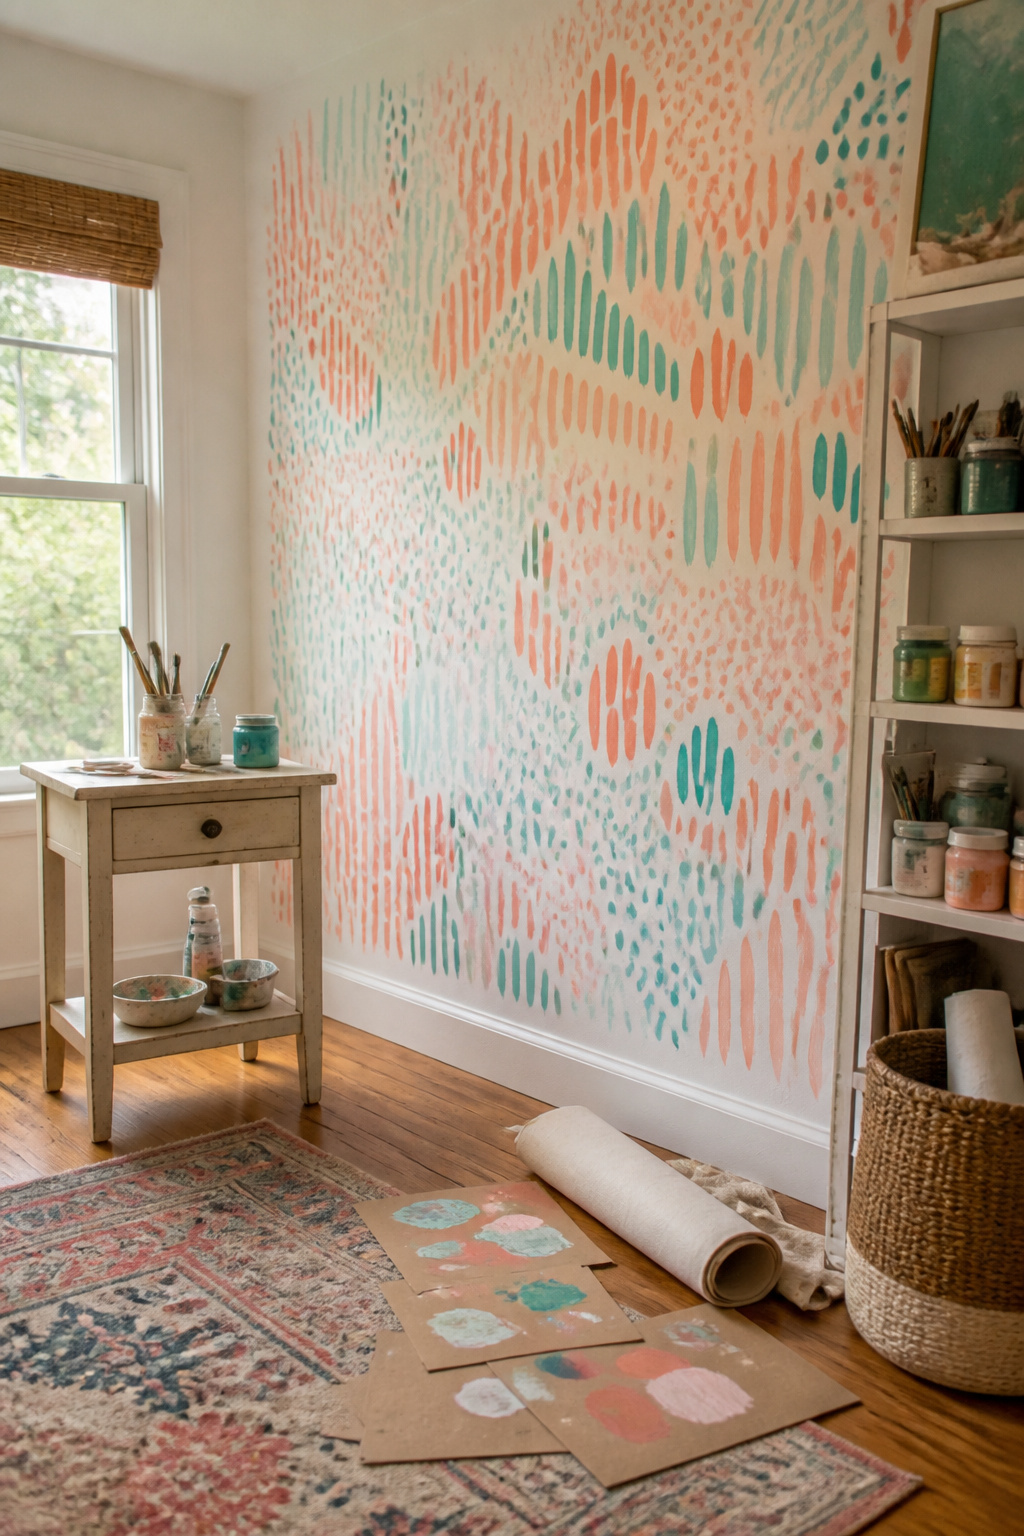
Small brushes and artist acrylics mixed into wall paint are what make freehand patterns possible. A one-inch flat brush and a liner brush for details will get you through most designs. The acrylics thin down with the wall paint without losing pigment, so you get color that actually covers in one pass.
The first stroke is usually wrong. Mine was crooked, too heavy on one end, and I almost wiped it. That wobble became the rhythm of the whole pattern. Freehand work rewards the mistake you repeat, not the perfect line you chase.
Stenciling eats half a day just in taping and alignment. Freehand takes about two hours for an eight-foot section once you start painting, but practice on cardboard first. Lines, dots, dashes, simple strokes. The control is worth the warm-up.
A good basic brush matters more than fancy tools. Bristles that shed in wet paint ruin the finish, and there is no fixing that mid-wall.
3. Stenciled Accent Walls
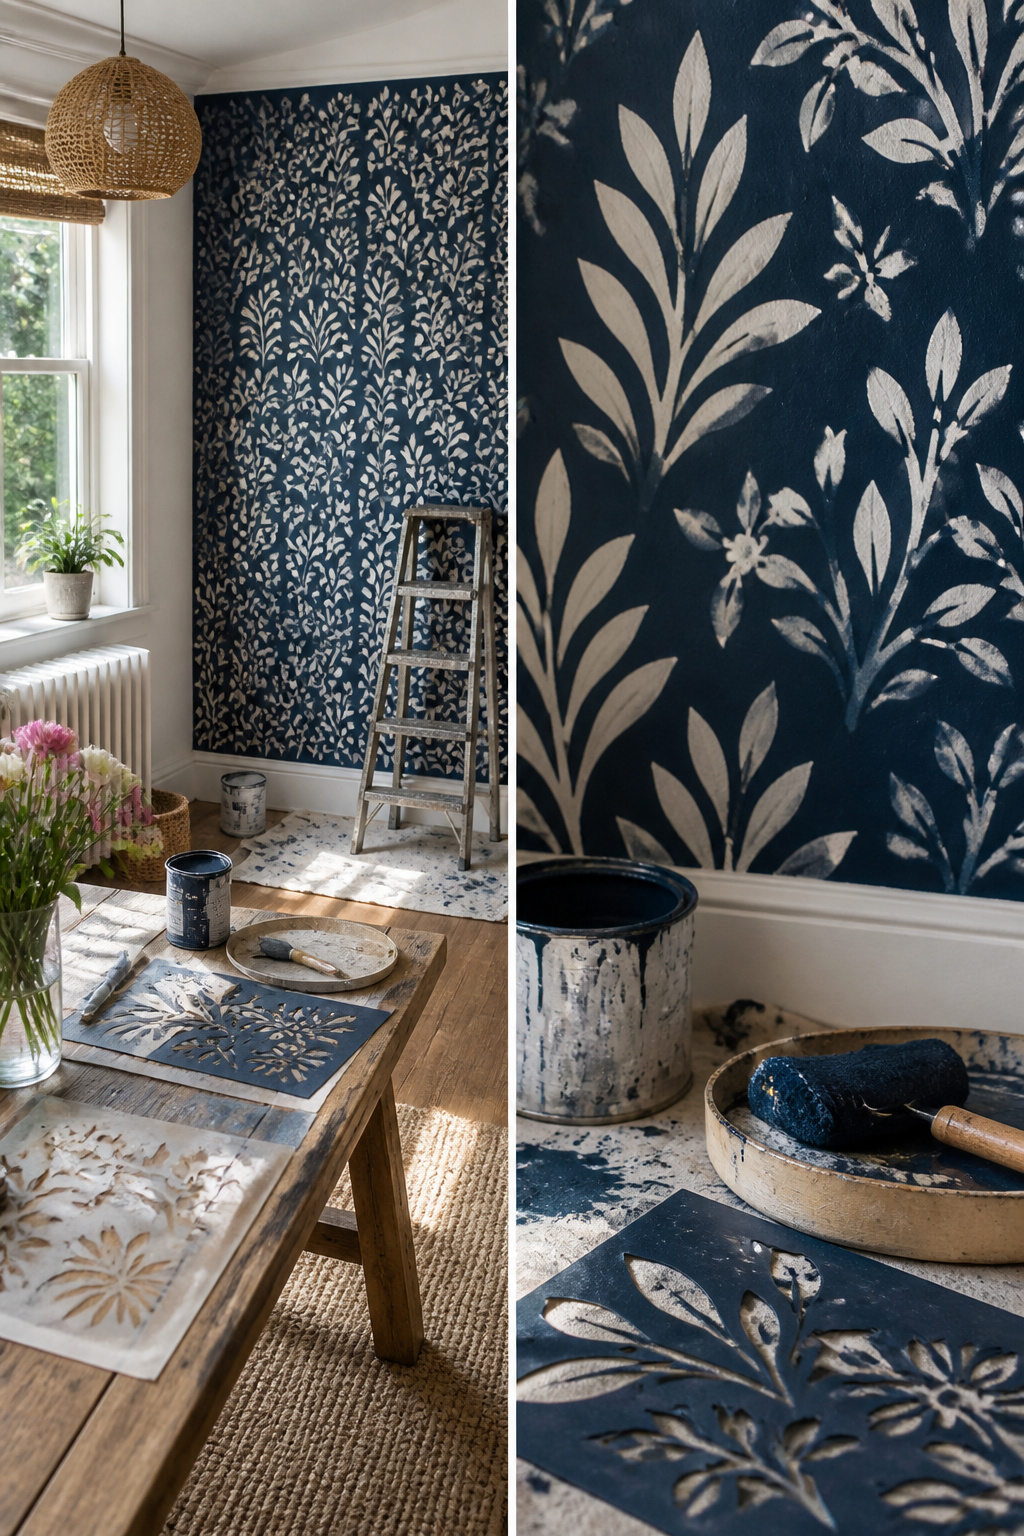
Wall stencils run much larger than the craft-store kind, and that extra size costs an extra ten dollars or so. The money is worth it once you are halfway up a ladder with a roller in your hand. I learned where to look for them by watching where other makers sent their photos: Royal Design Studio, Cutting Edge Stencils, and the occasional Etsy shop that prints on heavier Mylar. Some libraries now lend them too, which cuts the trial cost to zero if you are still deciding on a pattern.
The look is wallpaper without the wallpaper price. A quart of accent paint runs $15–35, and one quart is usually enough for the stencil layer on a single wall. Compare that to a roll of decent paper plus paste plus the panic of matching seams.
Less tape adhesive than you think is what keeps the edges clean. A full-strength painter’s tape will pull the stencil up or let seepage through; dial the tack back or use a light-tack version and press only the edges that matter. A dry brush or nearly-dry foam roller helps too. Load too much paint and the bleed-under happens no matter how careful you are.
By hour two the repetition turns from meditative to mechanical. The corners slow you down, the pattern drifts by a sixteenth of an inch, and you start telling yourself one more repeat before a break. Plan the wall in zones and stop at a natural border, because the finish quality drops right along with your patience.
4. Geometric Patterns
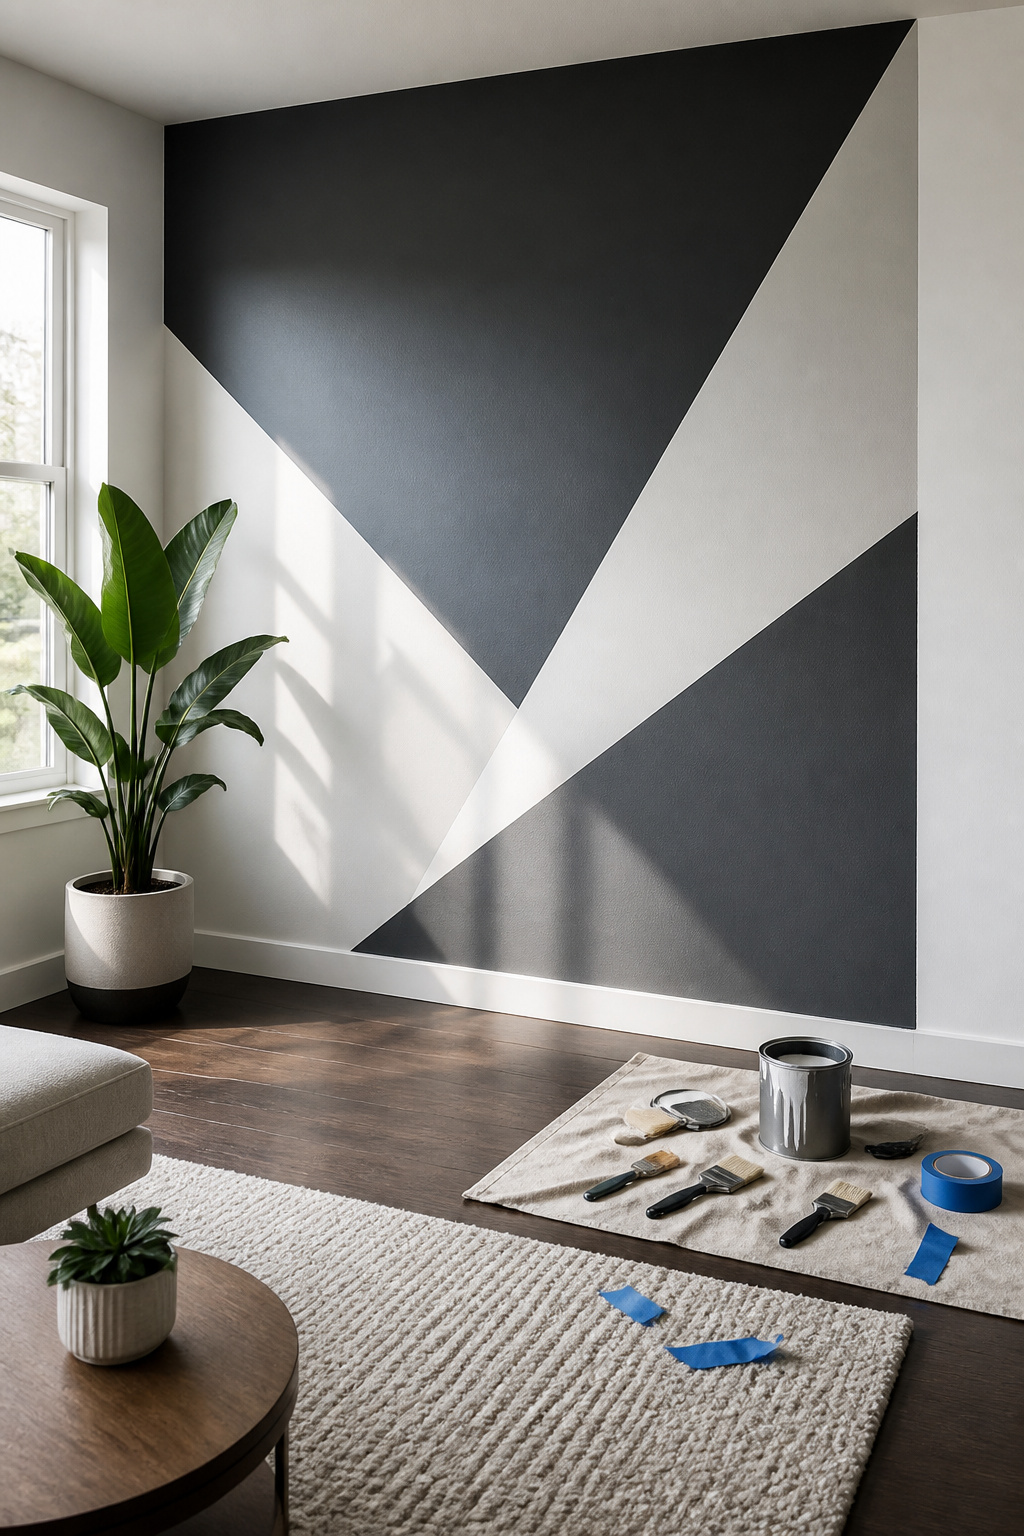
FrogTape or another edge-sealing painter’s tape is the only kind worth buying for this. The sealant along the edge keeps latex paint from wicking underneath, which happens faster with geometric work because you’re pressing tape down at angles instead of straight runs. For those angles, a scrap piece of cardboard cut to the shape you want works fine as a template; hold it, trace, move it. No protractor needed, and you avoid the temptation to trust your eye on a 45-degree line that is actually 38.
The baseline to plan around is one hour per coat, though a taped wall runs slower because you’re cutting in along tape edges, not open wall. Two coats plus the base color already there means most of an afternoon.
The mistake that wastes all of it is pulling the tape the moment the second coat looks dry. The paint film is still tightening, and if you lift the tape then, wet color crawls under the lifted edge and bleeds across the line you just worked to keep perfect. Wait until the hour passes and the surface feels dry to a light touch, not tacky. The tape comes up clean, the edge stays sharp, and you do not find yourself touching up a ruined line at 9 PM with a brush and diminishing patience.
5. Ombre Effect
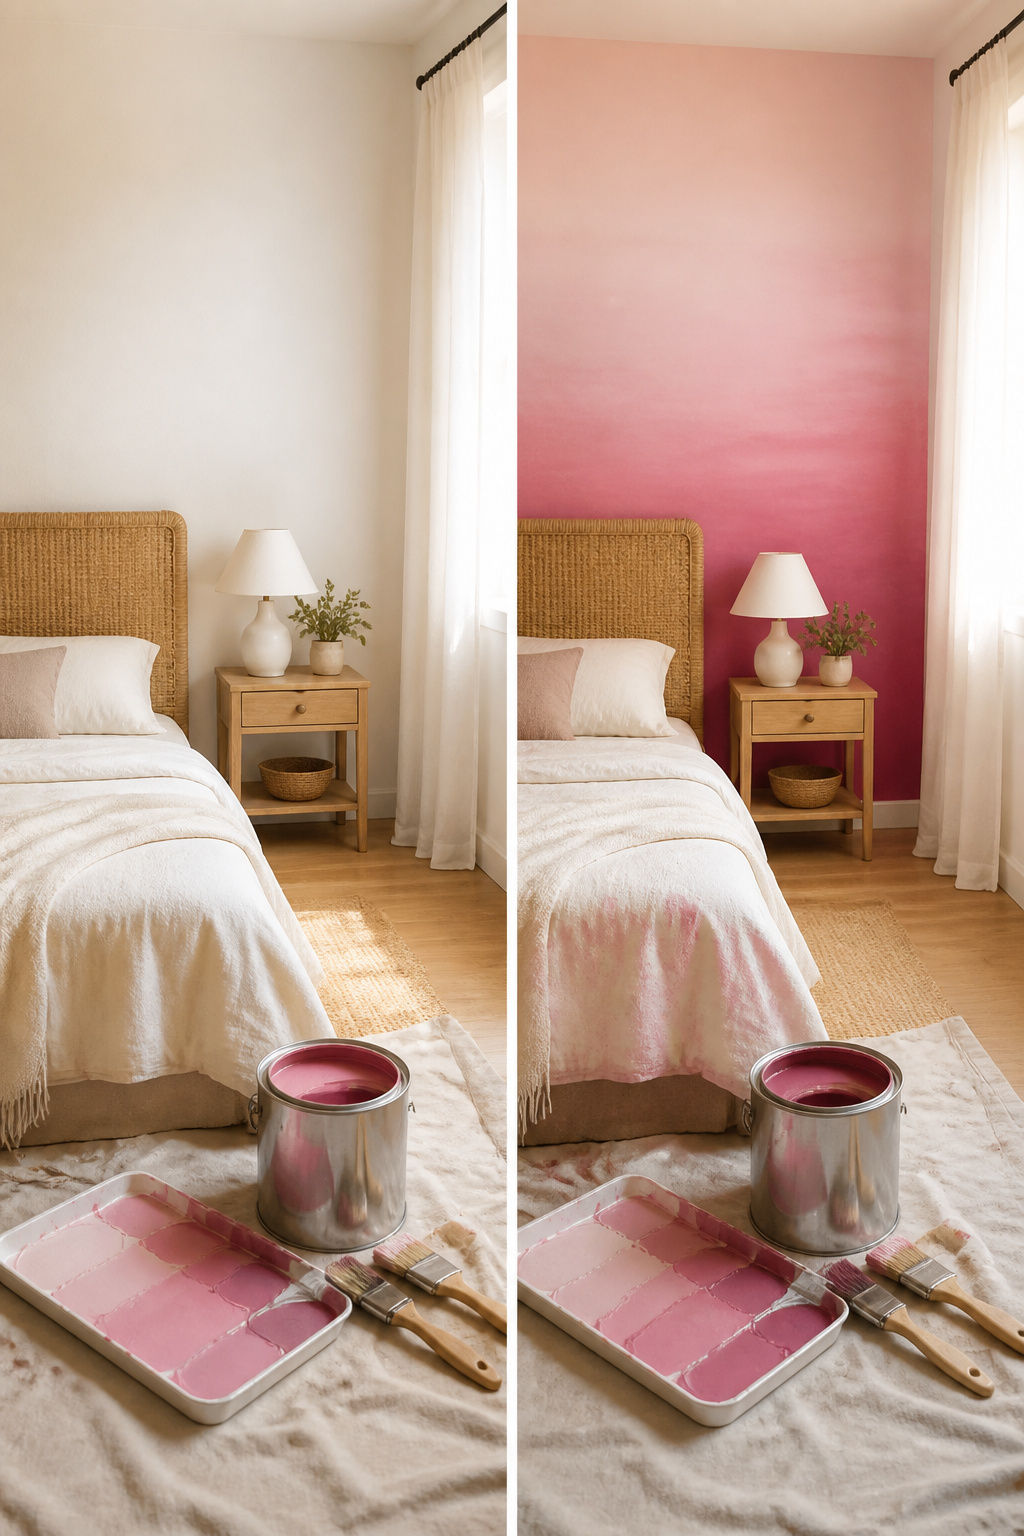
An ombre wall needs three tins of the same color family: light, mid, and dark. Working wet-into-wet across each section is the only way the gradient stays alive; let one band dry and you are left with a stripe, not a fade.
The transition line still shows, usually dead center where two bands meet. Feathering with a dry brush buys you a softer edge, but perfection is not built into the method. This is the most time-sensitive technique on the list. A single coat runs about an hour depending on wall size, and the ombre demands that same hour without interruption from first tin to last. Miss the window and you are cutting in fresh against paint that has already set.
Benjamin Moore pushes blue trilogies like Summer Shower 2135-60 into Province Blue 2135-40 into Nocturnal Gray 2135-30. The principle holds for any family. Keep the middle tin generous; it covers the most wall and bridges the two extremes.
6. Textured Paint
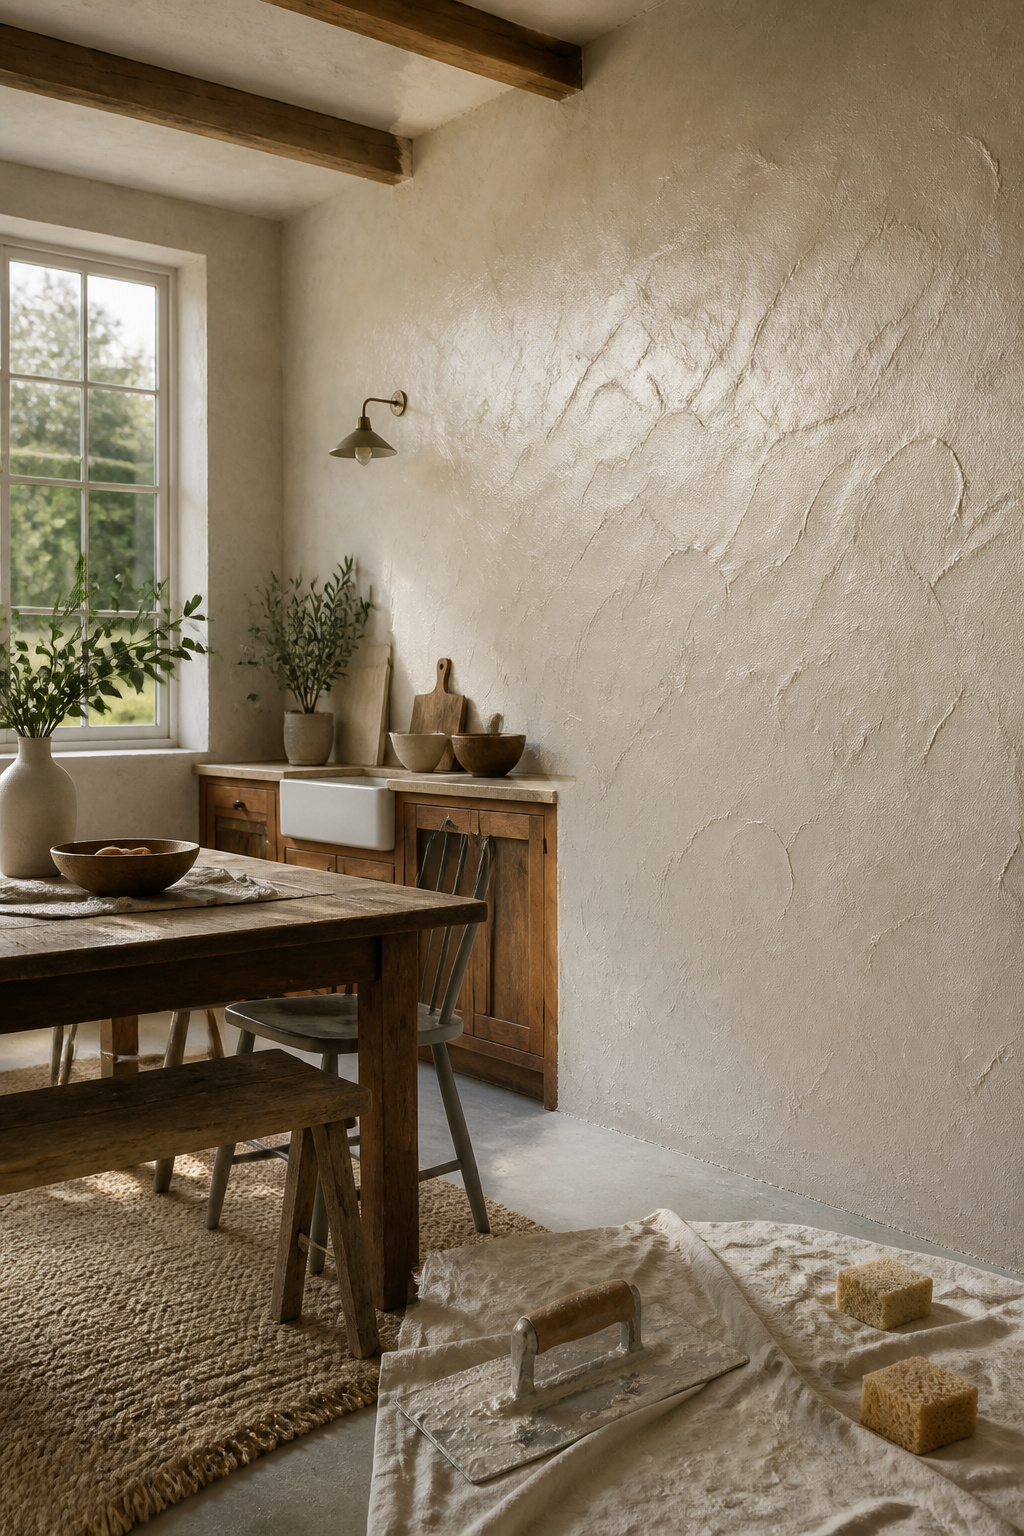
Specialized texture paint saves a trip through the mudding stage. The buckets labeled "texture paint" arrive premixed with aggregate already suspended in the base, which means one coat usually covers without a primer sandwich underneath. Joint compound mixed with paint works too, but the ratio matters more than the forums let on. Too much compound and the wall turns chalky; too little and you have expensive flat paint with grit floating in it.
A steel trowel gives you the smoothest of the dimensional finishes, dragged in arcs that leave shallow ridges catching afternoon light. A sponge dabs on peaks that read softer from across the room. A broom dragged through wet plaster makes the aggressive streaks that show up in restaurant bathrooms for a reason. Cleanup is where texture work punishes you: the grit in the paint destroys brushes, dries fast enough to ruin rollers if you pause for lunch, and hardens in trowel corners where you will not notice until the next job. Budget for disposables, not cleaner.
7. Chalkboard Wall
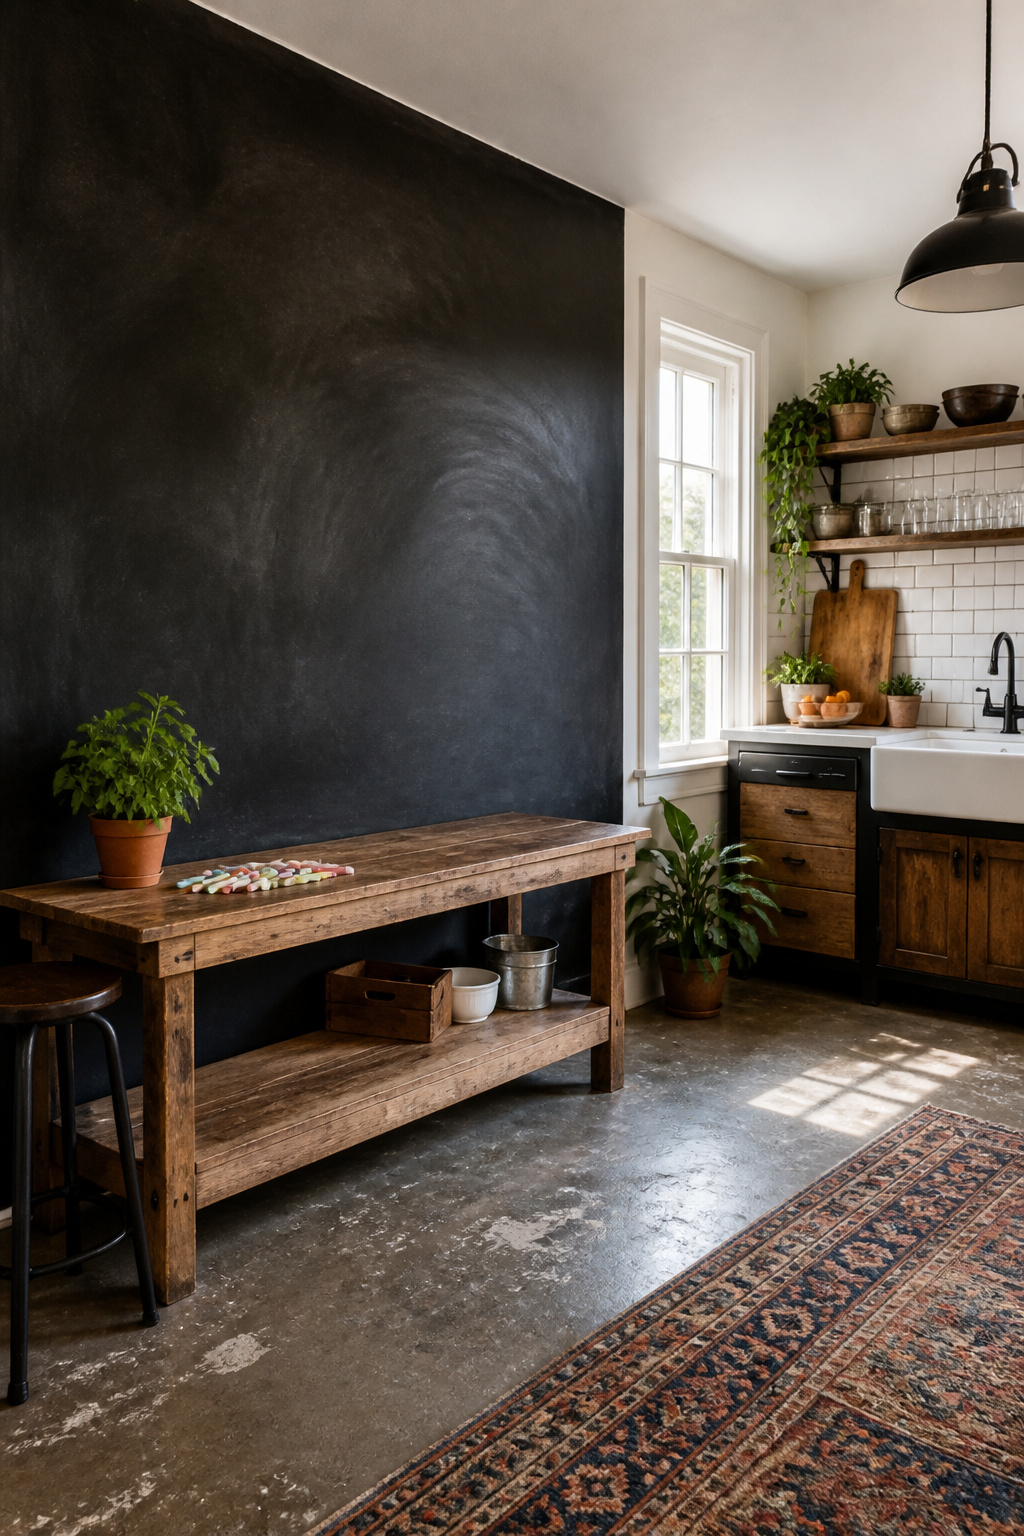
Chalkboard paint turns a wall into something you actually use instead of just look at. The finish takes three full days to cure before the first chalk touches it, and skipping that wait leaves permanent ghost marks that never fully erase. Dust is the quieter problem. Chalk residue drifts down and collects along baseboards, so the wall needs to sit somewhere you already sweep regularly or you will notice the grime fast.
A kitchen command center makes the most sense. Grocery lists, weekly schedules, and the one recipe you keep meaning to save all stay in one spot where people already walk past. Kids’ rooms work until they do not; younger children treat every wall as chalkable, and the accent becomes a permission slip for marks on the regular paint six inches away. Home offices pair well with standing desks, where a quick note during a call beats opening another app.
The disappointment arrives in shared living rooms and anywhere near upholstered furniture. Light fabric grabs chalk dust like a magnet, and vacuuming the sofa weekly gets old fast. Guest bedrooms are wasted space for it; the novelty wears off before the second visit.
8. Gallery Wall Backdrop
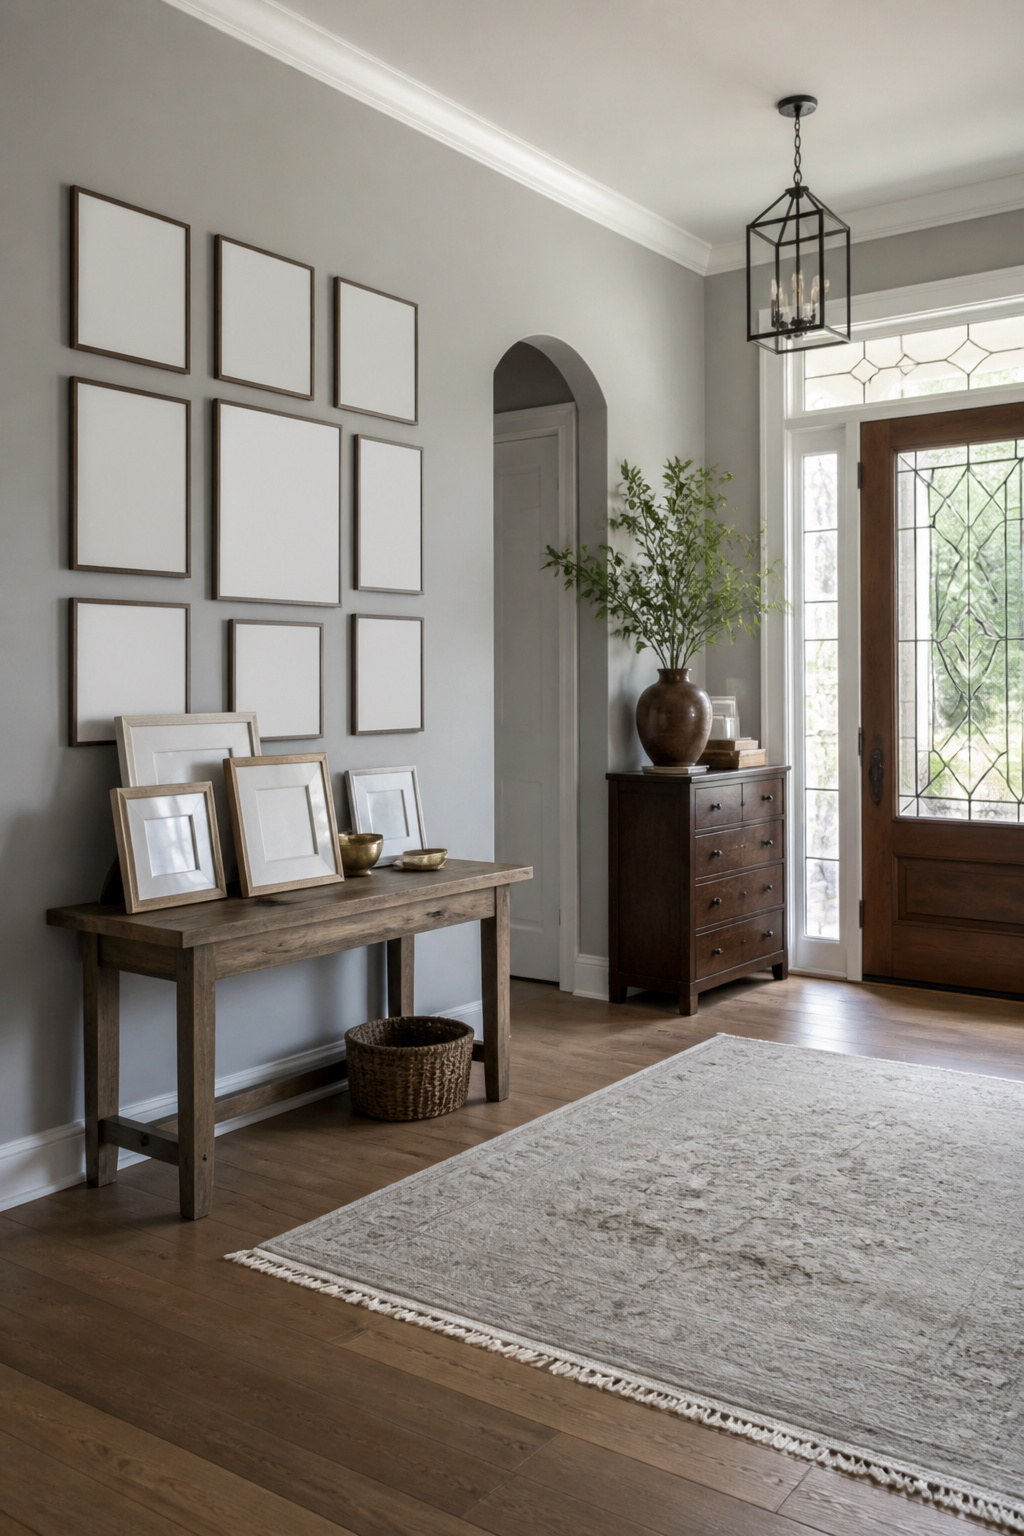
A gallery wall only works if the paint goes on before a single frame gets bought. The wall color becomes the matting between pieces, and swapping that color after the frames are in means either repainting around nail holes or starting over entirely. Decide the paint first, then hunt frames that agree with it.
Spacing rules look tidy on paper. Two inches between frames, centered at eye level, done. In practice, a frame warps, a stud falls in the wrong place, or one print runs larger than listed. The wall ends up looking lived-in or it looks wrong, and the difference is usually whether the spacing was measured from the center of each frame or from its edges. Measure centers. The arithmetic of nail placement is what you actually do in the room: mark the frame’s wire height, transfer that to the wall, and accept that the second row will need adjusting once the first is up.
This is the most reversible option if the color choice proves wrong. Fill the holes, roll two coats, and the wall is blank again. The frames move to a room where they fit.
9. Painted Wood Paneling
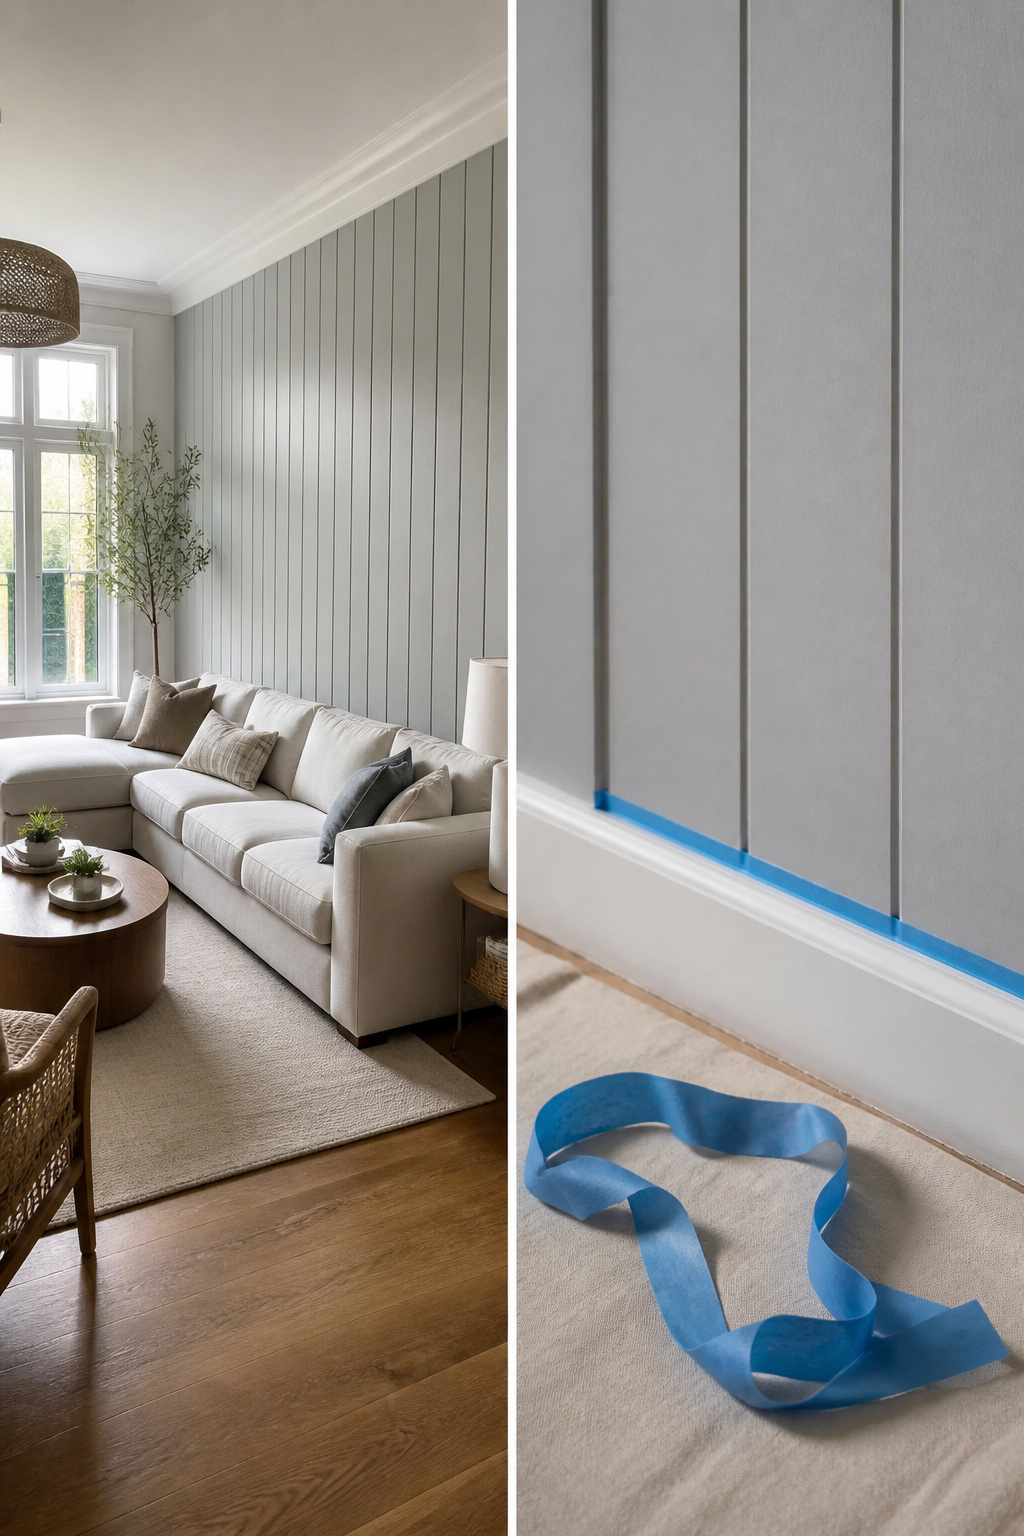
Peel-and-stick shiplap boards let you skip the miter saw, though actual boards still win if the wall is wavy or you want real shadow lines. Either way, raw wood drinks paint unevenly without primer, and the gap between boards catches drips like a gutter. Tuck a thin strip of painter’s tape into each gap before you roll, then pull it while the paint is wet. The carpentry comes first, but the finish is what sells it: one color, matte or eggshell, and the wall reads as architecture instead of add-on. I learned that lesson watching a garage-to-office conversion where the primer step got skipped; the knots bled through in six months and the whole wall had to be redone.
Choosing the Wall

The fireplace wall almost picks itself. Your eye goes there already, so a darker or bolder color just finishes the job. In a bedroom, the wall behind the headboard works the same way; the bed is the room’s natural center, and paint behind it frames sleep rather than stealing focus.
Built-ins give you a harder choice. Painting the wall behind shelves or cabinets ties the whole unit together, but the color competes with whatever sits on those shelves. I usually test this by taping up a large sheet of colored paper and living with it for two days. If the books or objects still read first, the wall shade is too loud.
The wall with the only window is the one to skip. Light draws attention on its own, and paint there creates two focal points that fight each other. The window wins every time, so the color reads as an afterthought rather than an intention.
For open floor plans, the same rule applies: pick the wall that already anchors the seating or the main activity, not the one that connects rooms. Paint the destination, not the hallway.
Color Selection

The swatch in your hand will lie the second it hits your wall. Paint stores sell samples for a reason, and the first move is brushing two coats on poster board, not directly on the wall. Poster board moves. You can carry it to the north corner at 7 a.m., the window seat at noon, and the lamp-lit side after dinner. Three times of day, minimum, before the color settles in your mind.
For the actual shade, look at what is already on the surrounding walls. Go two to three shades lighter or darker than that existing color to build real contrast without a clash. Lighter accents open up a room that already runs deep; darker ones ground a space that feels too airy.
Sheen matters more than people expect. Eggshell reads soft and still wipes clean when a shoulder grazes it. Semi-gloss gives the accent wall a slight lift and reflects more light, which works if the wall catches a window. Flat paint hides flaws but resists cleaning, so most hands skip it for a wall that sees daily life.
Prep and Tools
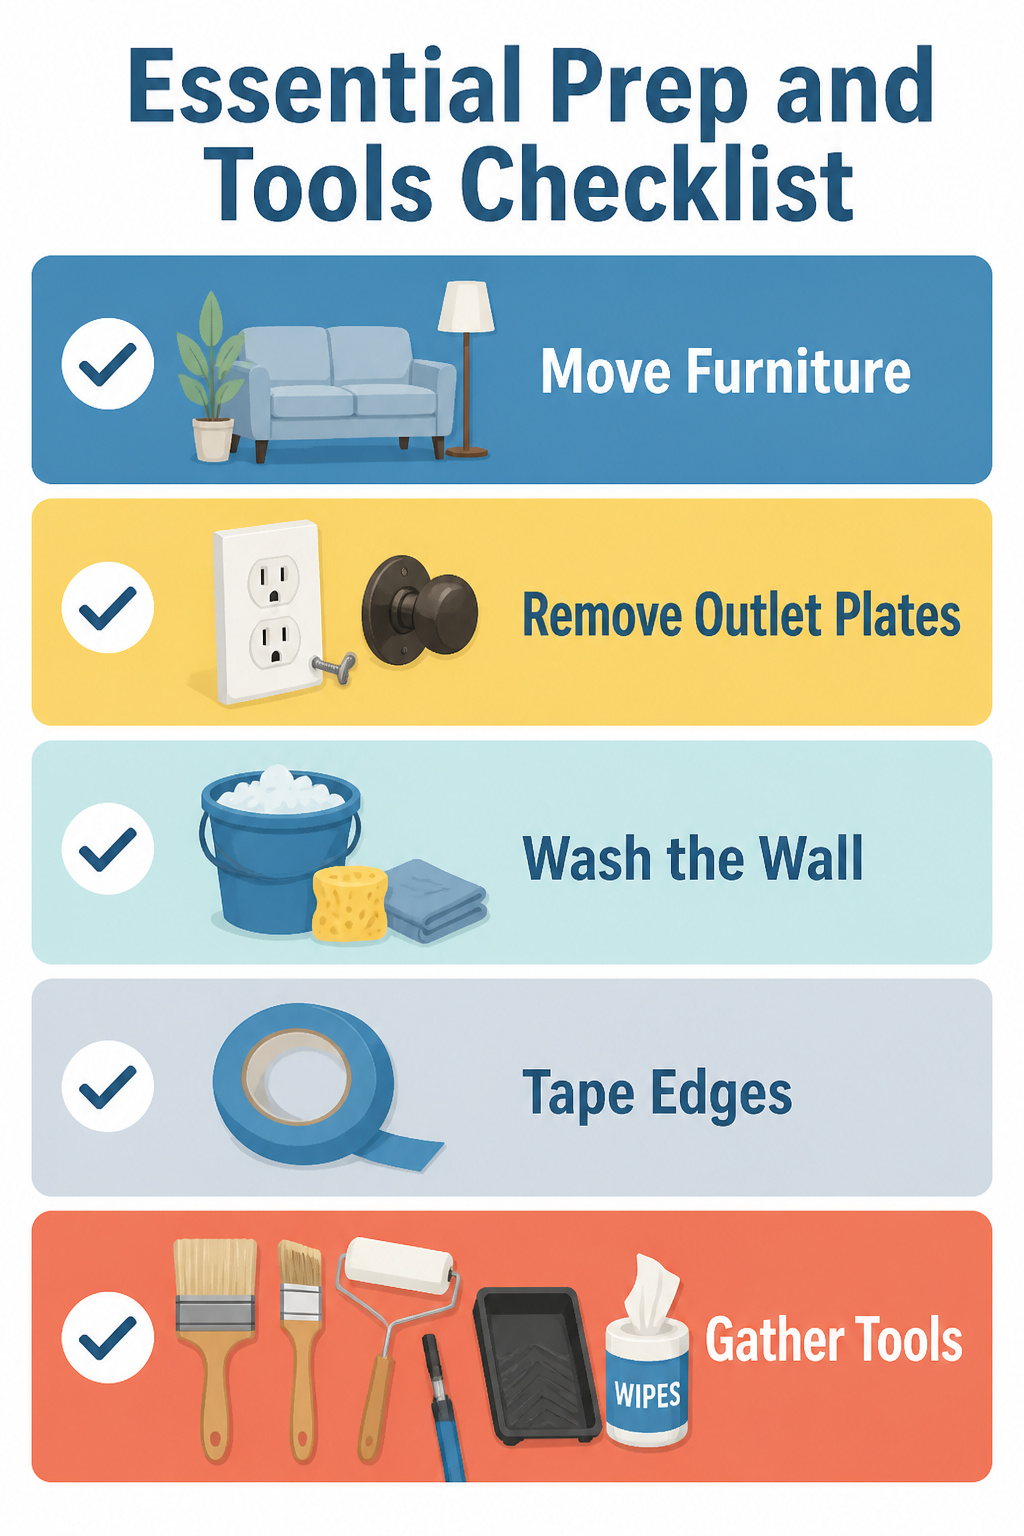
- Move the furniture to the center of the room, or out entirely if the wall is large. Cover anything that stays with an old sheet or drop cloth, and lay down canvas drop cloths on the floor rather than plastic; you can reuse them, and they do not slide around underfoot.
- Remove outlet plates and any hardware. Patch holes you will not re-hang with spackle, then dust the walls and corners.
- Wash the wall. This is the step most people skip, and it matters because paint will not bond to grease, dust, or the faint residue left by years of hands near light switches. A quick wipe with warm water and a little dish soap is enough; let it dry fully.
- Tape off the edges with painter’s tape: baseboards, ceiling line, and adjacent walls.
- Gather the tools. A good basic brush, an angled brush for corners, a roller with an extension pole, a paint tray, and wipes for the mistakes you will make. Have the paint shaken at the store, or stir it thoroughly with a wooden stick before you start.
Budget and Paint Math
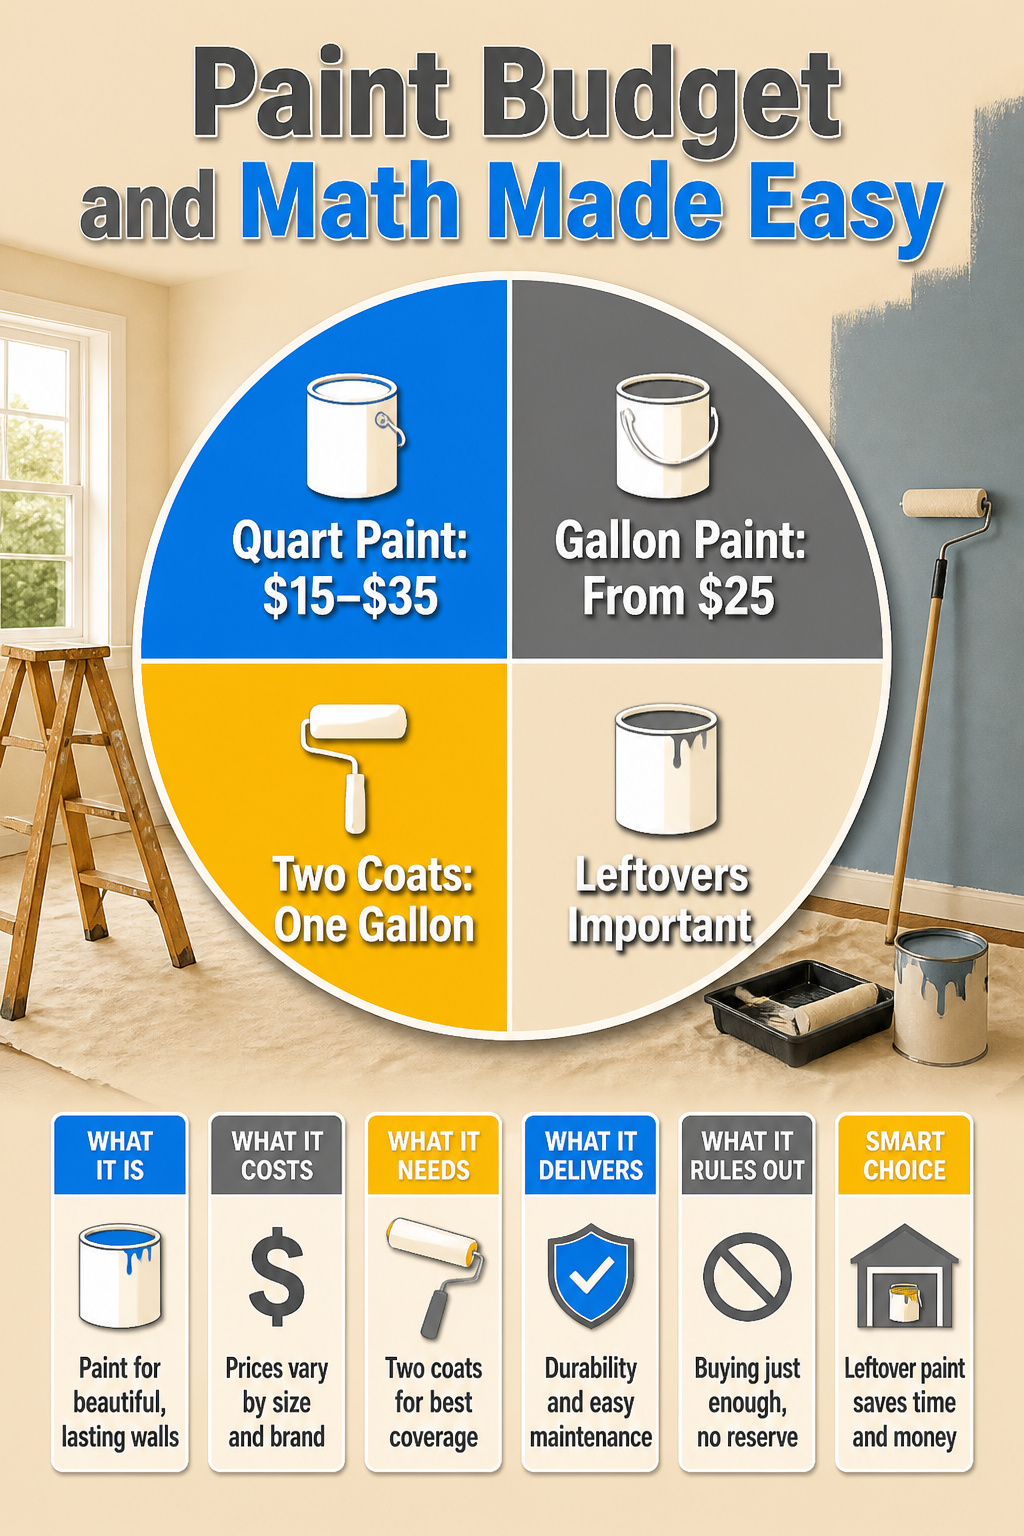
A quart of decent wall paint runs $15–$35, while a gallon starts around $25 and climbs with the brand. For most feature walls, one gallon covers two coats with paint left over, so the quart only makes sense if the wall is genuinely small. I learned the hard way that buying exactly what the math calls for leaves nothing for scuffs later. The leftover half-gallon from a "too much" purchase sits in the garage and earns its keep when the dog knocks a frame into the wet corner six months down the line. Sheen bumps the price a little, though the jump from flat to eggshell or satin is usually swallowed in the base cost rather than broken out separately.
Frequently Asked Questions
How can I easily create an accent wall?
Pick the wall your eye already goes to, like one with a fireplace, your bed, or built-ins, and paint it a color two to three shades lighter or darker than the surrounding walls. One gallon of paint runs about $25 and covers two coats with some left over for touch-ups later. The whole job usually fits inside a single Saturday morning.
Should my accent wall be lighter or darker?
Go two to three shades lighter or darker than the existing wall color for contrast that reads as intentional. Dark on light wakes a space up; light on dark gives it breathing room. If the room already runs deep and dim, a lighter accent opens it up. If the room feels too airy, a darker shade grounds it.
What is the rule for accent walls?
Paint the destination, not the hallway. Choose the wall that already anchors the seating or main activity, or one with natural focal points like a fireplace or headboard. Avoid the wall with the only window, since light and color will fight each other and the window wins every time.
How much paint do I need for a feature wall?
One gallon is enough for two coats on most feature walls, and you will likely have paint left over. A $15–$35 quart only makes sense for a genuinely small wall. Buy the gallon even if the math says less; leftover paint pays for itself when you need to fix a scuff six months later.
Which wall should I choose for a feature wall?
The fireplace wall or the bed wall usually wins because your eye already goes there and paint just sharpens what the architecture started. Built-ins work if you test first; tape up colored paper and live with it two days to make sure the wall color does not drown out what sits on the shelves.





