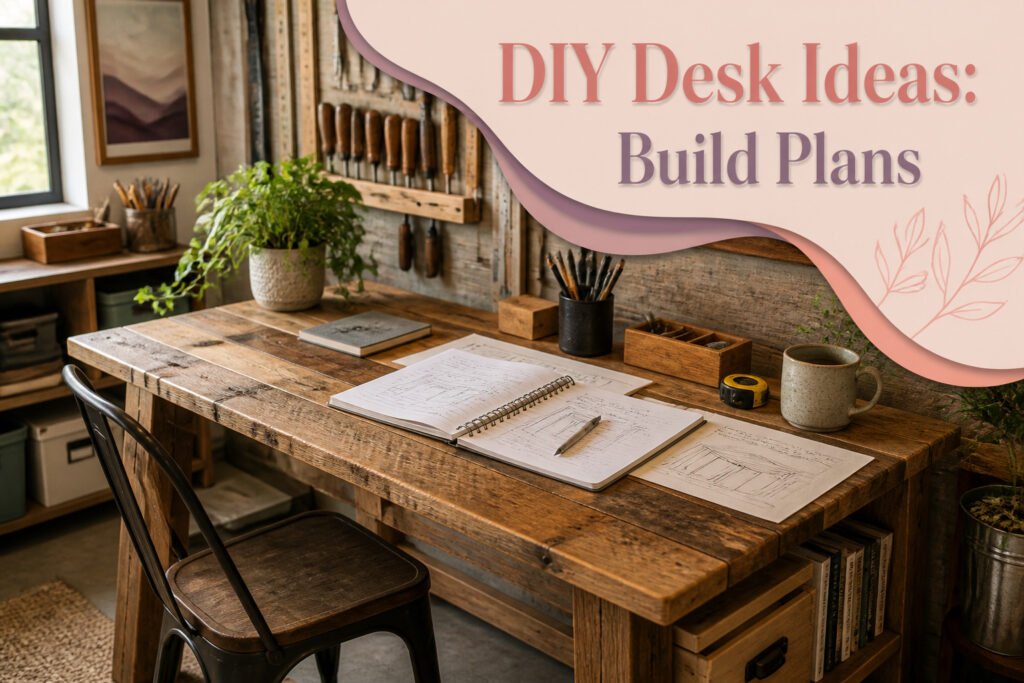
The right DIY desk ideas for 2026 run from a $30 plywood sheet finished this afternoon to a live edge slab that needs a sawmill and bow ties to keep it from splitting. What separates them is not skill level but what your room demands: floor space you cannot spare, a corner that is not actually square, or a surface tall enough that your shoulders drop instead of hunch.
1. DIY Plywood Desk
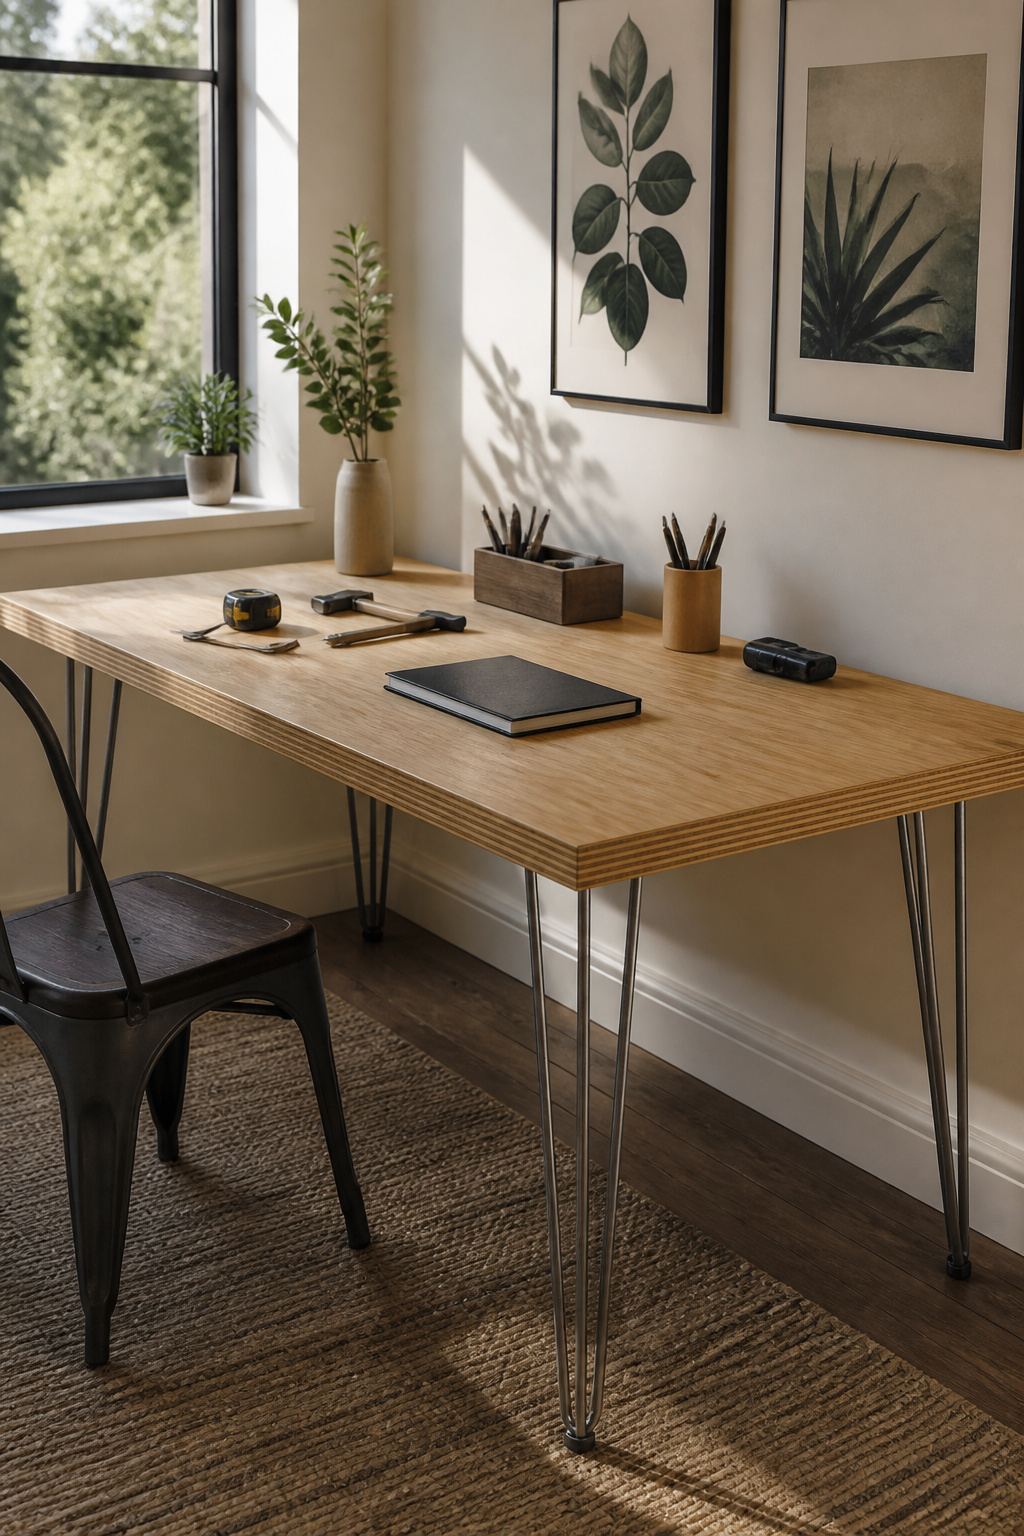
Plywood wins for a desk you can actually finish today. The constraint that makes it interesting is building from one sheet of plywood, a challenge that forces clean decisions about every cut.
A standard sheet runs 4 by 8 feet. For a 24 by 84 inch desktop, that leaves enough material for simple legs or a modest support structure if you plan the layout before cutting. Most home improvement stores will rough-cut the sheet for you, though a table saw or circular saw with a straightedge guide gets the edges truly square. Hairpin legs are the shortcut here: four of them plus a plywood top, and the project wraps in a few hours.
Cost stays low. One source puts a 10-foot wood desktop under $30; a single plywood sheet and basic legs typically lands in a similar range, though prices move with lumber markets and your choice of leg hardware.
The look is deliberately plain, which is either the appeal or the limitation. Paint, stain, or leave the edges exposed depending on whether the room needs warmth or utility. For a shared kids’ room or a first home office, the tradeoff favors speed and cost over ornament.
2. DIY Floating Desk

A floating desk turns the dead wall space of a guest bedroom into a workspace without swallowing the floor. The whole point is that the floor stays open, which makes the room read larger than it is.
The build itself stays simple. Plywood and pine boards do the work, and two tools handle the cuts. What actually keeps the thing from tipping forward comes down to the bracket choice. L-brackets mounted into studs carry the load, and rope with rope loops adds a second anchor point against sagging over time. Skip the stud finder and you will find out the hard way why drywall anchors do not belong here.
For a compact workspace, a single sheet of plywood or a piece of lumber cut to roughly desk depth gives you enough surface for a laptop and a notebook. Anything deeper and the cantilever starts to fight you. I have seen builds where the maker left the front edge raw and others where a pine board facing cleaned up the plywood edge; the facing adds weight but stops the splintered look.
This is the kind of project you finish in an afternoon if the wall is already clear and the studs cooperate. Paint it to match the wall and the desk almost disappears, which is exactly what you want in a room that doubles as guest space.
3. DIY Industrial Desk
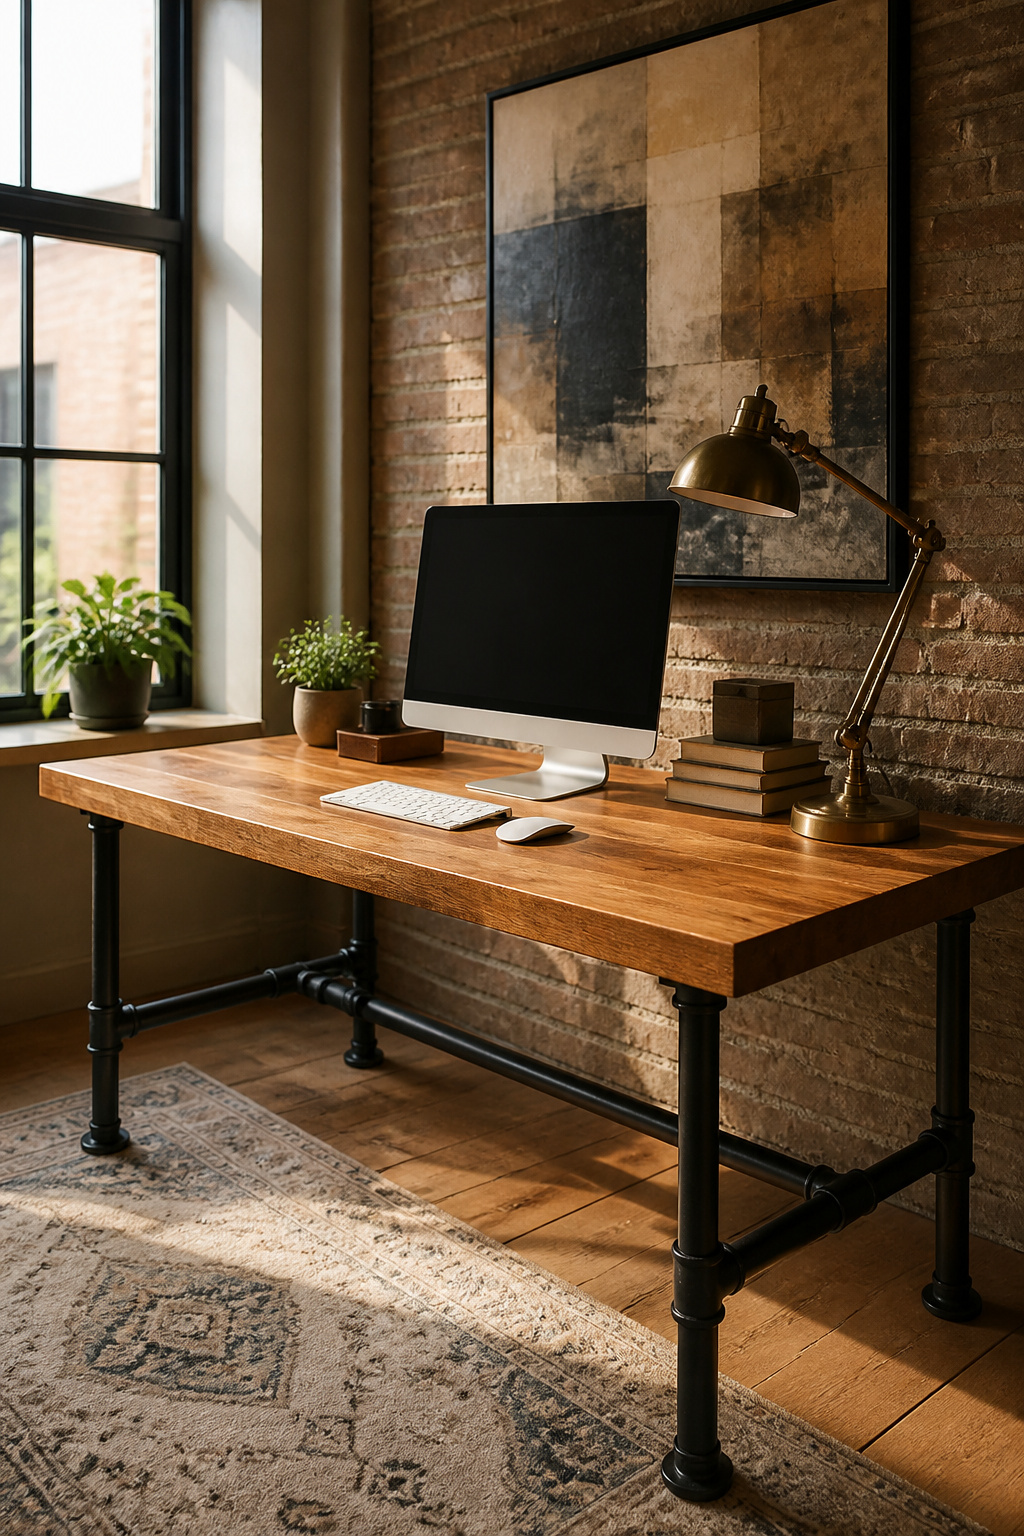
Metal pipe frames pair with wood tops better than they have any right to. The cold, threaded steel against a warm butcher block surface gives that industrial feel without turning your office into a machine shop. Black iron pipe is the common starting point, though galvanized pipe works if you want something brighter against unfinished wood.
Two leg styles dominate what you’ll actually find in stock. Pipe and fittings form a frame you thread together yourself, with floor flanges at the base and casters if you want the desk to roll. Angle iron is the other route: flat steel bolted or welded into a rectangle, simpler and lower to the ground. Either way, the frame handles the weight of the top plus anything you stack on it, which matters more than people assume once you add monitors, books, and the occasional leaning elbow.
The wood choice is where the look lands. Unfinished butcher block against black pipe reads intentional; a stained top against bright galvanized steel reads retro. File cabinets or scrap wood can sub in for the legs entirely, with a hardwood top bridging across.
Standing desk conversions follow the same logic, just longer pipes. The industrial vibe holds because the materials stay honest: wood and metal, nothing hidden.
4. DIY Corner Desk

Corners look like free real estate until you try to put a desk in one. The gap where two walls meet swallows ordinary legs, and the joint where surfaces turn ninety degrees takes stress that a simple butt joint won’t survive for long.
Measure from the corner out along each wall, not the other way around. Most rooms aren’t square, and the back edge of an L-shaped top needs to match the actual angle where it meets the wall, not the ideal one in your head. I mark the floor with painter’s tape first and live with the footprint for a day before cutting anything.
For the inside corner where legs cannot sit, a cleat screwed to both walls at desk height carries the load invisibly. I use a 2×4 ripped to the height of the gap and lag it into studs; the desktop drops onto it and the front legs take the rest. The joining edge itself needs reinforcement. A metal bracket underneath, or biscuits if you have the patience, keeps the two planes from drifting apart under weight. Screws through the top alone telegraph through the finish and eventually loosen.
Simpson GA2 brackets and #8 x 1 inch lath screws anchor the legs to the underside. A 2 inch screw from the top plate into the leg is the right length; longer risks punching through the surface you are trying to keep clean.
5. DIY Standing Desk
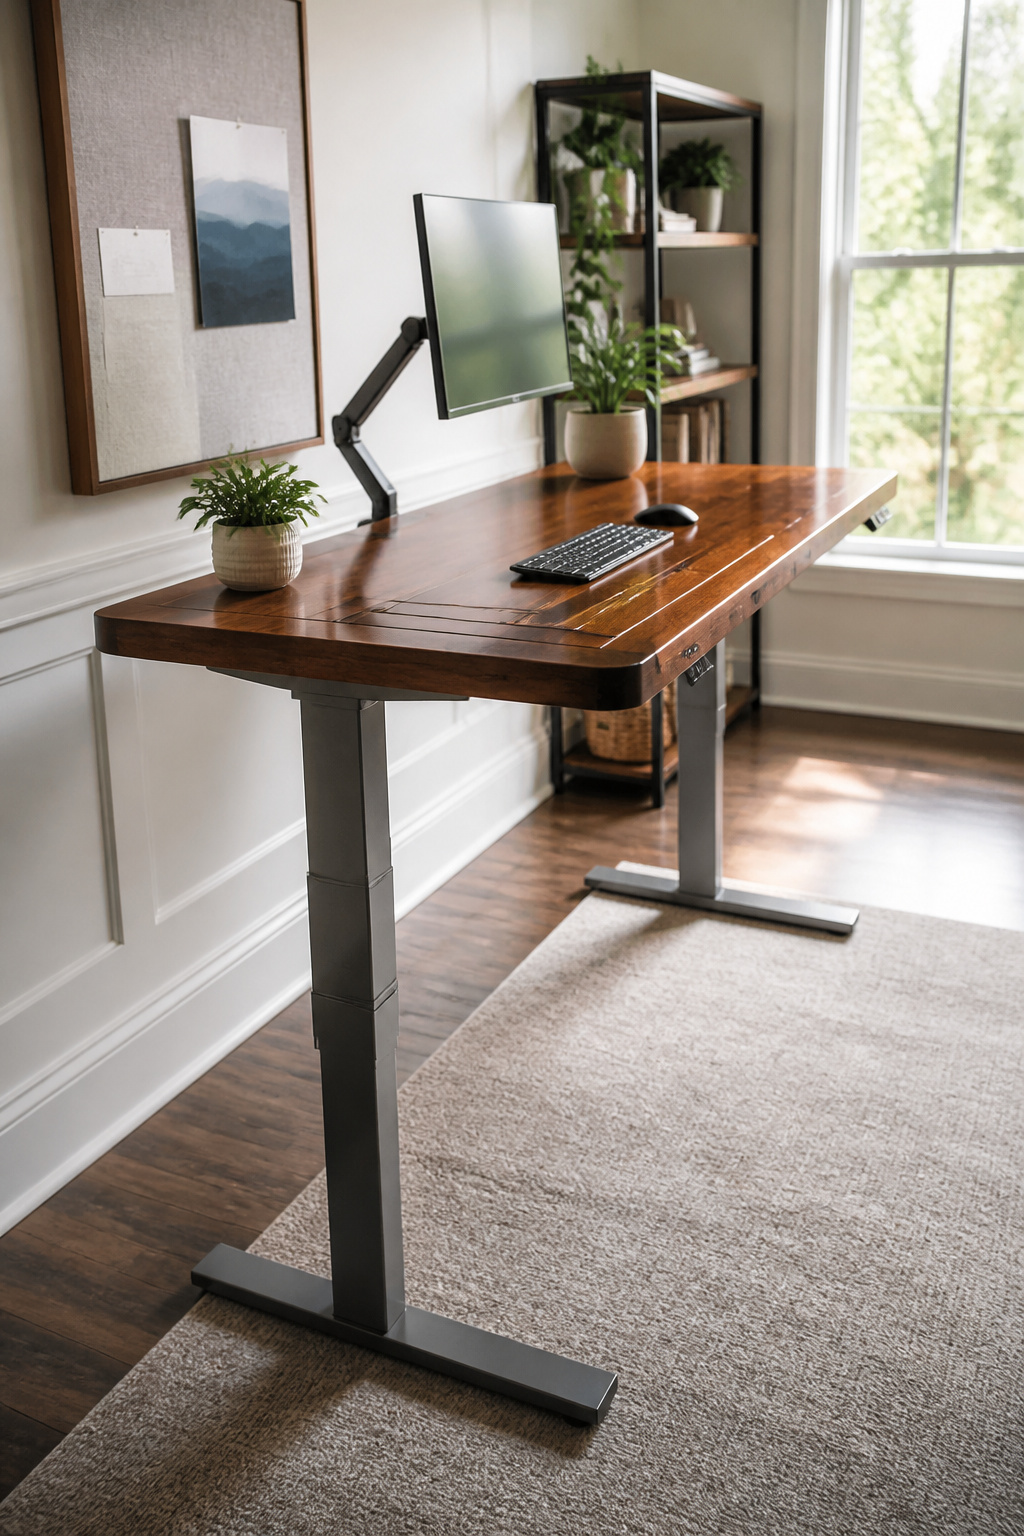
A standing desk only earns its keep if the height actually adjusts to both your sitting and standing posture. Most seated desks sit around 28–30 inches, which works for an average-height adult in a standard chair. Standing height adds roughly 12–16 inches on top of that, though your elbow angle matters more than any number: forearms parallel to the floor, shoulders dropped, not hunched.
Manual lift mechanisms, the crank or gas-spring varieties, cost less upfront and fail less often. The tradeoff is friction. Cranking a loaded desk from sitting to standing takes half a minute and enough turns that you stop bothering after the first week. Motorized bases move at the press of a button, which means you actually alternate positions. Motors burn out, though, and replacement legs run nearly the price of a new frame.
For a DIY build, the frame does the work and the top just rides along. A solid-core door or 3/4-inch plywood slab bolts straight to most adjustable legs with basic hardware. The legs themselves, manual or electric, ship as kits with pre-drilled rails. Assembly is straightforward; leveling on an old floor is not. Weight capacity varies by frame rating, and a heavy monitor arm at full extension will test whichever mechanism you chose.
6. DIY Crate Desk
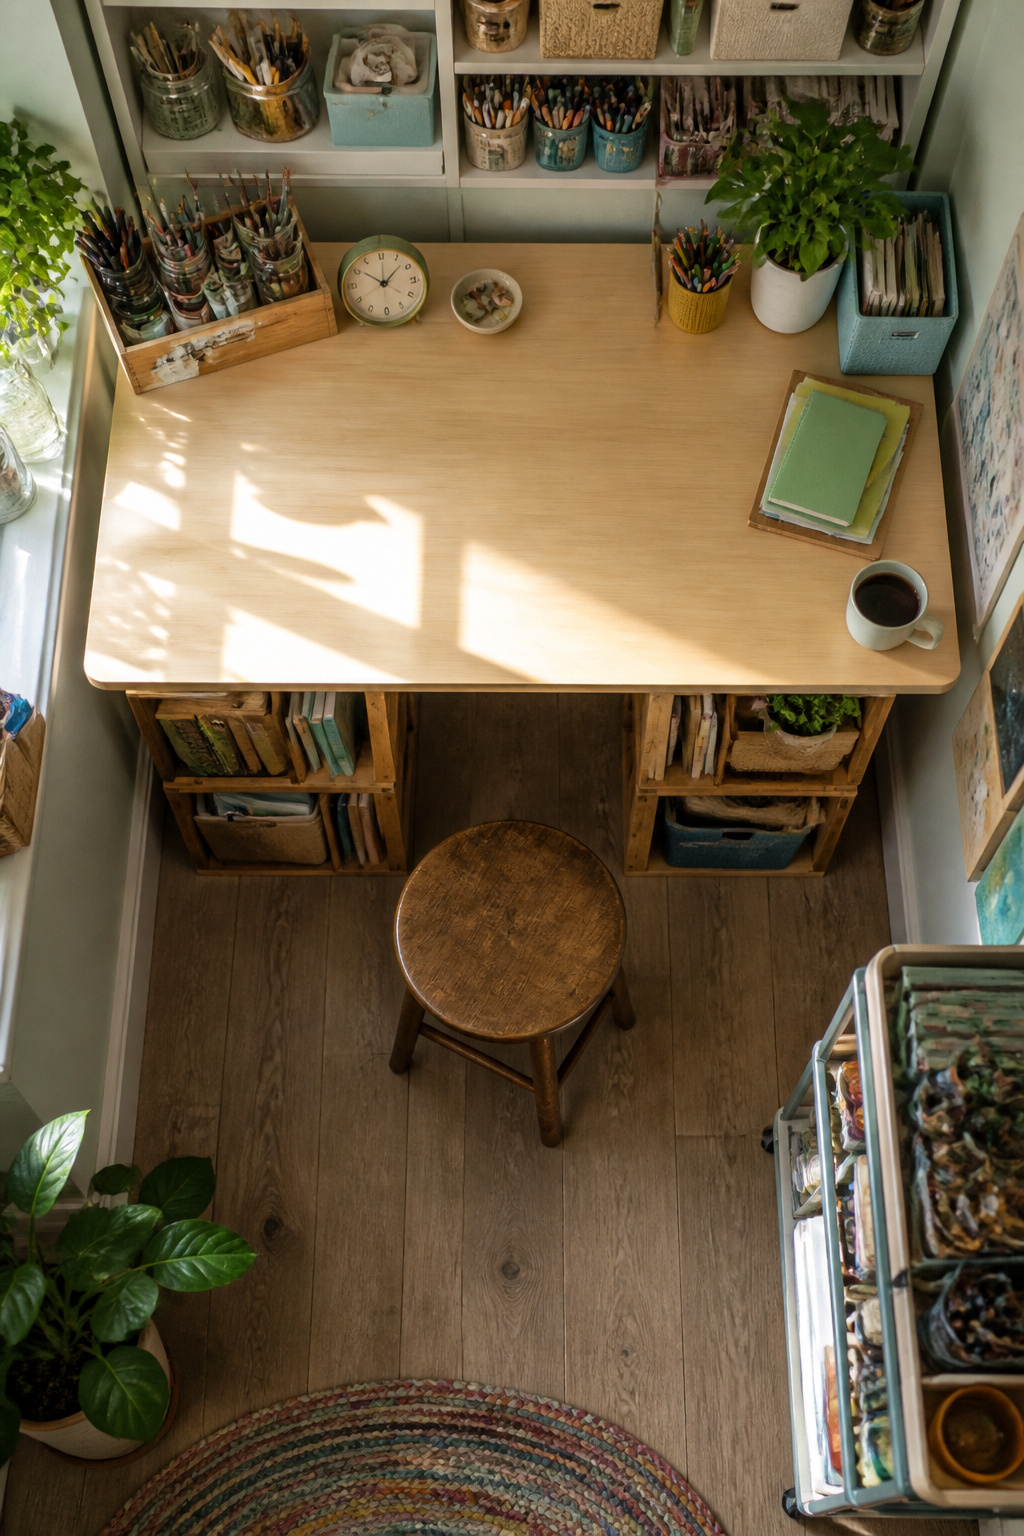
Wooden crates stack into a desk base faster than almost anything else you can haul home in a car. Standard grocery-store crates run roughly 18 inches long, 12 inches wide, and 9 inches tall, though the ones from the home center sometimes hit 20 inches square. Two of them set side by side give you a 36-inch width; three in a U-shape leave leg room in the middle and storage facing you from both sides.
The top is where you spend the money. A 1-inch pine board spanning more than about 30 inches between supports will sag under a monitor’s weight inside a year, so either keep your crate span tight or step up to a ¾-inch plywood panel with a hardwood banding strip on the front edge. Screws through the crate corners into the underside of the top hold everything together without brackets showing.
With a price tag around $60—and an assembly process that doesn’t demand any special skills—even a budget-conscious beginner can handle it.
— Bob Vila
That figure lands about right: crates at $10–15 each, a cut-to-size top from the home center under $40, and a handful of screws you probably already own. Sand the crate handles smooth before you build, or your knees will remind you every time you slide in to work.
7. DIY Butcher Block Desk

A solid walnut countertop turned desk top carries the kind of weight that makes you notice it. Mine arrived at 1-1/2 inches thick, which sits right in the range where the surface stops looking like a shelf and starts looking like furniture. Anything under 1-1/4 inches risks flex, and the jump from a thin ply top to real butcher block depth is the difference between a table and a desk you trust.
The food-safe finish question comes up because butcher block ships ready for kitchen duty. Mineral oil or beeswax works fine against coffee cups, but it transfers. For a desk, I switched to a harder film finish, a water-based polyurethane, and sanded between coats. The walnut still reads as walnut, just without the oily residue on my forearms.
Legs are where the budget flexes. Pre-fab metal legs bolt straight through, or IKEA Alex drawers carriage the ends with a gap in the middle for a chair. The drawer route costs more than the top did, which flips the "budget project" label fast. Two ways to play this: spend on the surface and go simple underneath, or get the storage look and accept that the block itself is the splurge.
8. DIY A-Frame Desk
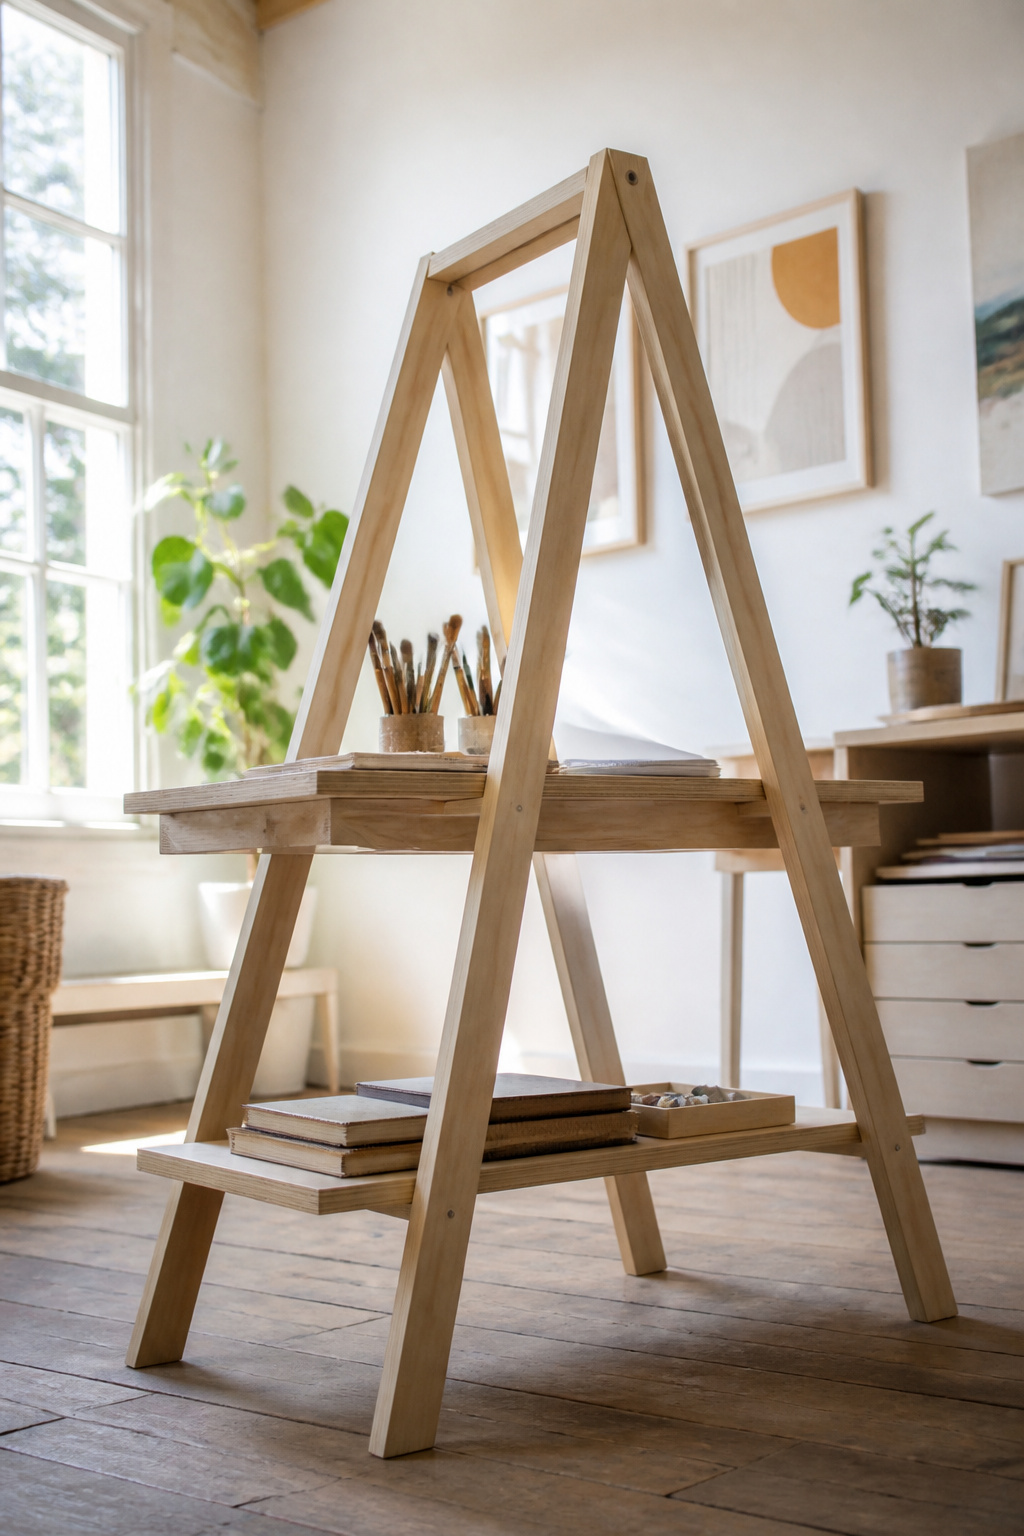
The A-frame desk gets its look from two angled legs that meet at the top like tent poles, with a flat panel stretched between them for the work surface. What keeps the whole thing from folding sideways is the shelf or drawer box that bolts the legs together at the bottom, turning a pair of loose triangles into a rigid frame. The sources describe two drawers flanking an open cubby, which means that storage unit is doing structural work, not just holding pens.
Plywood and 2×2 lumber are enough to build the whole thing. Four tools covers it, which lands this squarely in the afternoon-project zone for someone who already owns a drill and a saw. The Scandinavian feel comes from keeping the lines clean and the bulk low, so the storage reads as negative space between the legs rather than a cabinet tacked underneath.
One detail worth watching: the shelf that prevents racking has to stay square during assembly. Clamp it flush before driving screws, or the desk will rock on any floor that is not perfectly flat. The video tutorial floating around covers the joint sequence if the still photos leave you guessing which piece lands first.
9. DIY Live Edge Desk
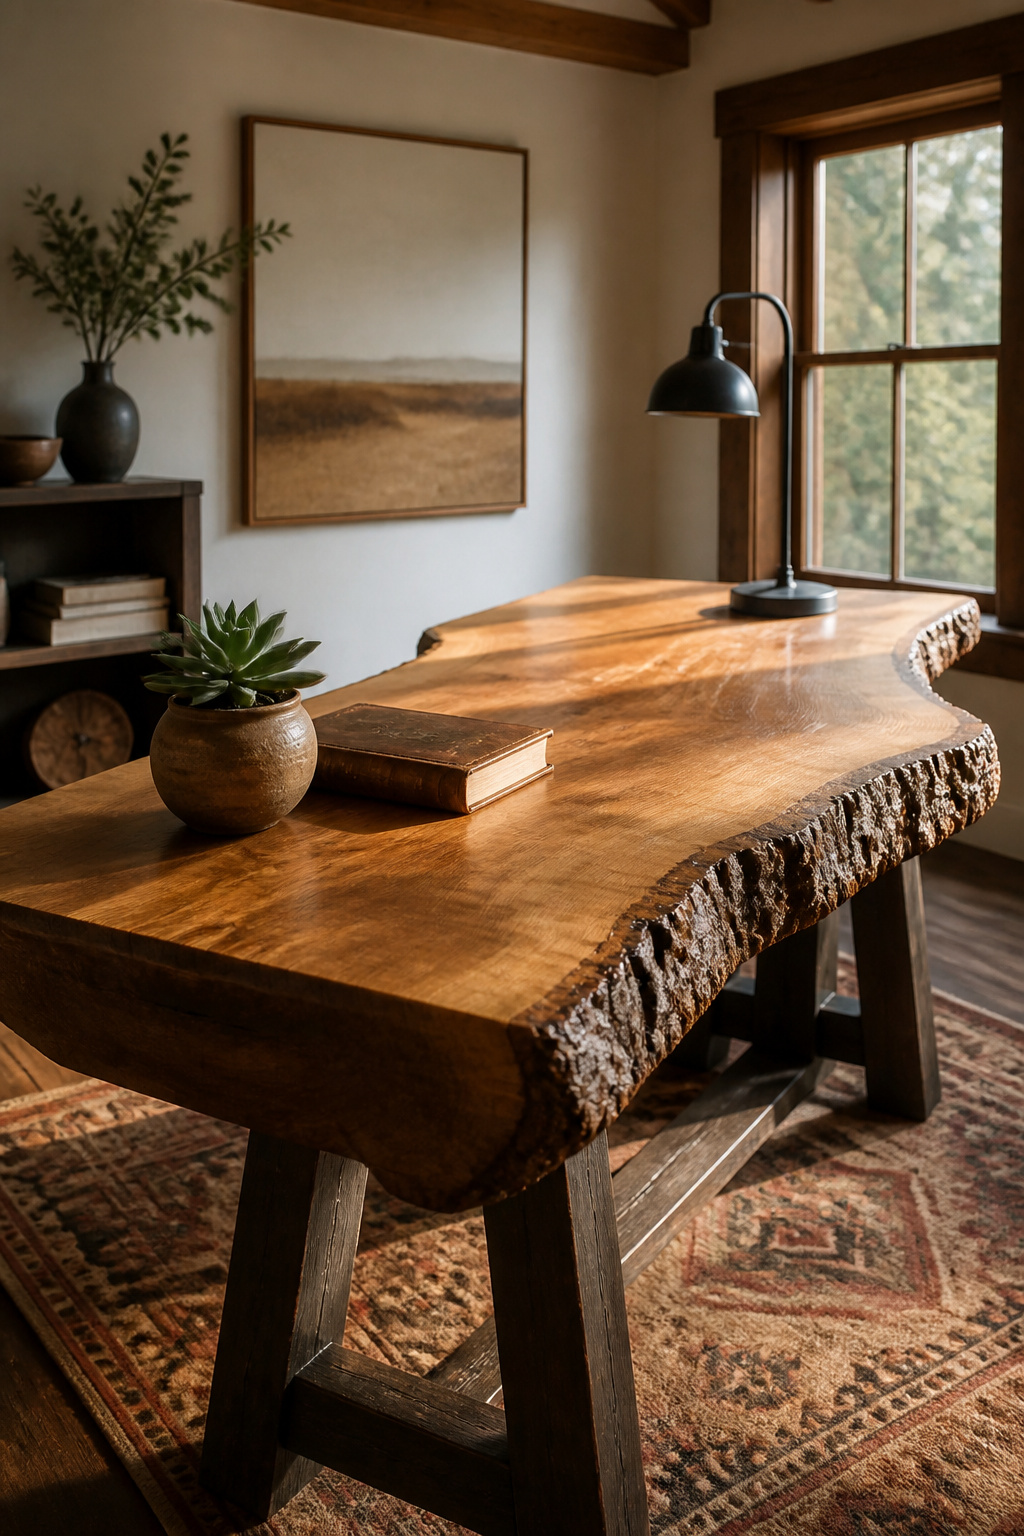
A live edge slab with the bark still on brings something factory desktops never will: the tree’s original outline, right there where your coffee sits. Sourcing one means finding a local sawmill or urban lumber outfit rather than a big box store. Ask them to cut it so the bark edge faces the room; the flat side goes against the wall, where the irregular line won’t matter.
The cracks are where this build lives or dies. A slab that looks solid on the rack often opens hairline splits once your heated house pulls moisture out. Bow ties, those butterfly-shaped inlays across the crack, do the actual mechanical work of keeping it from spreading. Epoxy fills the gap and locks the tie in place. Skip the bow ties and the crack wins; the desk warps or snaps within a season.
Against the wall, that wavy edge creates its own problem. The gap runs uneven from an inch to nothing, and dust collects where you can’t reach. A thin strip of the same species, ripped to follow the contour and glued on as a backer, gives you something to caulk to without losing the silhouette. Paint it wall-color and the line disappears; stain it to match and it reads as shadow.
10. DIY Desk with Drawers
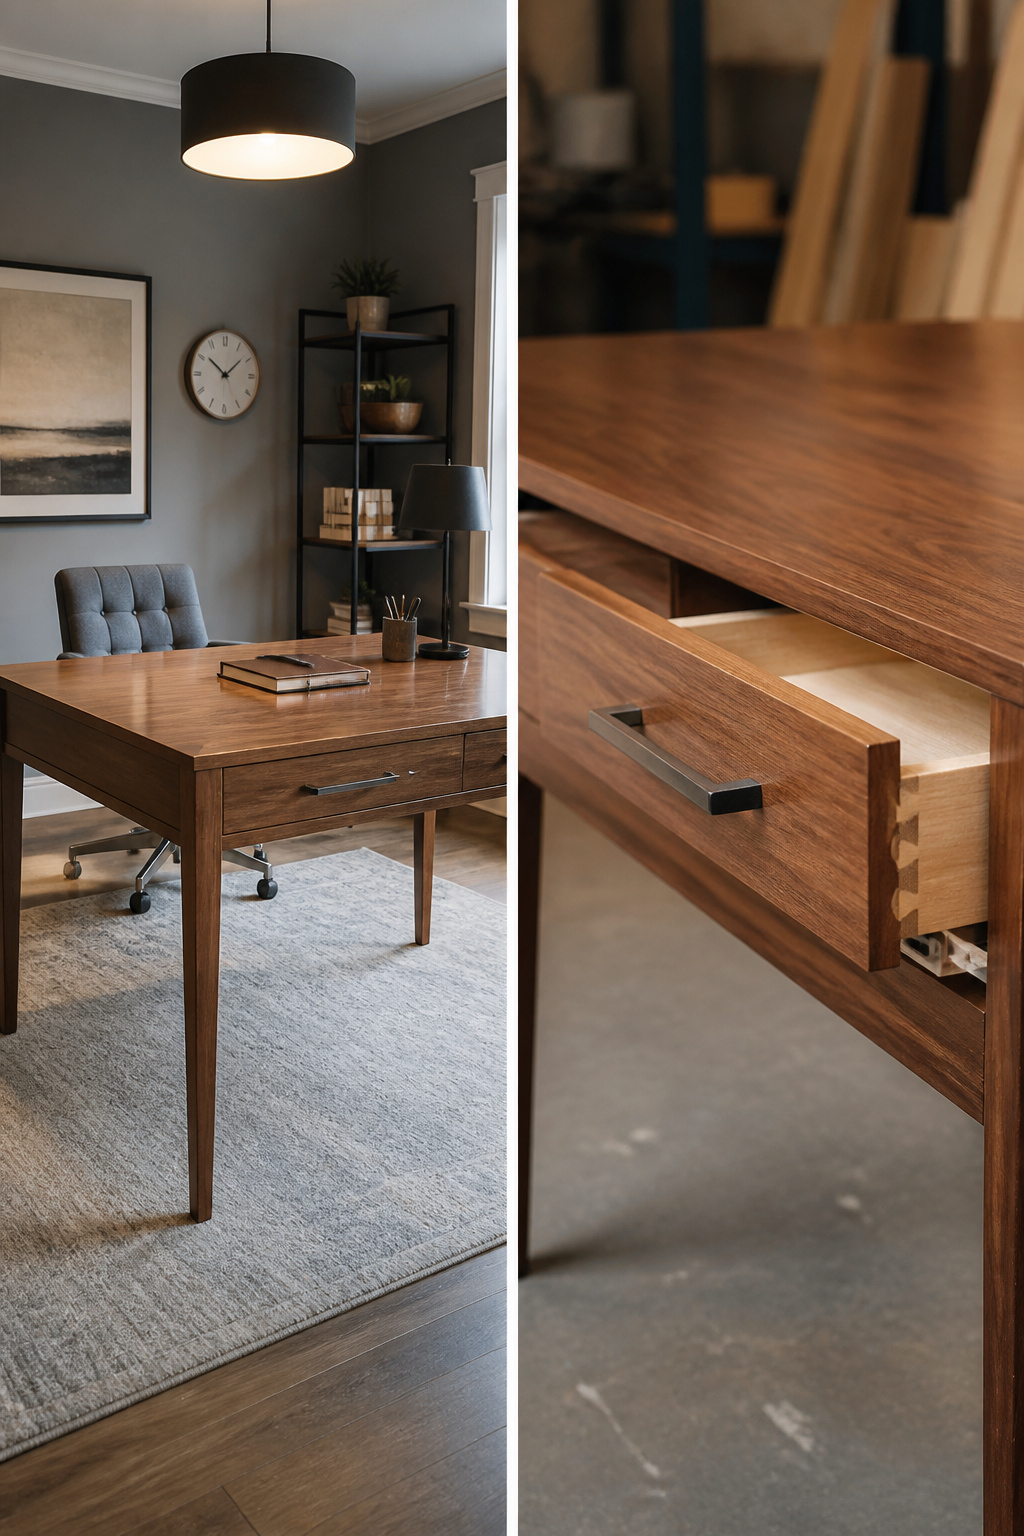
A desk without drawers is just a table with ambition. The drawer box itself is the place most first builds go wrong: four pieces of plywood, a bottom panel, and the temptation to trust your eye instead of a square.
Brad nails and glue will hold a drawer box, but only if the box is square when the glue sets. I clamp a carpenter’s square into one corner while I tack the opposite corner, then move the square and repeat. Skip this and the drawer becomes a parallelogram that binds or jams.
Side-mount slides screw to the cabinet wall and the drawer side. They are forgiving of slightly imperfect boxes and cost less. Under-mount slides hide beneath the drawer, which looks cleaner, but they demand precise width: usually the drawer box must measure exactly one inch narrower than the opening, no fudging. For an afternoon build with basic tools, side-mount saves the headache.
Wood glue on the joint, two brad nails to hold it while the glue dries, and the square locked in place. The bottom panel gets glued and nailed last; it does the real work of keeping the box rigid over time. Drawers take the punishment of daily use, so the glue matters more than the nails.
What You Need Before Starting
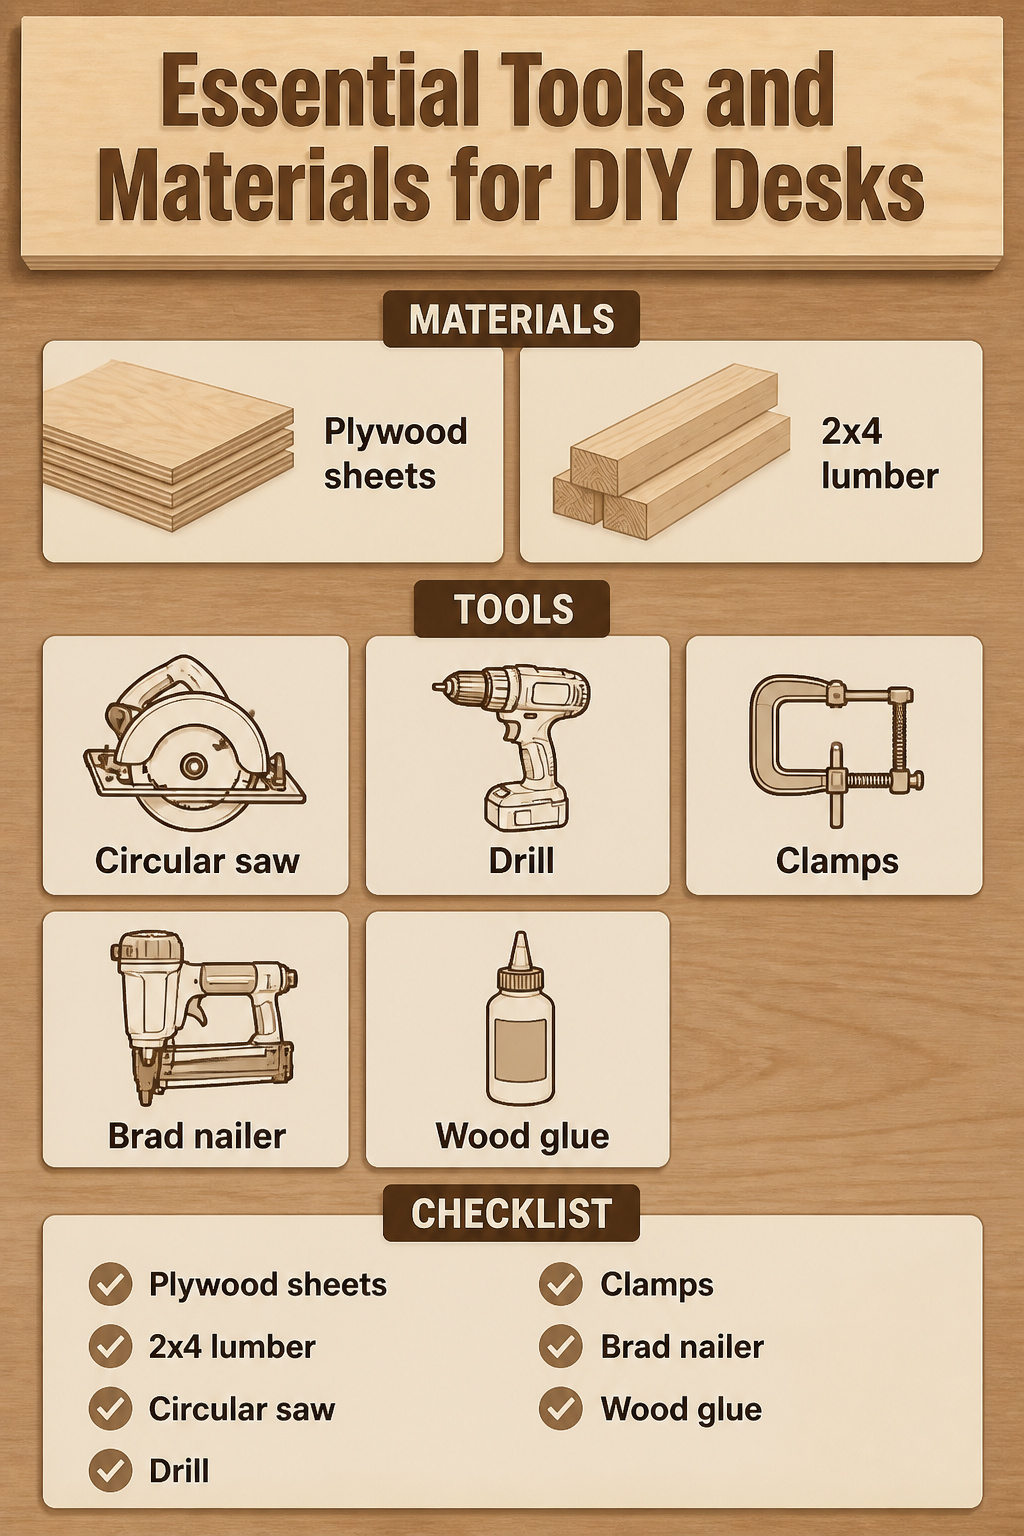
Most of these desk builds pull from the same small pile of materials. Plywood and 2x4s cover the majority of projects, with crates showing up as ready-made legs or storage bases that save you from cutting joinery. A few designs add hairpin legs for a lighter look, but the wood itself does the heavy lifting.
The tool list is short enough to fit in a closet:
- Circular saw for breaking down sheet goods and lumber
- Drill for screws and hardware
- Clamps to hold pieces square while fasteners go in
- Brad nailer for trim and thin stock
- Wood glue on every joint that does not need to come apart later
None of these builds require welding, a router table, or learning dovetails. A straight cut and a square corner get you most of the way there. I have watched people overthink the skill barrier on plywood desks in particular; the material is forgiving, and a curved shelf like the one in that bent-plywood design is actually the exception, not the rule.
What These Builds Actually Cost
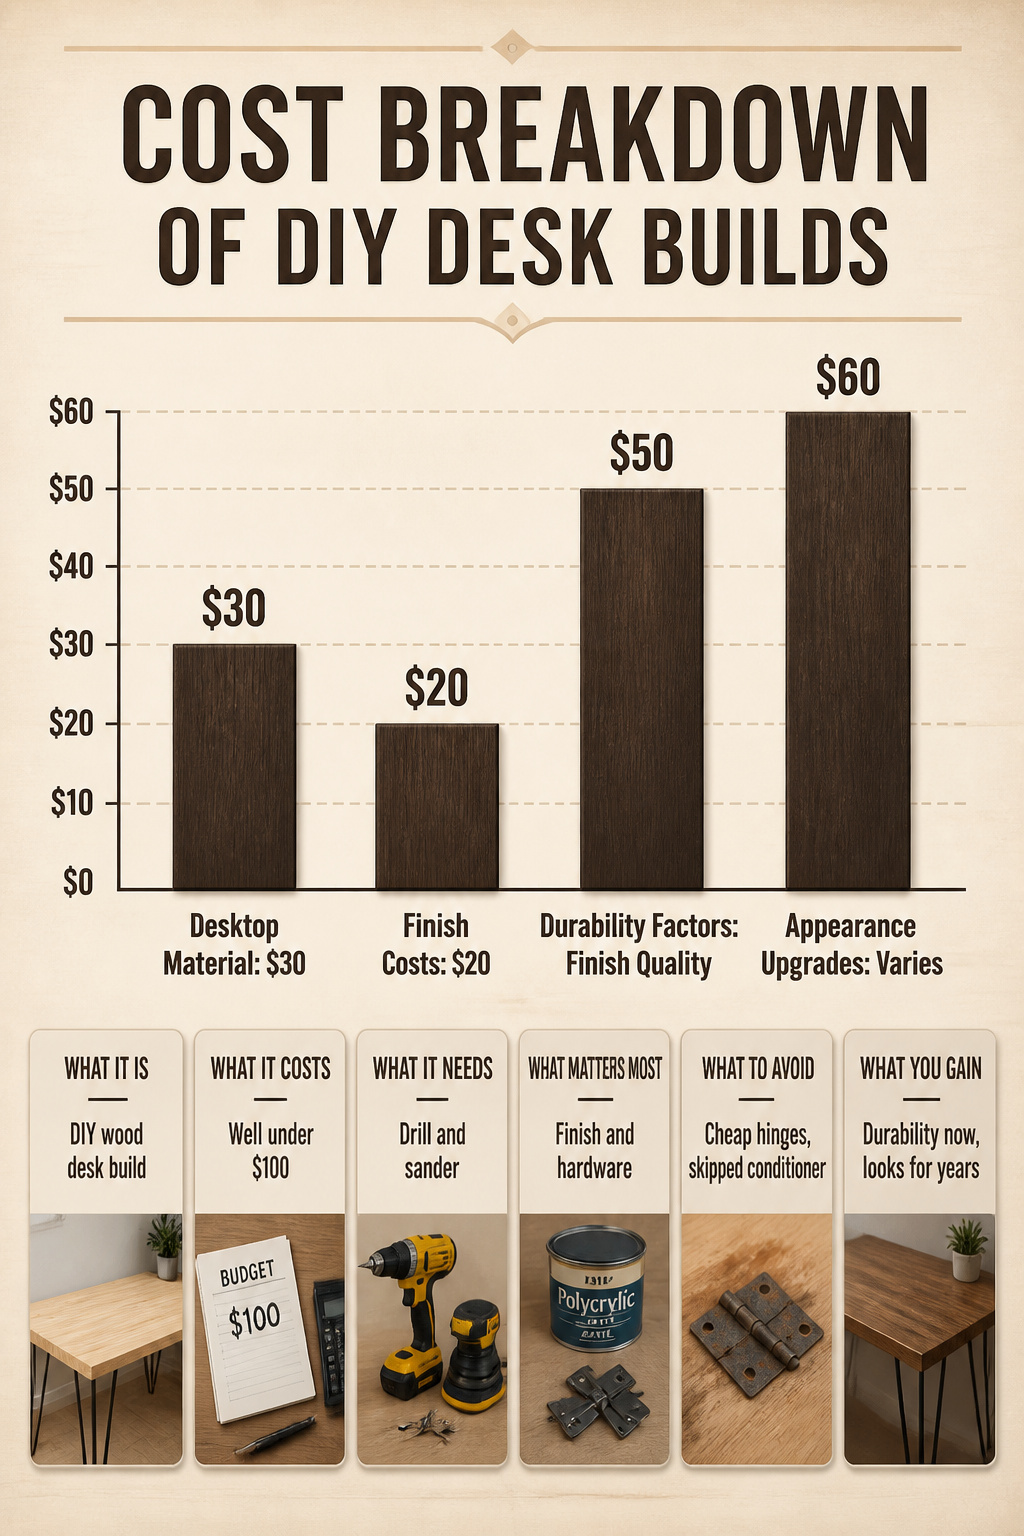
Most of these builds clock in well under $100 if you already own a drill and a sander. A DIY wood desktop can land around $30 using three 1x8x10 pine boards and a 1/2x24x10 pine board as the plank base, with a 1x2x12 furring strip for support. That leaves room for stain, wood filler, and a can of Polycrylic in matte finish without touching the next price bracket.
Where to spend more depends on what wears out first. Durability lives in the finish and the hardware: cheap hinges sag, and skipped conditioner lets pine blotch. Appearance upgrades, like stepping from furring strips to clear pine or adding Golden Oak layered with weathered oak, mostly change how the desk photographs. One is a repair you make in year two; the other is a choice you look at every morning.
Sizing a Desk to Fit Your Body
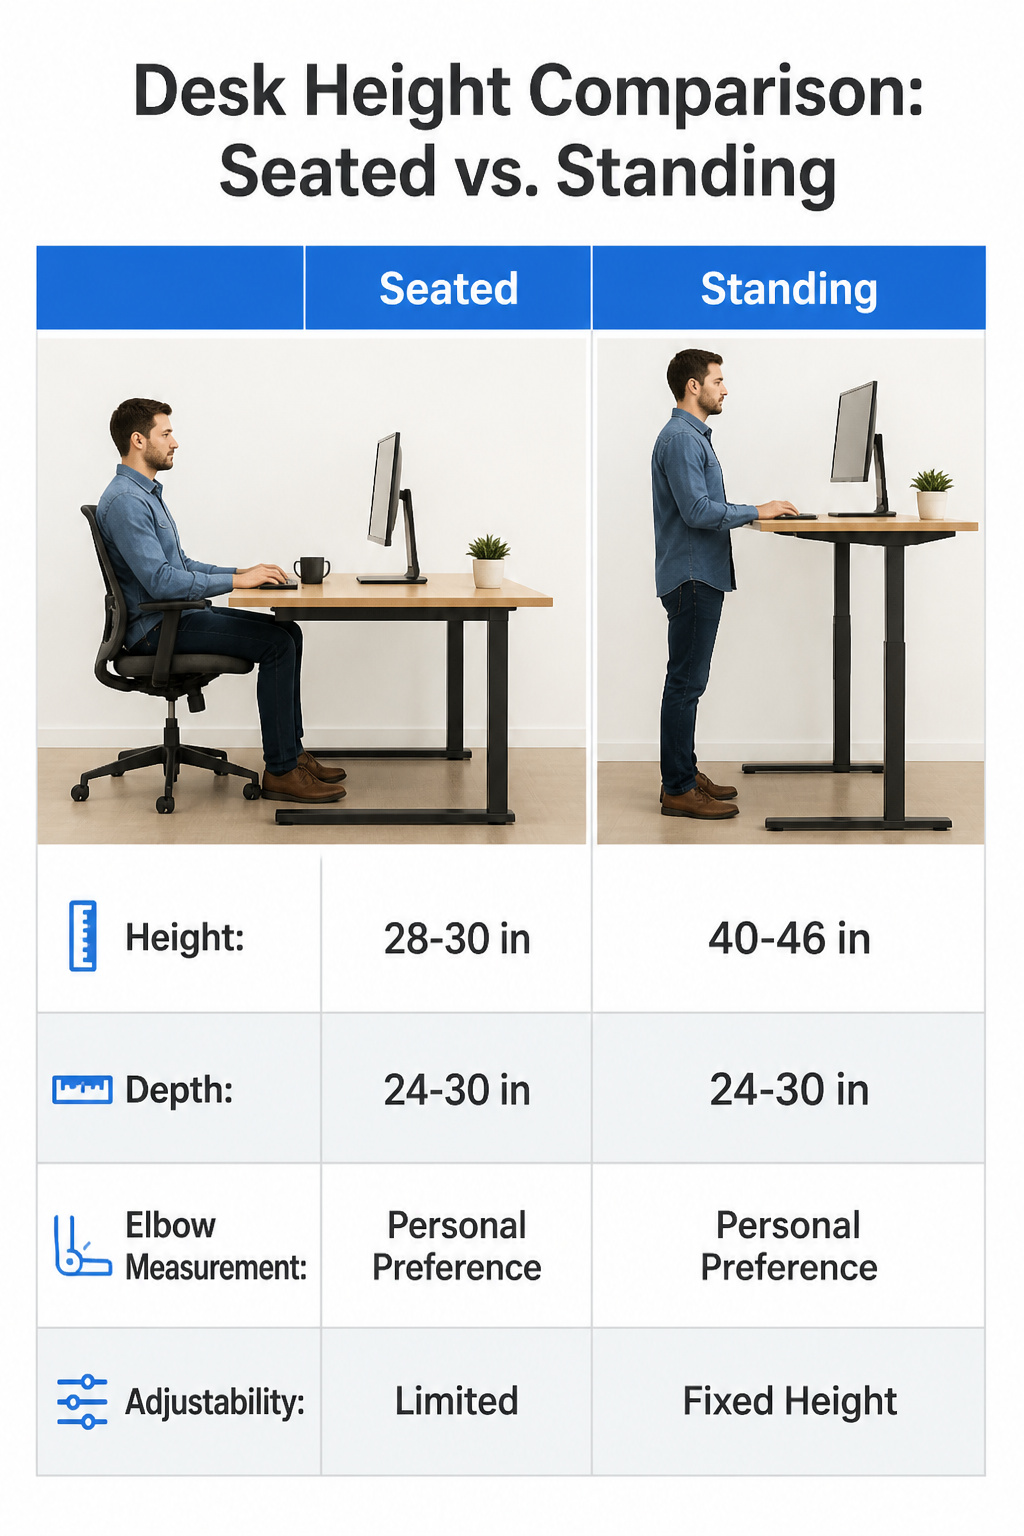
The standard desk height of 28–30 inches works for most seated adults, but your own elbow tells a more accurate story. Bend your arm at a right angle like you’re typing, then measure from the floor to the bottom of your forearm. That number is where your desktop should sit, give or take half an inch. My first build ignored this and came in two inches high; two months of shrugged shoulders convinced me to saw the legs down and start over.
Depth matters just as much as height. A surface 24–30 inches deep lets you park a monitor at arm’s length without the screen filling your whole field of view. Anything shallower and you’re either hunched forward or mounting the display on the wall behind the desk.
For a standing version, add roughly 12–16 inches to your seated measurement, which puts most builds in the 40–46 inch range. The exact figure depends on whether you type with elbows dropped or raised. Build a fixed-height standing desk to the lower end and you can always raise the monitor on a stand; build too tall and the only fix is a shorter pair of legs.
Small Ways to Make It Yours
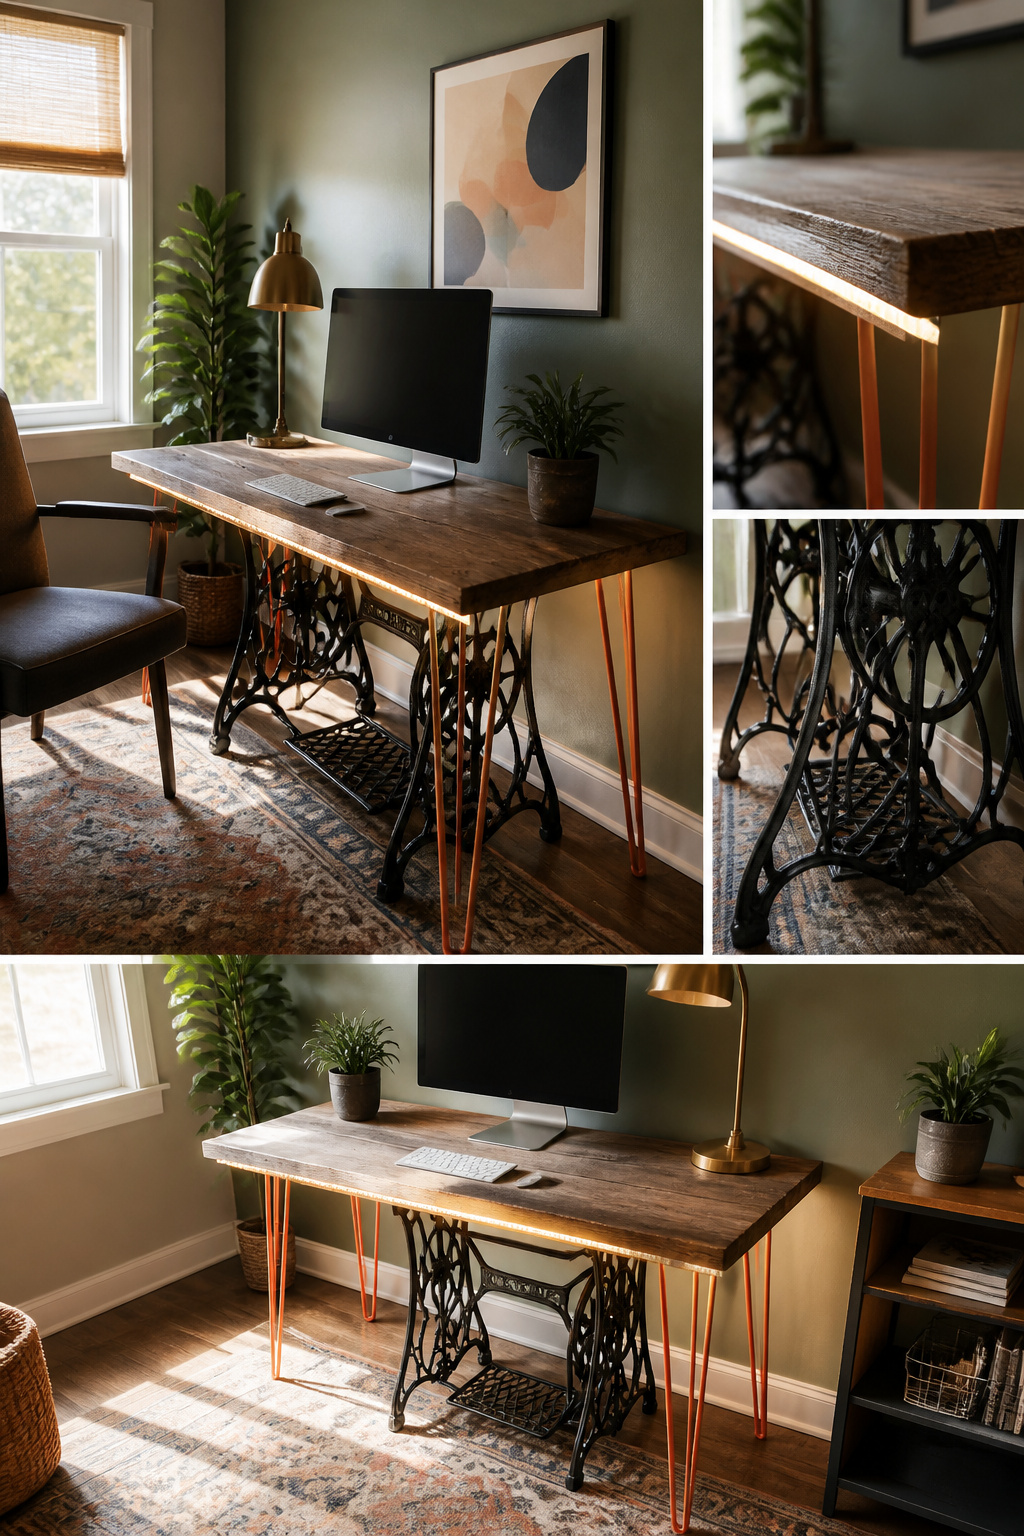
The details turn a flat surface into something you actually want to sit at every morning.
- LED strips tucked under the front edge cast light downward without glare on your monitor. Warm white reads cozy; daylight leans crisper. Either way, the strip hides from eye level and keeps the desk profile thin.
- Hairpin legs shift a basic slab toward mid-century without new joinery. Paint them any color you want. Black stays safe; a bold color makes the desk the room’s punctuation mark.
- Paint or stain changes the whole temper of reclaimed wood or a thrifted top. A contrasting pull against that new color does more than you’d expect to wake the piece up.
- A treadle sewing machine base gives you one-of-a-kind legs with the weight already built in. The base bolts to a wood plank, then screws into your desktop. The cast iron is heavy to move, but the desk will not shimmy. Someone used one of these from 2007 straight through to handing it off, still solid.
Frequently Asked Questions
What materials do I need to build a DIY desk?
Plywood and 2x4s cover most projects, with wooden crates as ready-made legs or storage bases on some builds. Hairpin legs work for a lighter look, and butcher block or solid-core doors upgrade the top. A few screws and wood glue finish the fastener list.
How much does it cost to build a DIY desk?
Most builds stay well under $100 if you already own basic tools. A simple wood desktop runs about $30 using pine boards and a furring strip for support. Crates at $10–15 each plus a cut-to-size top under $40 lands a crate desk around $60 total. Prices shift with lumber markets and leg hardware choices.
What tools do I need for a DIY desk?
A circular saw for breaking down sheet goods, a drill for screws and hardware, clamps to hold pieces square, a brad nailer for trim, and wood glue on permanent joints. None of these builds need welding, a router table, or advanced joinery skills.
What is the ideal height for a DIY desk?
Seated desks sit at 28–30 inches for most adults, though your own elbow measurement beats any standard: bend your arm at a right angle like typing, then measure from floor to forearm bottom. Standing desks add 12–16 inches, landing most in the 40–46 inch range depending on elbow angle.
Can I customize my DIY desk?
Yes. LED strips under the front edge add task lighting without glare. Hairpin legs shift a slab toward mid-century style, paintable any color. Paint or stain changes the whole temper of reclaimed or thrifted tops. A treadle sewing machine base gives one-of-a-kind cast iron legs that never shimmy.





