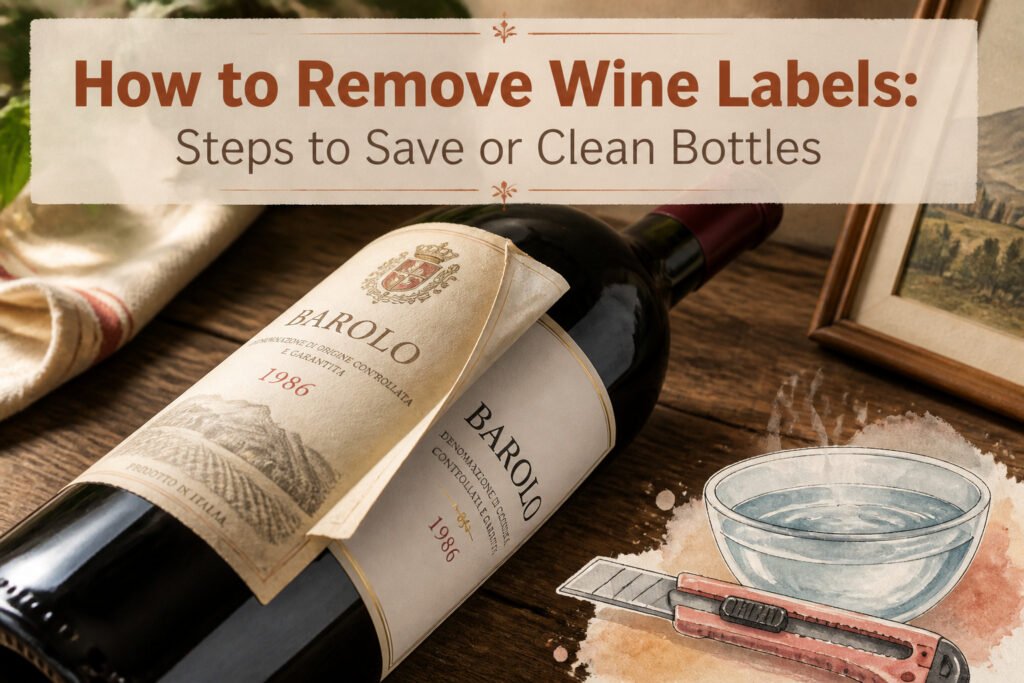
You can remove a wine label intact in about five minutes with an oven or a hair dryer, or in half an hour with a hot water soak, but only if you know which adhesive type you are facing first. The razor blade test, a ten-second lift at one corner, separates the old water-based glue from modern sticker-style acrylics that a soak will barely touch. Last month a Barolo with a 1986 vineyard label made the difference between a framed keepsake and shredded foil.
1. How to Remove Wine Labels

A bottle sitting on the counter with a label you actually want to keep changes the whole job. Last month a friend brought back a Barolo with the vineyard’s original 1986 design, and the plan was to float it in a frame. That meant the paper had to survive, which meant figuring out what kind of adhesive I was fighting first.
Wine bottles carry two kinds of labels these days. The old style uses water-based glue on plain paper, the kind that softens when you soak it. The modern kind is a self-adhesive sticker, laser-cut with coatings and metallic finishes that seem engineered to stay put. The razor blade test tells you which one you have in about ten seconds. Slip the corner of a blade under one edge of the label and lift gently. If the paper and adhesive lift together as one piece, you are dealing with a sticker-style label. If the paper starts to separate from a gummy layer underneath, that is the older glued type, and water will be your friend.
The method follows from this check. Peelable stickers need heat or solvent to loosen the backing without tearing the face. Glued labels need time in water to dissolve the adhesive through the paper. Guessing wrong means shredded foil or torn artwork, so the blade check is worth the small scratch it leaves in the glass.
2. Test the Adhesive First
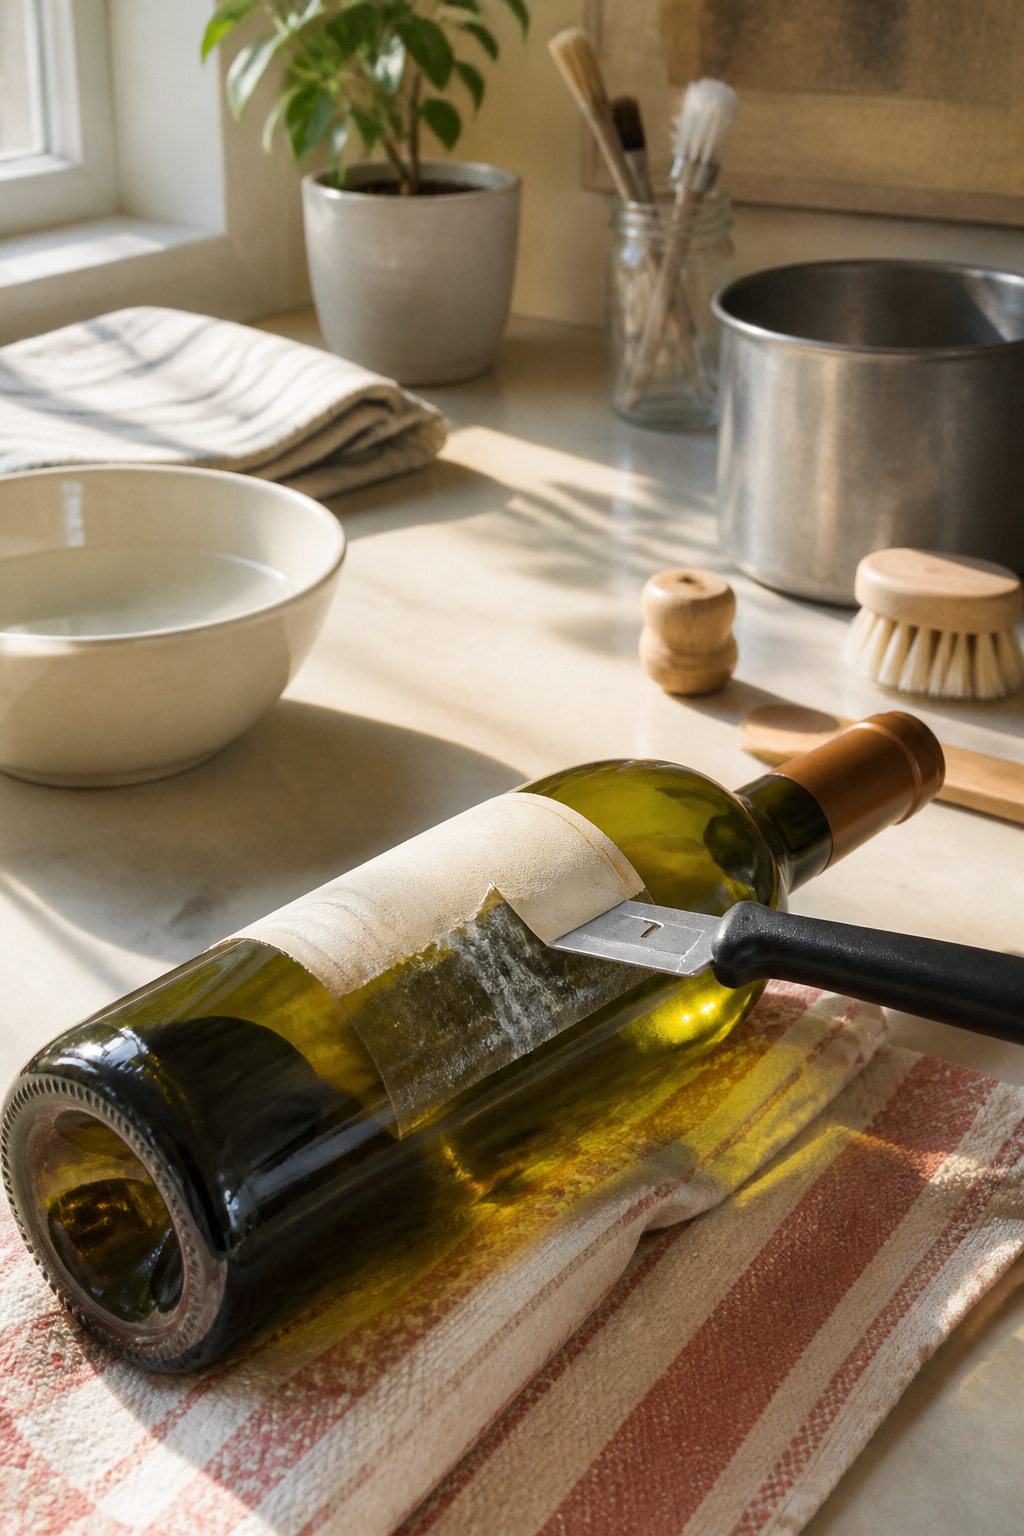
A razor blade tells you almost everything before you commit to a method. Slide the edge under a corner of the label and lift slowly. Glued labels bond directly to the glass, the paper fibers fused with the adhesive into one stubborn layer. Sticker-style labels peel away from a separate adhesive sheet, leaving the glue behind on the bottle. That distinction matters because modern bottlers have moved toward stronger acrylic adhesives that laugh at a quick soak. If the blade meets resistance and the paper starts tearing in fuzzy chunks, you are looking at a glued label that needs heat or prolonged soaking. If the label lifts cleanly and leaves a glossy backing stuck to the bottle, you have the sticker variety, which usually responds to a label lift sheet or a slower peel after warming. One afternoon I spent twenty minutes soaking a bottle that a thirty-second blade check would have sent straight to the oven. The test costs nothing and saves the wrong kind of experiment.
3. Soak in Hot Water and Oxiclean
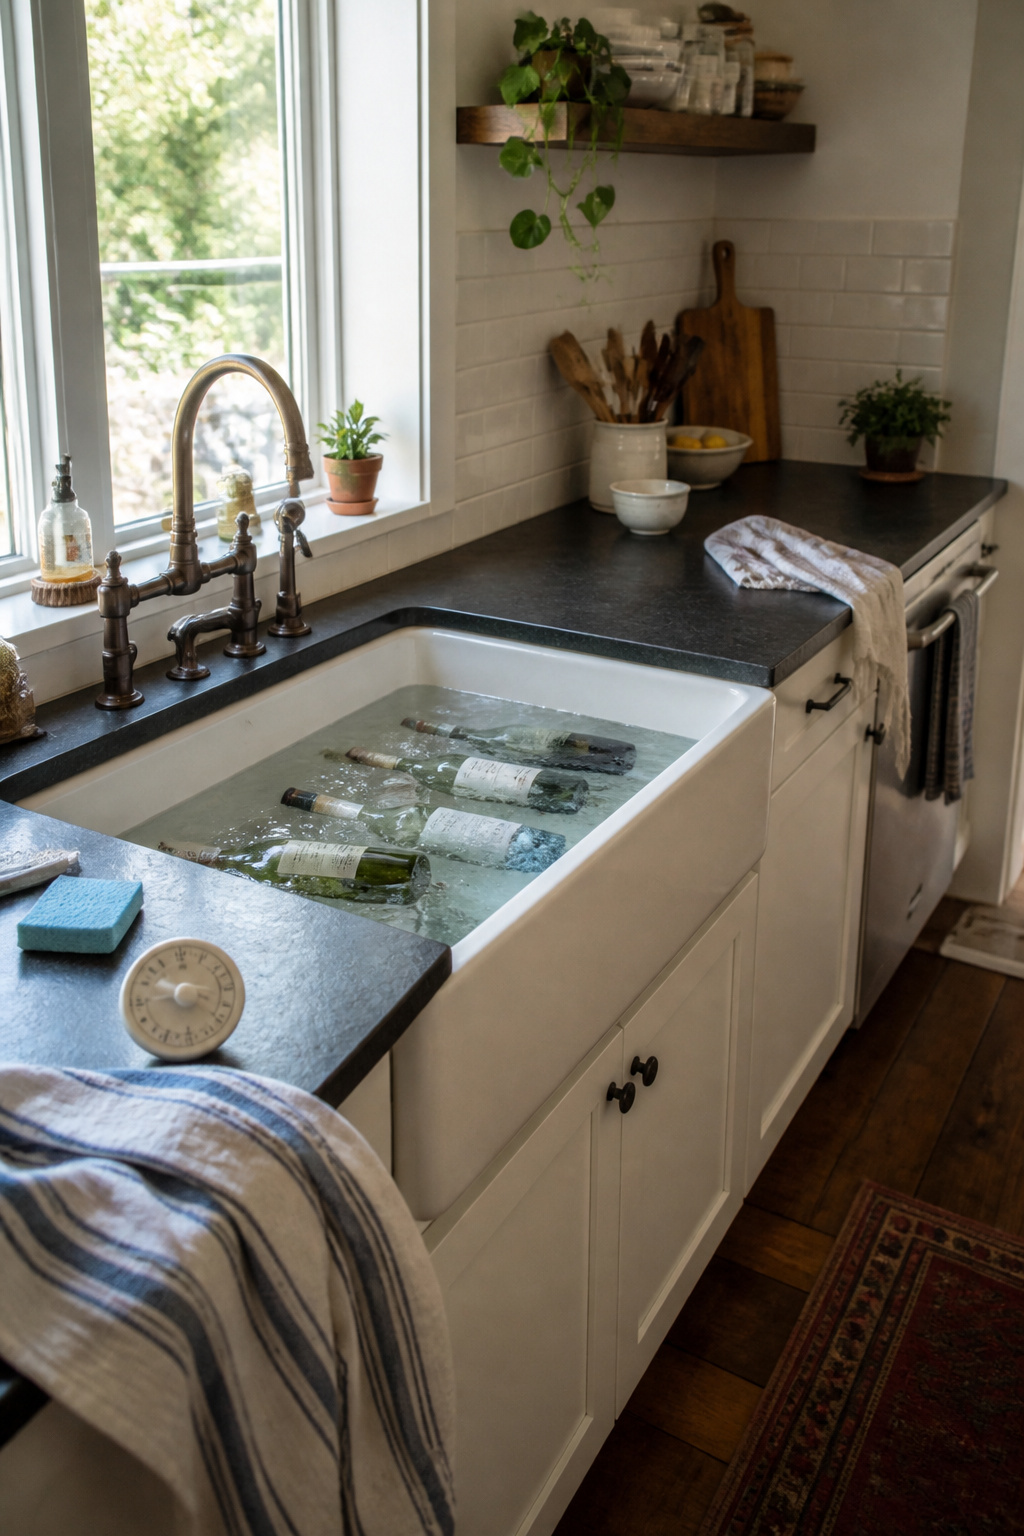
Hot water and Oxiclean soften paper labels faster than plain water alone. One scoop, about 1.5 ounces, goes into a full sink. The bottles sit for 30–45 minutes, not the full hour some guides suggest, and paper labels soften and drift off on their own in that window.
The catch is the ink. Some labels bleed in the soak, and water can damage certain finishes you might have wanted to keep pristine. Dry glue responds well to this method, but the risk of ruining the label itself is real. If the label matters more than the bottle, the adhesive-sheet route keeps it dry and intact, though laminated. For cleaning bottles where the glass is the point, the Oxiclean soak is the simpler bet. I set a timer and check at 30 minutes; anything still clinging gets another 15, then a gentle scrape.
4. Bake the Bottle in the Oven
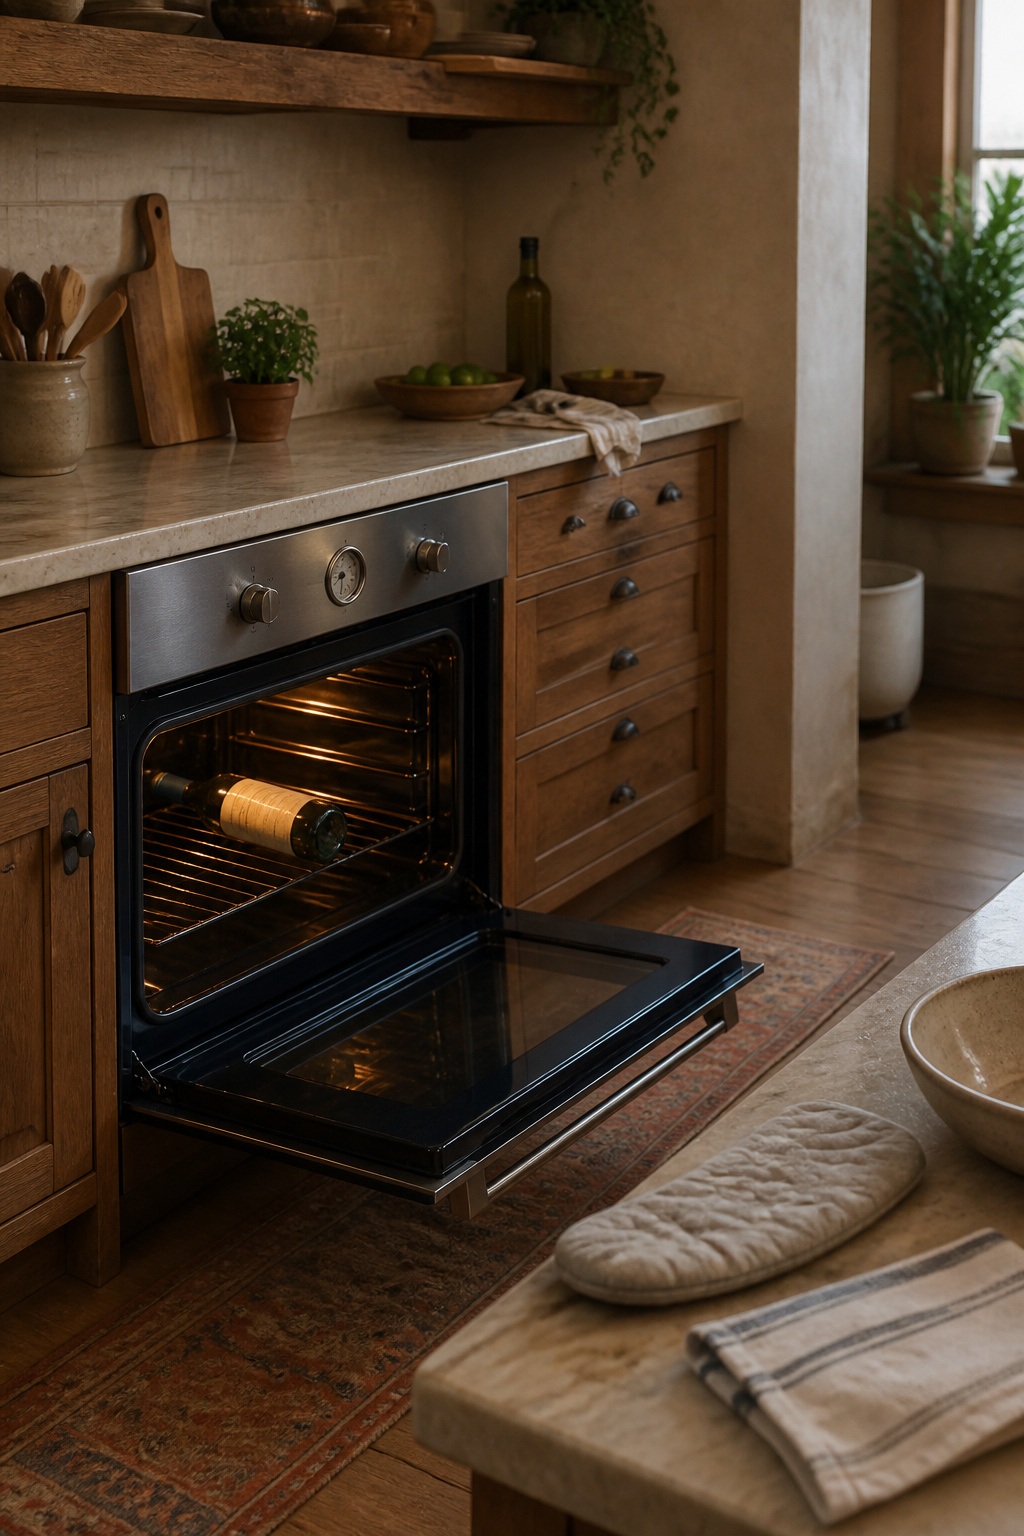
The oven method works best on sticky, peel-and-stick labels that laugh at water. Preheat to 215°F for a gentler approach, or up to 350°F if you want the job done fast. At 215°F, fifteen minutes softens the glue without baking it dry. At 350°F, five minutes is the ceiling; past that, the label starts to melt.
I skip toaster ovens entirely. The bottle sits too close to the elements and heats unevenly, so the label melts before the adhesive loosens. A full oven gives the bottle room to warm through.
Lay the bottle label-side up on the center rack. When the timer sounds, pull it out with an oven mitt, grip the neck, and set the bottom on a towel or thick cutting board. Lift one corner with a fingernail or slide a razor underneath at a shallow angle. The label should come up smoothly. If the corner resists, the adhesive needs more time or this particular label will not budge by heat alone. Some glues and papers refuse to cooperate regardless of temperature.
5. Lift With an Adhesive Sheet

An adhesive label lift turns the whole process backward: instead of dissolving the glue, you convince the label to abandon ship and stick to something else. The Oenophilia version runs about $17 for fifty sheets, which pencils out to roughly thirty-five cents per rescued label. That math only works if the label matters more than the bottle, which is exactly the case when you are building a scrapbook of anniversary dinners or trips to Napa.
Peel the paper backing, lay the clear sheet over the label, and work it flat with the curved side of a spoon. The goal is eliminating every air pocket, especially along the edges where a loose corner will tear the paper when you pull. Lift one edge slowly and watch whether the printed surface follows the plastic or stays stuck to the glass. A tear mid-peel is not failure; press the sheet back down, give the adhesive another minute to set, and resume from a different angle. This method favors sticker-style adhesives over the baked-on bakery glue some wineries favor, and it leaves the original backing and adhesive behind on the bottle. The label itself ends up on the plastic sheet, ready to press onto fresh paper backing for storage.
6. Clean Off Leftover Residue
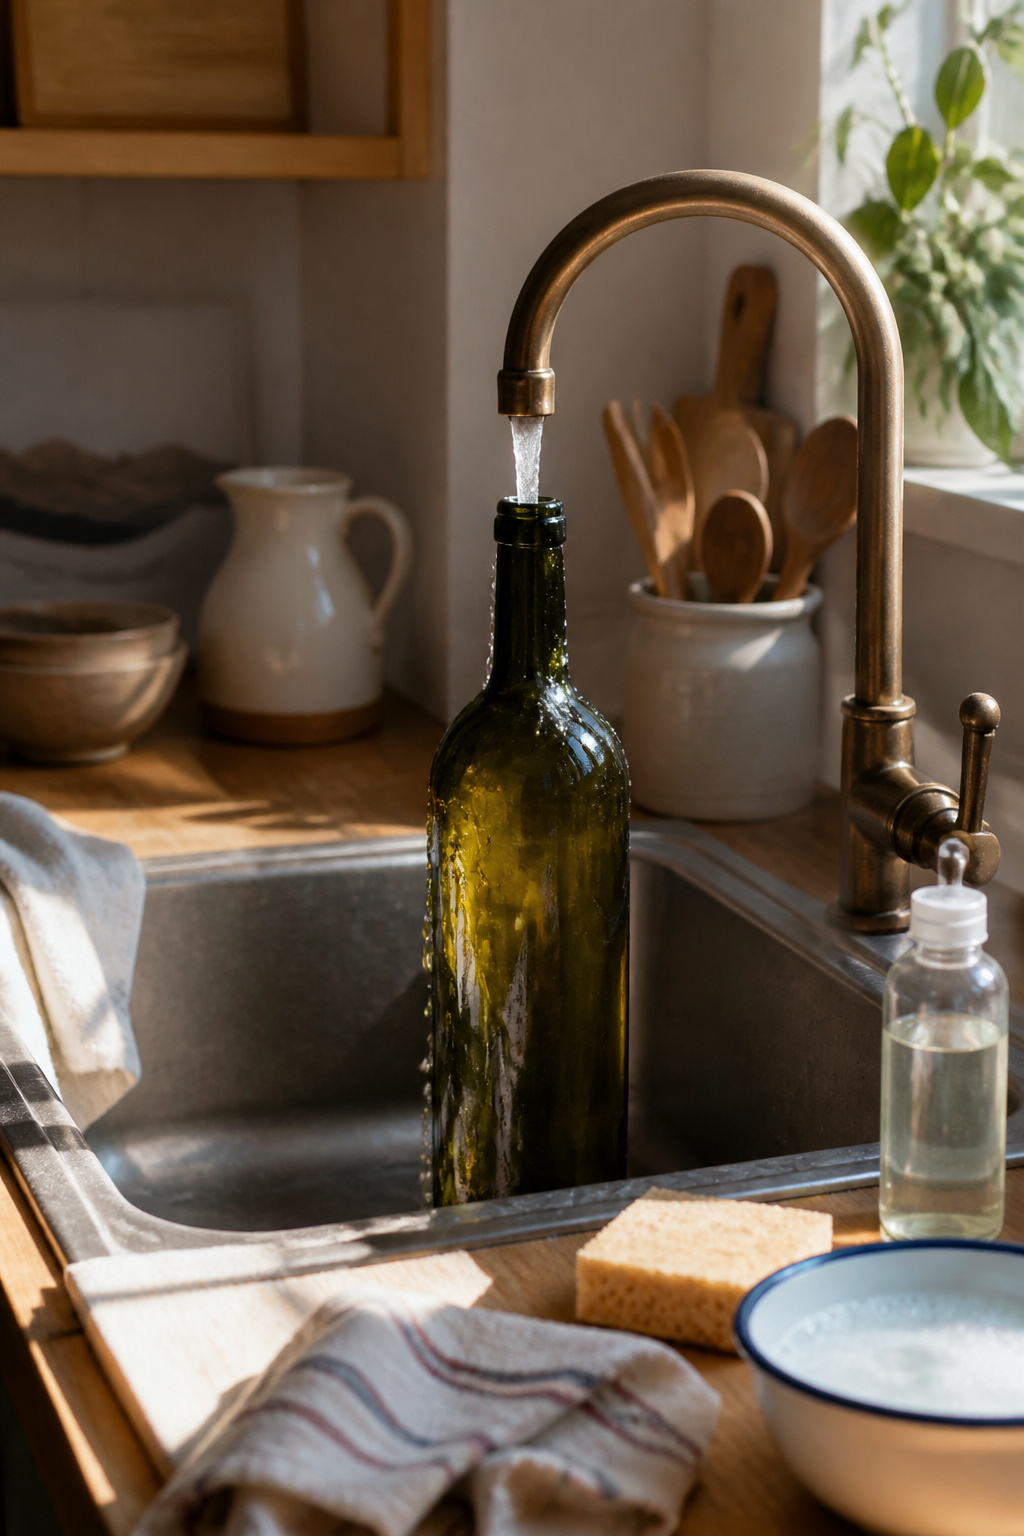
The glue left behind is usually worse than the paper itself. A thin, tacky film covers the glass where the label lifted clean, and fingerprints turn it gray within minutes. Adhesive remover cuts through it fastest, though a drop of dish soap and the scratchy side of a sponge will get there eventually if you are patient. Glass cleaner alone tends to push the residue around into streaks that dry just as sticky.
Work under warm running water and keep the bottle angled so the runoff does not pool where you already cleared. The shoulder and base of most bottles collect extra adhesive from where the label wrapped over, so those spots need a second pass by feel rather than sight. Once the surface squeaks under a dry thumb, it is ready. Any tackiness at this stage will attract dust and ruin the finish on a decoupage or candle project later. Dry the bottle completely, then handle it by the neck so skin oils do not start the cycle over again.
7. Try a Hair Dryer for Quick Heat
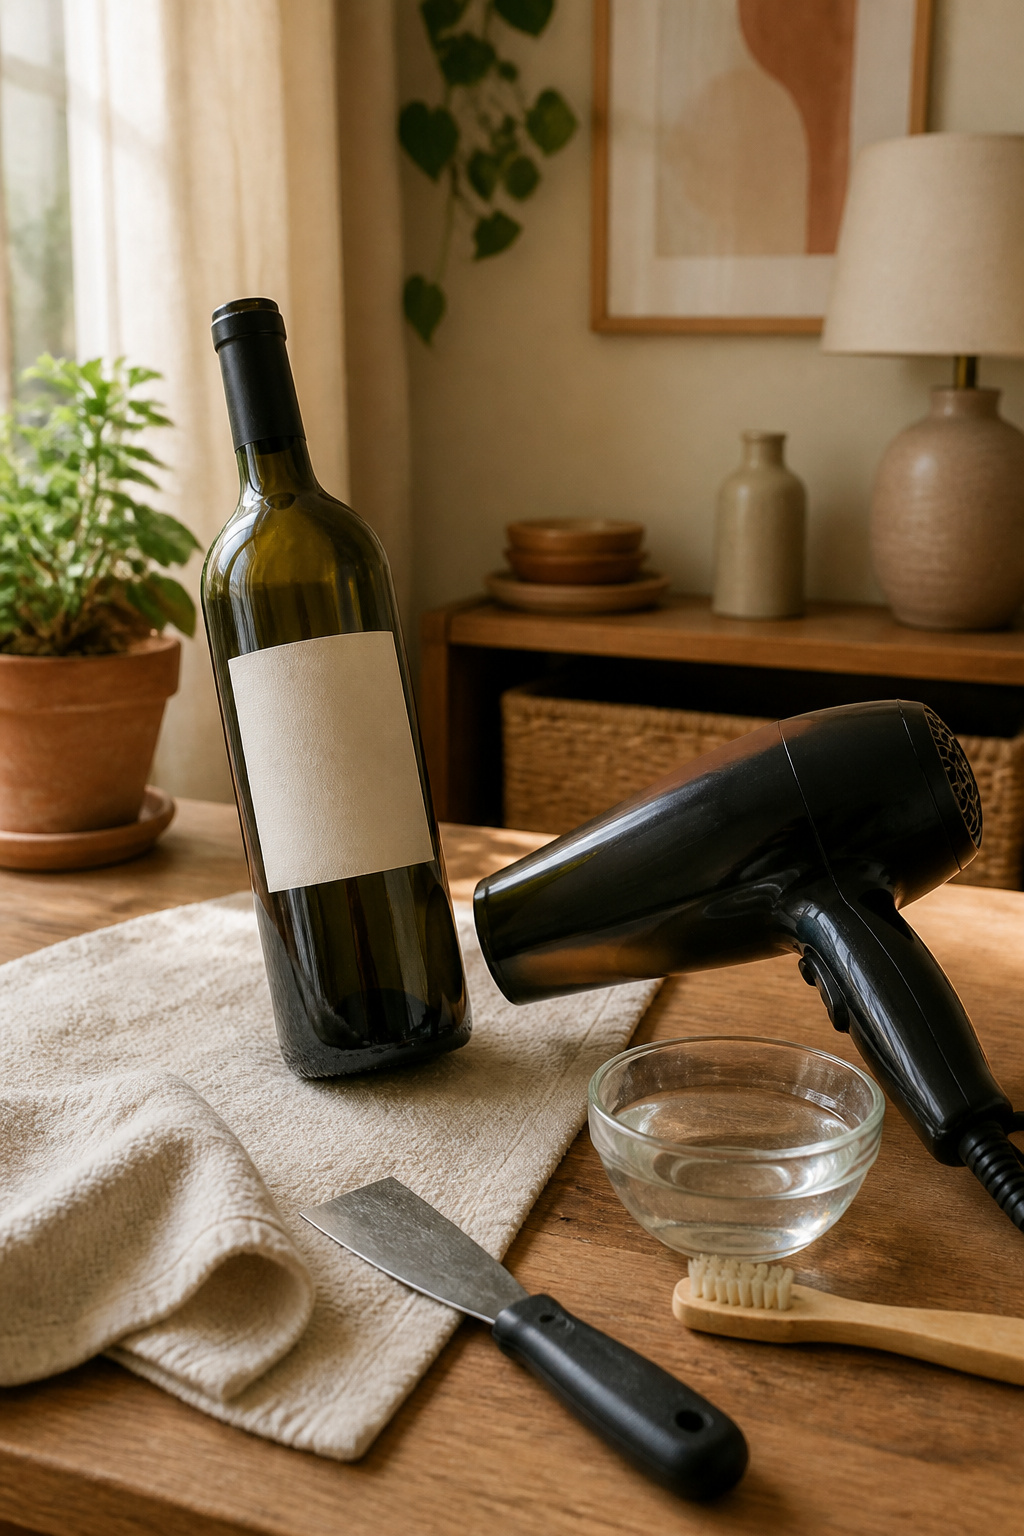
A hair dryer trades speed for convenience. No preheating, no waiting for an oven to hit temperature. The catch is the time at the bottle: hold it 6–8 inches away and keep it moving for a full 2–3 minutes, or the paper scorches while the glue underneath stays stiff.
The adhesive softens gradually. The paper loosens from the center outward, and peeling while the glass is still warm matters. Let it cool and the glue resets almost immediately, which means starting over with another pass of heat. I learned that rhythm the hard way on a 2019 Pinot label I wanted intact for a project. The first corner lifted clean. I paused to admire it. By the time I came back, the corner had sealed down tighter than before.
Compared to baking, this method asks more of your hands and less of your schedule. Two bottles take maybe ten minutes total. A whole case? The oven starts looking like the smarter call. For a single bottle grabbed from the recycling pile on a whim, the hair dryer is the tool already sitting in your bathroom drawer, and that counts for something.
8. Scrape Stubborn Labels With a Razor
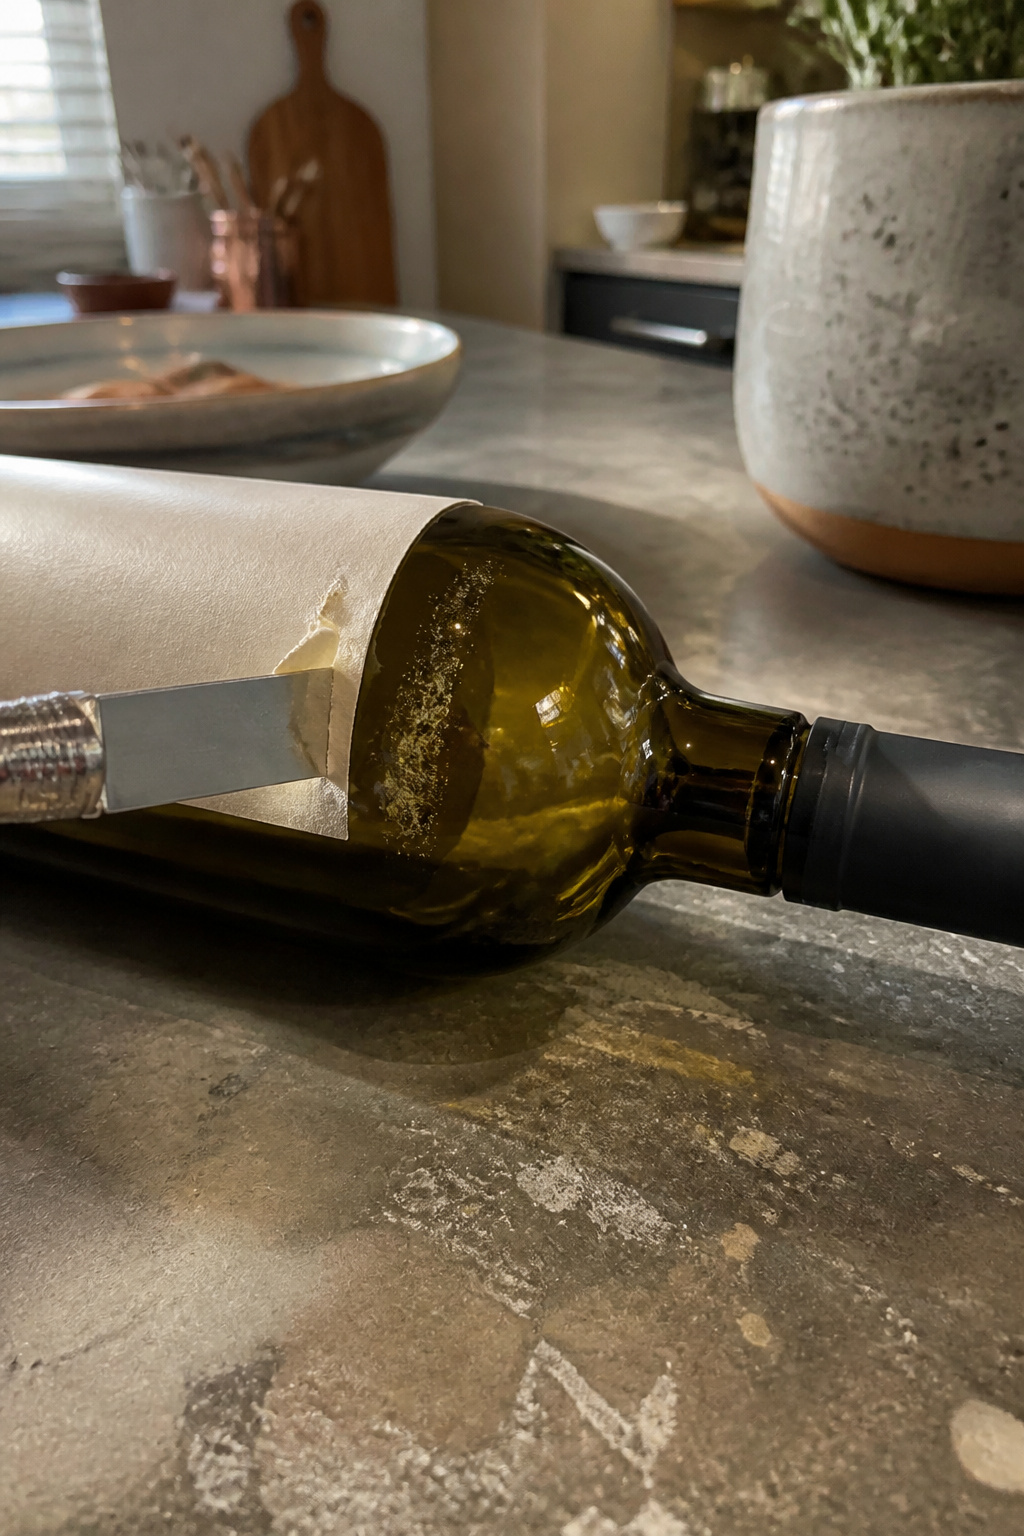
Some labels refuse to surrender even after a long soak. That is where a fresh razor blade earns its place.
The glass needs to be dry so the blade does not hydroplane. Hold it at roughly a 10-to-15-degree angle, almost flat against the surface, and start at the edge closest to your dominant hand. Right-handed? Begin on the right. Slide the blade under the corner and lift only with the steel, not your fingers. Fingers crease the paper; the blade, used patiently, keeps it whole.
Curved bottles demand attention. The angle shifts as the surface rounds away from you, so adjust as you move. Work vertically first, loosening a strip from top to bottom, then shift sideways. Speed is the enemy here. A rushed stroke tears the label or, worse, the skin of your thumb.
This method pairs best with soaking or gentle heat. The water or warmth softens the adhesive; the razor finishes what they started. Without that prep, the glue fights harder and the paper rips. Combined, the label often lifts in one quiet piece, ready to dry face-down on wax paper until it is fully flat again.
Tools You Already Own
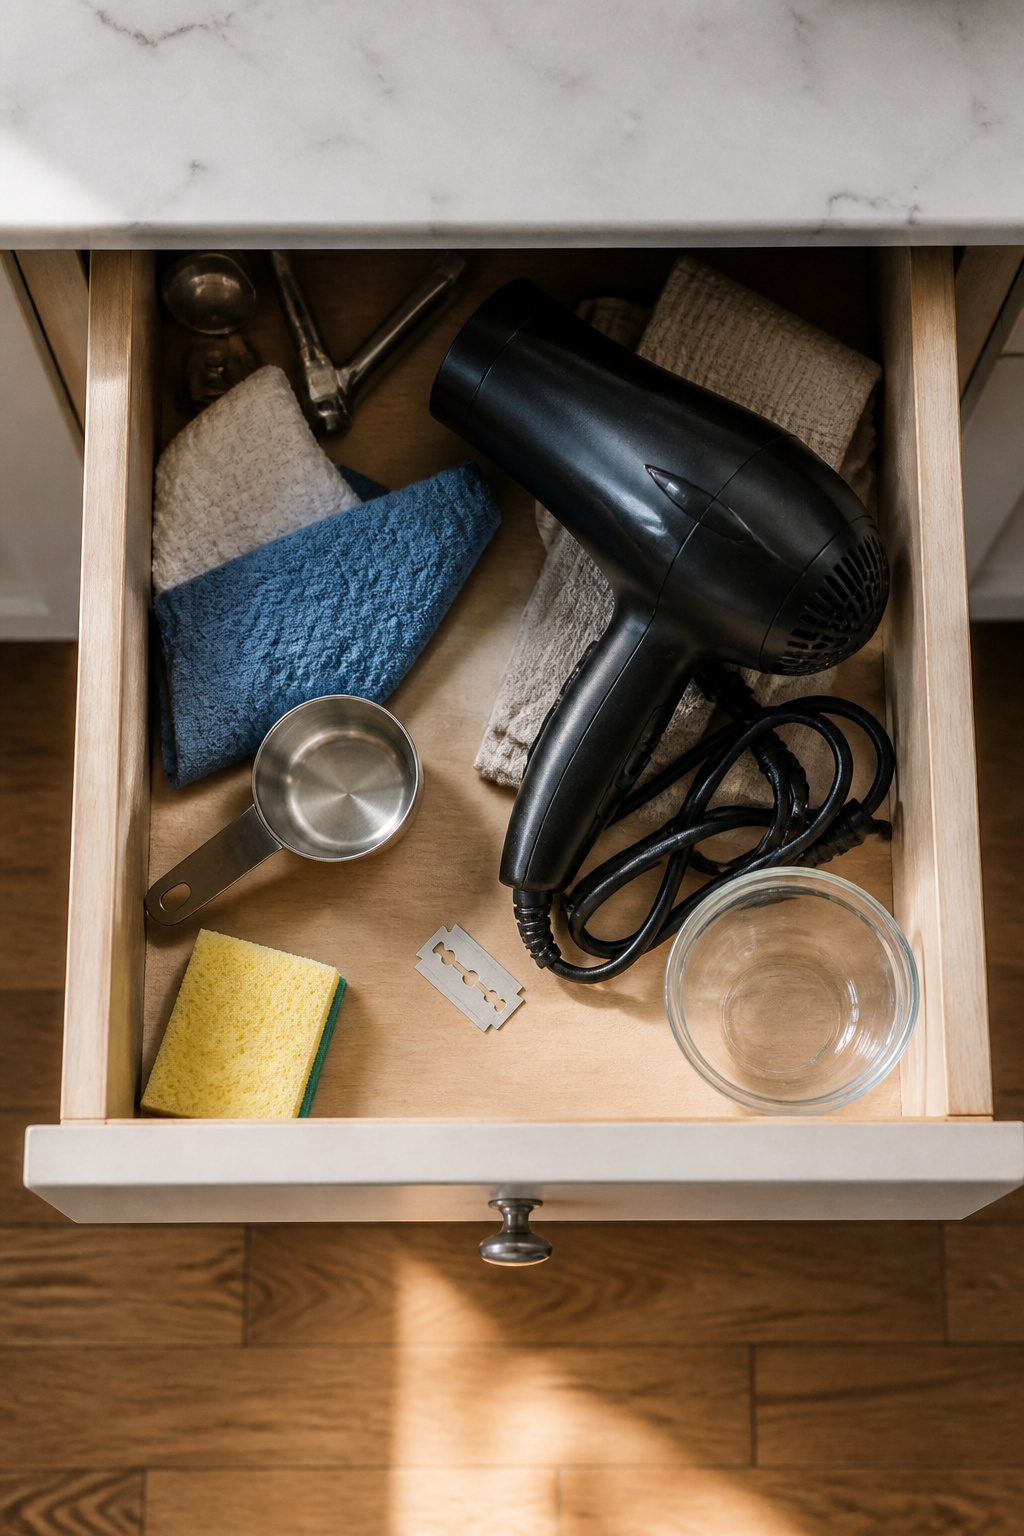
Most of what you need is already somewhere in a drawer.
- A razor blade or thin knife handles the edge work. A straight edge scrapes residue; an acute angle, nearly flat to the glass, keeps you from gouging the label.
- A hair dryer softens sticker-style adhesive if you would rather not heat the whole kitchen. Two arms make this awkward, which is why some people skip it for the oven.
- The oven itself, set to 350°F, bakes the bottle five minutes, label up on the center rack. Skip the toaster oven; the elements sit too close and the label melts before the glue gives.
- A sink or basin with hot water and soap, or Oxiclean, does the slower soak. Thirty to forty-five minutes softens most paper labels enough to lift without tearing.
- Adhesive lifts — plain tissue paper pressed against the sticky back — let you save a label that came off clean but still carries glue. Peel off the second ply and trim.
The only extra purchase some households face is a proper adhesive remover for the ghost film soap will not touch. Everything else is already on hand.
Glued Labels vs. Sticker Labels
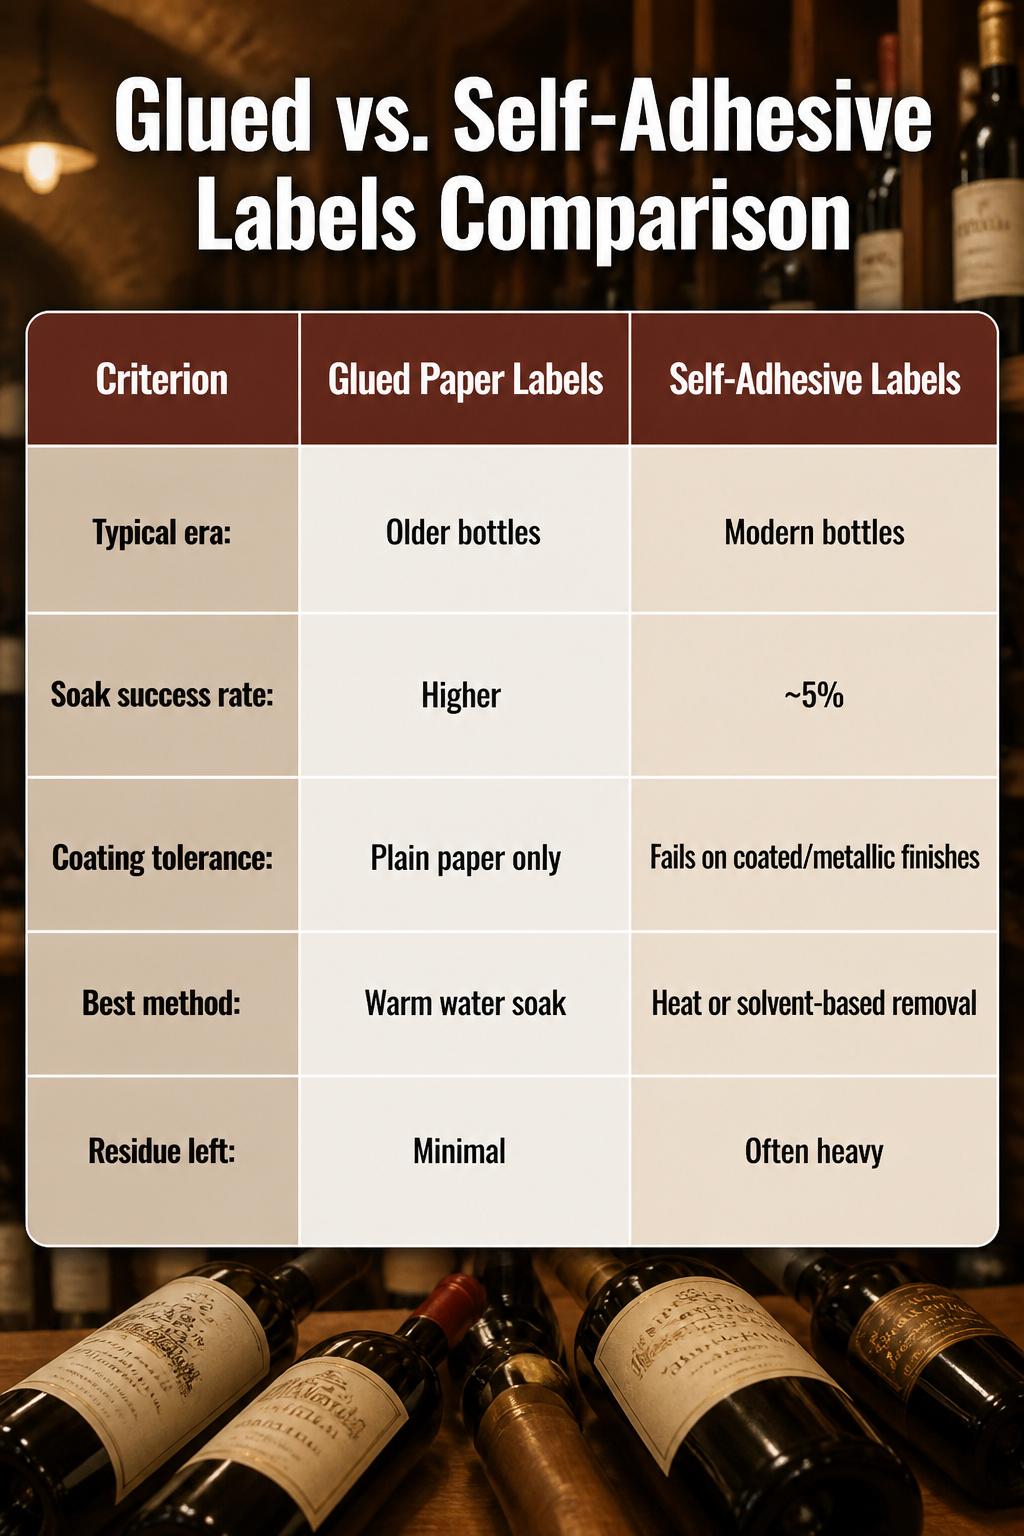
Water and patience used to be enough. Older bottles often carried plain paper labels fixed with water-based glue; an hour in the sink and the paper lifted clean. The modern bottle on your counter probably failed that same test, which is where the frustration starts.
Self-adhesive labels, laser-cut with embossings and metallic or plastic coatings, now dominate. These are engineered to stay put. A soak in warm water succeeds roughly 5% of the time with coated labels, and even then the glue usually wins. The paper softens while the adhesive hardens into a gummy film that demands scraping.
Peeling by hand fares no better at roughly 5% success. Angle matters critically, and a label that releases from the front often clings on the back where the adhesive differs entirely.
| Glued paper labels | Self-adhesive labels | |
|---|---|---|
| Typical era | Older bottles | Modern bottles |
| Soak success rate | Higher | ~5% |
| Coating tolerance | Plain paper only | Fails on coated/metallic finishes |
| Best method | Warm water soak | Heat or solvent-based removal |
| Residue left | Minimal | Often heavy |
The adhesive itself has changed, not just the decoration. Stronger glues mean simple soaking alone defeats most newer bottles. Knowing which type you face before choosing your method saves both the label and your afternoon.
Risks That Damage the Label
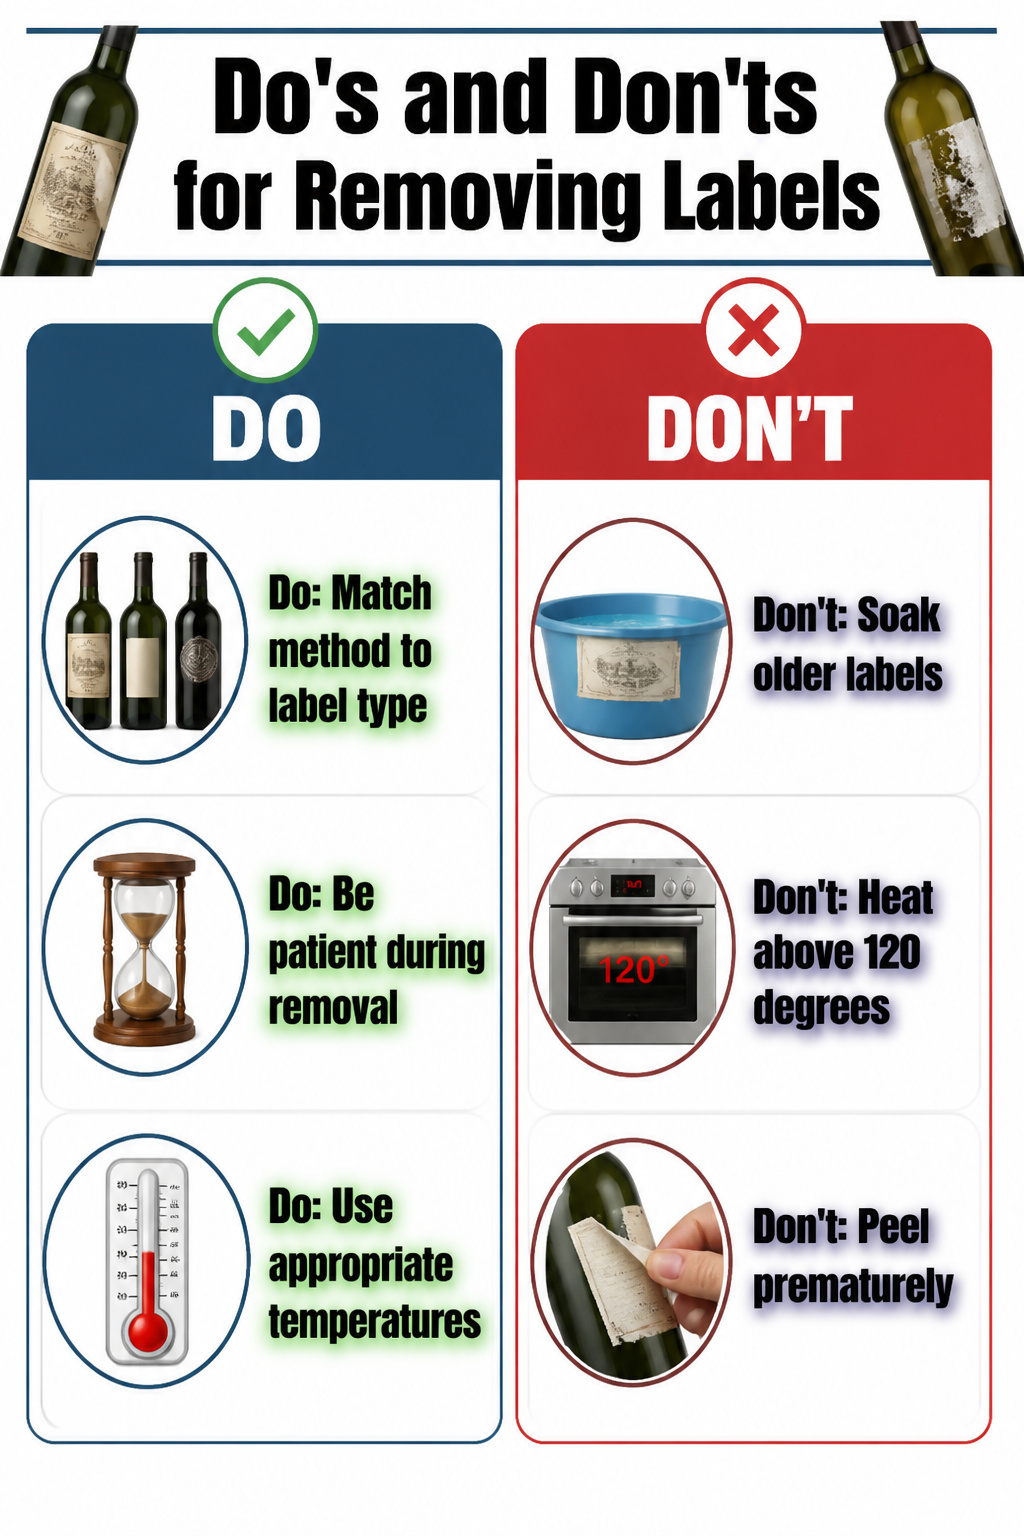
Every method for removing wine labels carries a risk of ruining the very thing you’re trying to save.
- Water soaking can dissolve the ink or turn the paper to mush, especially on older labels that weren’t designed to get wet. The glue may loosen, but the art goes with it.
- Oven heat set too high scorches paper and makes labels curl or shrivel. One attempt at around 120 degrees went fine; a Rauzan-Segla label at a similar temperature shriveled into a useless twist.
- Peeling before the adhesive has fully released tears the label every time. Patience is the tool, and most of us reach for it too late.
- Coated, metallic, or embossed modern labels, the kind laser-cut to military-grade staying power, barely respond to water at all. They demand dry methods or very careful mechanical removal.
Match your approach to what the label actually is. A plain paper label from a small winery behaves nothing like a plastic-finished commercial one, and treating them the same guarantees one of them gets destroyed.
Storing Labels After Removal

The first wine label I ever saved curled into a tube before the night was over. I had peeled it off cleanly enough, then left it on the counter while I finished the bottle. By morning the leftover adhesive had tightened into a roll no amount of flattening would fix.
Card stock is the simplest insurance against that. A piece thick enough not to warp, laid on a table with the label glued-side down, gives the paper enough backing to dry flat. Printer paper works too, though lighter stock can buckle if the adhesive is still wet.
A scrapbook kept horizontal does the same job with more organization. The pages hold the label flat and the album keeps dust off the surface. For labels you plan to move later, wax paper between them keeps any residual tack from bonding one memory to another. Some people save both front and back labels; the back holds technical details, the producer notes, the vintage specifics you might want a year from now when the bottle itself is long gone.
The real risk is not the storage method. It is putting the label down somewhere temporary and forgetting it until the glue sets in the wrong shape. Flat, covered, and soon is the whole trick.
Frequently Asked Questions
What’s the best way to remove the label from a wine bottle?
Start with the razor blade test to identify the adhesive type. For old-style water-based glue, soak in hot water with Oxiclean for 30–45 minutes. For modern self-adhesive stickers, use heat from a 215°F oven for fifteen minutes or a hair dryer for 2–3 minutes. The right method depends entirely on which kind of label you are facing.
How long should I soak the wine bottle to remove the label?
Thirty to forty-five minutes in hot water with Oxiclean softens most paper labels enough to lift without tearing. Check at 30 minutes; anything still clinging gets another 15. Plain water works more slowly, so the Oxiclean speeds the process.
Can I use a hair dryer to remove wine labels?
Yes, a hair dryer softens sticker-style adhesive without heating the whole kitchen. Hold it 6–8 inches away and keep it moving for 2–3 minutes, then peel while the glass is still warm. Let it cool and the glue resets almost immediately, so timing matters.
What if the label tears during removal?
Press an adhesive lift sheet back down over the torn area, give the adhesive another minute to set, and resume from a different angle. The Oenophilia label lift runs about $17 for fifty sheets and works by convincing the label to stick to the plastic instead of the glass.





