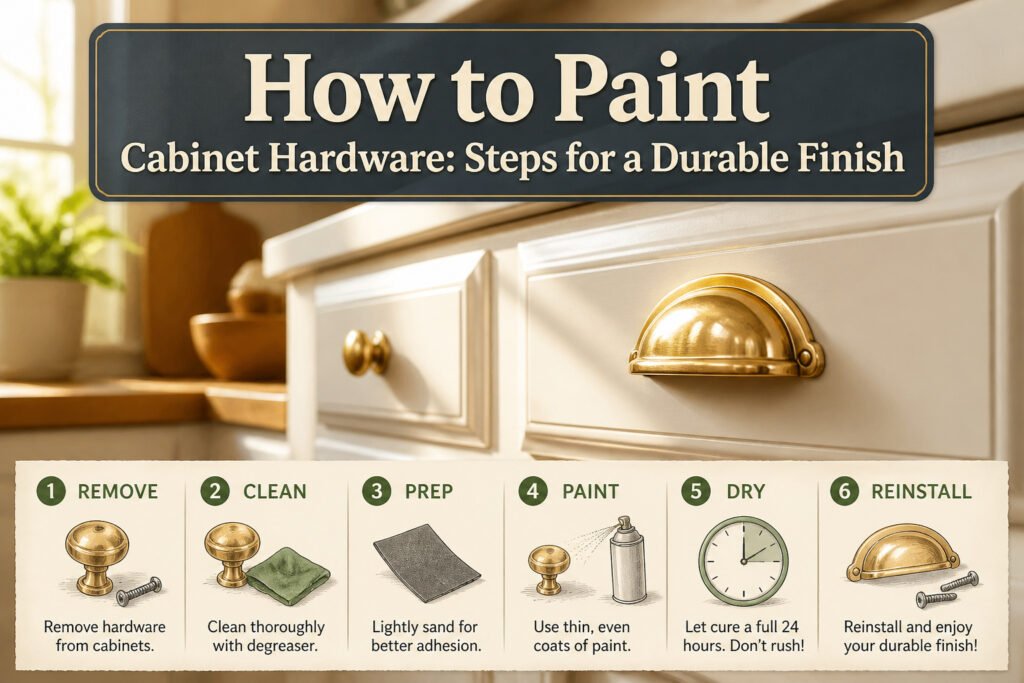
Painted cabinet hardware changes a kitchen for the price of a single can of spray paint and one afternoon, but only if the parts cure for a full day before you touch them again. Most people bolt them on too early, and the finish they thought was dry wears to bare metal within six months. The difference between a two-year finish and a redo by spring is whether you waited, or whether you trusted how the surface felt instead of what the paint needed.
1. Remove the Hardware
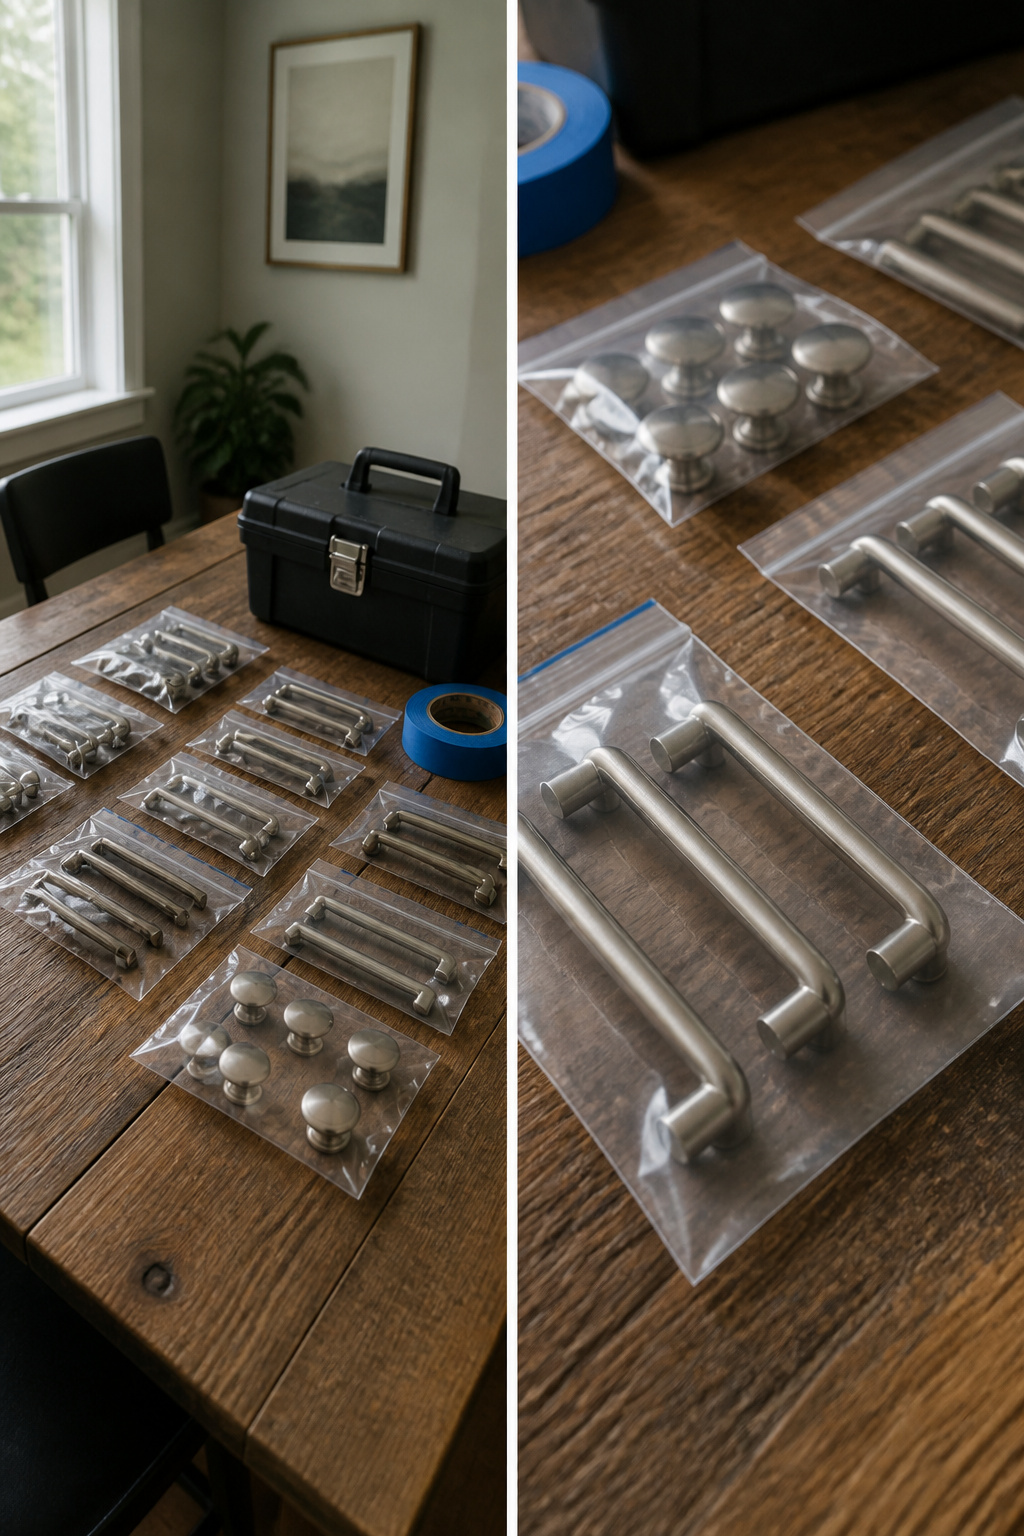
A Phillips head and ten minutes of patience gets the hardware off faster than fighting drips later. Screws disappear into couch cushions and carpet piles the second they hit the floor, so each set goes straight into a labeled bag: "upper left cabinet," "pantry pull," whatever matches the layout. Painter’s tape over the screw holes keeps primer and paint out of the threads, which is the step most people skip and the one they curse when a knob spins loose three weeks in because the threads are gummed up. The tape peels clean in one strip if you pull it the same day. Wait until the end of the project and it bonds like a decal you will need a pick to remove.
2. Clean the Hardware
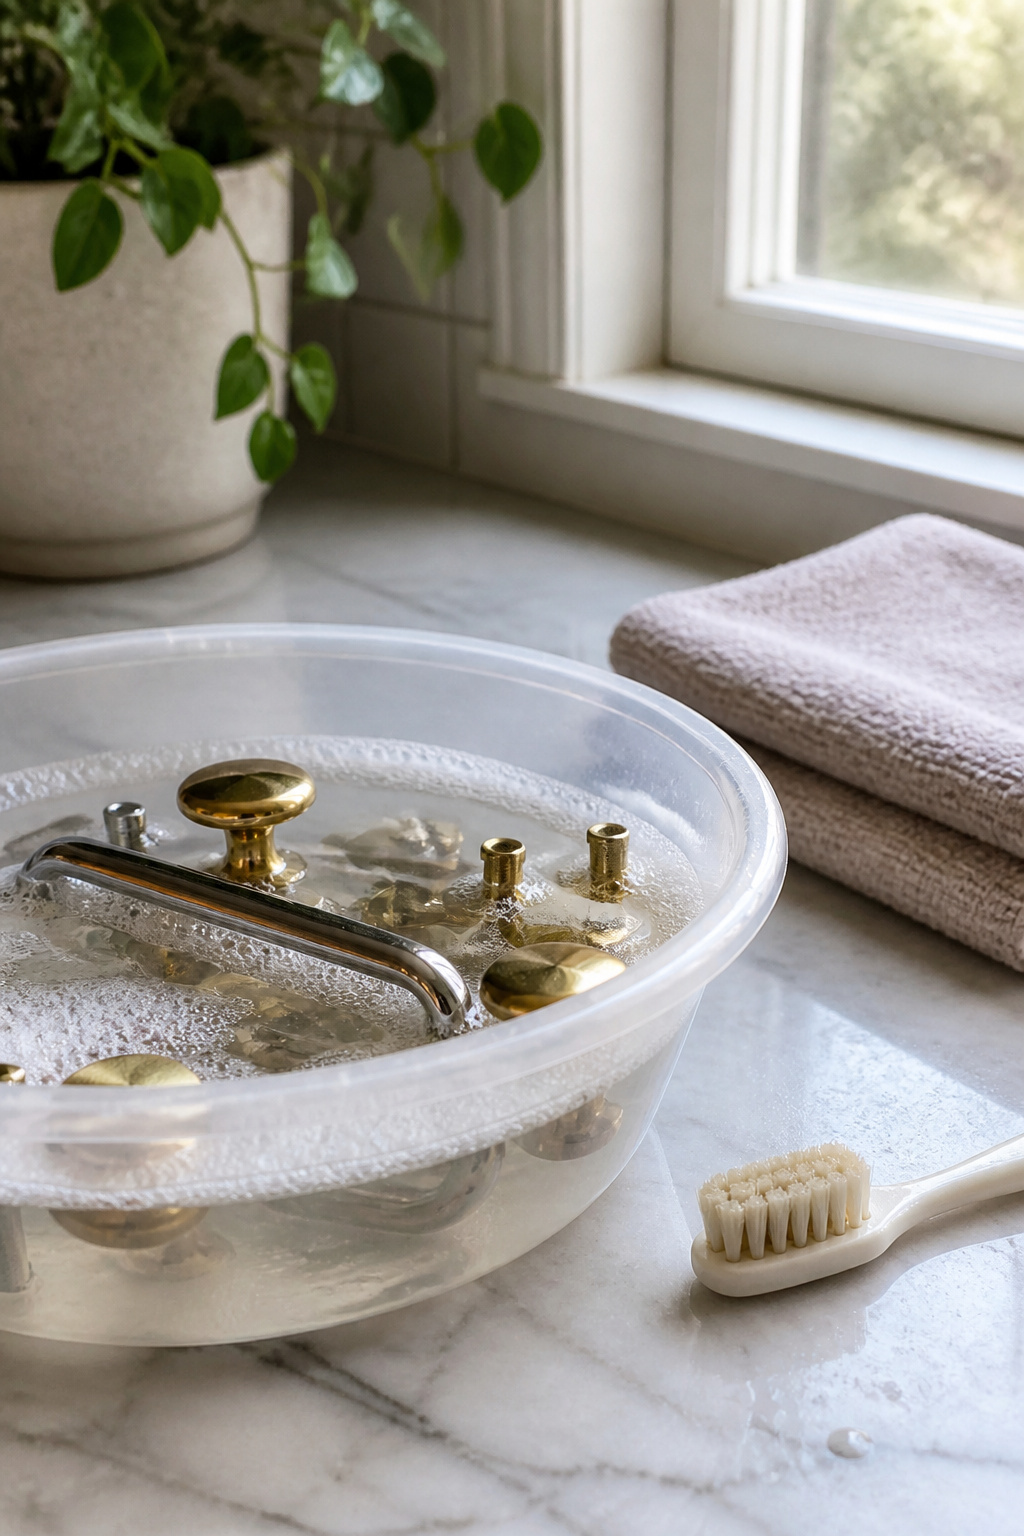
Warm, soapy water works for hardware that only feels grimy, but TSP cleaner mixed with water is what pulls off the cooking oil that builds up over years in a kitchen. I learned that distinction the hard way on an earlier project: the paint looked fine at first, then lifted in patches where my thumb rubbed most often. The oil had stayed behind, invisible, acting like a release agent under the new finish.
Soak the pieces long enough for the cleaner to work; ten minutes is the minimum that actually softens the residue. An old toothbrush scrubs the crevices where grease hides. Rinse with clean water afterward, because any TSP left on the surface will fight the next layer you apply.
Dry everything thoroughly, then let the hardware sit longer than seems necessary. Wet spots are easy to miss, and spray paint will not adhere through them. I leave the pieces on a towel for a good half hour after they look dry, just to be safe.
3. Sand if Necessary
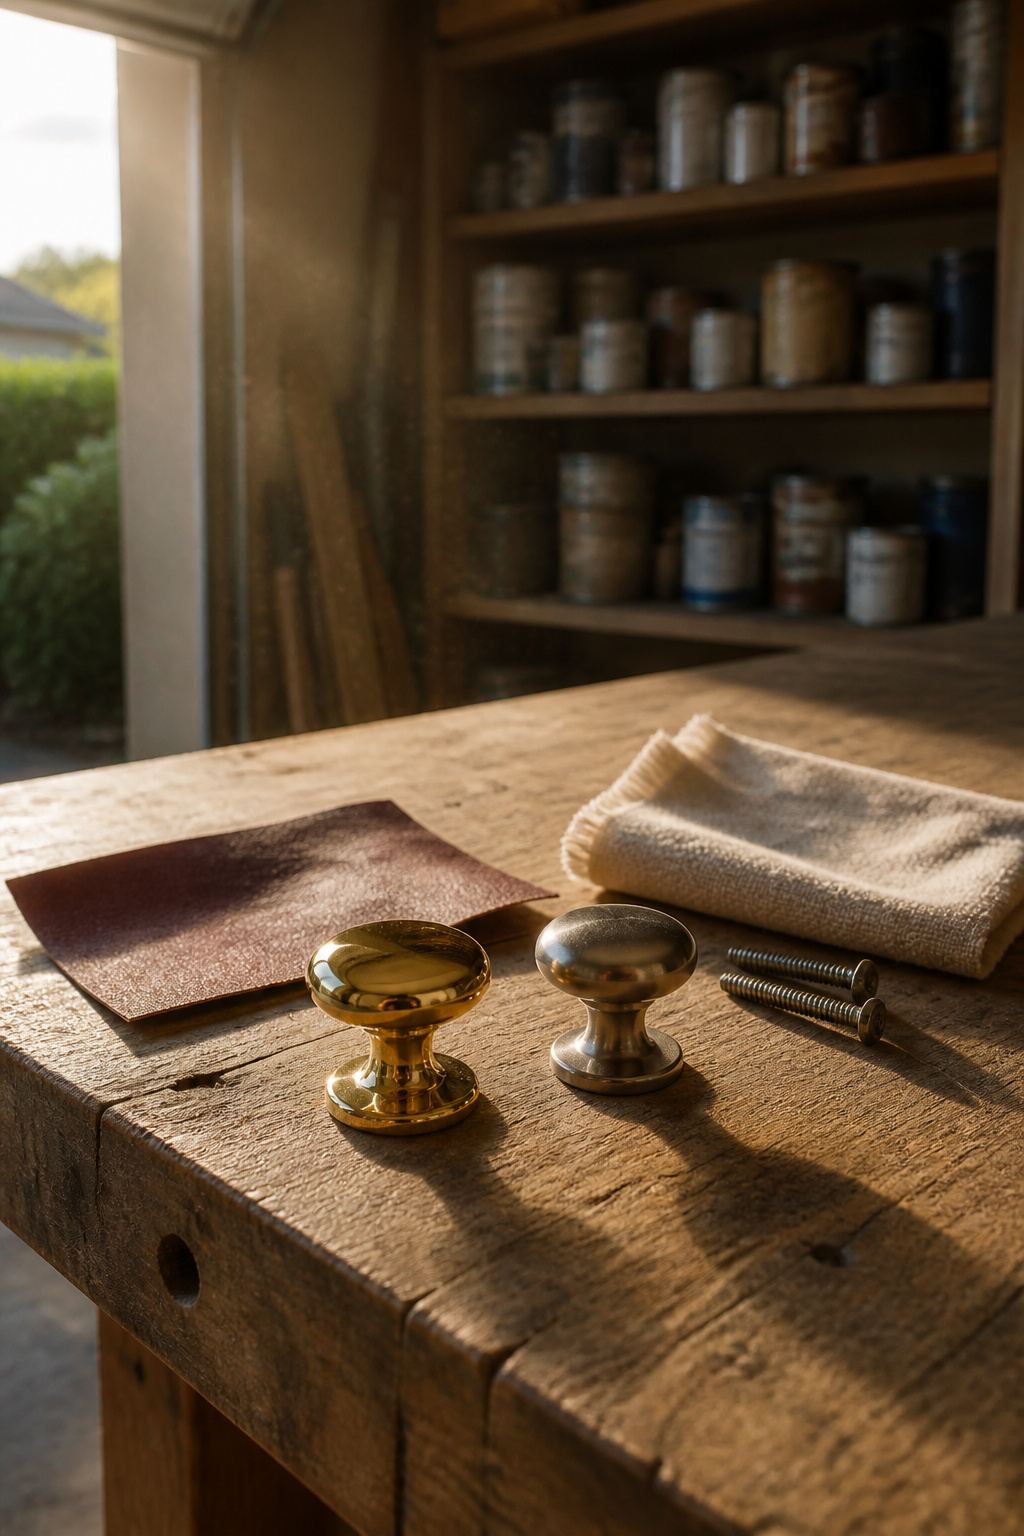
Shiny metal is the main reason painted hardware chips inside six months. The finish looks solid at first, then flakes away where fingers grip it daily because the paint never truly bit into the surface.
A quick pass with 220-grit sandpaper or a sanding sponge fixes this. The goal is not to strip the old finish down to bare metal; it is only to break the gloss and leave a satin, slightly scratched surface the primer can grip. Ten seconds per knob, a few more for a pull with edges and recesses, is usually enough. Wipe the dust off with a tack cloth before you move on, because grit left behind lodges in the paint and shows through.
One judgment call: if the hardware is already a brushed or matte metal, you can skip this step. But factory lacquered brass, chrome, or anything that catches light needs the dulling. The time spent here is what separates hardware that lasts two years from hardware that needs redoing before the season changes.
4. Set Up for Painting
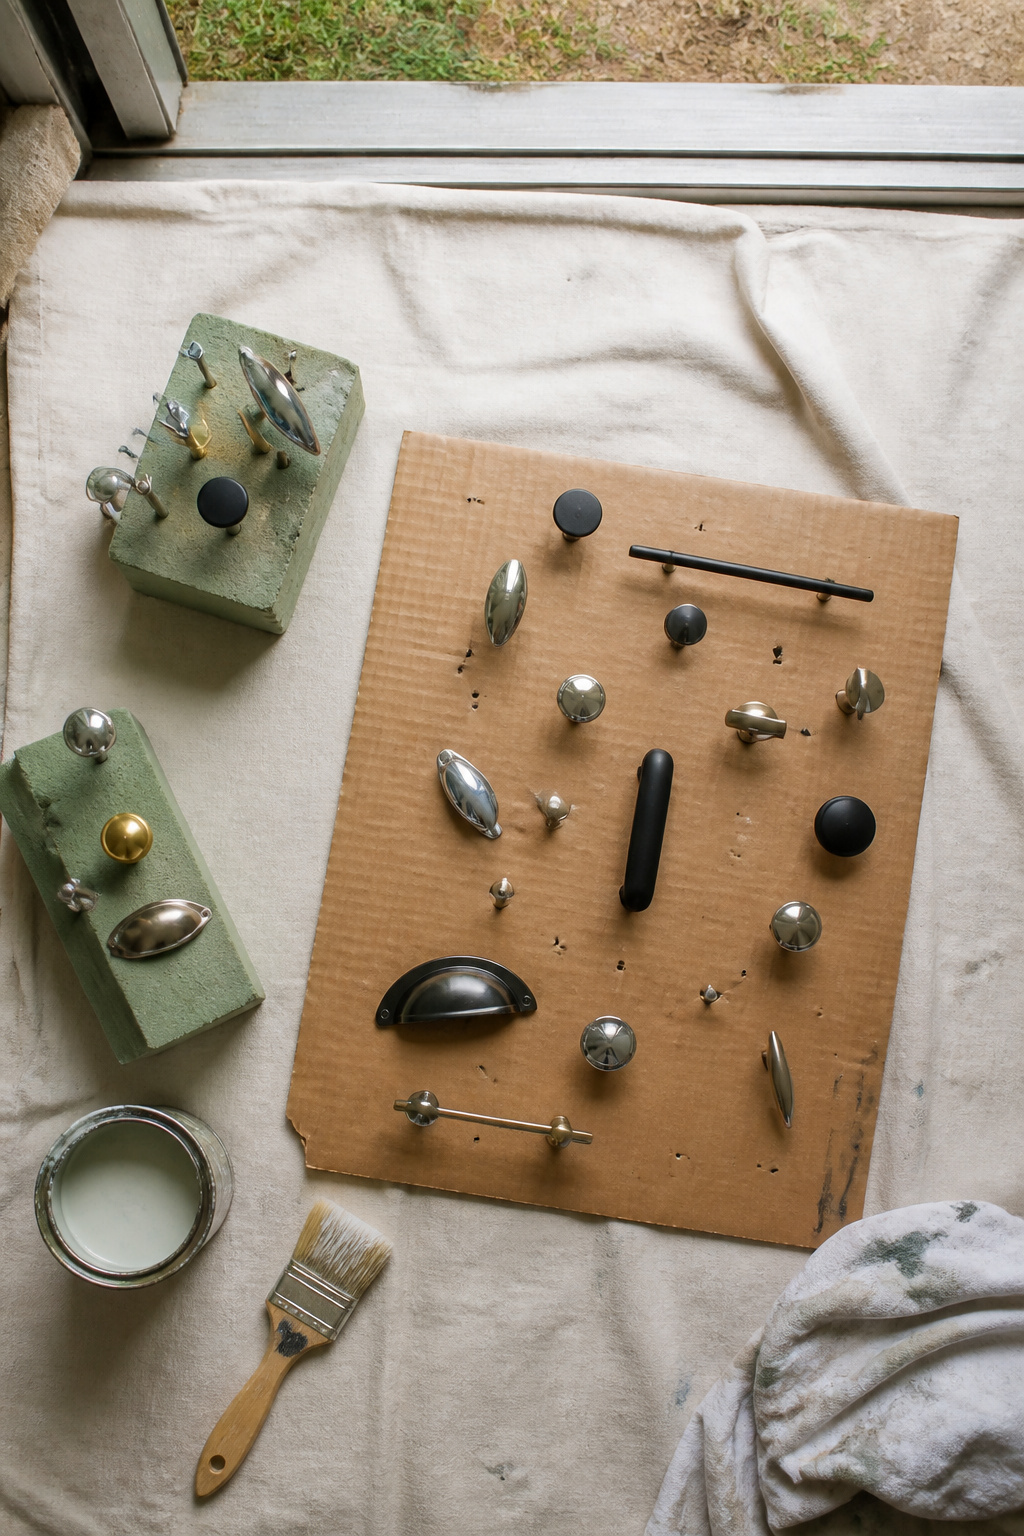
Cardboard and foam blocks are the two ways to hold hardware while you spray. A piece of cardboard with holes poked through it lets you screw in pulls or knobs on one end, so the piece stays flat and you can carry the whole sheet outside. Floral foam blocks work the other way around: a wood dowel or stick goes into the foam, the hardware mounts on top through its screw holes, and the piece stands upright. That upright setup is what lets you hit the underside without touching wet paint.
Either way, the goal is stability, not just convenience. Wobbling hardware pools paint on the low side and leaves the high side thin. One person I read about held the can upside down, sideways, whatever angle the piece needed, because the hardware was locked in place and not going anywhere. Lay down a drop cloth or more cardboard underneath; grass looks soft until you try to balance a wet knob on it.
5. Apply Primer
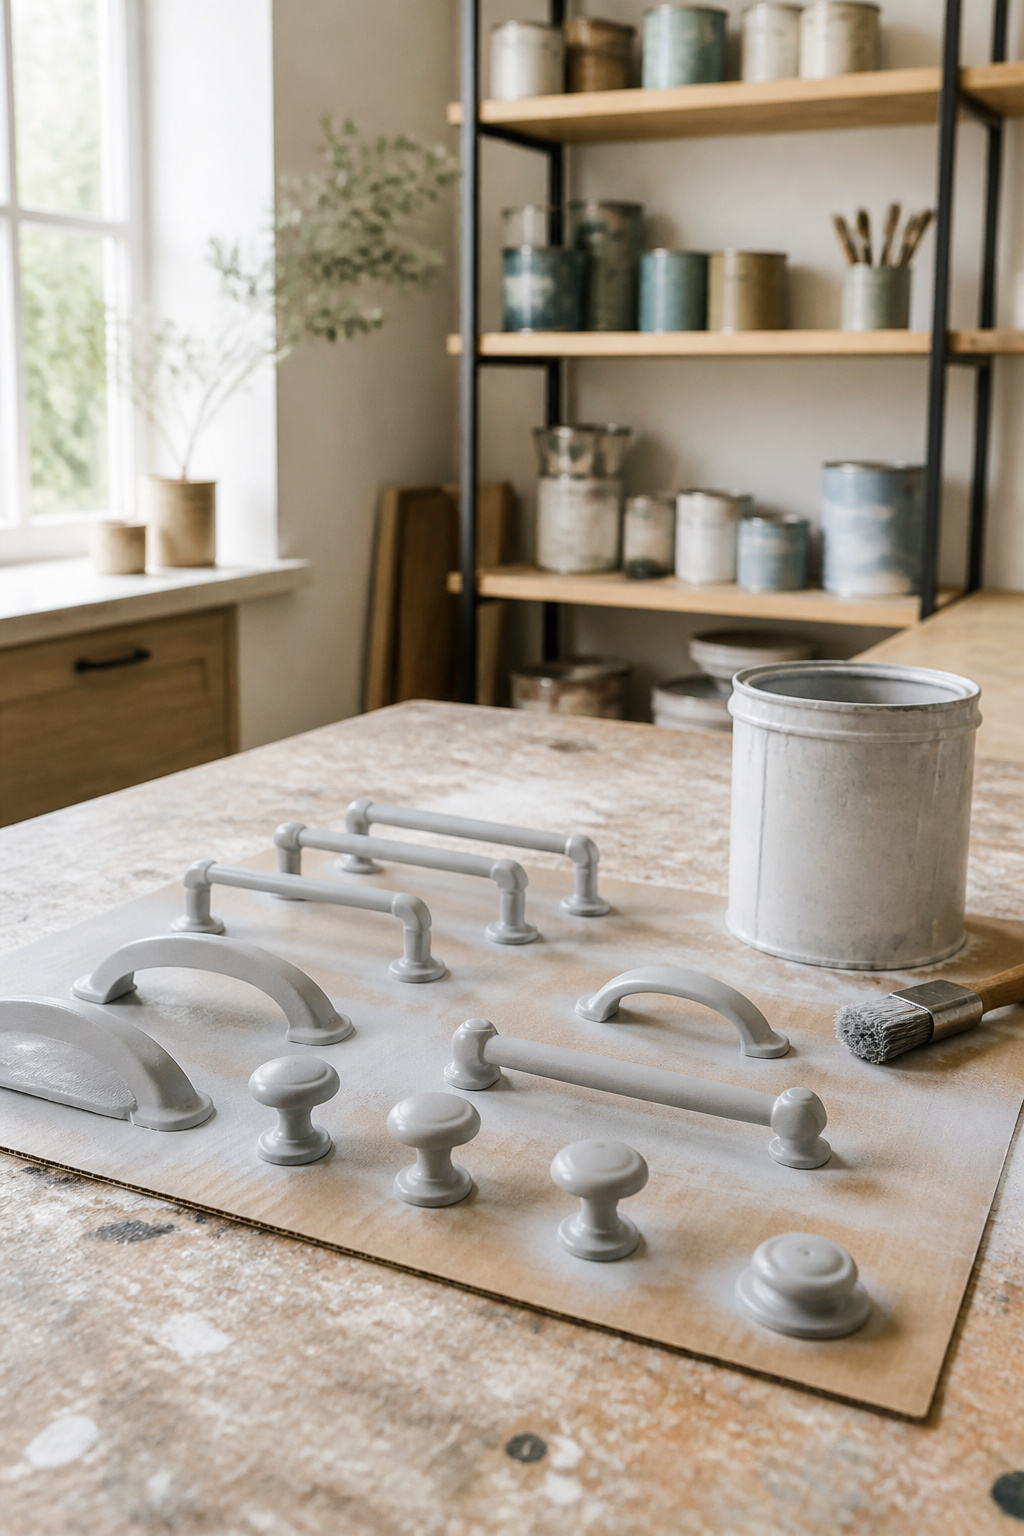
A metal primer is what stands between your new finish and the chipping that happens six months later on raw brass or chrome. The sources split on whether you need it, and that split is worth keeping.
One writer primed two light coats and ended up with grainy, rough hardware. The next set, she skipped primer entirely, used three light coats of gold spray paint, and the finish came out smoother to the touch. Hinges that had been on doors for years got one very light primer coat followed by three or four light coats of paint, and that sequence worked for her. The difference seems to be surface history: hardware with years of kitchen grease and buildup needed that anchor, while fresh metal did better without the extra layer.
On brass or chrome that has never been painted, primer is the safer bet. If the piece is already coated or you are using a paint that advertises primer built in, you can test one handle both ways and feel the result before committing the full set. Let each coat dry before adding another, and keep the primer coat genuinely light. A heavy primer coat is what creates that rough texture you will have to sand back or live with.
6. Spray Paint
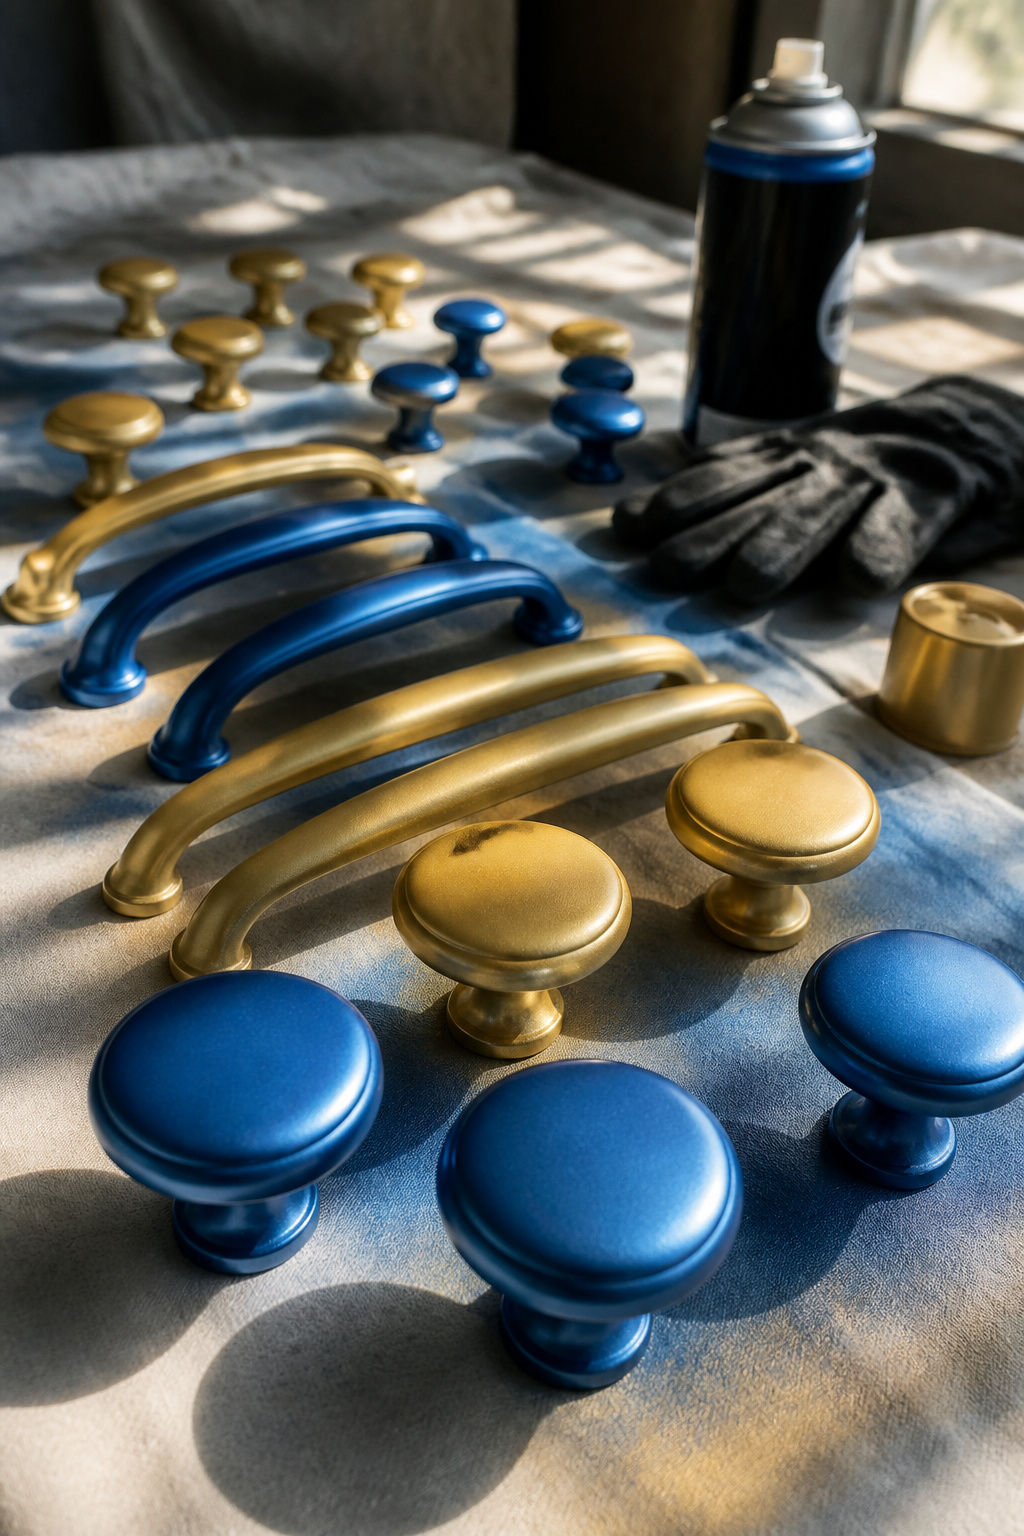
Shake the can until the ball rattles freely, then keep shaking between coats. The mistake most people make is holding the trigger down and trying to cover the piece in one pass. That is how drips form, and drips are what ruin the finish.
Three to four light coats will give full coverage without the gummy build that takes forever to dry and traps dust. Each layer only needs a few minutes before the next one goes on. Thin coats dry faster, cover more evenly, and use less paint overall.
Krylon Fusion, Rust-Oleum, and Hammerite are the brands that keep coming up for hardware that actually gets touched. Start the spray stroke just before the piece and carry it past the far edge; stopping on the surface pools paint right where you paused. A glove helps with splatter, and ventilation is non-negotiable. The factory-smooth finish you are after comes from patience, not pressure.
7. Let Cure
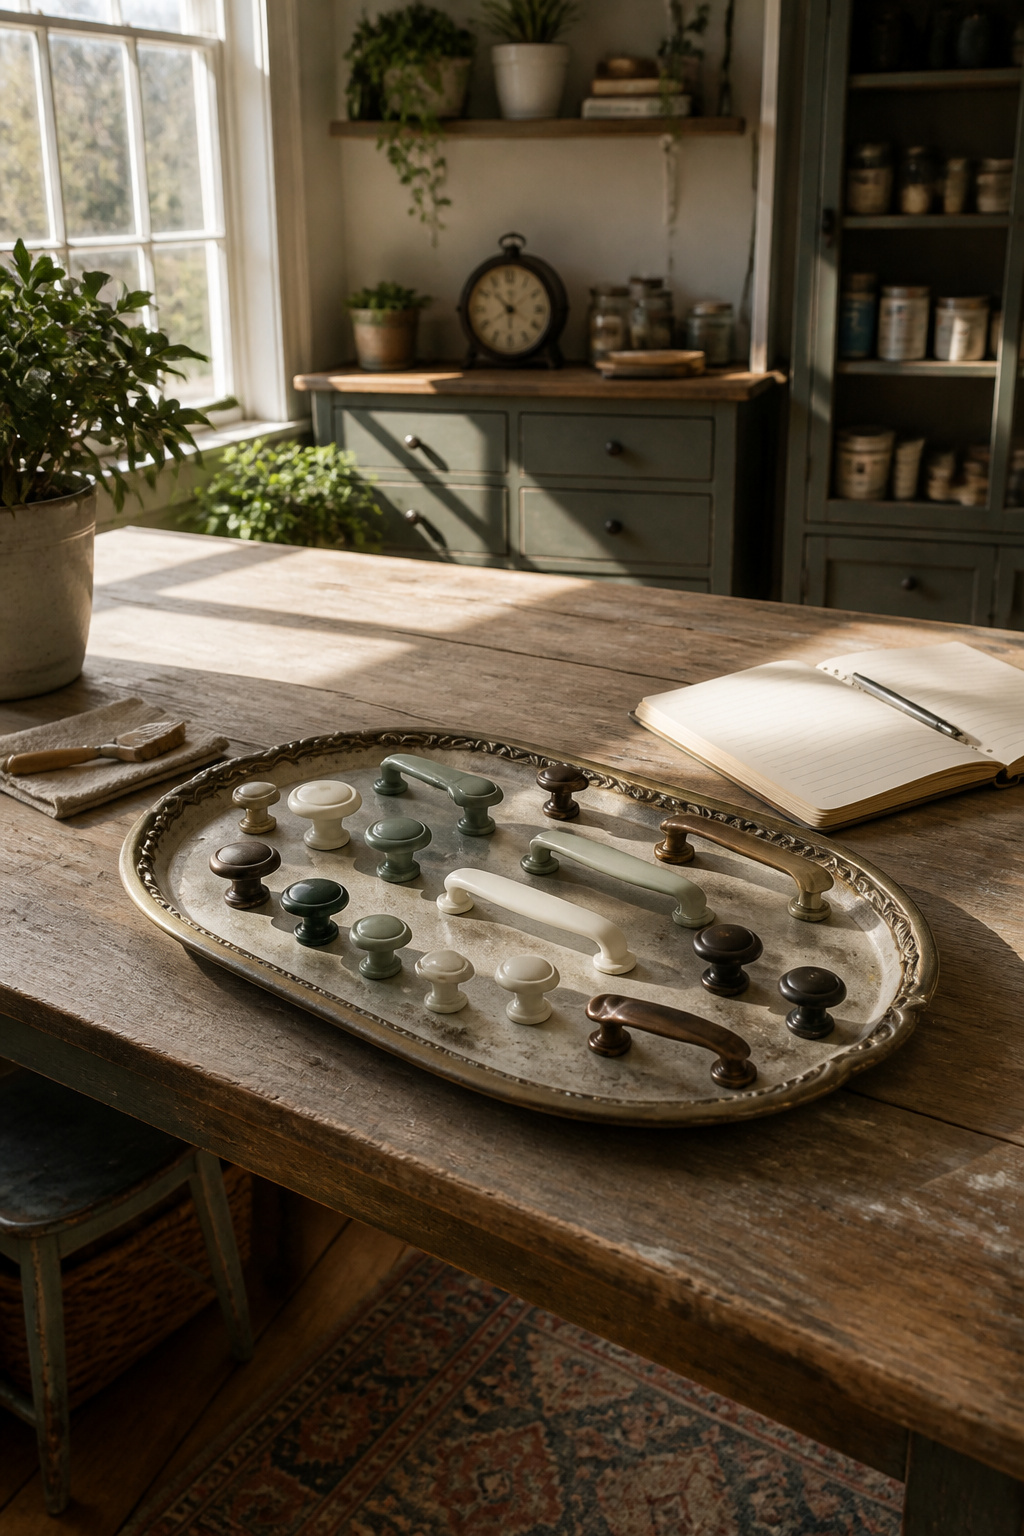
Painted hardware needs 24 hours of cure time before you reinstall it, and another full day before you tighten it down or use it normally. The finish feels dry long before it actually is; handling it too early leaves fingerprints, soft spots, and weak adhesion that show up as chips within months.
I learned this distinction the hard way on a set of kitchen pulls. The paint felt set after a couple hours in the sun, so I bolted them on and started using them that evening. Within six months, the high-touch edges were worn to bare metal. Compare that to a later batch where I waited the full two days: those are still intact years later.
Moisture and oils from daily handling attack a finish that has not fully cross-linked. The surface may look cured, but the paint underneath remains vulnerable. If humidity is high, move the pieces indoors over a vent rather than leaving them outside; warmth helps, but damp air slows the chemical hardening more than it speeds surface drying.
For the first few weeks after reinstalling, a lighter touch helps the finish reach its full hardness. Avoid knocking rings or utensils against the pulls. The wait is the step nobody wants to do, but it is what separates hardware that lasts two years from hardware that needs touch-ups every six months.
8. Reinstall the Hardware
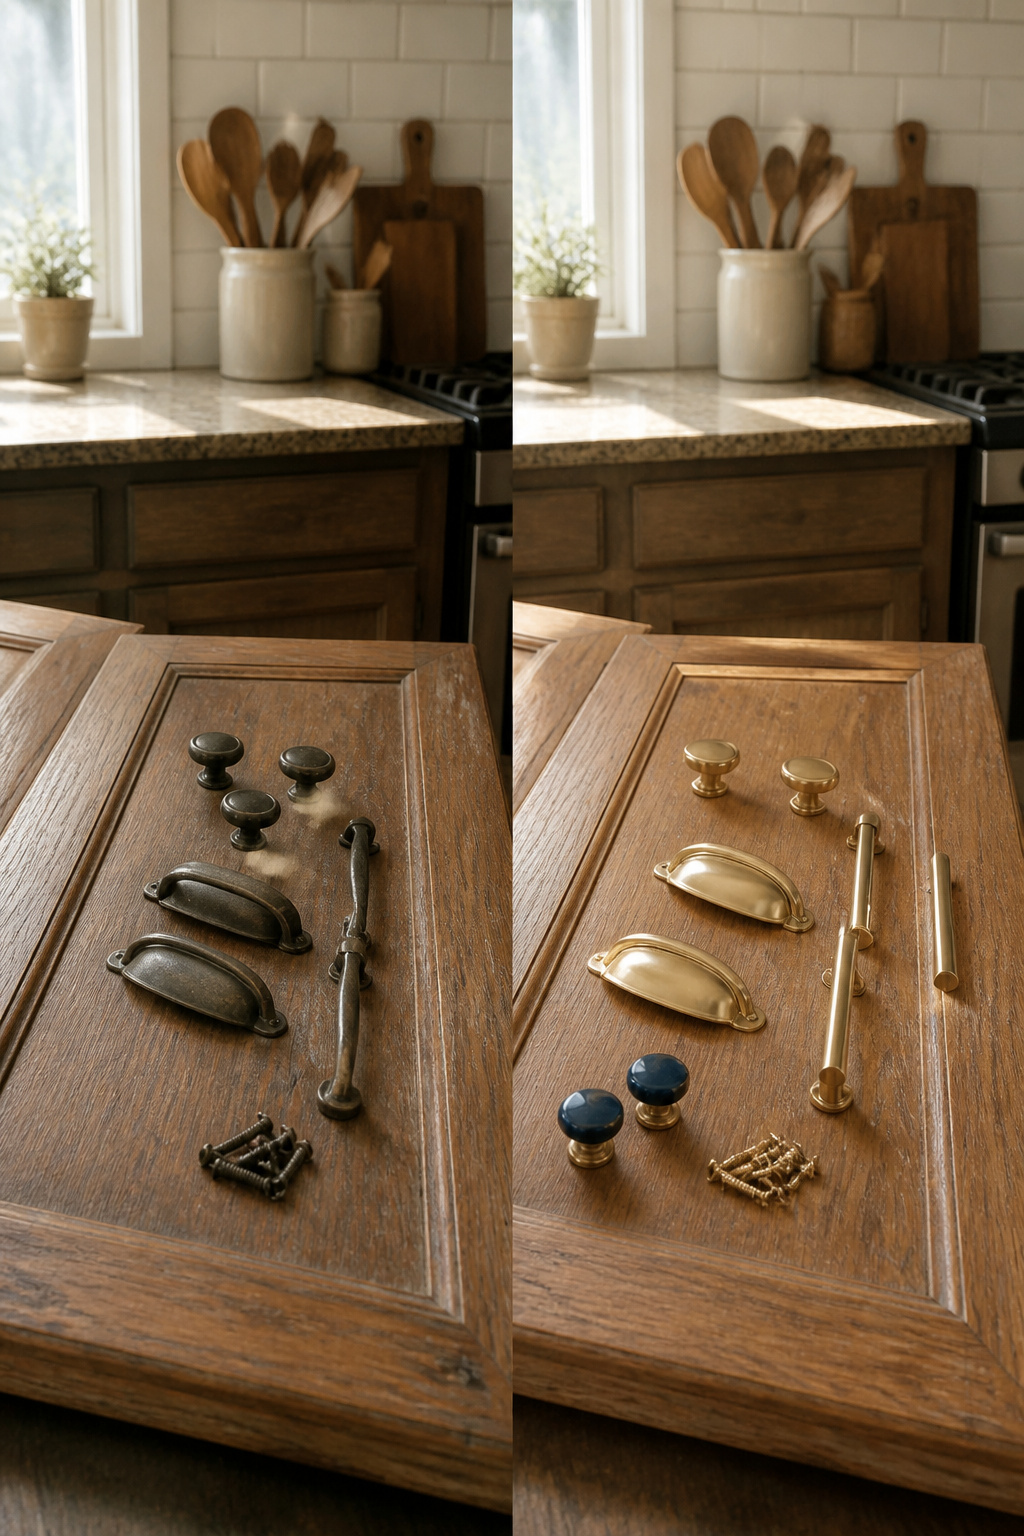
The hardware needs a full day before it takes any torque. I gave mine about two hours before I set the pieces back onto the doors, but I left them loose, not snugged down at all. That gap lets the finish harden without getting compressed against the cabinet face.
Hand-tighten only when you do lock them down. A power drill will strip the painted threads and chip fresh paint right off the screw heads, and after all that curing you will be starting over. I waited twenty-four hours before I fully tightened mine, and even then I kept a light touch on the handles for the next few weeks. They were usable the whole time; you just do not want anything knocking into them while the coating finishes its full cure.
Spray Paint Brands That Hold Up
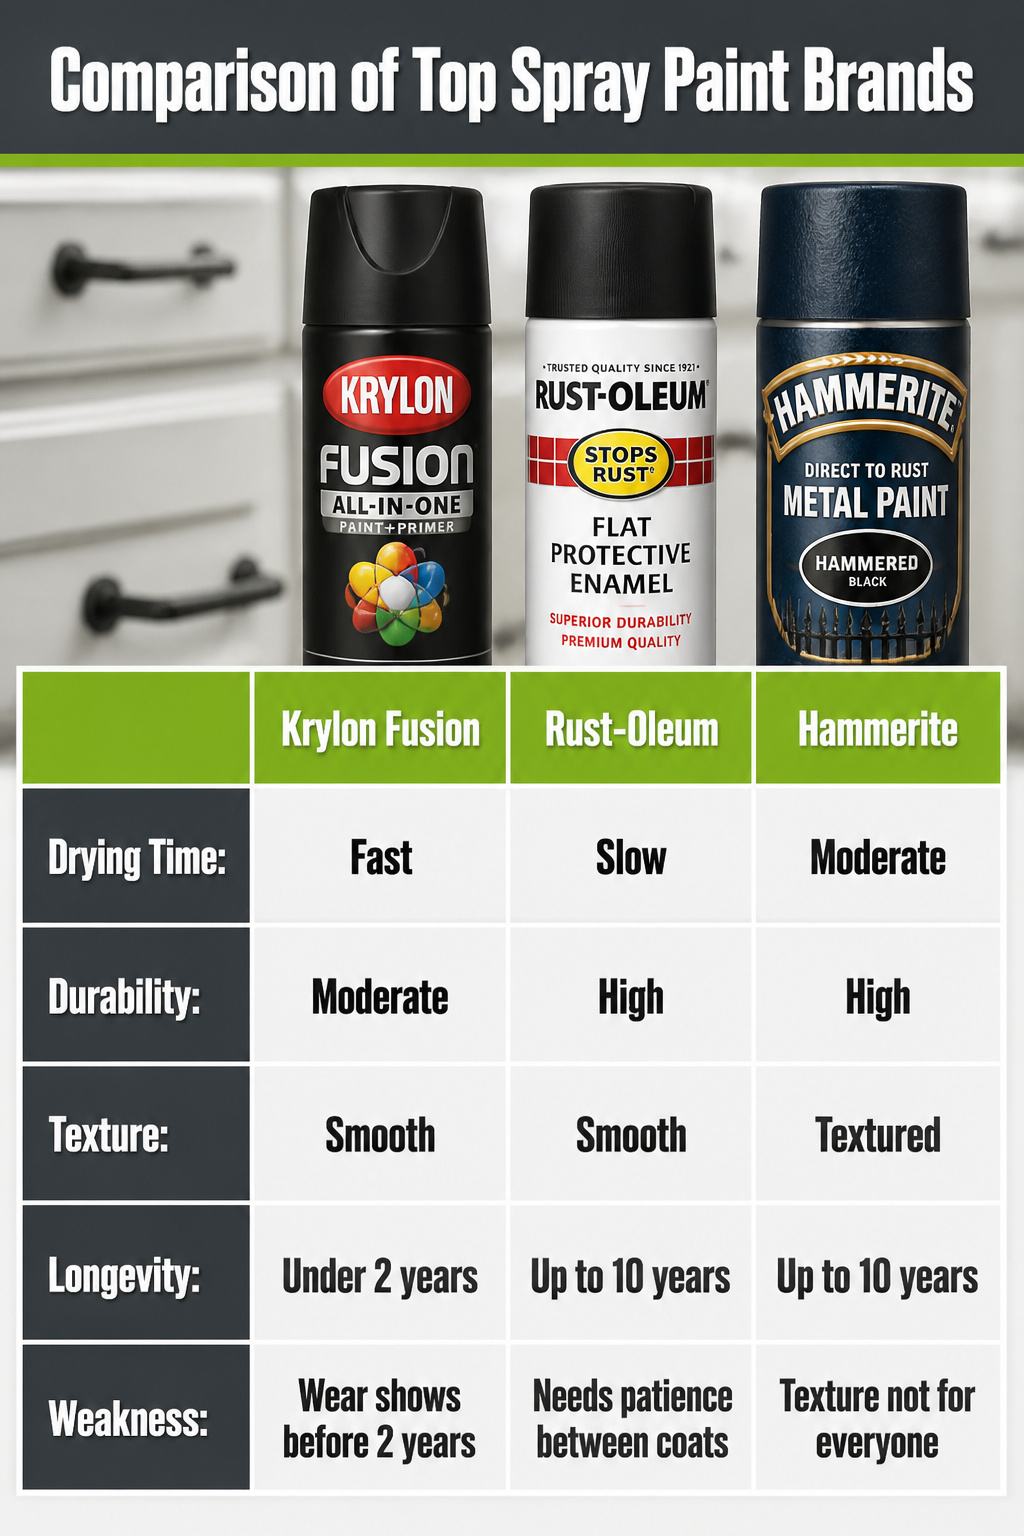
Metal spray paint lives or dies on how well it bites into a handle that gets touched ten times a day. Three brands keep coming up, and each has a weakness that shows up about a year in.
- Krylon Fusion dries fast, which matters when you are balancing thirty pulls on a cardboard sheet and the afternoon is slipping away. The tradeoff is wear: in busy kitchens, the finish can start looking tired before the two-year mark.
- Rust-Oleum is the slower, tougher cousin. It needs patience between coats, but it is built for metal and handles the oil from fingertips better than most. I would not skip the primer here either, even if the can says you can.
- Hammerite gives that hammered, slightly dimpled look that hides imperfections. A commenter mentioned theirs held up over ten years on copper handles, with wear only on the two most-used cabinets. The texture is not for everyone, though, and it will not give you that flat modern matte black that is everywhere right now.
Rub ‘n Buff for a Brushed Metallic Finish
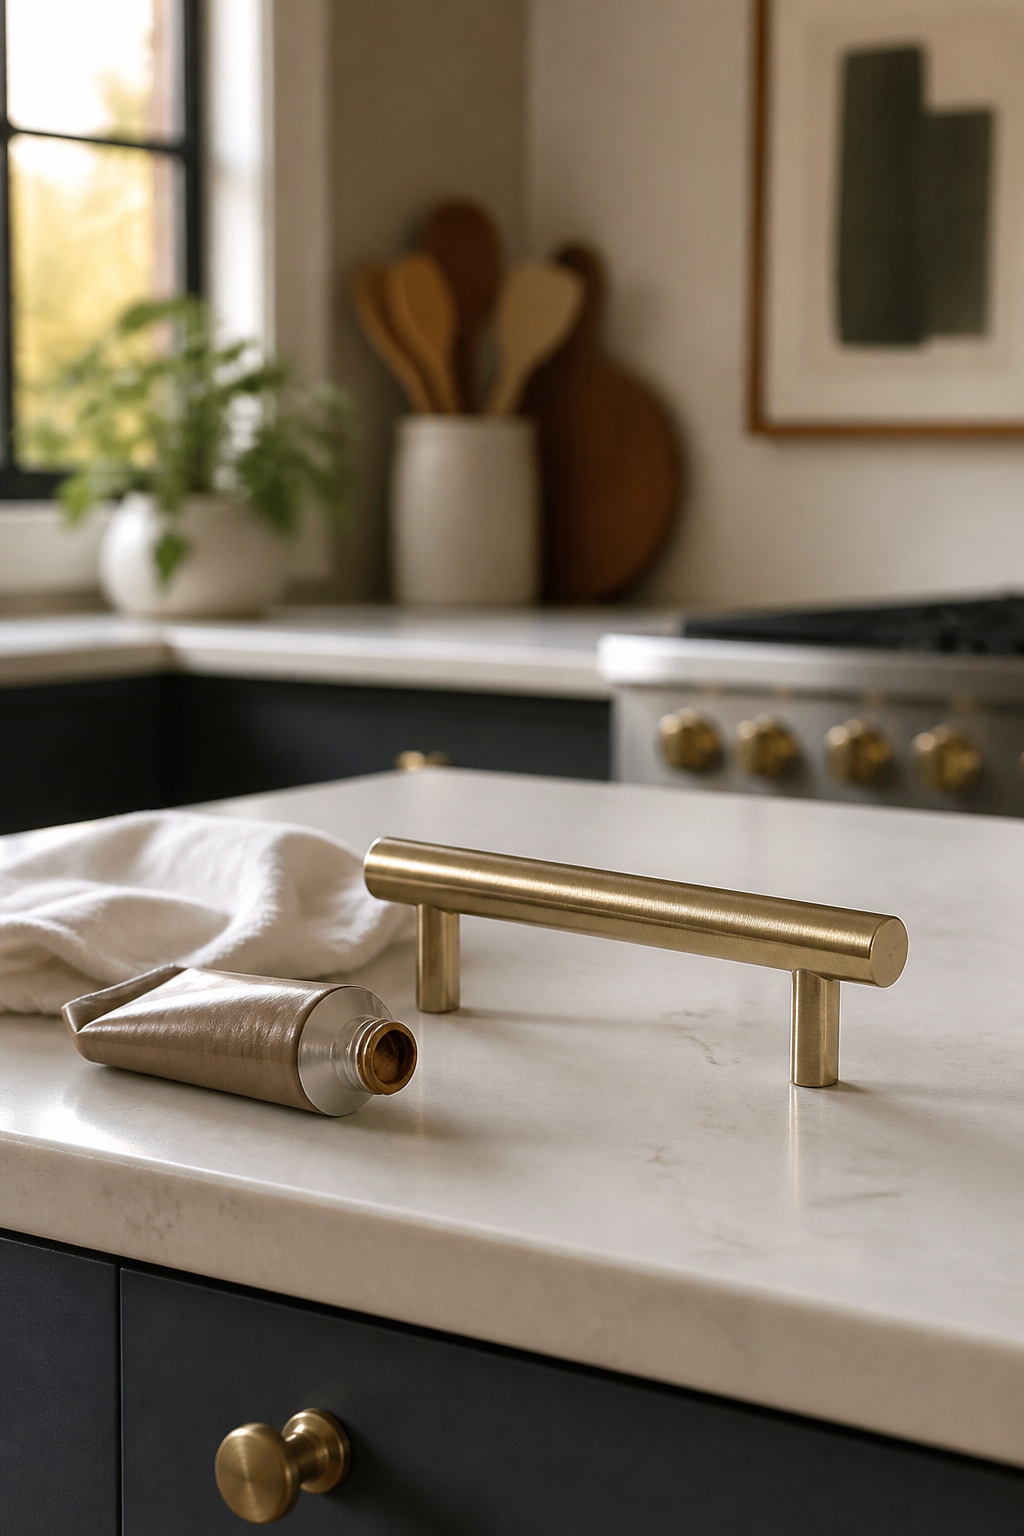
Rub ‘n Buff is a wax product that lets you skip the spray paint entirely when you want a brushed metallic finish on cabinet hardware. One tube costs less than a can of paint and lasts through multiple kitchens worth of pulls and knobs, with no ventilation setup and no drying time to plan around.
The product goes on with a soft cloth and buffs out to something that reads as metal rather than paint. Gold Leaf, Copper, and Black are the colors I see mentioned most often for hardware updates, and the finish works especially well when you want that warm, slightly imperfect hand-rubbed look rather than a factory coating. No fumes means you can sit at the kitchen table with a rag and a tube and finish the whole job while something else is in the oven.
The catch is durability. Rub ‘n Buff sits on the surface as a wax, not a bonded coating, so it will wear faster on pieces you touch every day. It is better suited to hardware that gets gentle use, or to details like trim edges and light fixtures that are not handled constantly. For a bathroom vanity or a pantry door pull it can last well; for the main kitchen drawer you open twenty times a day, the finish will need refreshing sooner than spray paint would.
Why Painted Hardware Wears Faster Than New

Painted hardware lives a harder life than the metal underneath. Daily handling, kitchen grease, and bathroom moisture all work against a finish that was never meant to take abuse. The original plating on a factory knob or hinge was baked on at temperatures no rattle-can can match, so the coating you spray at home sits closer to the surface and chips more readily.
That wear is not a secret the paint manufacturers hide. One blogger who painted her brass hardware noted she touches hers up every six months or so, and still considers the trade worth making. A can of spray paint runs under $10, which puts the math in perspective quickly.
| Painted Existing Hardware | Buying New Satin Nickel | |
|---|---|---|
| Cost for knobs (31 pieces) | ~$10 for paint | $18.99 per 10-pack; ~$60 total |
| Cup pulls (9 pieces) | Included in paint cost | $5.49 each; ~$50 total |
| Hinges (66 pieces) | Included in paint cost | $27.99 per 20-pack; ~$84 total |
| Touch-up schedule | Every 6 months | None |
| Upfront time | One afternoon | Removal and reinstall only |
The satin nickel knobs at $18.99 for ten set the baseline. For a full kitchen with thirty-plus doors and a handful of drawers, replacement pushes past $110 before you reach the hinges. Painting asks for an afternoon now and a fresh coat twice a year. Whether that rhythm suits you depends on how much the saved hundred dollars matters, and whether you mind keeping a half-used can of spray paint on the garage shelf.
What Changes How Long the Finish Lasts
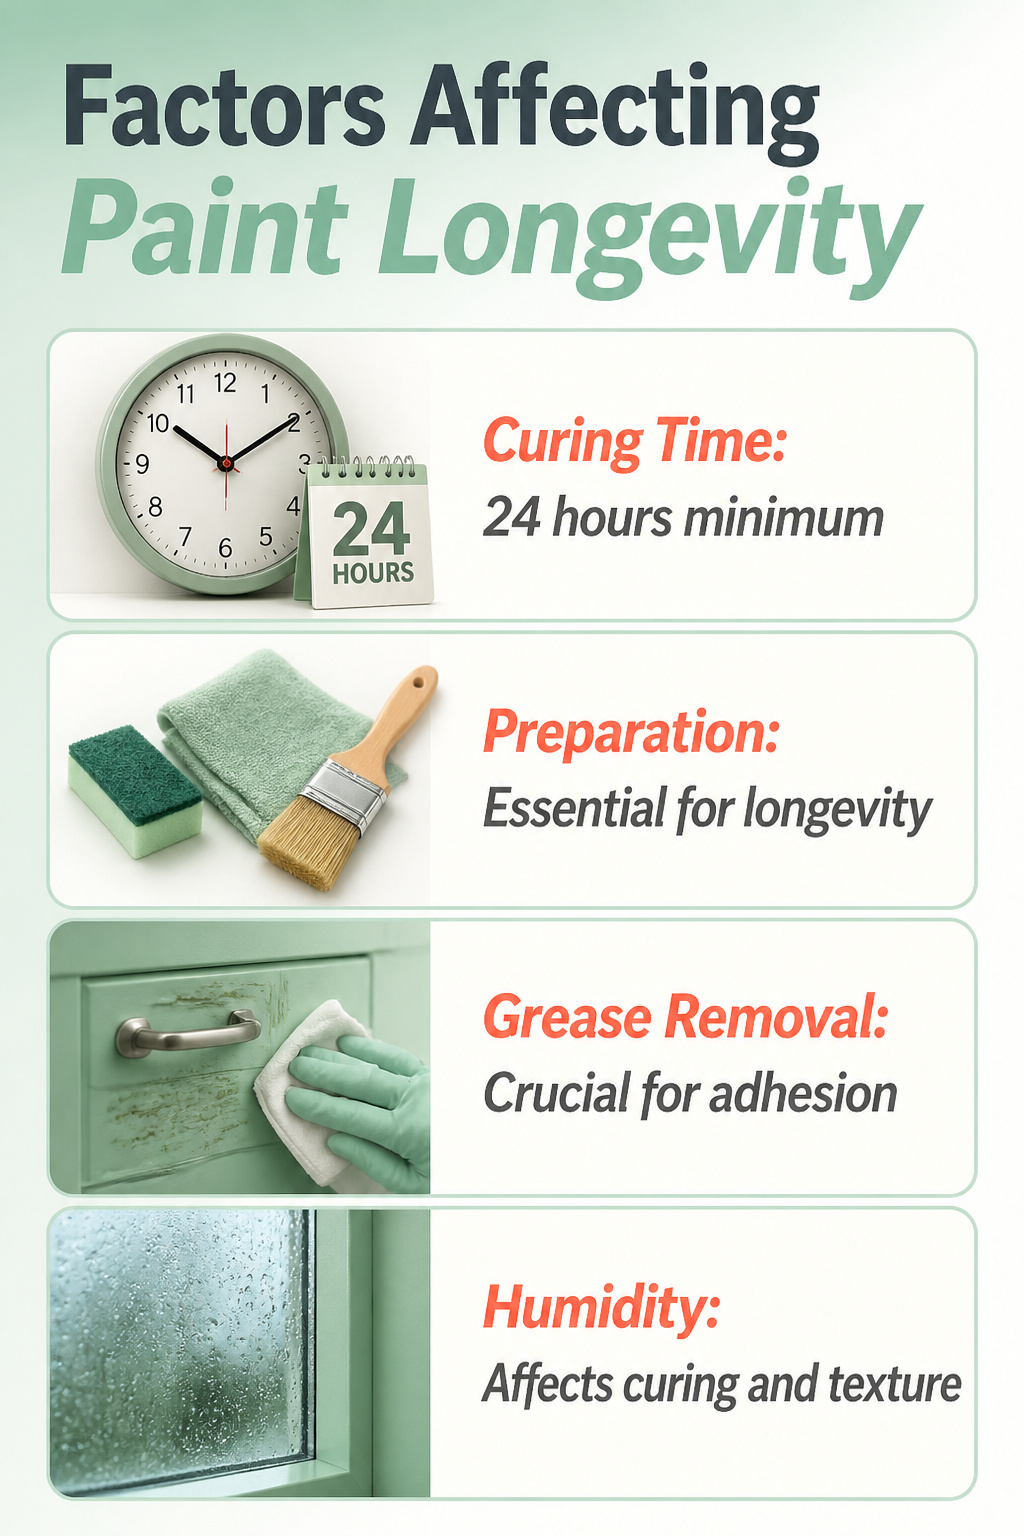
Paint starts curing the moment it goes on, but the film stays soft underneath for longer than most people guess. Twenty-four hours is the minimum before hardware should go back into daily rotation. Less than that and the finish compresses against fingers and cabinet oils, leaving permanent fingerprints and weak spots that peel inside the first month.
Preparation is what stretches that month into a year or two. Grease left from kitchen hands acts like a release agent; primer skipped on slick metal leaves the paint clinging by surface tension alone. The work is tedious, but the math is simple: ten minutes of scrubbing and a bonding coat now replaces a full redo later.
Texture changes matter too. A heavy coat or a drip that levels wrong turns a smooth pull into something rough against skin, and uneven paint can add just enough thickness to make a handle feel awkward in a tight grip. Humidity compounds the problem, leaving some finishes tacky enough to collect dust and resist wiping clean. That stickiness usually means the cure was rushed or the paint was not meant for high-touch use.
Frequently Asked Questions
Can you spray paint kitchen cabinet handles?
Yes, you can spray paint kitchen cabinet handles with proper preparation. Remove them from the cabinets first, then clean thoroughly with soapy water or TSP for greasy buildup, sand glossy surfaces with 220-grit paper, and apply a metal primer before spraying three to four light coats of paint designed for metal or high-touch surfaces. Brands like Krylon Fusion, Rust-Oleum, and Hammerite are built for this kind of job.
How do I change the color of my kitchen handles?
Remove the handles and label each set so you know where they go back. Clean with warm soapy water or TSP to strip off kitchen oils, sand any shiny metal with 220-grit paper, then apply primer and three to four light coats of spray paint in your chosen color. Let everything cure for 24 hours before reinstalling, and wait another full day before tightening them down.
Does spray painting kitchen handles last?
Spray-painted kitchen handles can last one to two years with proper prep, but they wear faster than factory-finished hardware. Daily handling, kitchen grease, and moisture all work against the coating, which sits on the surface rather than being baked on like original plating. One blogger touches hers up every six months and still considers the trade worth making given the cost savings over replacement.





