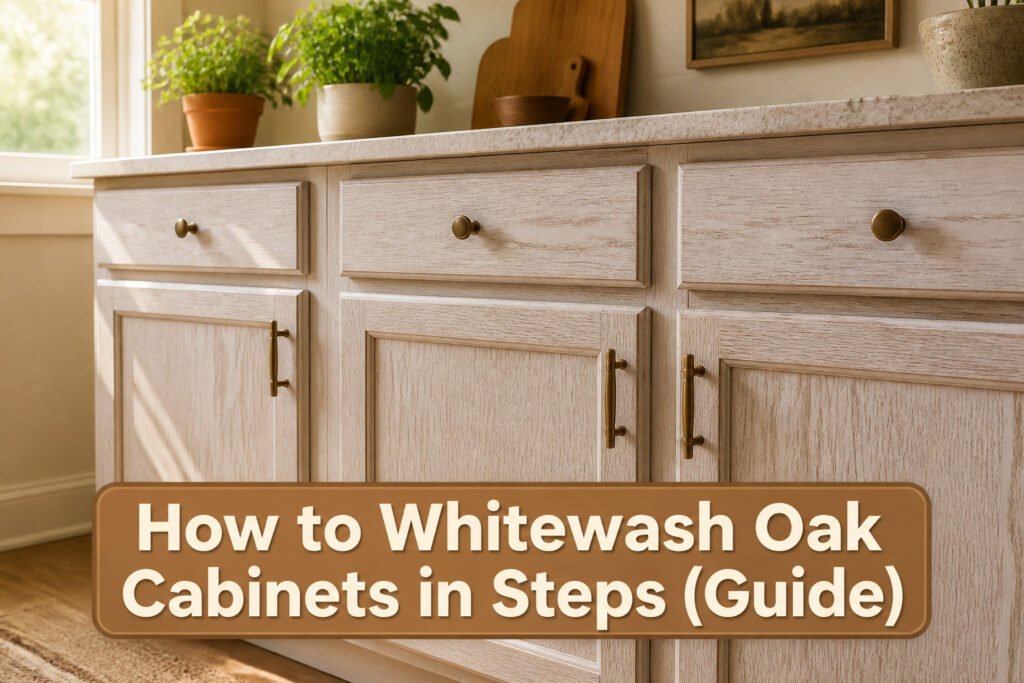
Whitewashed oak cabinets take a weekend, a gallon of thinned paint, and the patience to let each coat dry before the next. Most failures happen in the mixing: a 1:1 ratio paints over the grain entirely, and the point of oak is that the grain shows. The 1:3 ratio, tested first on a drawer front you can hide, is where the wood starts to breathe through.
1. Remove Cabinet Hardware
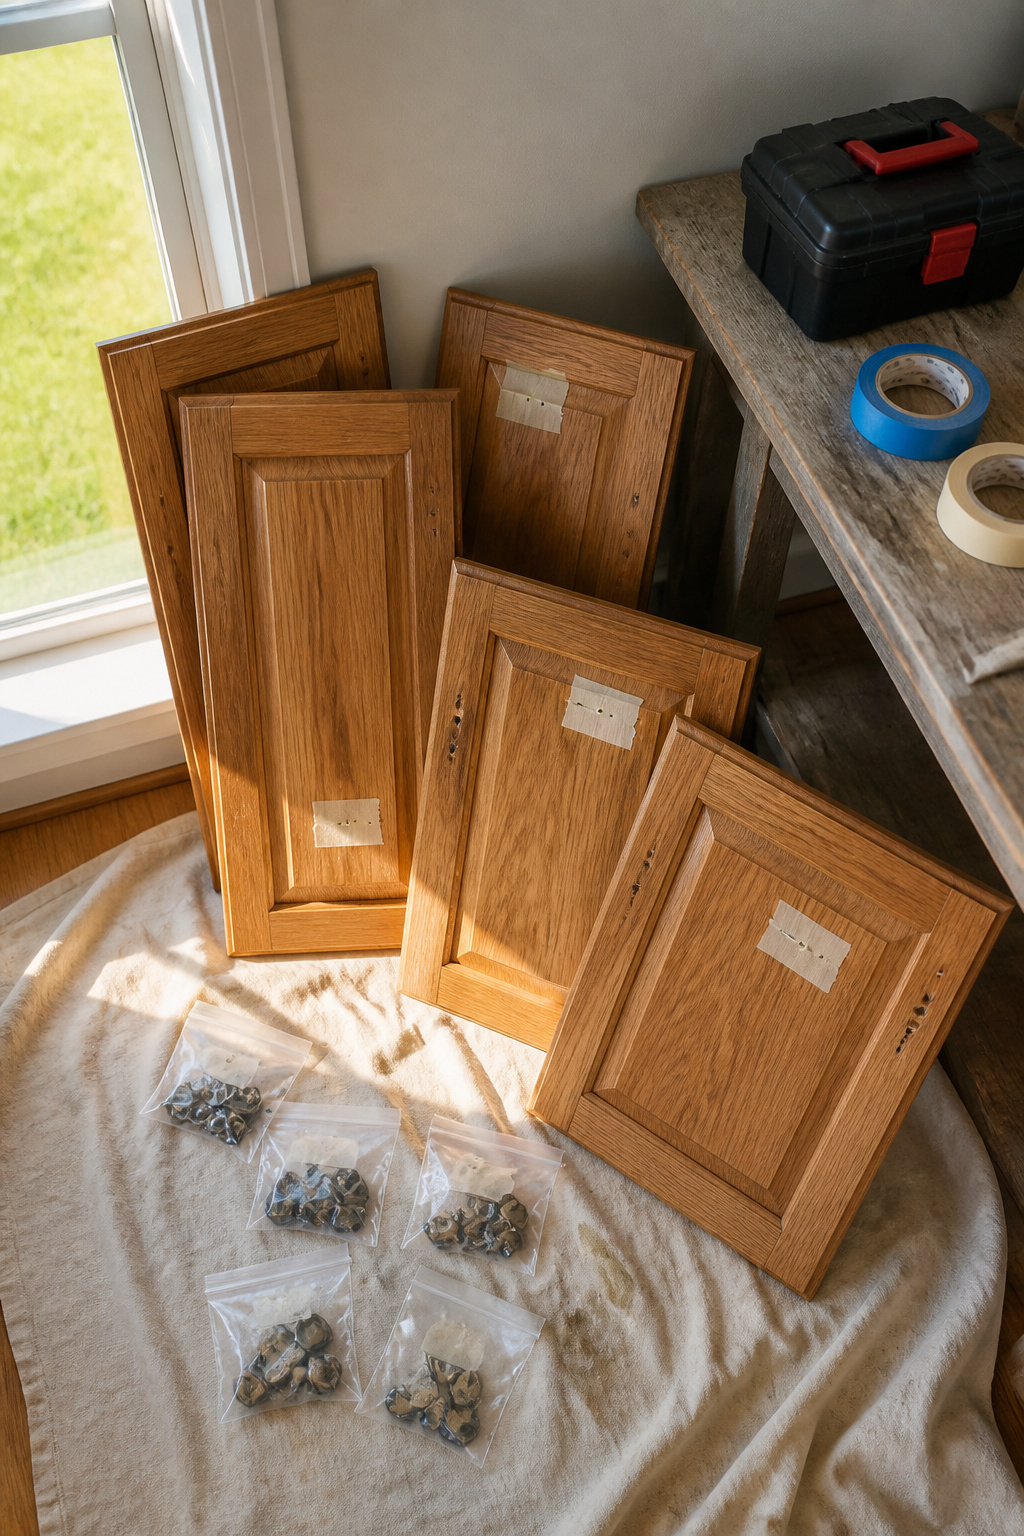
A cabinet door that lands two holes to the left of its home will never quite close right. That is the lesson that costs an afternoon to relearn.
- Take off every knob, pull, and hinge. A drill with the right bit speeds this up, but a manual screwdriver works fine if the hardware is older and the screws strip easily. Bag the fasteners with their pieces, or tape them to the back of each door.
- Label every door and drawer with painter’s tape showing where it belongs. I write "upper left" or "drawer 3" in Sharpie and stick the tape where the hinge sat. The tape comes off clean after sanding, and the writing survives a day or two of handling.
- Set up a workstation for doors and drawers before the next step. A pair of sawhorses in the driveway, a drop cloth on the garage floor, or even a folding table on the lawn. Any flat surface beats working against vertical cabinets, and the sun helps later when bleach enters the picture.
2. Clean the Furniture
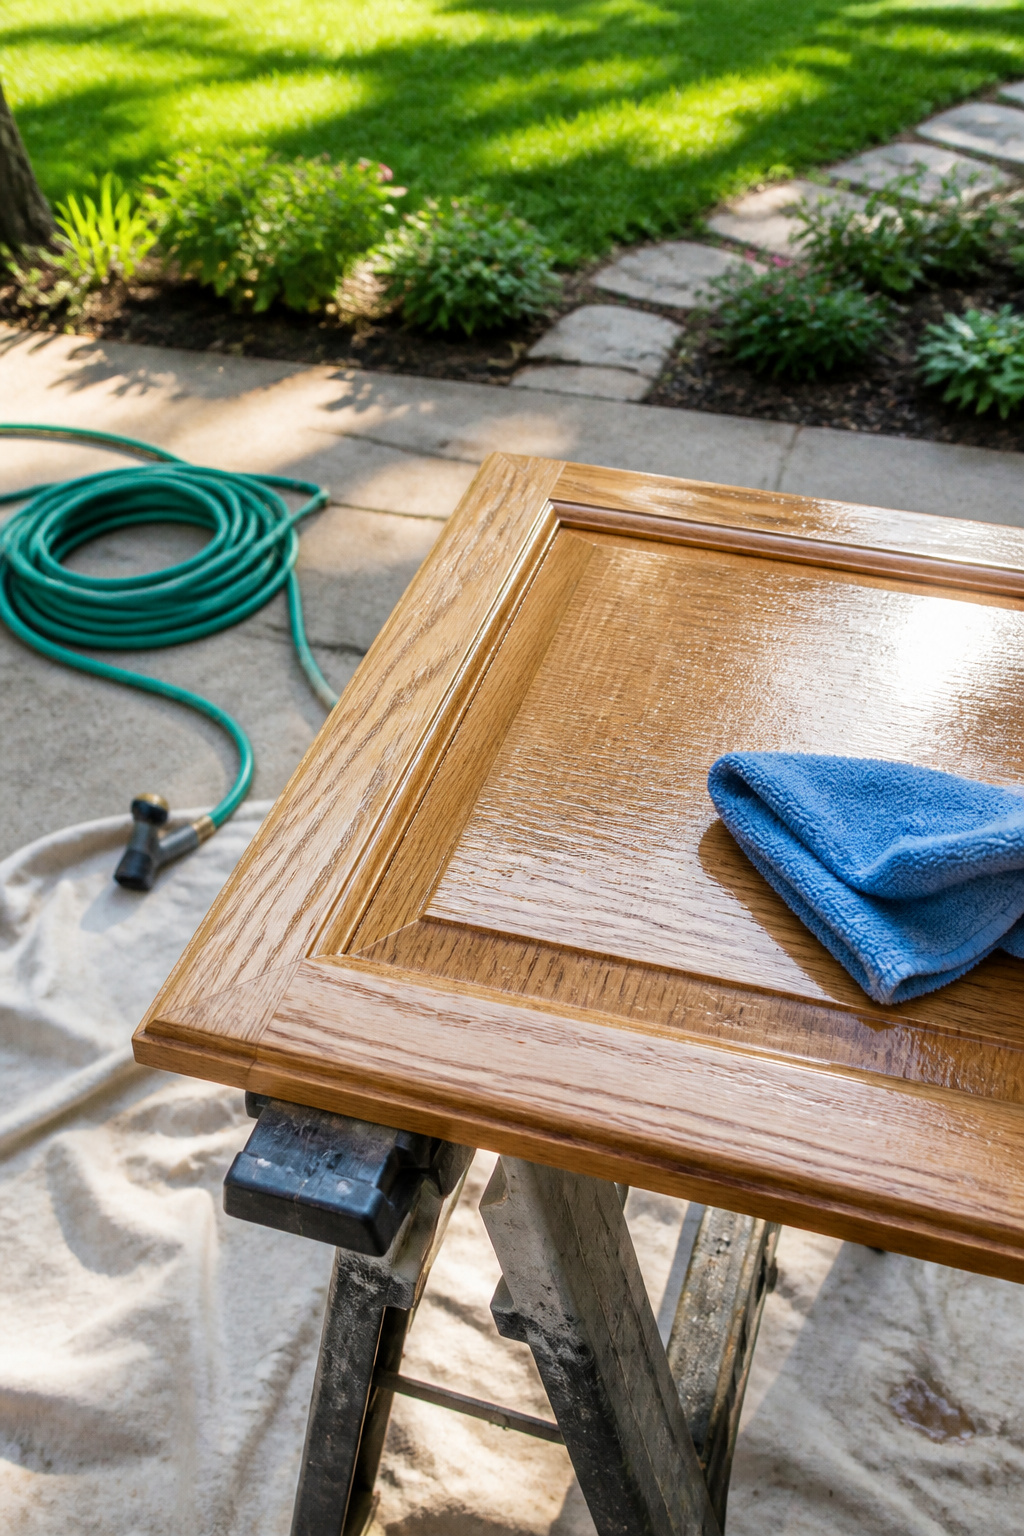
Years of cooking leave a film on oak cabinets that no finish will stick to. TSP cleaner mixed with warm water is the only prep step you cannot skip. I scrub every surface that will receive whitewash with that solution and a microfiber cloth, then go back over the grain with a scrub brush. The alternative TSP formulas work the same and spare the gloves.
Sanding before cleaning would grind that grease right into the pores. The new finish needs something to grip, and adhesion fails fast over old cooking oil. I learned that order the hard way on a dresser that started peeling inside a month.
Hardware comes off now, not later. Drawer pulls go in a ziplock bag while the cabinet faces dry in morning sun, which also helps with any musty cabinet smell. A thorough rinse with the hose outside saves the kitchen floor. The piece has to dry completely before sandpaper ever touches it, or you are sealing moisture under the new finish.
3. Sand the Wood
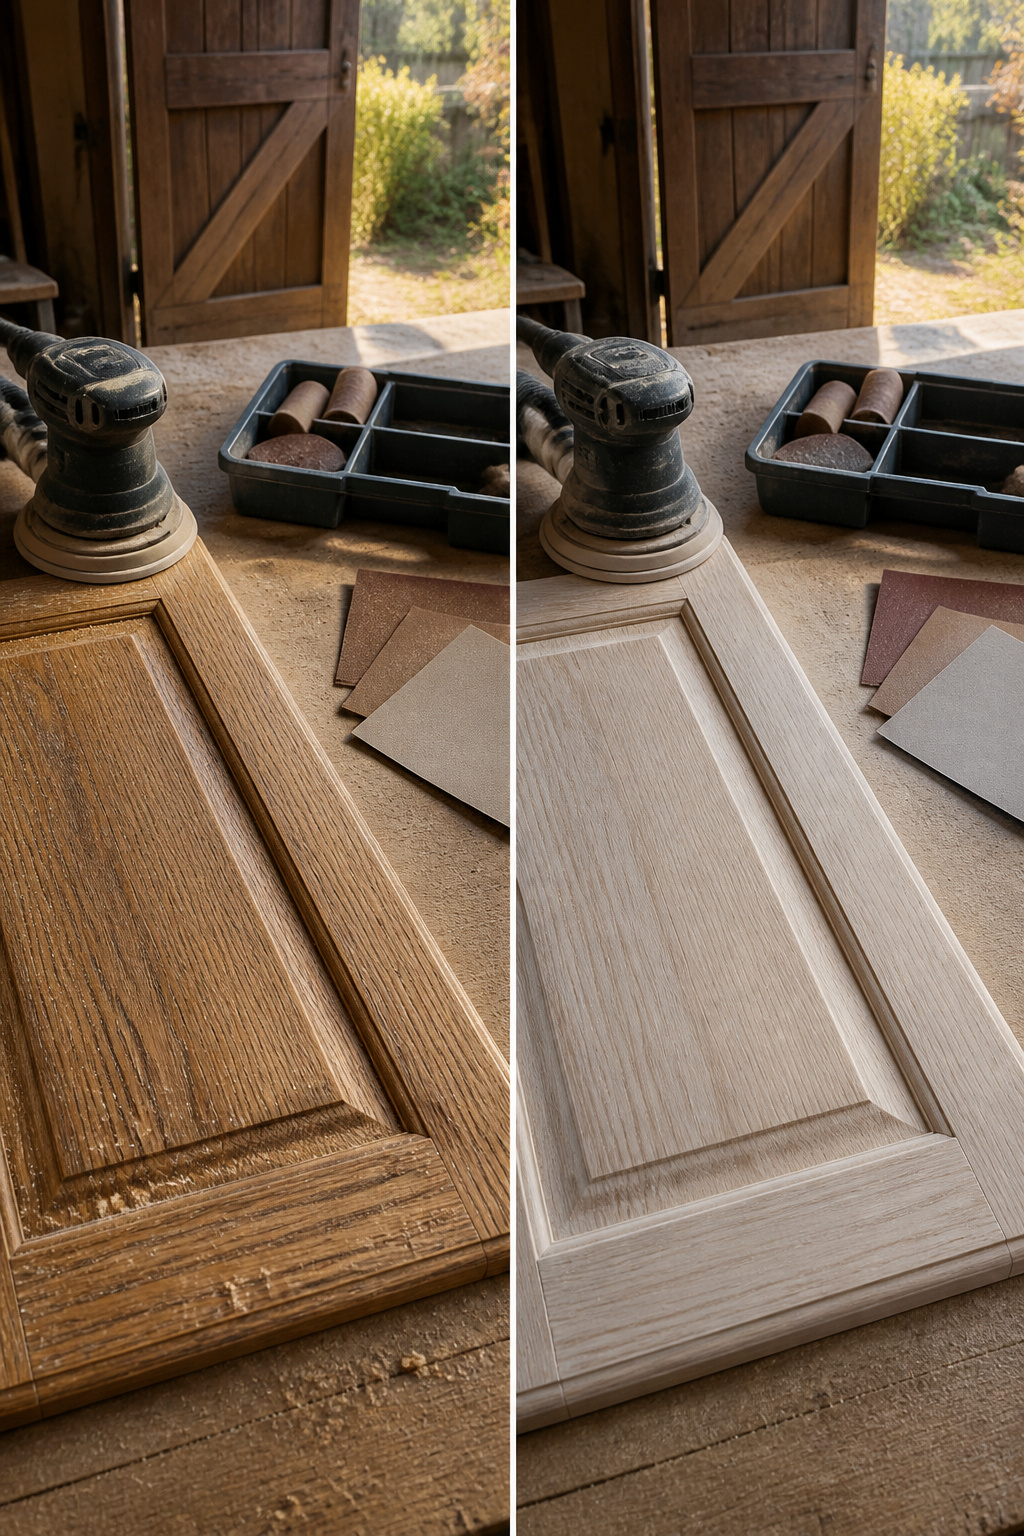
80-grit sandpaper is where this starts, because old finish on oak cabinets does not go quietly. The open grain holds stain and sealer like a sponge, and a lighter grit just polishes the surface without reaching it. I run an orbital sander over every flat face and use a sanding block for the raised panels where the machine would round the edges.
Once the old honey or orange stain is mostly gone, the scratches left by 80-grit need attention. 100-grit smooths those out without jumping too far ahead. Oak’s grain will still show through, which is the point of whitewashing, but the surface itself has to be level or the wash catches in ridges you did not plan.
The last pass is 220-grit before any whitewash goes on. That leaves the wood smooth enough to take an even coat without closing the pores entirely. Three stops, no shortcuts: 80, 100, 220. Skip the middle one and the deeper scratches sit there under your finish, catching light from the side.
4. Apply the Whitewash
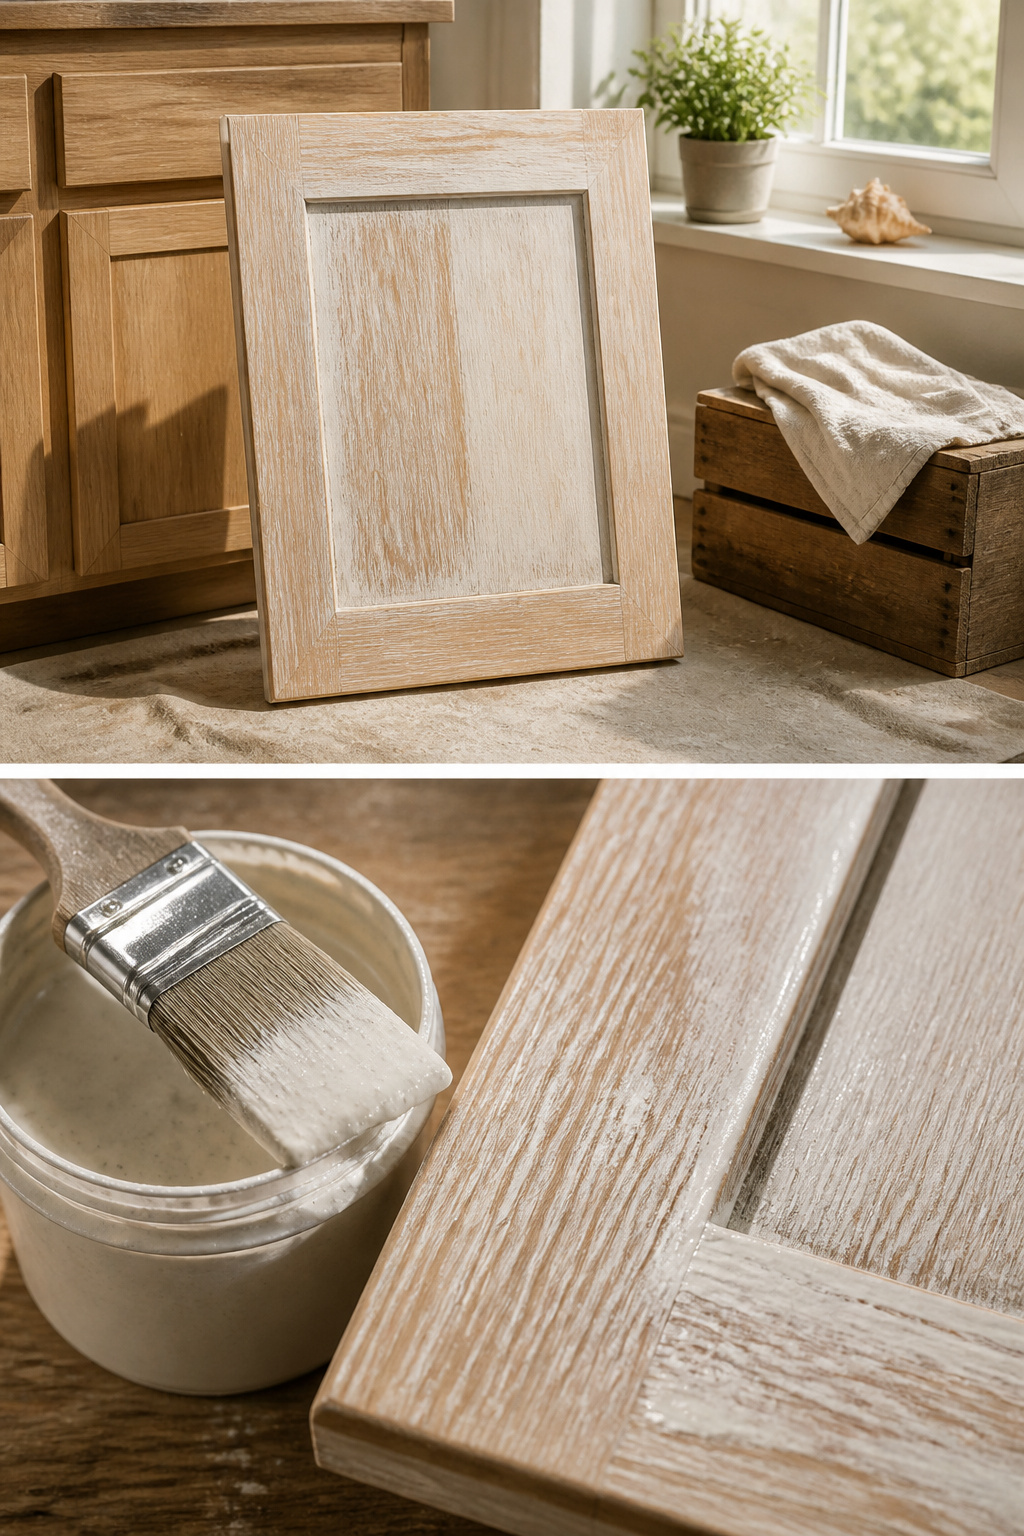
A 1:1 paint-to-water ratio puts down an opaque coat that hides most of the oak grain, which defeats the point of whitewashing. 1:3 is where the wood starts to breathe through, and that is where I landed after testing on a drawer front I could hide if it went wrong.
The mixture goes on like skim milk, not cream. Brush with the grain in sections small enough that you can wipe back the excess with a clean rag before the surface starts to set. Work top to bottom on vertical faces so drips run into wet paint you can still blend. The wipe is the step that creates the finish; skip it and you have painted cabinets, not whitewashed ones.
More water means more passes to build coverage, and the grain that shows through will vary with every board. Oak’s open pores drink the thinned paint differently than the surrounding wood, so the pattern you get is specific to your cabinets, not a factory repeat. That variation is the look, but it also means the first door and the last will not match if your ratio drifts. Mix fresh batches in a single container rather than eyeballing each one.
5. Let Dry
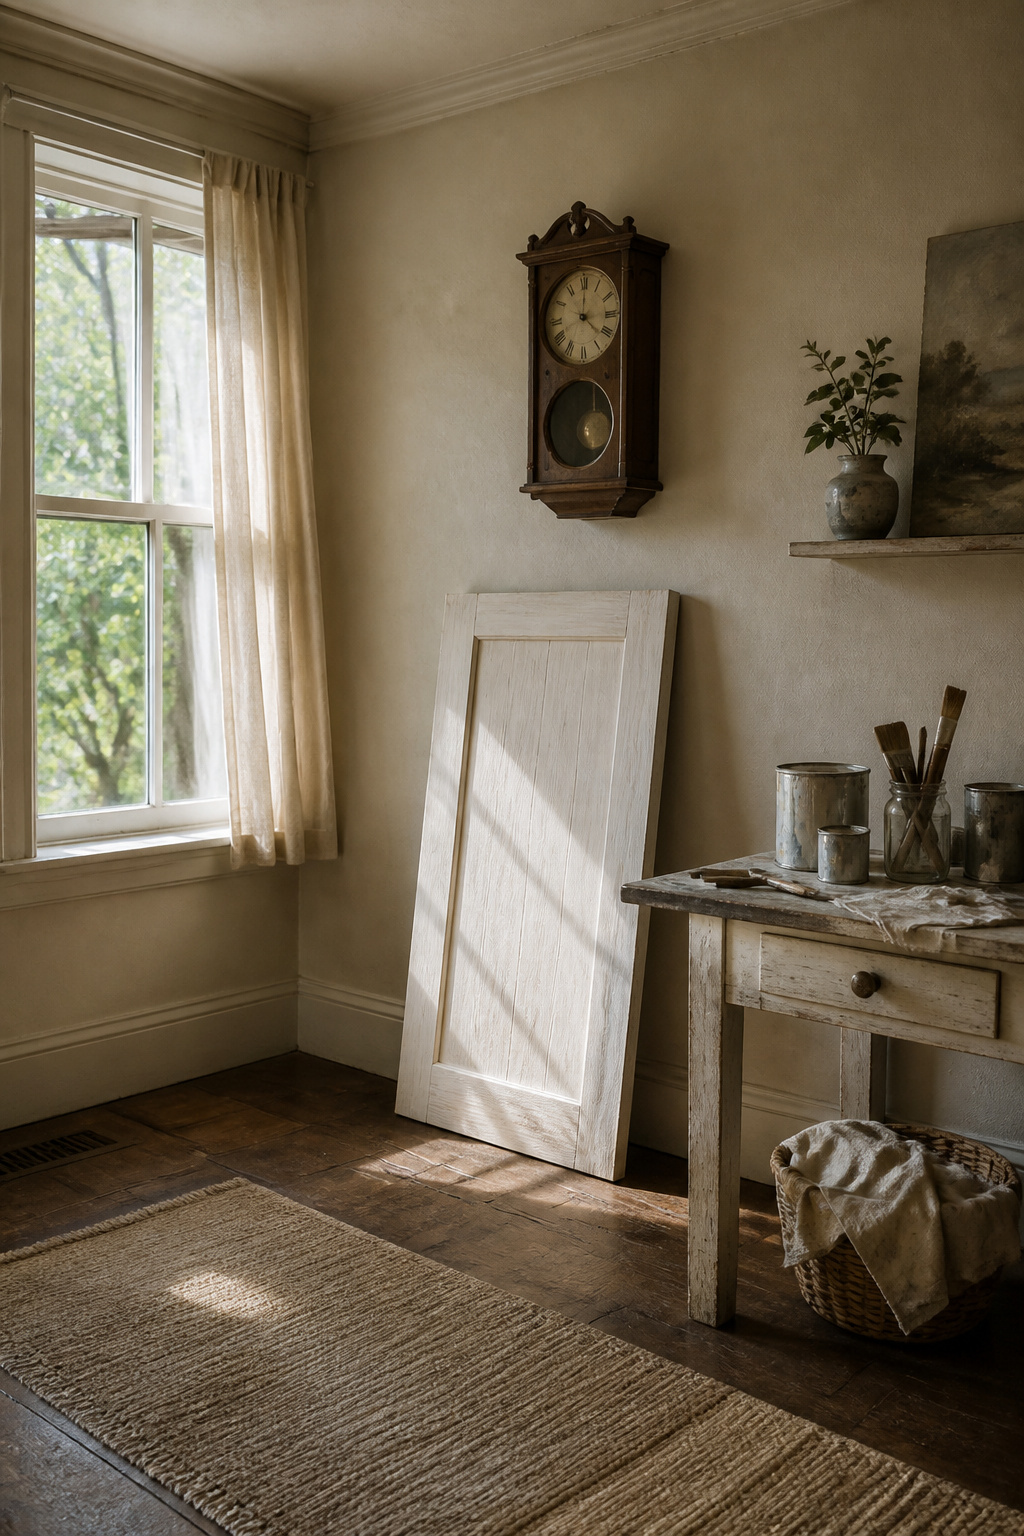
Patience at this stage matters more than the work itself. The whitewash needs to dry fully before you touch it or add another coat, and the time that takes depends heavily on humidity, airflow, and how thick the coat went on. A kitchen with the windows open in October dries faster than a basement bathroom in July. The surface will tell you: it shifts from cool and slightly tacky to matte and room-temperature when it is ready. Rushing this step causes the second coat to pull up the first, creating streaks that are hard to fix without starting over. I have learned to plan the project so this drying window lands when I am out of the house anyway, grocery run or school pickup, so I am not tempted to test it with my thumb.
6. Seal the Finish
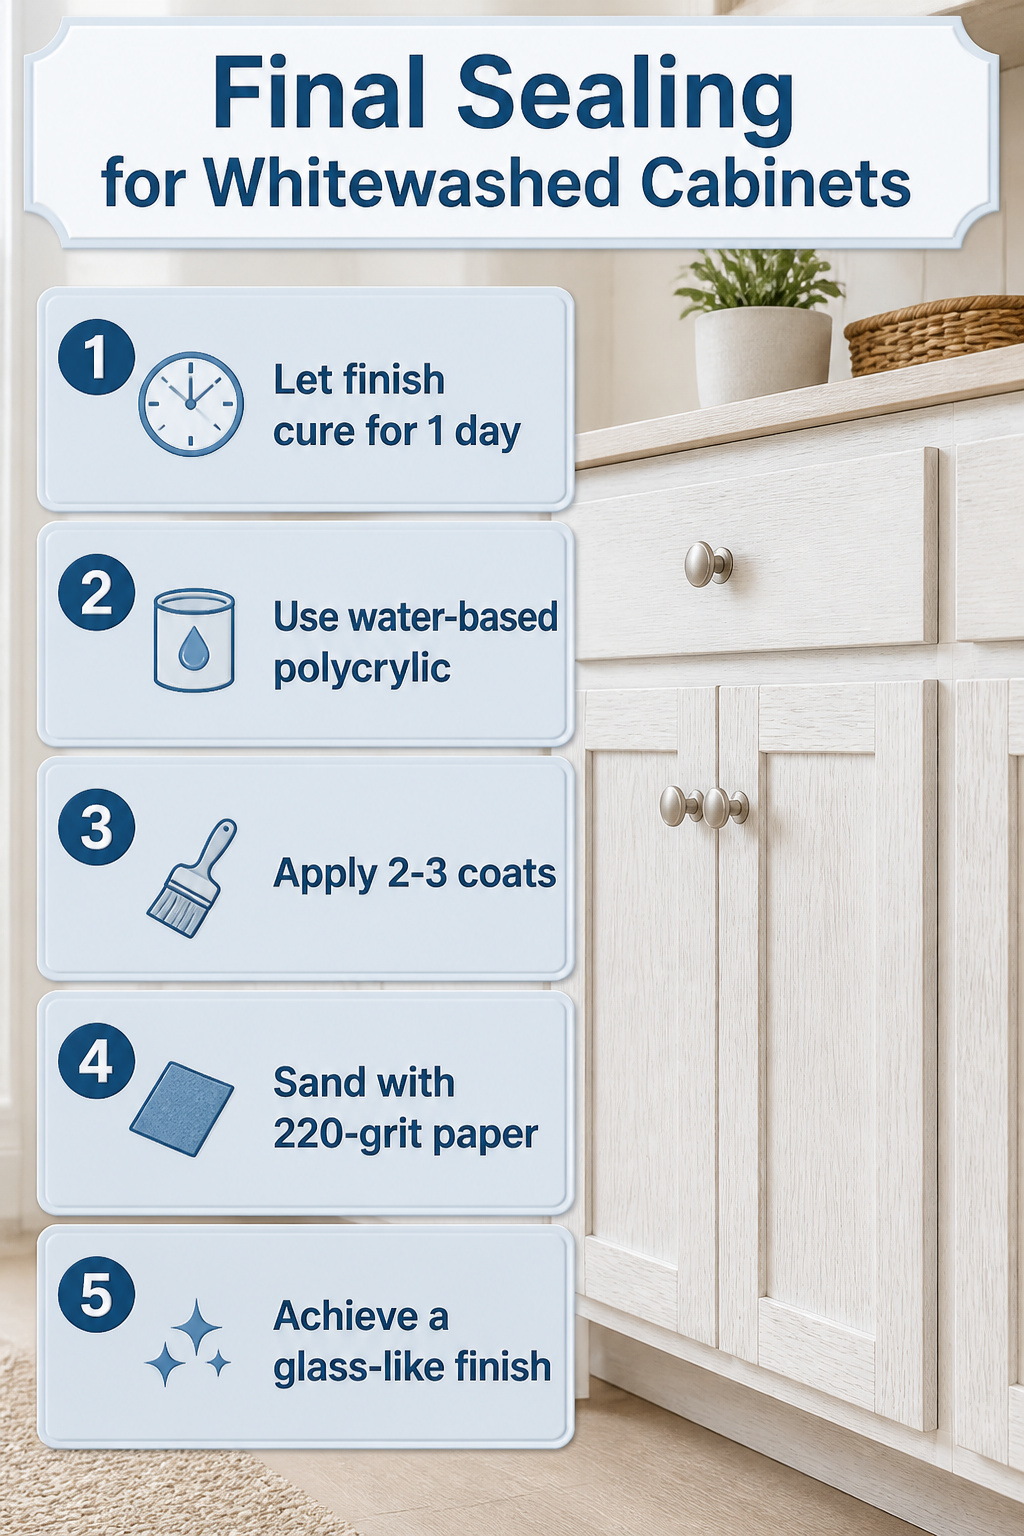
The last coat of whitewash needs a full day to cure before anything goes over it. Rushing this part means the finish picks up brush marks or traps dust that never sands out.
A water-based polycrylic is what keeps the wash from yellowing down the line. Oil-based topcoats will turn cream over time, which undoes the whole point of a white finish. Apply 2-3 coats, letting each one dry completely and hitting it with 220-grit paper between layers. This knocks down the raised grain and gives the next coat something to bite.
A foam brush works for the whitewash itself, but the final topcoat goes on smoother with a good synthetic bristle brush. The last pass should feel like glass, not like open wood. If you can still feel the grain catching after three coats, a fourth will not fix it; the surface needed more sanding before sealing began.
Milk Paint and Chalk Paint

Milk paint and chalk paint both let the grain show through instead of forming a film on top, but they get there differently. True milk paint arrives as dry powder you mix with water; it bonds straight to raw oak and resists chipping once it cures. Chalk paint starts wet out of the can and thins to that same watery consistency with one part paint to one or two parts water. Both soak in rather than sit on top, which is exactly what separates a whitewash from a painted-over look.
| Milk Paint | Chalk Paint | |
|---|---|---|
| Starting form | Dry powder | Pre-mixed liquid |
| Mix ratio for wash | 1 part powder to 2 parts water | 1 part paint to 1–2 parts water |
| Bond to raw wood | Direct adhesion | Dilutes similarly; comparable effect |
| Finish character | Soaks into grain | Soaks into grain |
Oil-based paint, craft paint, and latex paint all fail for this method. They are not made to absorb into wood even when watered down, so they read as cheap surface coats rather than stained-in color.
Polycrylic and Hemp Oil
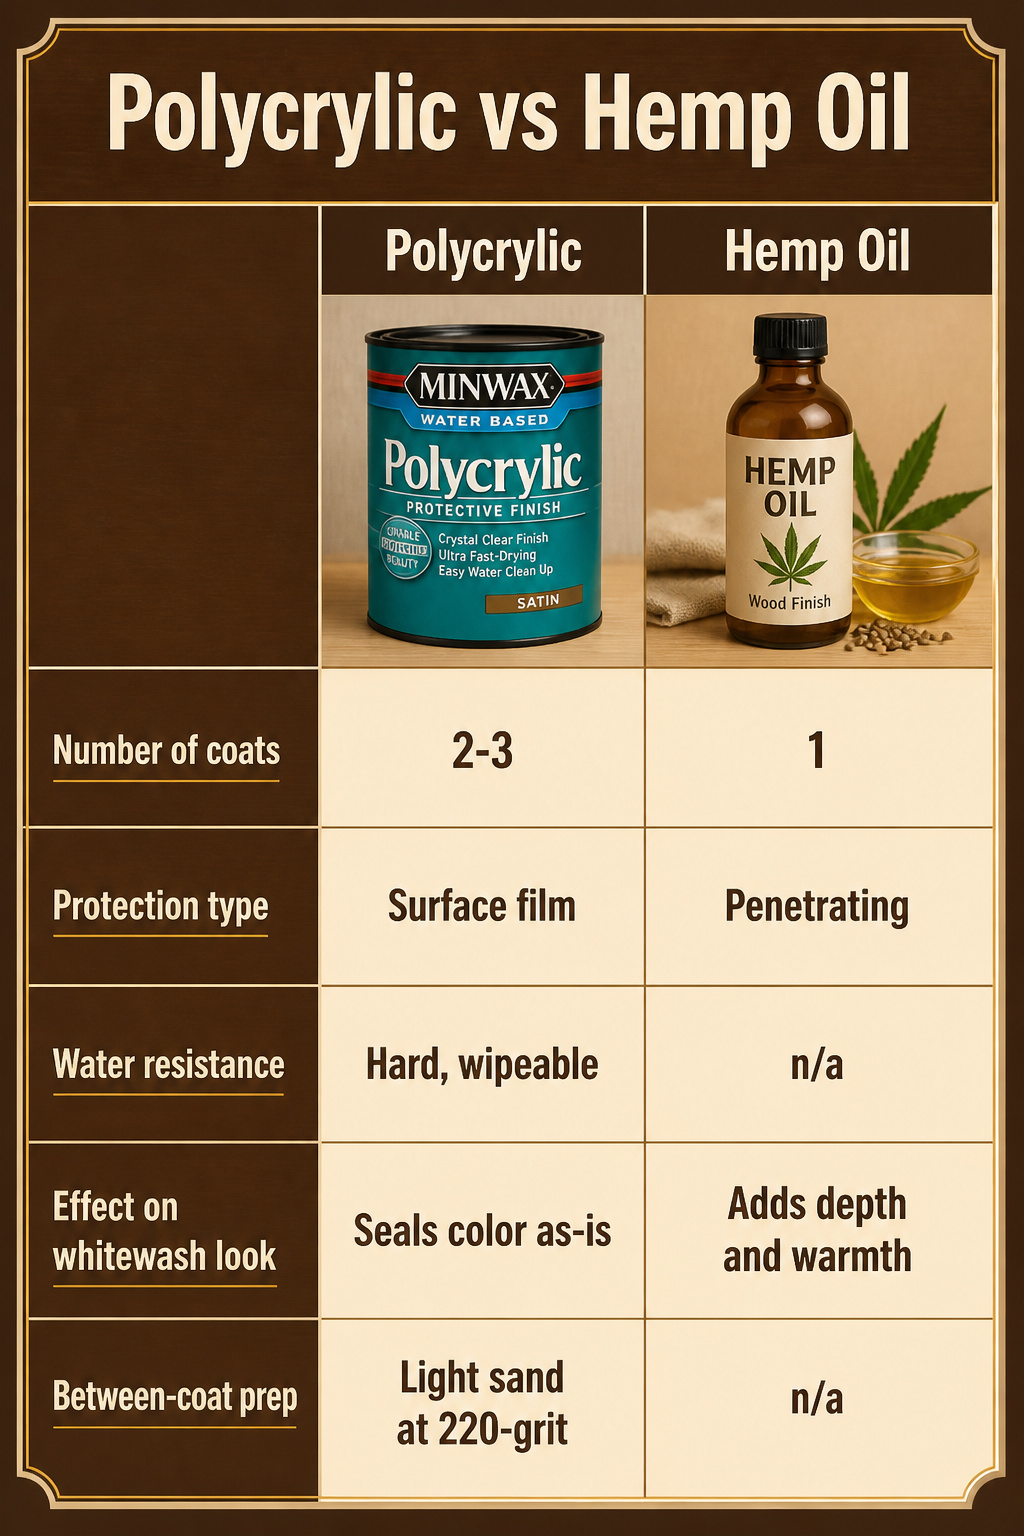
Two sealers sit at opposite ends of the finish spectrum, and the choice between them depends on what you want the oak to become.
Polycrylic builds a hard, water-resistant film on top of the wood. The sources call for 2-3 coats of satin, with a light sanding at 220-grit between each layer. That surface will survive daily kitchen traffic and wipe-downs without complaint. Hemp oil does something different: it sinks into dry wood and nourishes it, and the sources describe how a single coat can warm the tone before settling into a light finish that still reads as whitewashed. One source added white wax over hemp oil on horizontal surfaces for extra protection, and noted they would have used a flat water-based sealer instead if the piece were getting heavier use.
| Polycrylic | Hemp Oil | |
|---|---|---|
| Number of coats | 2-3 | 1 |
| Protection type | Surface film | Penetrating |
| Water resistance | Hard, wipeable | n/a |
| Effect on whitewash look | Seals color as-is | Adds depth and warmth |
| Between-coat prep | Light sand at 220-grit | n/a |
For a kitchen that sees real cooking, polycrylic is the safer bet. For a piece where you want the grain to keep living and changing, hemp oil leaves the wood closer to alive.
TSP Cleaner
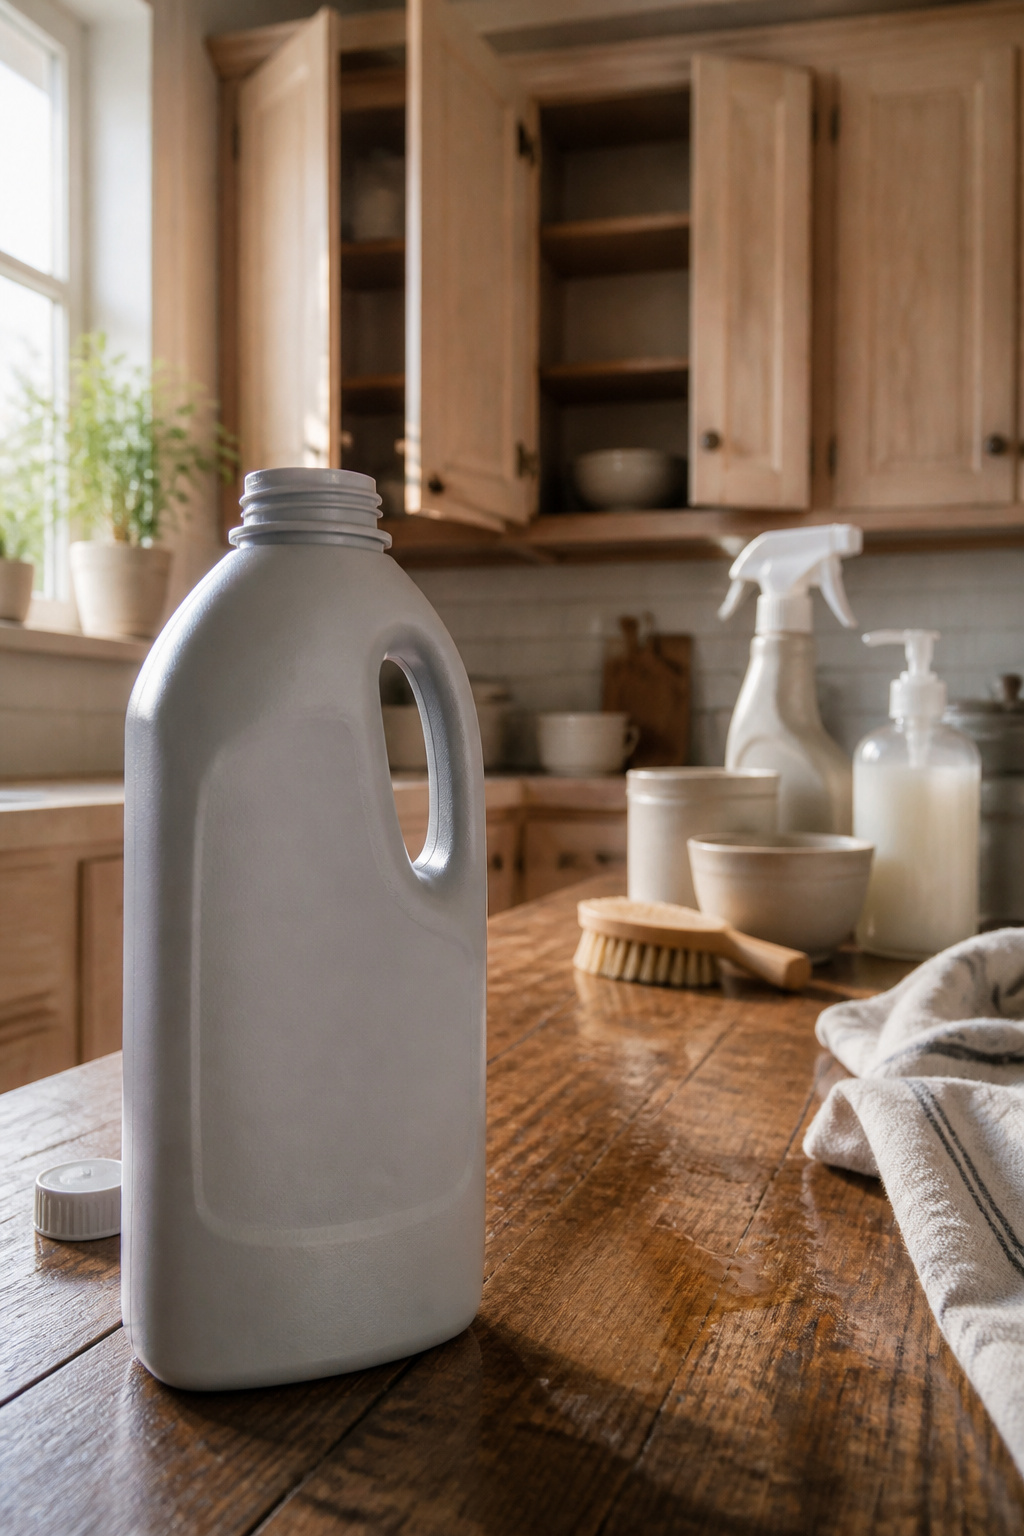
TSP substitute is the heavy lifter in this step, and most hardware stores stock it right by the paint thinners. The original trisodium phosphate cut through grease like nothing else, but phosphates wreak havoc on waterways, so modern formulas swapped them out for gentler surfactants that still strip the cooking film off cabinet doors. That film matters more than dust ever could; years of fry oil and bacon fat embed into oak grain, and any whitewash applied over it will bead or peel within months. I learned this the hard way on a bathroom vanity I rushed through, where the finish flaked along the stiles by spring. For kitchen cabinets, the substitute version works fine, though it needs a few extra minutes of dwell time and a second wipe with clean water so no residue interferes with the sandpaper in the next step.
Repairing Damaged Furniture Before Starting
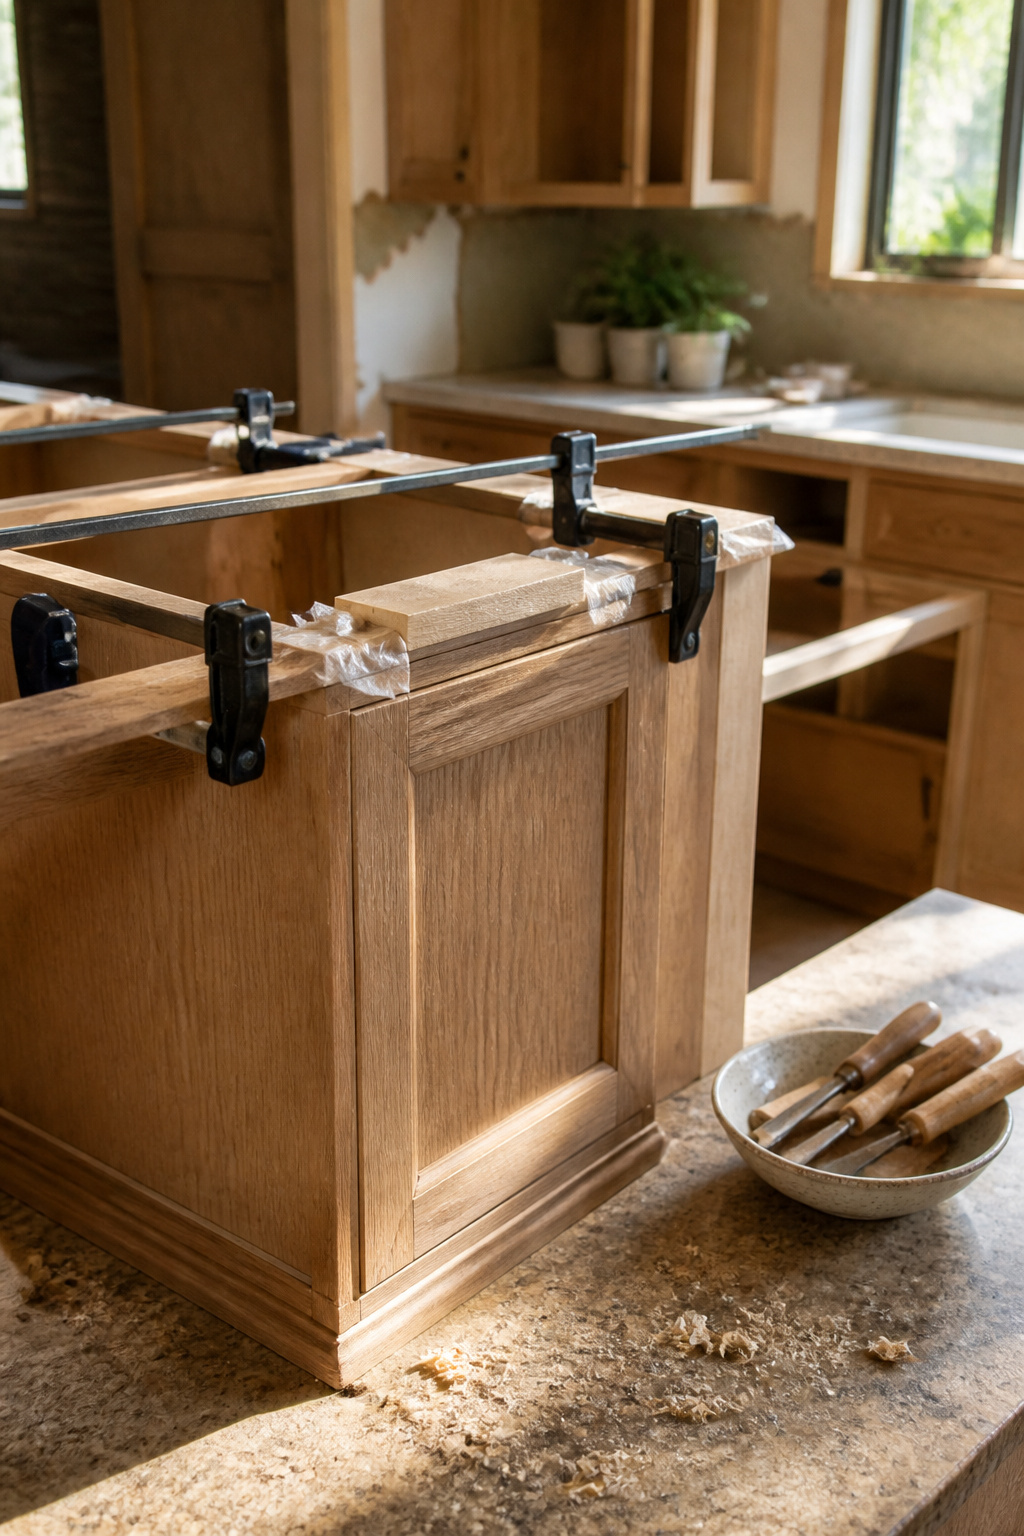
Oak cabinets with split joints or separated stiles will telegraph every flaw through a whitewash finish, so structural repairs come before any sanding. Wood glue and clamps handle most of the damage old cabinets hide. The glue goes on both faces of the split, then clamps draw the seam together slowly. Overnight drying is the standard wait.
Loose veneer needs the same treatment. A thin bead of glue worked under the lifted edge, then wax paper and a flat block before the clamp, keeps the surface even. Heavy clamps can crush old oak, so a scrap wood pad between the metal and the cabinet face prevents new dents where you are fixing old ones. Pressure gets added a little at a time; old wood moves reluctantly, and forcing it splits something else.
Most whitewash tutorials skip this entirely, which means the first pass of sandpaper catches the wobble or the gap opens wider once the finish goes on. A half hour of gluing and clamping saves the afternoon from a result that looks repaired rather than refreshed.
Transparent White Stain as Alternative
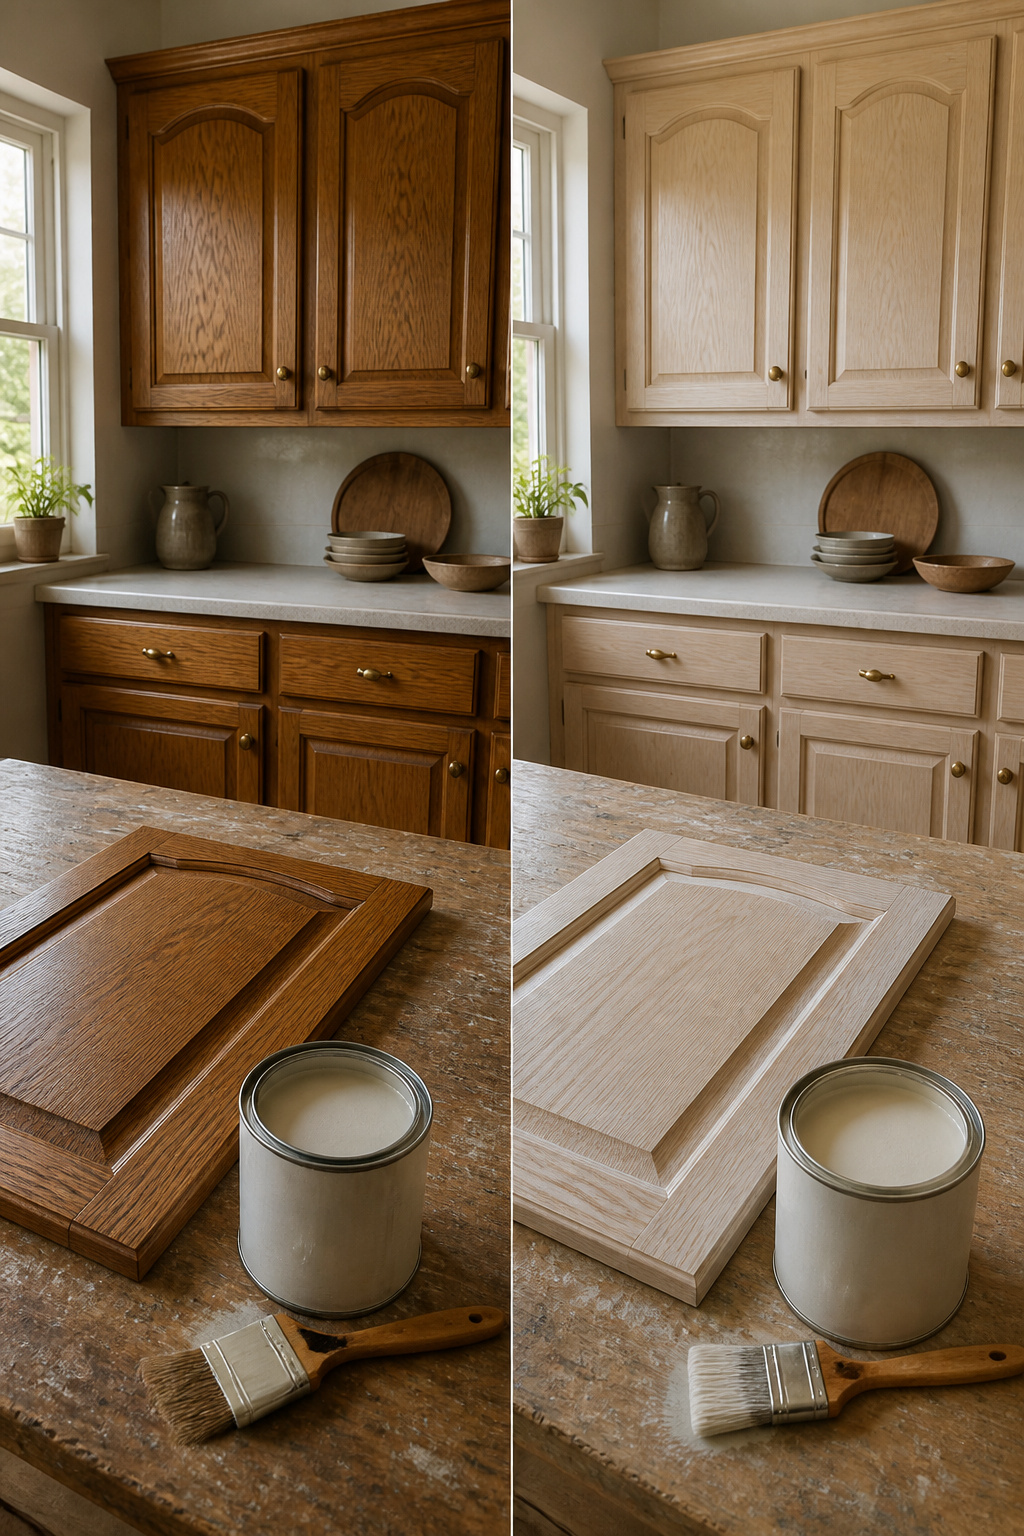
A transparent white stain sits somewhere between true whitewash and a light paint, and most people remodeling a kitchen never hear about it. The product is built to lighten oak without burying the grain the way paint would, though the finish reads cooler and more even than the patchy, hand-rubbed look of classic whitewash.
The application differs too. True whitewash soaks in and asks you to work it with rags or brushes to control the streaking; a transparent stain goes on more like a standard wood stain, with the grain still visible but the color laying down in a single, uniform coat. What convinced me, reading through the handful of write-ups that mention it, is that the result looks intentional in a way DIY whitewash sometimes does not. The risk is the opposite problem: it can look like a factory finish, which is great if you want that and flat if you do not.
For cabinets with heavy oak figuring, this route keeps the drama of the wood without the orange tone that dates so much 1990s kitchen work. It also skips the sanding-to-raw-wood demands that whitewash often requires for even absorption. The catch is availability; big-box stores stock maybe one or two SKUs, and matching the tone across a full kitchen means buying every can at once, because dye lots in transparent stains shift more than paint does.
Frequently Asked Questions
How do you whitewash oak cabinets?
Start by removing all hardware and labeling each door, then clean with TSP substitute, sand through 80, 100, and 220 grits, apply a 1:3 paint-to-water mixture in sections and wipe back the excess, let dry fully, and seal with 2-3 coats of water-based polycrylic. The wipe-back step is what creates the whitewashed look rather than a painted one.
What type of paint is best for whitewashing?
Milk paint and chalk paint both work well because they soak into the wood grain instead of forming a surface film. Milk paint comes as a dry powder you mix with water; chalk paint arrives pre-mixed and thins with one or two parts water. Oil-based, craft, and latex paints do not absorb properly even when diluted.
How many coats of whitewash should I apply?
One coat is usually enough to let the oak grain show through, though you can add a second if you want thicker coverage. Let the first coat dry completely before applying another, since a damp first coat can reactivate and streak when fresh mixture goes over it.





