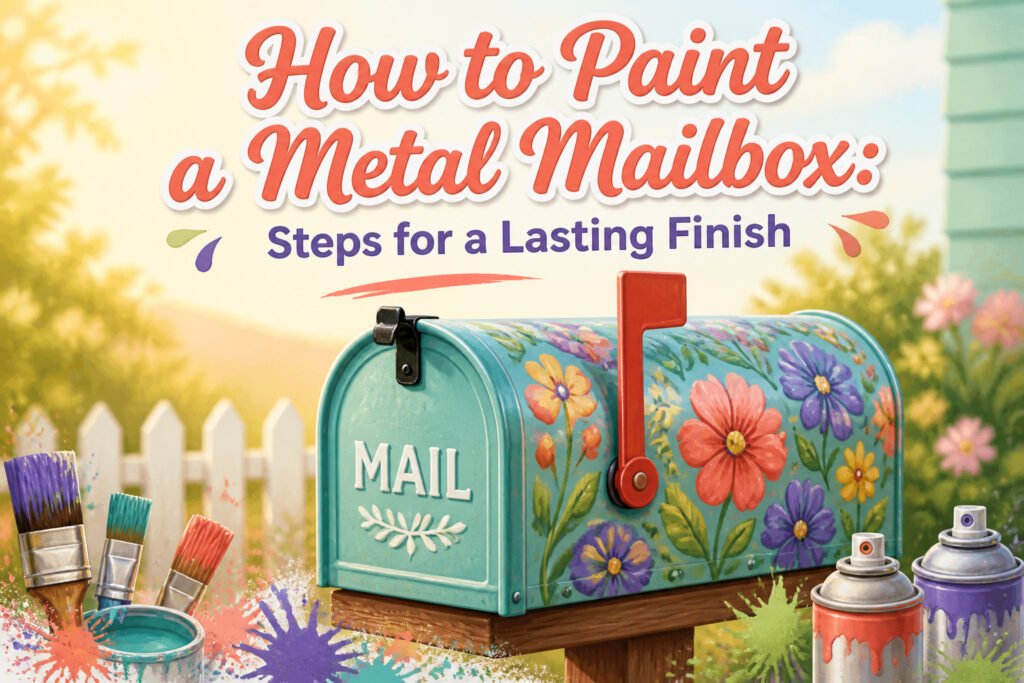
A painted metal mailbox that holds up through winter salt and summer humidity costs about $20 to $40 in primer and spray paint, plus one slow afternoon. Most of those afternoons fail in the prep stage, not the painting: water spots left behind after cleaning will bubble the primer, and the drying step matters as much as the scrubbing. The real condition that changes the outcome is the temperature window printed on the can, 50 to 90 degrees Fahrenheit, which is worth respecting more than most people do.
1. Remove the Mailbox

A loose mailbox is easier to paint than one still mounted, and the five minutes spent detaching it pays back double in speed and finish quality. I use a screwdriver or drill to back out the screws from the bottom of a post-mounted box or the face of a wall mount, then drop the hardware into a plastic zip bag so nothing rolls into the grass. Working on a loose mailbox beats trying to paint one still mounted because you can flip it, reach the lip, and spray every seam without fighting angles or taping off a post. If the screws are frozen or stripped and the box won’t come free, painter’s tape and a plastic paint sheet over the post or wall are the fallback, though you’ll work slower and miss spots a loose box would expose.
2. Clean the Surface
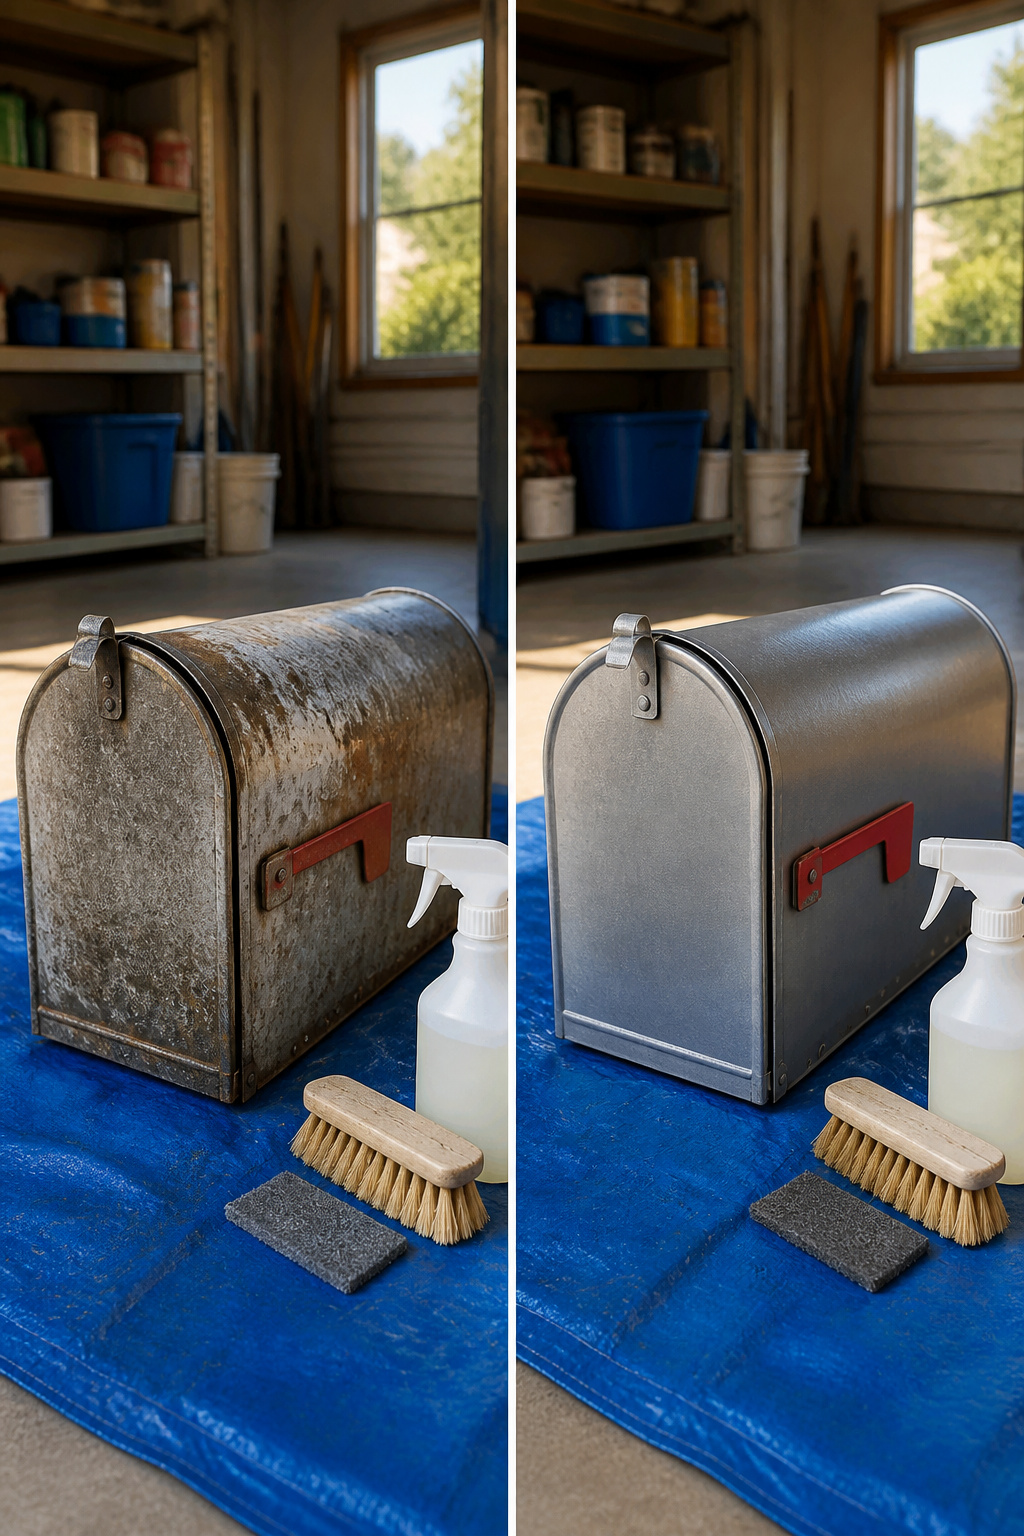
The mailbox I brought in from the curb looked clean enough from five feet away, but up close it was carrying a season of road grit, pollen dust, and flecks of old paint curling at the edges. Water spots left behind will bubble the primer, so the drying step matters as much as the scrubbing. I used an all-purpose cleaner and a scrub brush, working the whole surface, the door seam, and underneath where grime collects out of sight. Rinsing took two passes with the hose, then I left it in the sun and went back twice to wipe away any settling drips. Most failed paint jobs start right here, at this stage that looks too simple to take seriously. The surface does not need to be perfect yet; rust and mold get their own step. It just needs to be bare, dry metal with nothing left behind to sabotage what comes next.
3. Sand Off Rust
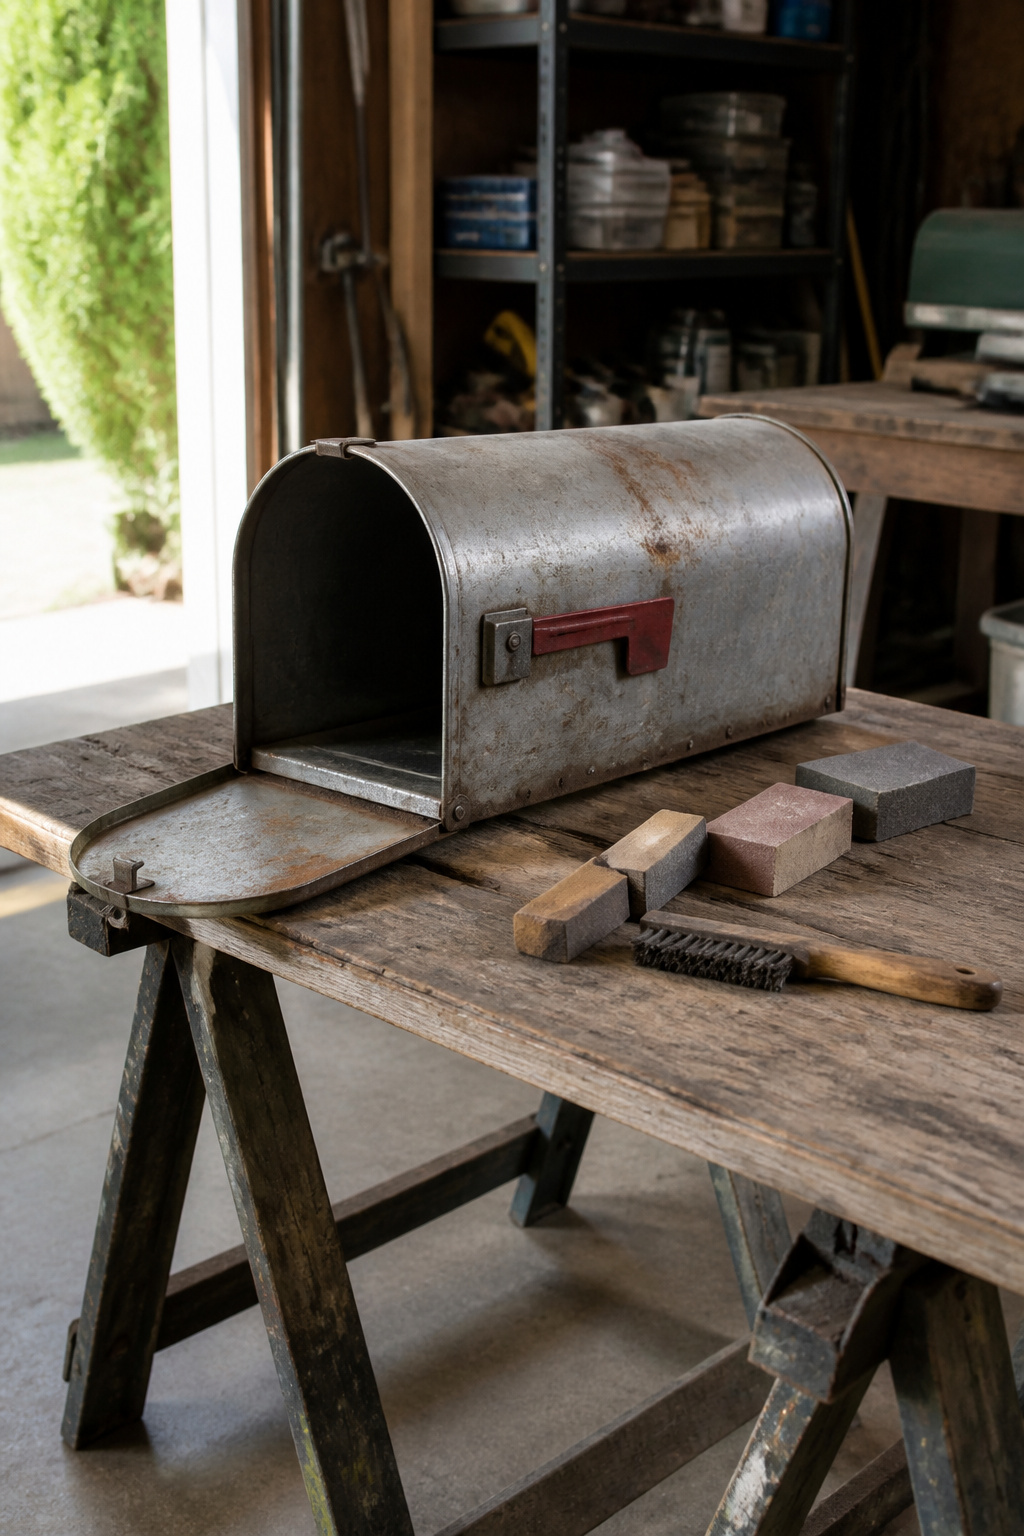
Rust shows up on a mailbox where the paint has already failed, so heavy rust means the metal underneath needs more than a quick scuff. I run my hand across the surface first, feeling for pits and flakes that the eye misses. Light rust comes off with steel wool or a wire brush, working until the metal feels smooth under a fingernail. Sandpaper or a sanding block handles the flatter spots; the goal is a surface the new paint can grip without trapping loose oxide underneath. The hook, latch, and flag collect moisture too, so they get the same treatment. Wipe down everything after to clear the residue, because dust and rust particles left behind will push the next coat up later. If the rust has eaten in deep enough to pit the steel, that mailbox may need replacement rather than paint, but most weekend projects stop well short of that.
4. Apply Primer
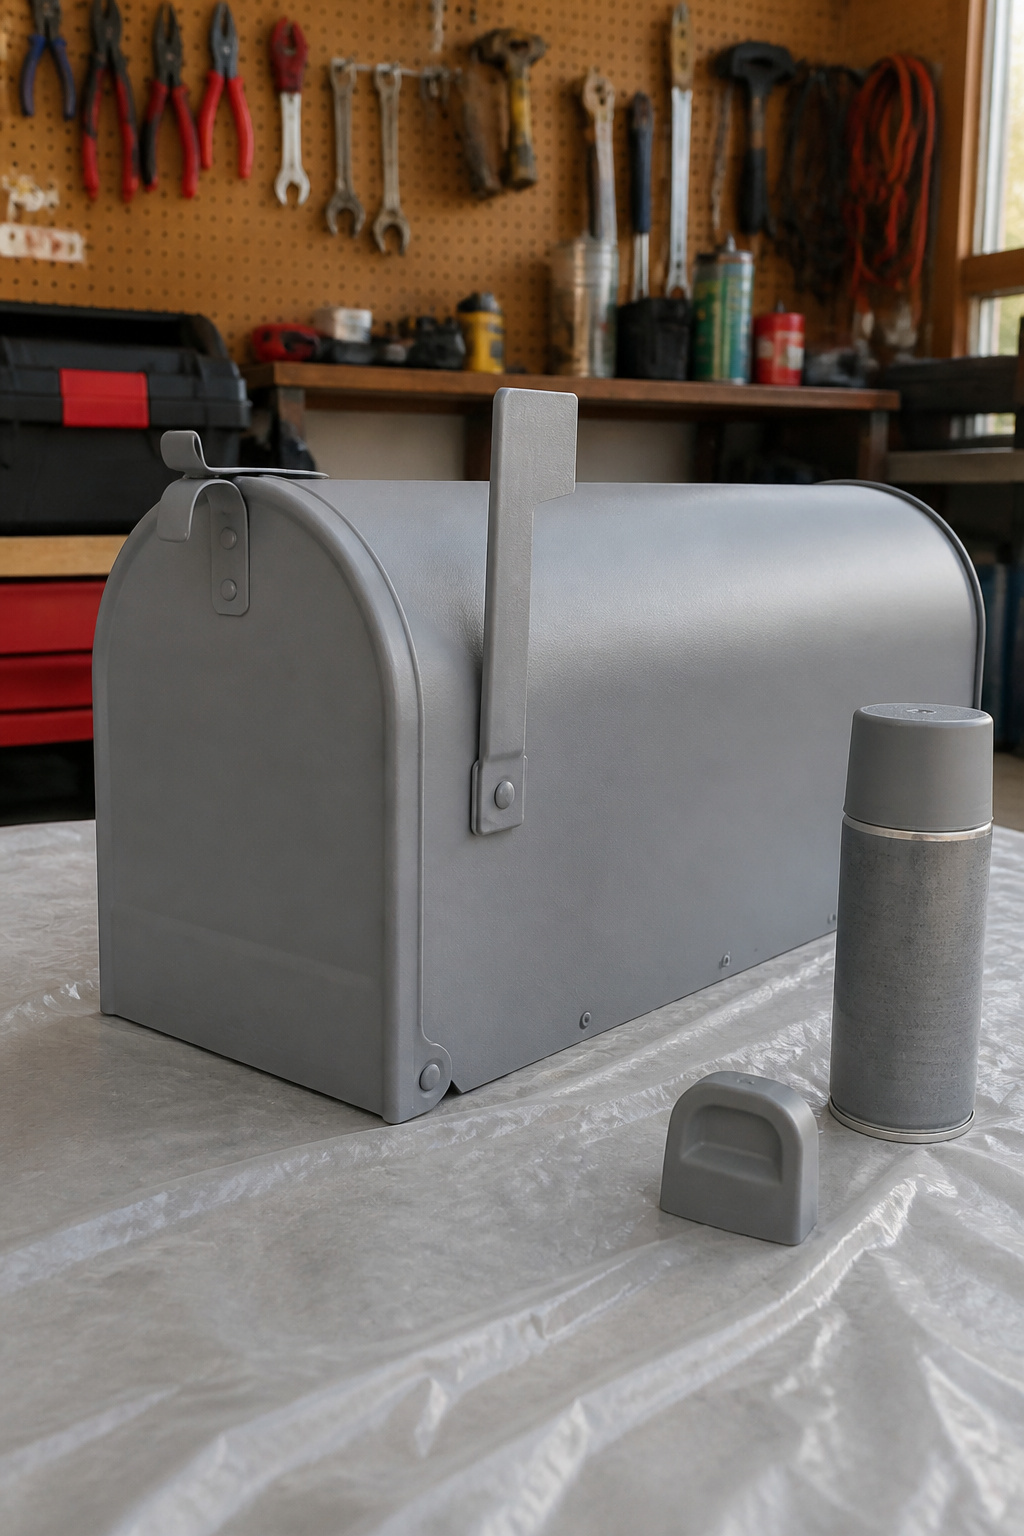
Gray primer gives the paint something to bite into on a metal mailbox, and skipping it is where most afternoon projects start to fail. A paint-and-primer-in-one spray is not the same thing; the chemistry is built for convenience, not adhesion, and on bare or lightly sanded metal it will chip inside a season. I use Rust-Oleum’s metal primer, holding the can about 7 inches out and working in even side-to-side passes with a slight overlap. One coat is usually enough if the surface is uniform, but a second coat fills the thin spots, especially on edges that see the first wear. The can says 15 minutes between coats, and that is the number to trust, not touch-test guesswork. Two light coats of primer beats one heavy one that sags; the mailbox gets handled daily, and the paint above it is only as strong as what sits underneath.
5. Spray the Paint
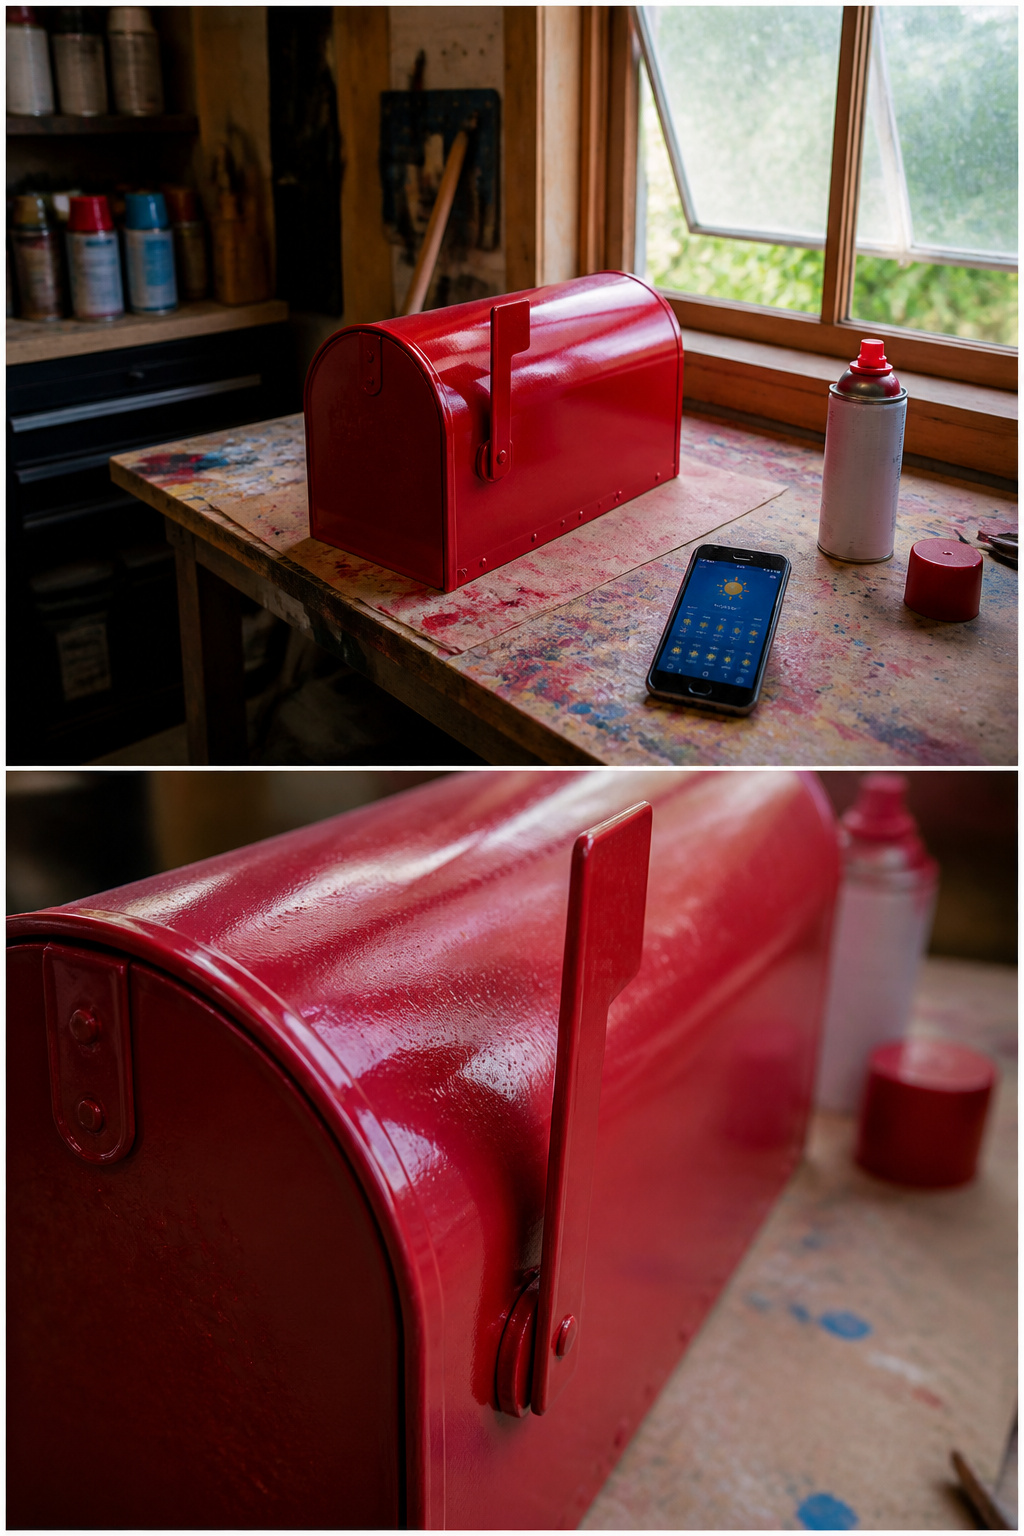
Rust-Oleum’s metal-specific spray paint lines up well with this job, and the temperature window printed on the can, 50 to 90 degrees Fahrenheit, is worth respecting more than I used to. Humidity above 85% is where finishes go wrong; the paint skins before it can level, and you end up with a surface that looks like orange peel left out in the rain. I check the weather app for both numbers now, not just the high.
Three thin coats beat one thick coat every time. The first pass tacks down in about fifteen minutes, just enough time to walk the dog or refill coffee. Heavy coats run at the edges and pool in the embossed numbers, and fixing that means sanding back to primer. Two coats covers if the color matches close; three fills the gaps on a bigger color swing or over textured metal. Each layer should look slightly unfinished while it is wet. That is the part that feels wrong until you have done it enough to trust the process.
6. Paint the Accessories
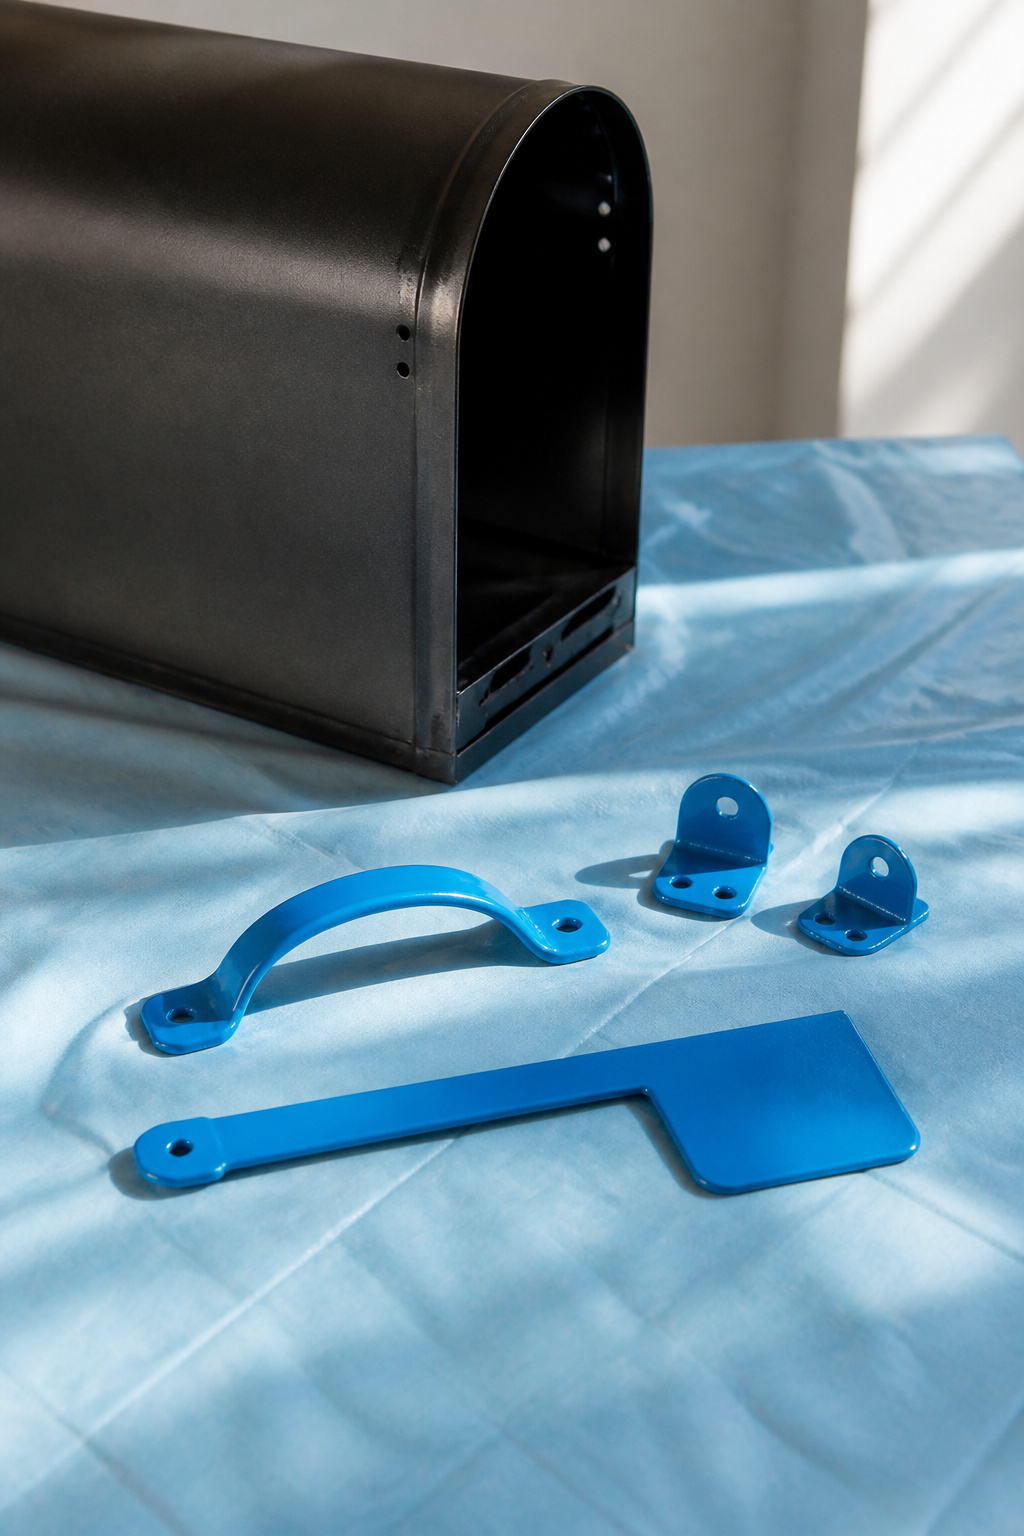
The flag, door pull, and any exposed mounting brackets are the details that make a painted mailbox look finished rather than half-done. I skipped them on my first mailbox project and the bright aluminum flag against the new black body looked like an afterthought for the next three years. The sources vary on whether to match or contrast: two thin coats of the same color keeps things unified, while a complementary shade on the flag turns it into a deliberate accent. Red against black is the classic pairing, though the choice depends on what already lives on your house numbers or front door. Whatever color you pick, prime and paint these smaller pieces the same way you did the main body. Tape off the dry mailbox if the hardware is still attached, or lay loose pieces on a plastic tablecloth so overspray does not drift onto the driveway or the cat. Two thin coats beats one heavy one, especially on the flag, where thick paint can gum up the hinge and leave it stuck halfway up.
7. Reattach and Cure
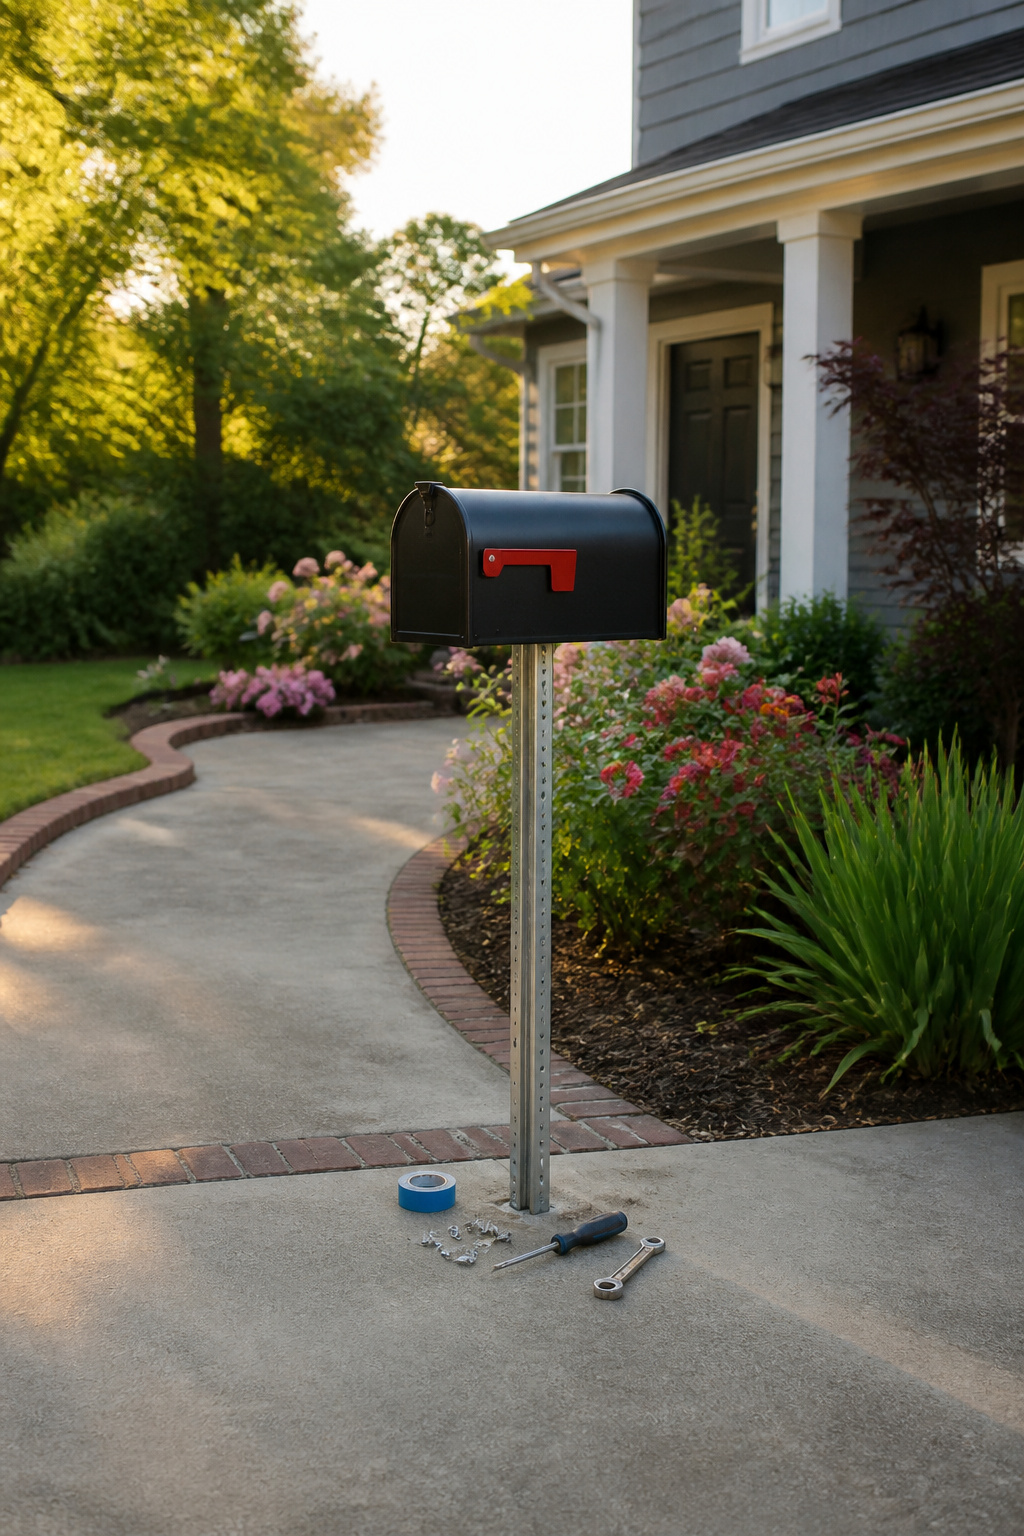
The mailbox went back onto the post a full day after the paint felt dry to my finger. Touch-dry and fully cured are different timelines, and reattaching too soon risks smudging the finish against your hands, the hardware, or the post itself. The can will list a cure time; if it does not, overnight is the safer bet. Screws bite differently into fresh paint, so the pressure of mounting can leave marks you will not notice until the sun hits them tomorrow. I wait the extra hours, attach any loose parts last, and only then step back to look. The upgrade costs a few cans of spray paint and one slow afternoon.
What You Need

Most of the tools for this job are already kicking around the average garage. The only things worth buying fresh are the spray primer and a can or two of spray paint rated for metal surfaces. Budget $20 to $40 for those, and block out an afternoon: the actual work runs about 1 to 2 hours, but the drying time between coats is what stretches the project across a day.
Here is what to gather:
- All-purpose cleaner
- Wire brush or sandpaper
- Tack cloth
- Painter’s tape
- Drop cloth or tarp
- Spray primer
- Spray paint for metal
Skip the steel wool if you already have a wire brush. The sandpaper handles rust spots either way, and the tack cloth picks up the dust so primer actually bites.
Spray vs. Brush-On Paint
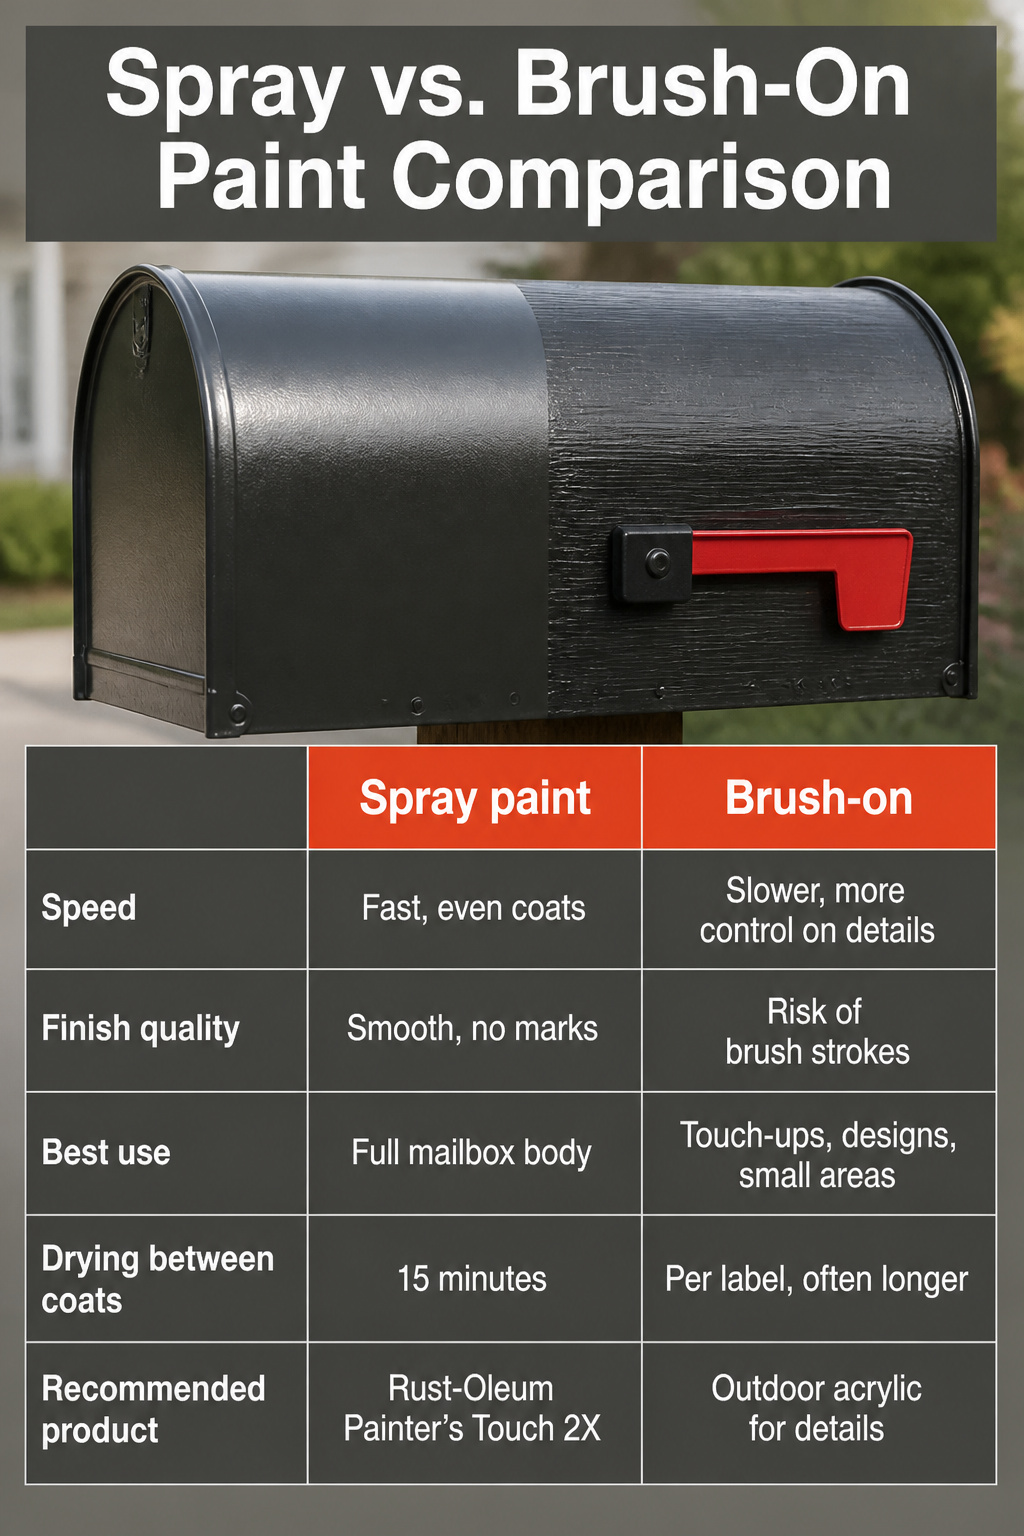
Spray paint is the faster route on a curved metal surface, and the evenness is hard to match with a brush. I have used Rust-Oleum Painter’s Touch 2X on wood, metal, and plastic, and the coverage held up on all three. Brush-on paint can work for touch-ups or hand-painted designs, but the risk of brush marks on a mailbox’s rounded body is real. If a design is part of the plan, outdoor acrylic or paint markers go on after the base coats, with a spray sealant over the top.
Finish matters more than most people expect. Matte hides flaws but shows dirt faster on something that sits outside year-round. Glossy catches light and reads as newer longer, though it will highlight any dimple or scratch underneath. I lean toward satin or semi-gloss for a mailbox, the compromise that keeps the surface looking intentional without acting like a mirror for every imperfection.
| Spray paint | Brush-on | |
|---|---|---|
| Speed | Fast, even coats | Slower, more control on details |
| Finish quality | Smooth, no marks | Risk of brush strokes |
| Best use | Full mailbox body | Touch-ups, designs, small areas |
| Drying between coats | 15 minutes or per can label | Per label, often longer |
| Recommended product | Rust-Oleum Painter’s Touch 2X | Outdoor acrylic for details |
Temperature rules apply either way: keep it between 50 and 80 degrees Fahrenheit, and skip days above 85% humidity or direct sun. An overcast afternoon around 70 degrees is the window that has worked for me.
Why Primer Matters
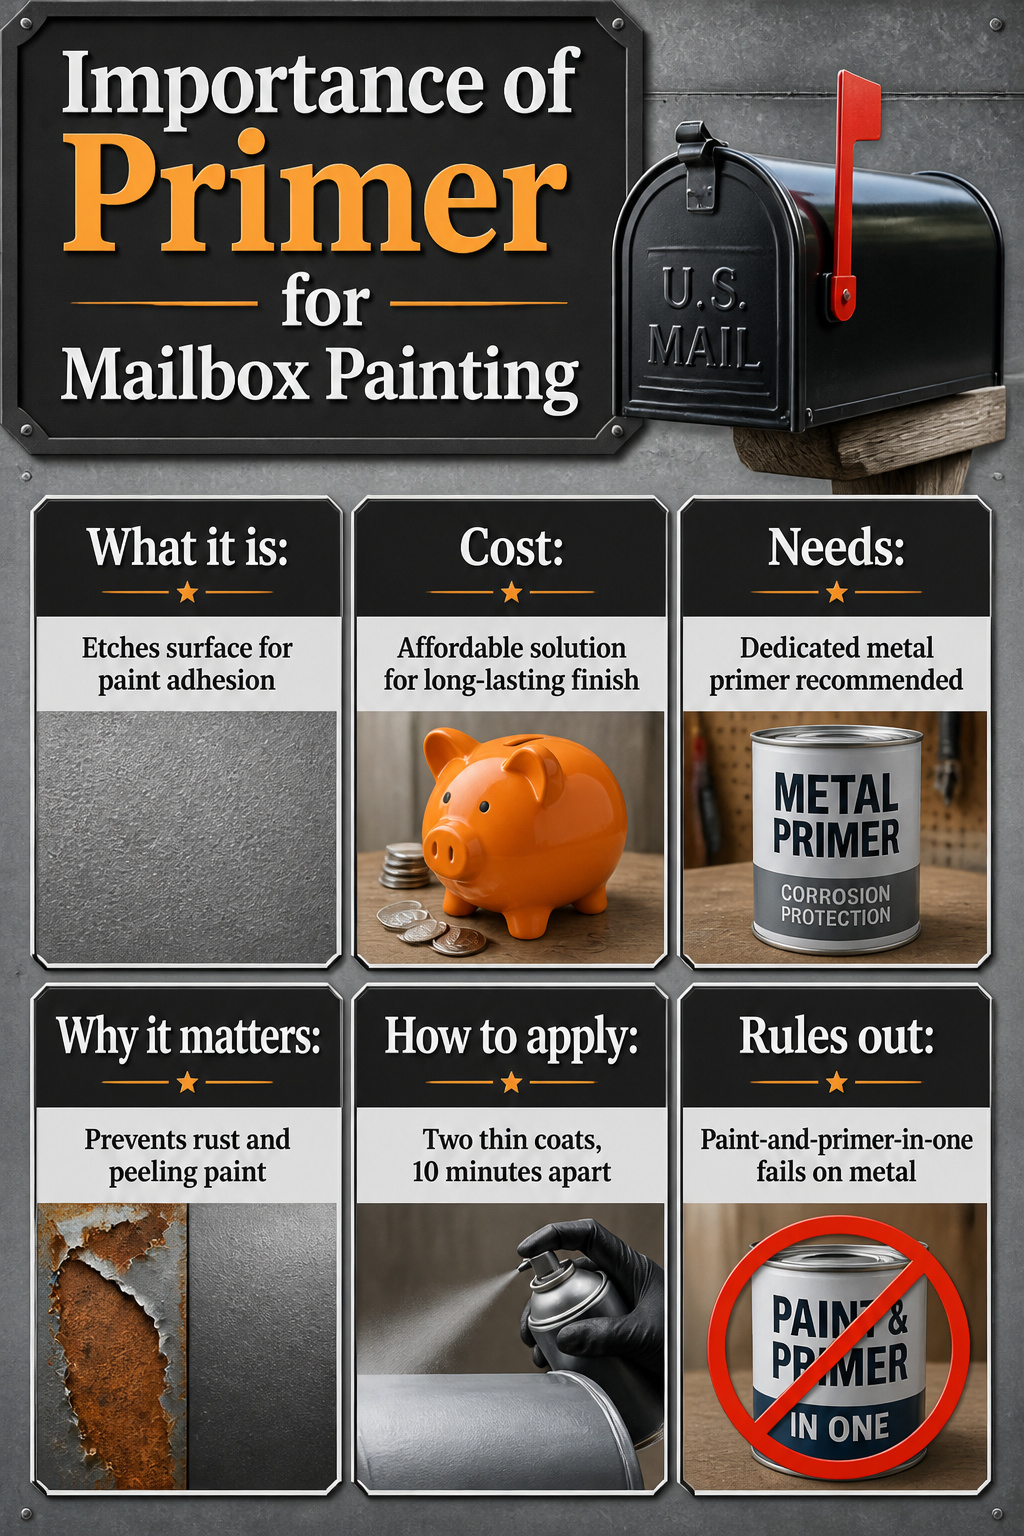
Metal has no pores for paint to grip, so the coat sits on the surface like water on wax. Primer etches that surface and gives the paint something to bite into, which is why a dedicated metal primer is non-negotiable on a mailbox. Skip it and you get the familiar failure pattern: the color looks fine for a few weeks, then flakes peel up at the edges, or worse, rust bleeds through from underneath and ruins the finish from within.
The paint-and-primer-in-one cans promise convenience, but they are formulated for drywall and wood, not steel that lives outside in rain and summer heat. They lack the corrosion inhibitors and adhesion promoters that metal-specific primers carry, so the coat fails faster and the project repeats itself in a year or two.
Family Handyman puts the point plainly:
A primer should be applied before spray painting the mailbox to achieve the best results. Primer ensures proper bonding of the spray paint to the surface and enhances the overall look of the finished paint job.
That bonding is what keeps your afternoon of work from becoming an afternoon of work plus a redo next spring. Two thin coats of a gray metal primer, 10 minutes apart, give the topcoat a foundation that actually lasts.
Thin Coats and Drying Time
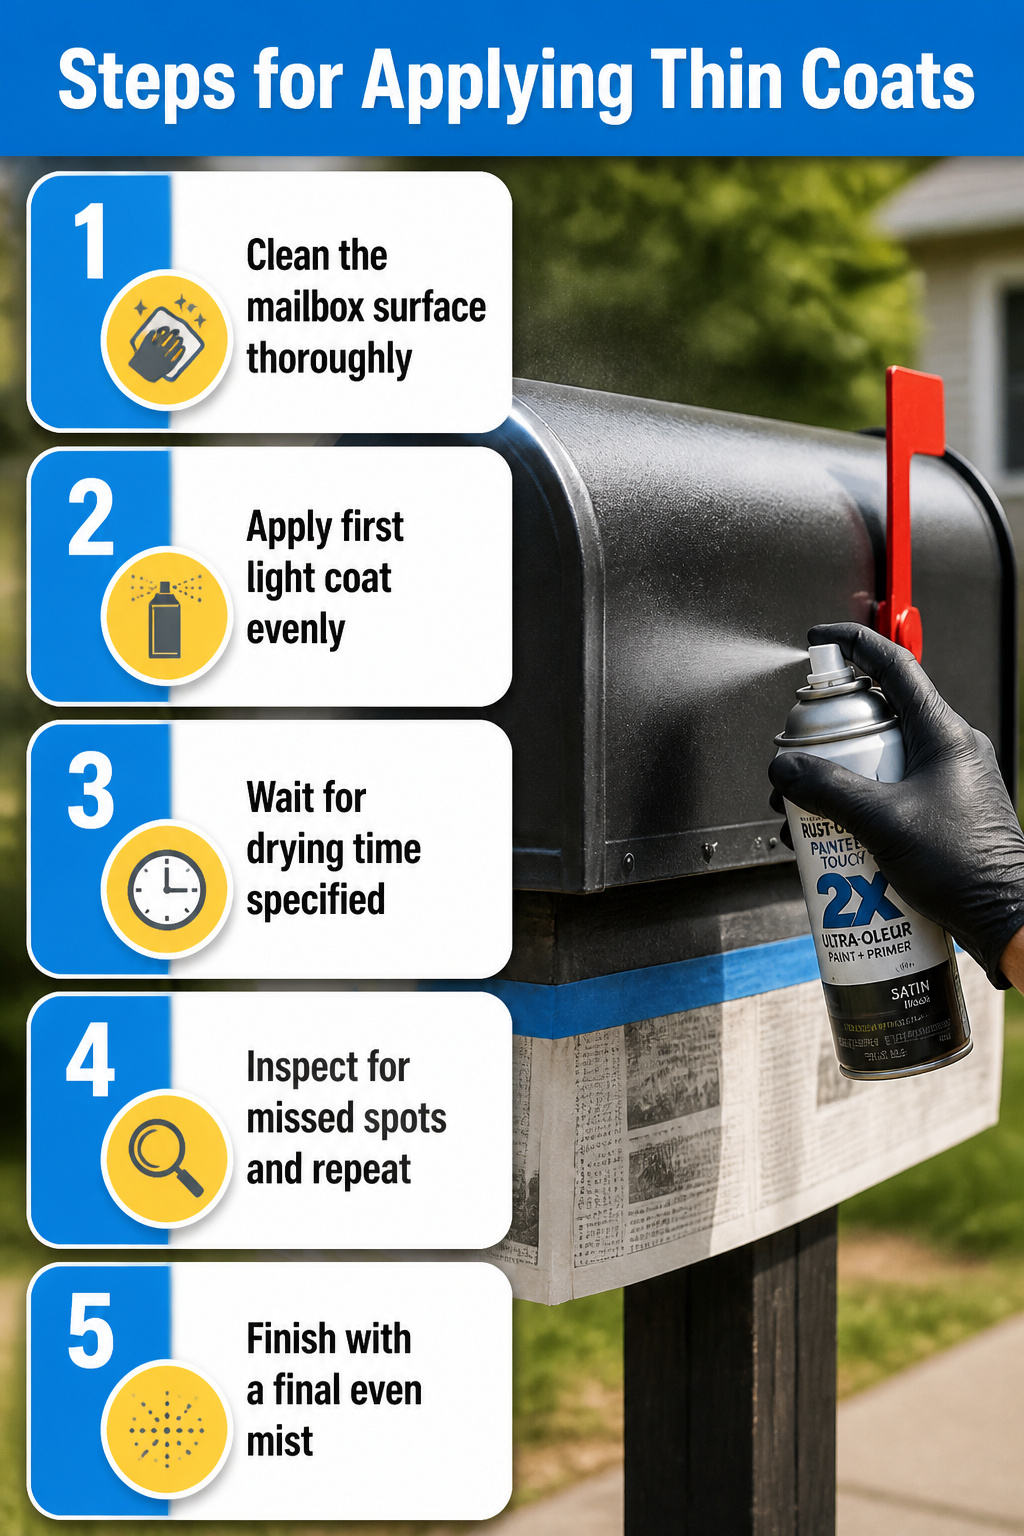
Two or three light coats will cover most mailboxes, and patience between layers keeps the finish free of drips. A thick coat looks faster on paper, but spray paint sitting too heavy sags under its own weight, especially on the curved lid where gravity pulls hardest. Each pass should leave a faint, even mist you can still partly see through; the next coat fills in what the last one missed.
Drying time shifts with the weather. Most cans suggest about 15 minutes between coats, though humidity above 85% or temperatures below 50°F stretch that window. Cold metal stays tacky longer, and moisture in the air traps solvent under the skin of fresh paint, so the surface looks dry while underneath it is still soft. I painted on an overcast day around 70°F once, and the difference from a humid afternoon I tried earlier was obvious: the same brand of Rust-Oleum that had stayed sticky for hours before dried to the touch in the time the label promised.
If you are working in borderline conditions, waiting longer than the can says beats guessing, and a light finger test on the newspaper masking the base tells you more than the clock.
Making the Paint Last
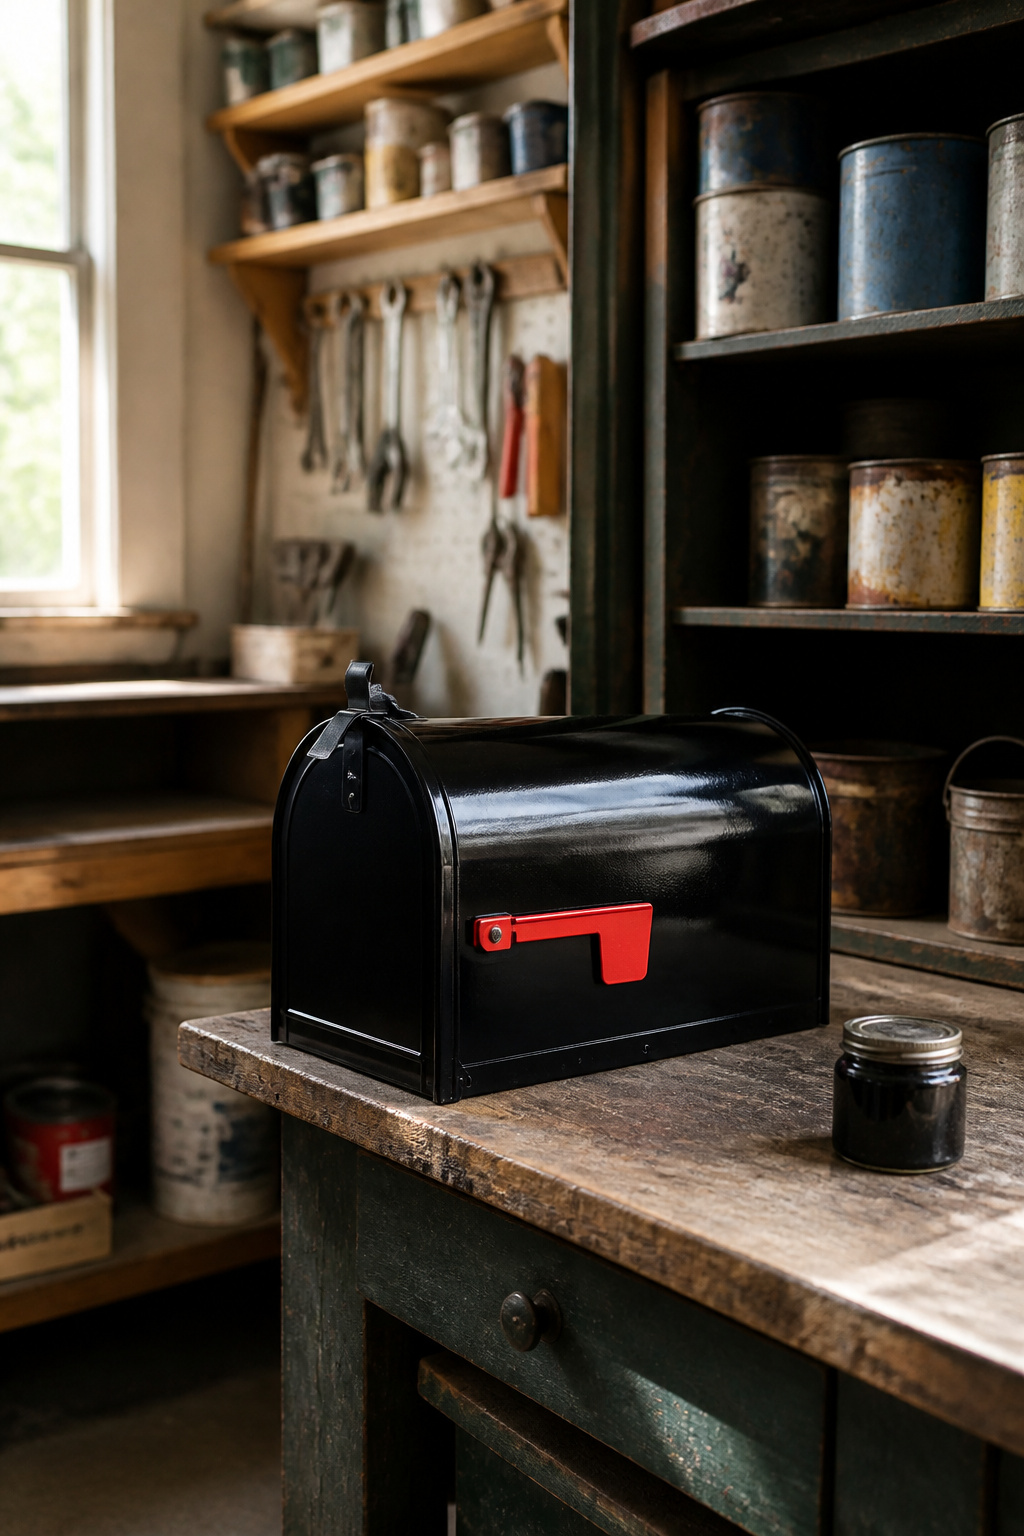
A clear coat over the final paint layer buys the mailbox a couple extra seasons before the color starts looking tired. Some mailbox paints now ship with anti-chip additives mixed in, but if the can on your shelf does not, brushing or spraying on a dedicated clear topcoat is the move that separates a finish that lasts from one that flakes by fall. One-component clearcoats exist for exactly this outdoor decorative use, and the advantage is that you can add another layer later without stripping back to bare metal first.
The real work of protection happens after the brush gets put away. A metal mailbox takes hits from box cutters, keys, and ice scrapers six inches from the flag, and every chip that exposes raw metal is where rust starts its crawl. Touch-up paint on a chip takes five minutes; sanding rust out of a divot and feathering new primer over it takes an afternoon. That math is why I keep a quarter-inch of the original color in a jar on the workbench, not in the garage where I will forget it exists.
Frequently Asked Questions
Do I need to use primer when painting a mailbox?
Yes. A dedicated metal primer etches the surface so the paint can actually grip bare steel, which has no pores of its own. Paint-and-primer-in-one sprays are formulated for drywall and wood, not outdoor metal, and skipping primer leads to chipping or rust bleeding through within a season or two. Two thin coats of gray metal primer, about 15 minutes apart, gives the topcoat a foundation that lasts.
How do you paint a mailbox?
Remove the mailbox from its post or wall, clean it with all-purpose cleaner, sand off any rust, apply a metal primer, then spray on two to three thin coats of outdoor metal paint. Let each coat dry per the can label, typically around 15 minutes, and wait a full day after the final coat before reattaching so the finish can cure hard enough to handle.
What kind of paint should I use for a mailbox?
Use outdoor spray paint designed specifically for metal surfaces. Spray applies faster and more evenly on curved metal than brush-on paint, and metal-specific formulas carry the corrosion resistance a mailbox needs sitting outside year-round. Rust-Oleum Painter’s Touch 2X is one option that has held up on metal in practice.
How long does it take to paint a mailbox?
The active work runs about one to two hours, but drying stretches the project across a full day. Each coat of primer or paint needs roughly 15 minutes before the next layer, and the final paint needs overnight to cure fully before you reattach hardware or mount the box back. Budget an afternoon plus the overnight wait.





