
The Whizz Velour wins for cabinet work because its tight weave sheds almost nothing, and two coats give full coverage where cheaper rollers demand three. Buy the Sherwin-Williams Mohair instead if you want a sprayed look and do not mind picking stray fibers out with tweezers between coats. The 1/4 inch Purdy White Dove covers faster but leaves roller marks that read as hand-painted, not factory finish, so skip it for vanity cabinets you will face every morning.
1. Whizz Velour
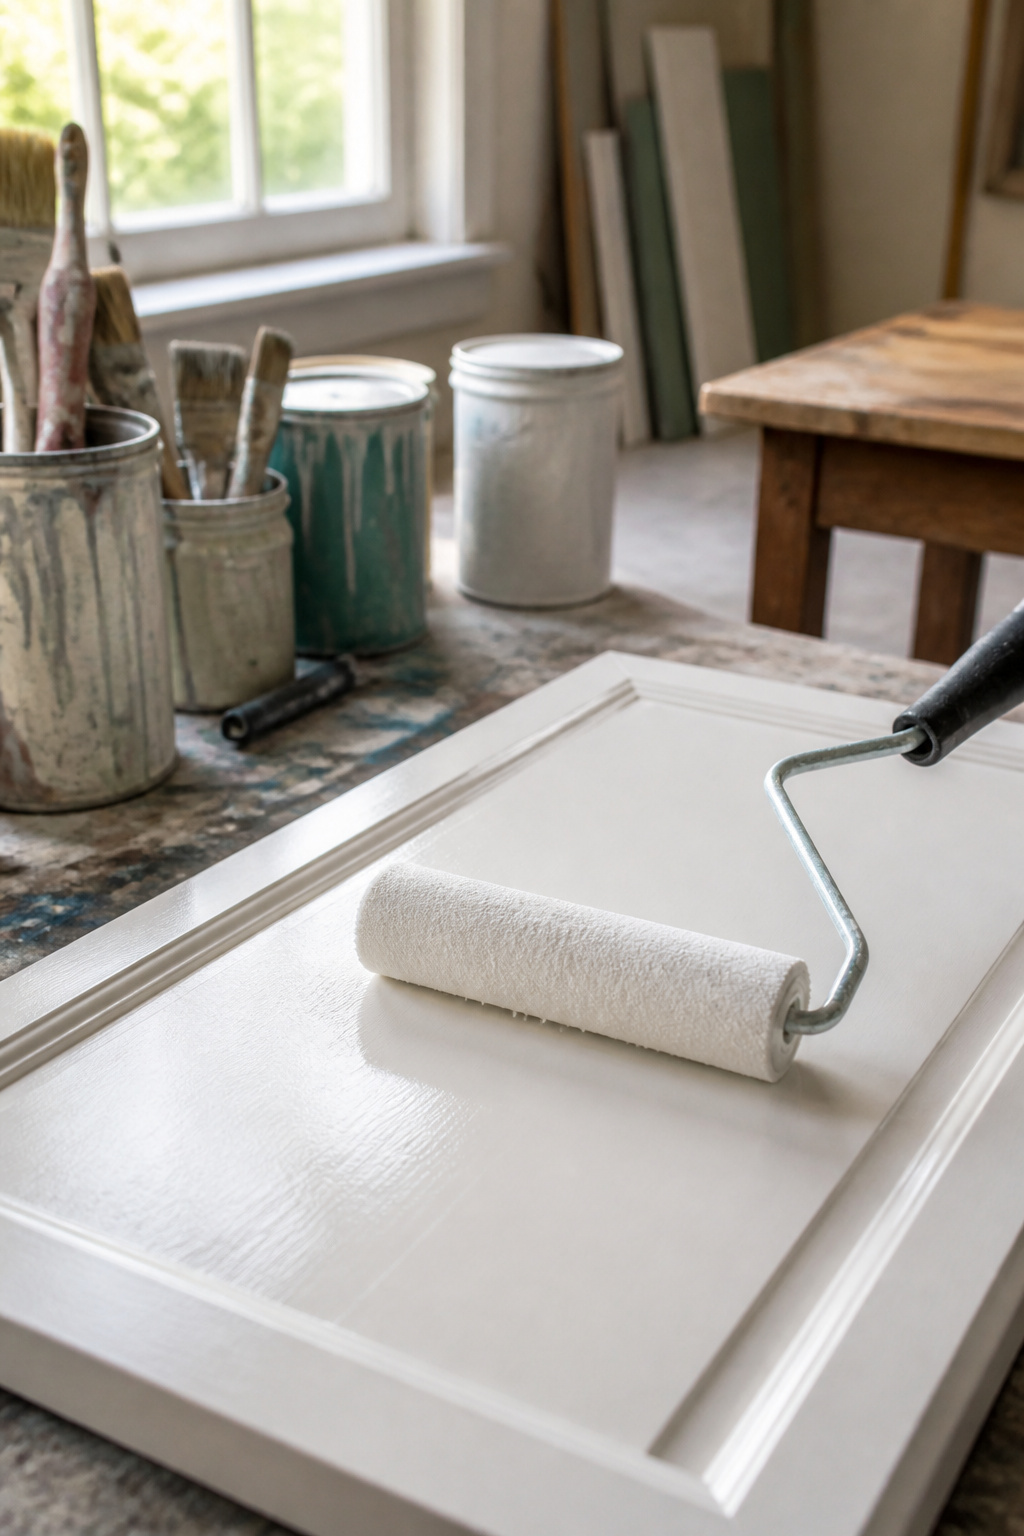
Loose fibers left in the paint film are what turn a cabinet job homemade-looking overnight. The Whizz Velour’s tight weave keeps that shedding minimal, which matters on a surface that shows everything. Two independent tests back it as a reliable pick: one ranked its finish almost even with foam, and the coverage in two coats rather than three tips the balance for anyone who’d rather not spend an extra evening on the project. The velour nap lays down enough paint to hide primer without loading so heavily that runs form at the frame edges. For cabinets already cleaned, sanded, and primed, that predictability saves the second-guess work that slows most DIYers down.
2. Sherwin-Williams Mohair
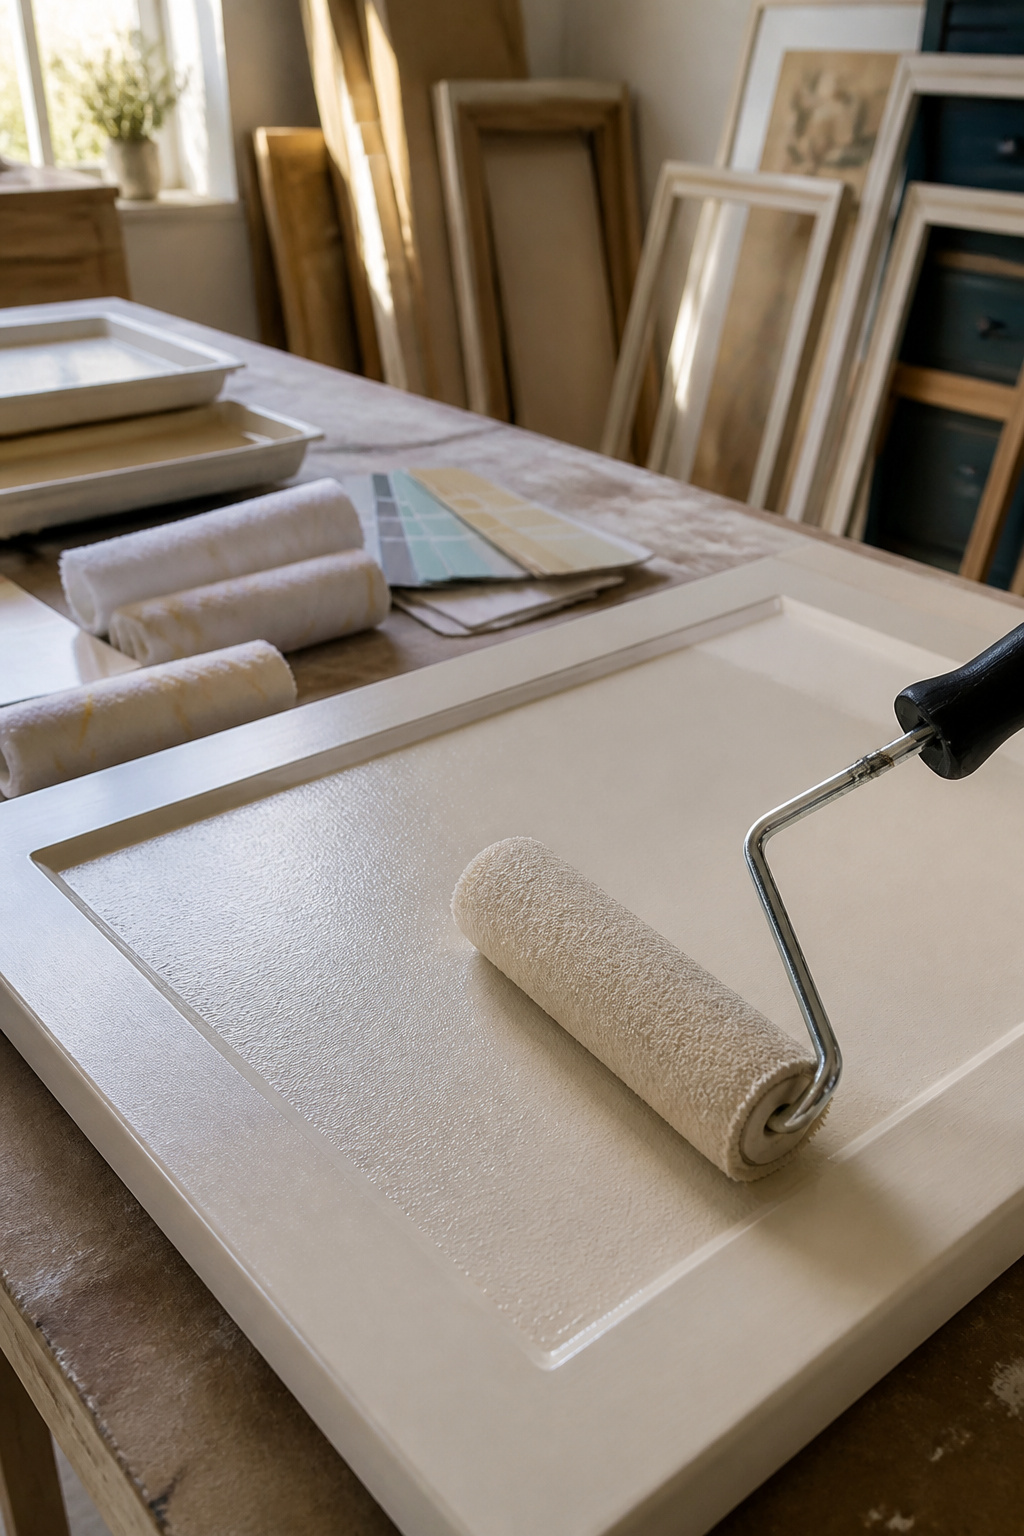
The Sherwin-Williams Mohair lays down coverage almost identical to the Whizz Velour, that same light stippled texture that reads as smooth from a few feet back. Where it splits from velour is the shed. Stray fibers settle into wet paint and dry there, which means you are either picking them out with tweezers between coats or working faster to beat the drying time so the next pass buries what you missed. The finish itself comes out even and streak-free, and three separate cabinet tests point to this roller as the smooth-finish answer for paint roller cabinets when you want something close to sprayed without the compressor setup. Whether the extra cleanup is worth it depends on your patience for detail work; the coat is thin and controlled, almost that sprayed look people pay professionals for, but the fiber hunt afterward is real.
3. Purdy White Dove
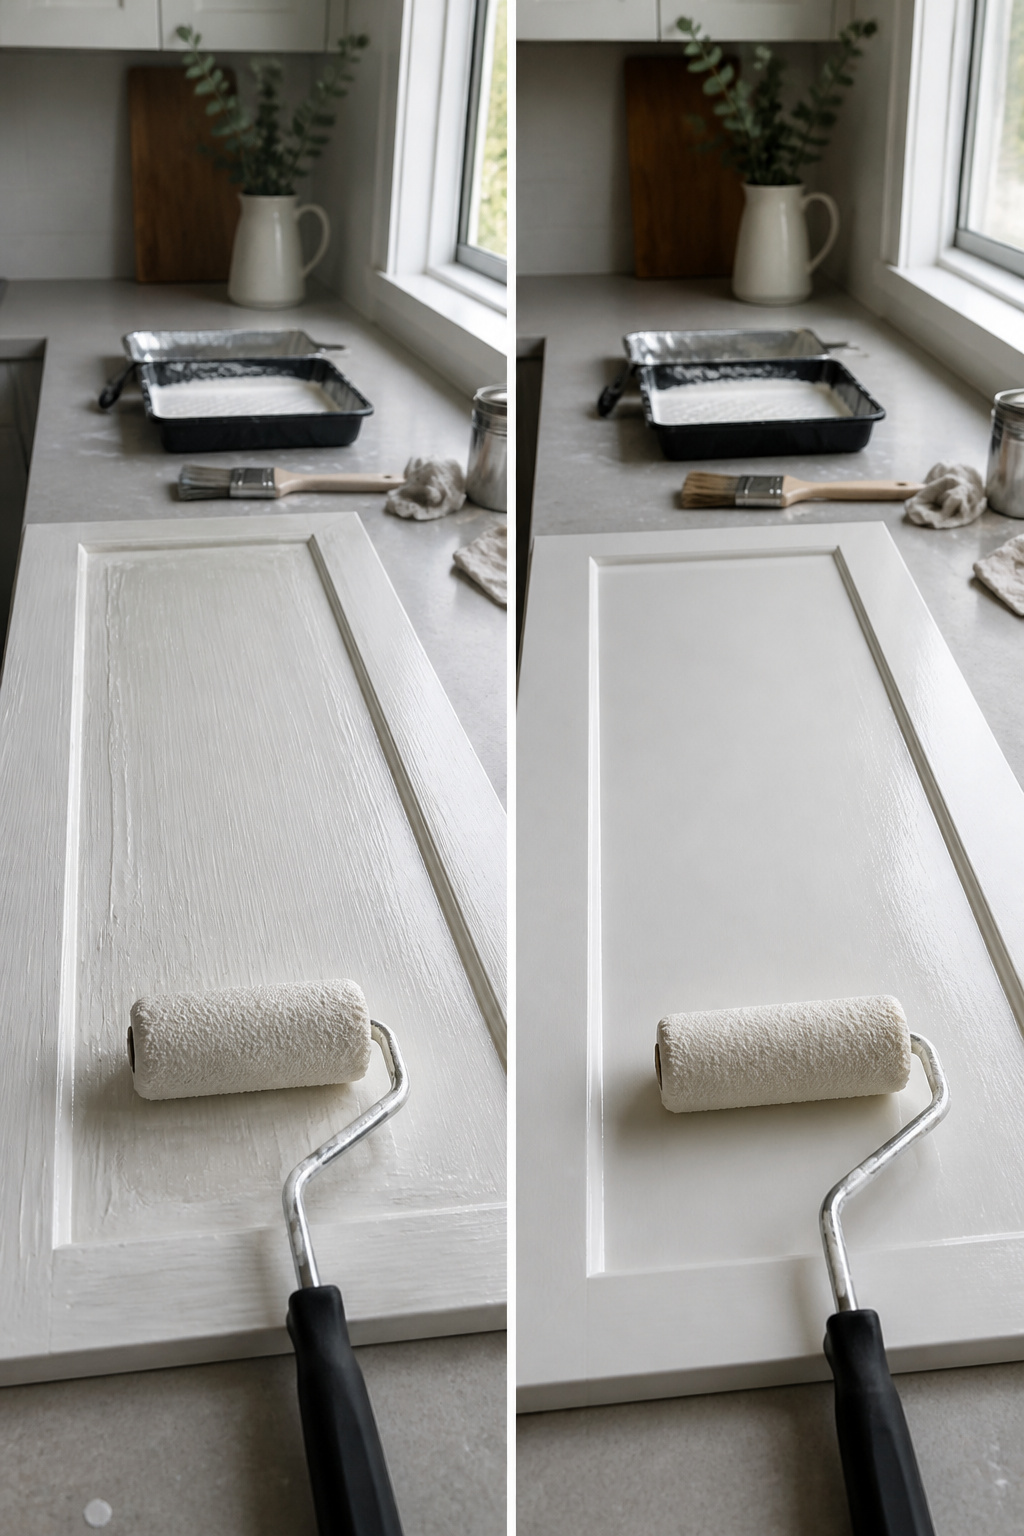
The Purdy White Dove carries a 1/4 inch nap, thicker than what most cabinet jobs call for. That extra pile soaks up more paint and covers square footage faster, which makes sense when you are facing a full kitchen worth of flat panels and the weekend is short. Speed comes at a cost, though. The same fibers that hold extra paint leave roller marks once the surface dries, visible enough that I would not reach for this cover on a vanity I planned to stare at every morning.
Technique can minimize the damage. Work in thinner coats rather than loading the nap full, roll in one consistent direction, and back-brush the final pass with a quality angled brush like the Purdy Nylox Glide to knock down the texture before it sets. Even then, the finish lands closer to hand-painted furniture than factory spray.
Who should skip it? Anyone after a glass-smooth cabinet front, or anyone working with self-leveling paints that reward the lightest possible touch. The White Dove earns its keep on bigger furniture pieces, built-ins, or first coats where you will sand anyway. For the final pass on a showpiece kitchen, the 1/4 inch nap is fighting your own goal.
4. Whizz Concave Foam
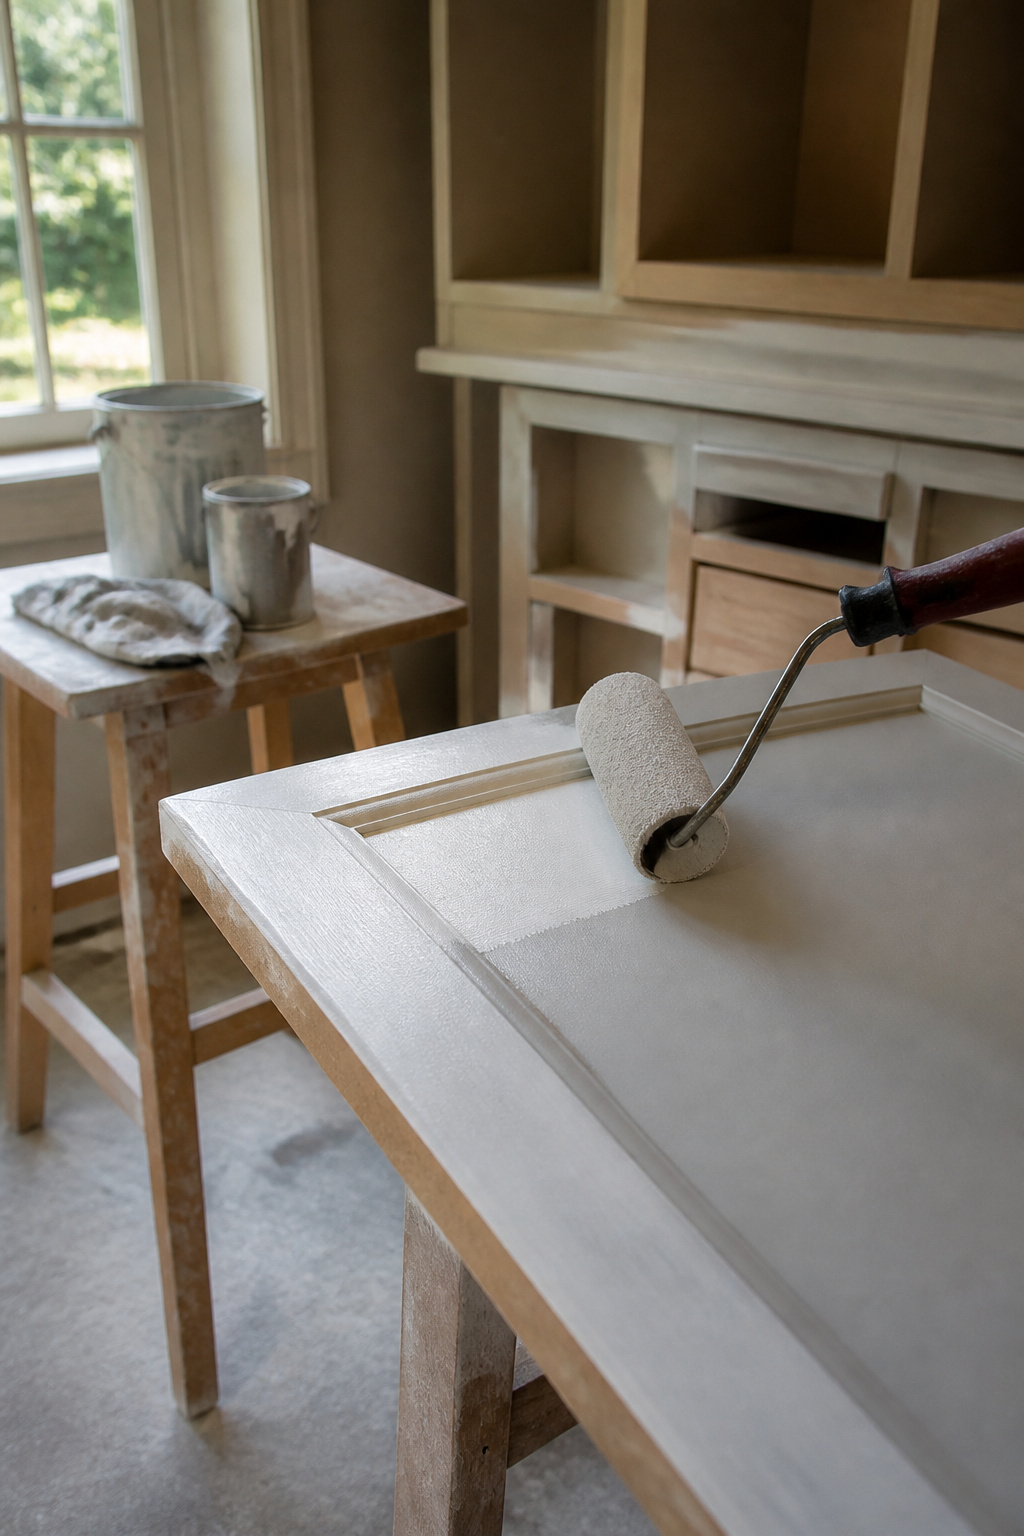
Foam rollers lay down a thin layer, and the Whizz Concave Foam takes that to an extreme. The paint goes on so sparingly that full coverage takes three coats. The concave shape does help reach detailed areas on cabinet doors, and the finish itself comes out very smooth with almost no stippling or roller marks. Two coats with another roller type would have you done and dusted.
The math on three coats adds up fast. Each layer needs drying time before the next, which stretches a single afternoon into a multi-day project. Every fresh coat is another chance for dust to settle into the wet surface. The velour alternative covers in two coats with a finish that is almost as smooth, and that efficiency matters for a cabinet job where you are working around hardware, edges, and the patience left in the weekend. The foam wins on glass-smooth results only if your schedule can absorb the extra day.
5. Wooster MicroPlush
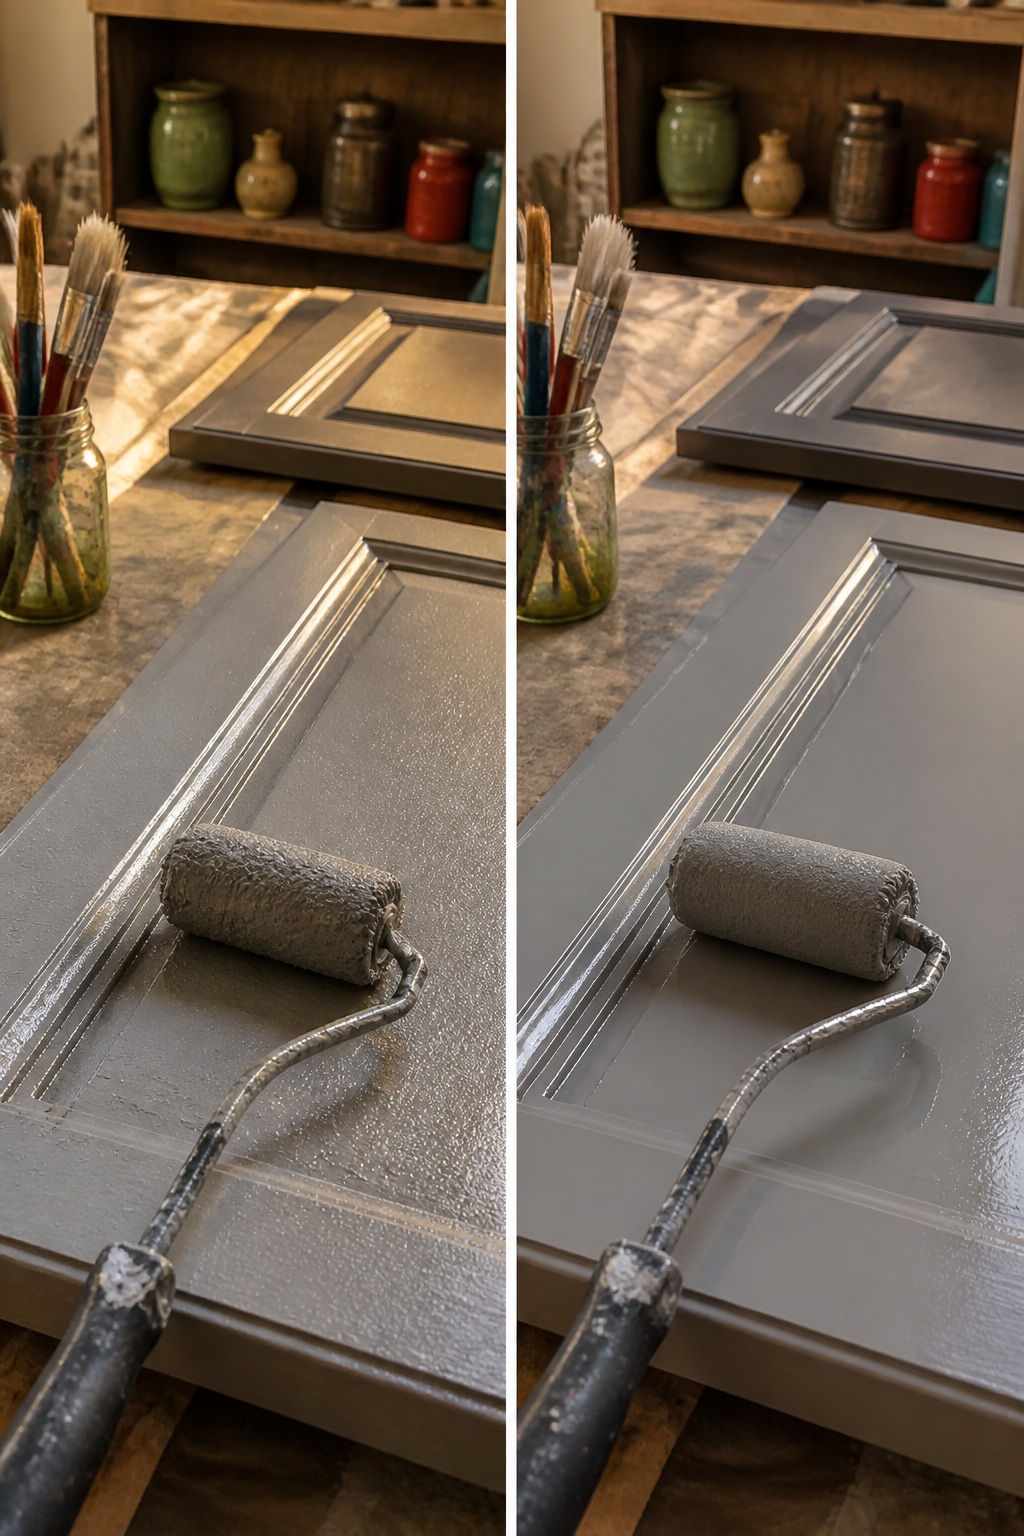
The Wooster MicroPlush holds a lot of paint and covers fast, which matters when you are trying to finish cabinets in a single afternoon. The catch is the speckled sheen it leaves once the paint dries. On a cabinet door, that reads as tiny dots of differing gloss scattered across the surface, almost like someone flicked water at wet paint. Whether it looks intentional or like a mistake depends heavily on what you are rolling over. Flat or eggshell finishes hide the speckling fairly well, so the door reads as subtly textured rather than flawed. Gloss and semi-gloss highlight every dot, turning what might pass for grain into something that looks like contamination on the surface. If you are set on a shiny cabinet paint, this roller probably costs you more time in touch-ups than it saves in loading.
6. High Density Foam Roller
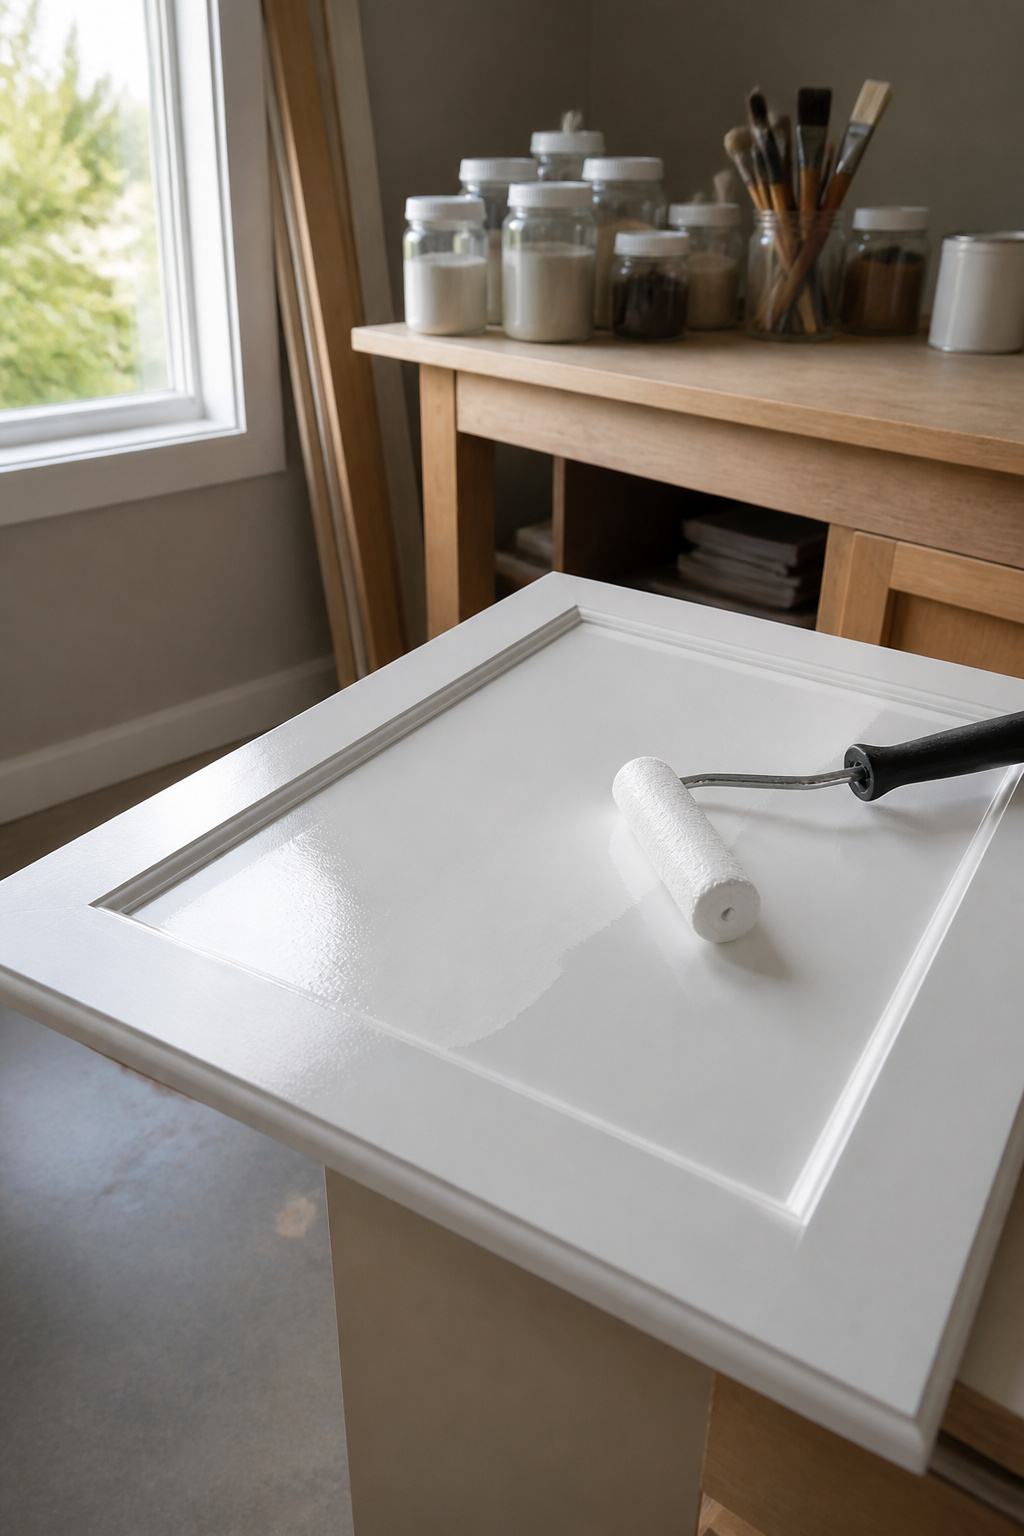
A high density foam roller with a rounded edge is where most pros and two experienced makers land for cabinet work. The rounded ends matter more than people expect. Paint builds at the lap mark, that line where one pass meets the next, and on cabinets that ridge catches light and reads as a flaw from across the room. The curve lets the roller feather the edge so the overlap disappears instead of stacking.
The finish comes out smooth and streak-free, though you still have to keep a wet edge and roll into it. Skip that part and the marks show up anyway. I have seen bathroom cabinets done with this roller that came out fine, though the maker admitted they could have gone smoother still. The tool does a lot; technique does the rest.
7. Lint Free Low Nap Roller
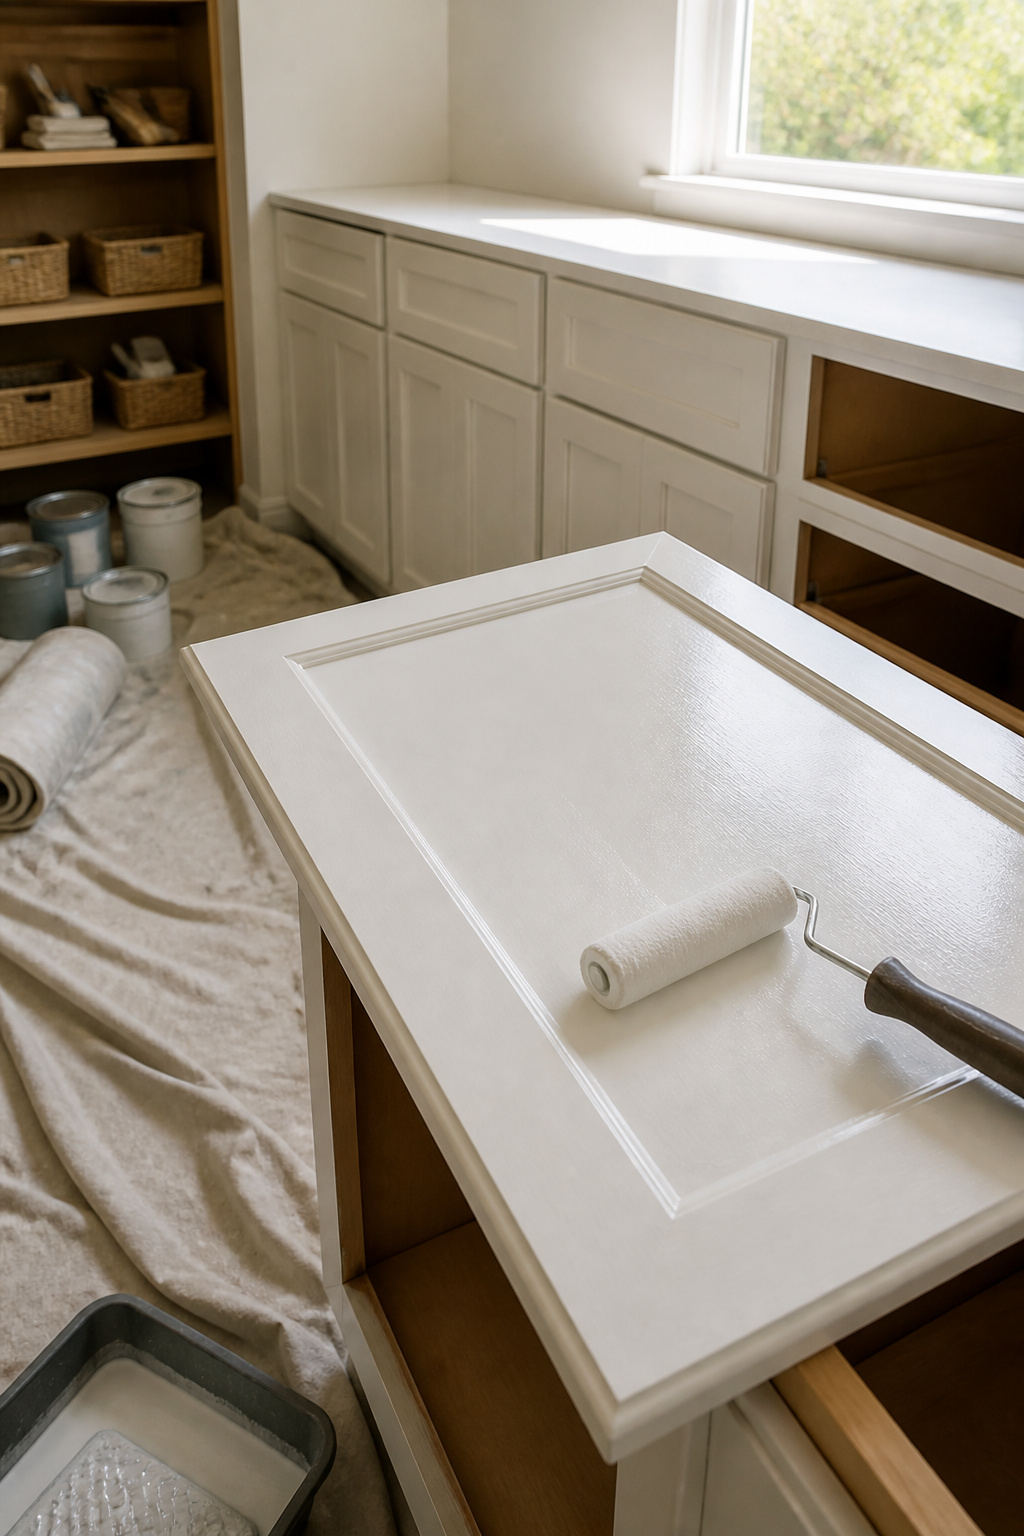
A lint free low nap roller is the safer bet when you want cabinets to look finished, not repainted. The shorter the nap, the less texture transfers to the surface, and on a door or drawer front that catches side light, every bump shows.
Flashing is what you are trying to avoid. It happens when paint overlaps and dries at different rates, leaving bands of uneven sheen. Walls hide this; cabinets do not. The vertical and horizontal planes meet at edges, and light rakes across them at breakfast or when you open the kitchen door at dusk. One pass too many in the same wet edge, or a second coat before the first has leveled, and you will see the overlap marks for years.
Foam rollers seem like they should solve this. No nap, no texture, right? But foam holds more product at the edges of each stroke and releases it unevenly. That wet rim is exactly what causes flashing on cabinets. A low nap roller, by contrast, carries less paint per load and lays it down more consistently. The finish levels better and the sheen stays uniform across the whole face.
Paint That Self-Levels

The roller can only do so much if the paint underneath wants to fight it. Benjamin Moore Advance and Sherwin-Williams Emerald Urethane Trim Enamel are both self-leveling formulas, which means the film settles outward after application, softening roller stipple and brush marks as it dries. Cheap paint stays exactly where you left it, so every tiny bump becomes permanent. Cabinets show everything, walls forgive, and saving five dollars per quart on paint is how you waste a Saturday sanding down orange peel you could have avoided. Both Advance and Emerald Urethane are built for cabinets specifically, hard enough that Emerald Urethane needs no protective topcoat. The satin or semi-gloss sheen you choose matters less than whether the resin system was designed to level in the first place.
Clean, Sand, Prime
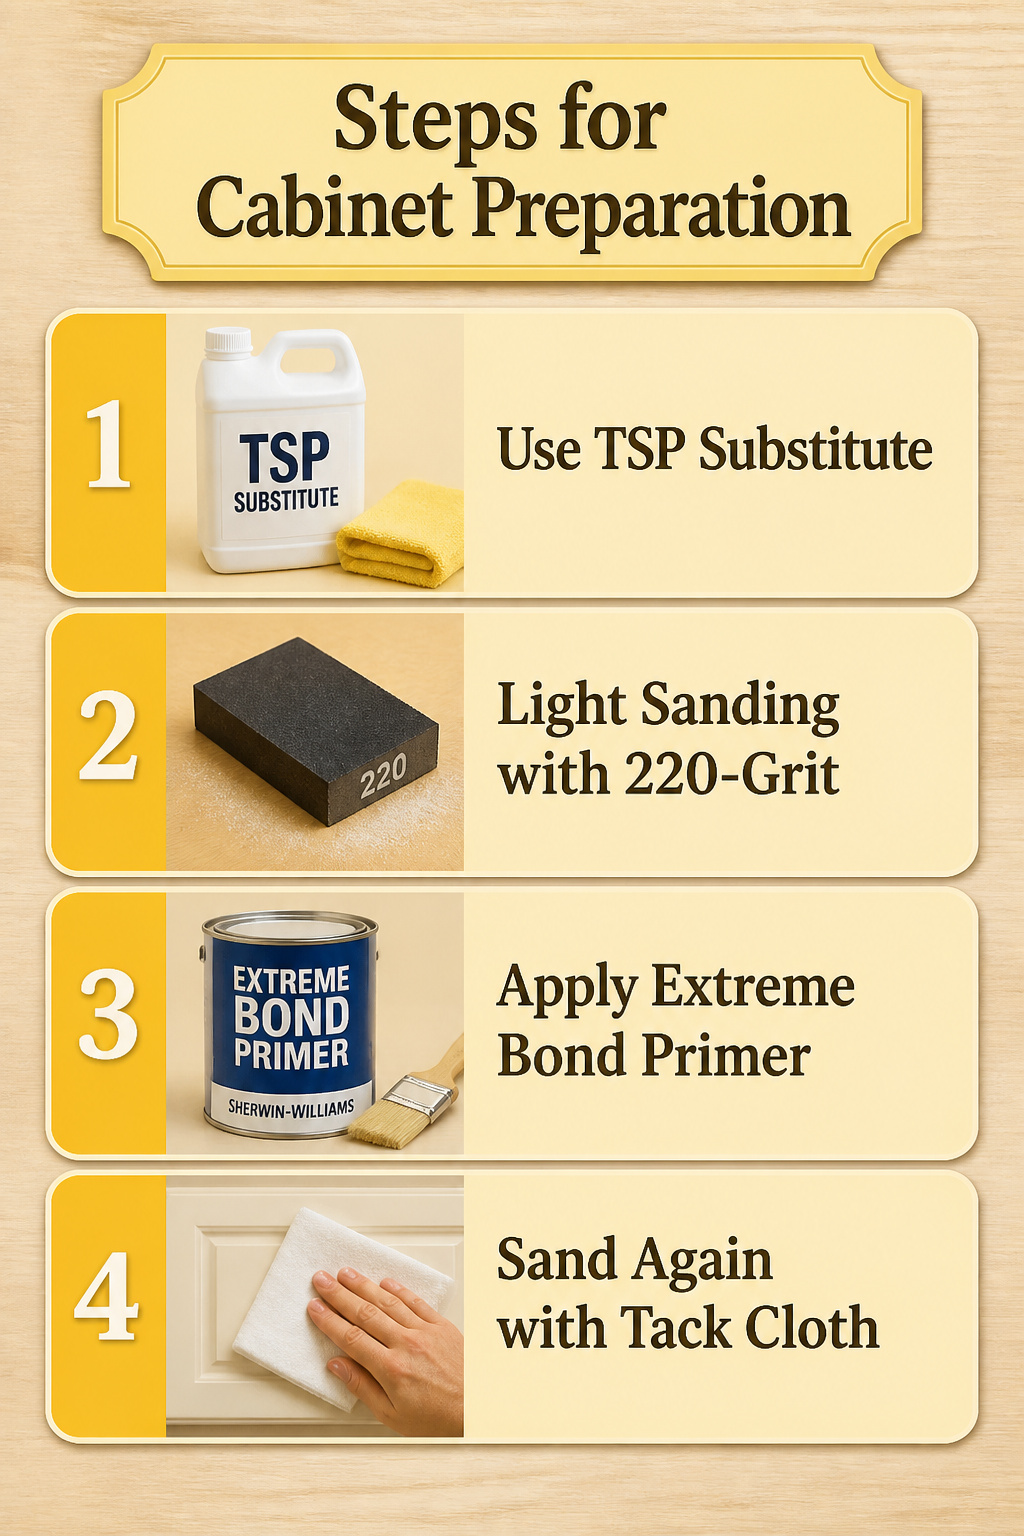
Grease on kitchen cabinets isn’t obvious until you try to paint over it. I learned that the hard way on a bathroom vanity: the primer beaded up in patches, and the finish peeled within a month right where I rested my toothbrush every morning. TSP substitute or a dedicated degreaser is the move here, not a quick wipe with a damp rag.
Sanding doesn’t mean stripping to bare wood. A 220-grit pass just scuffs the factory finish enough for primer to grab. Skip it, and the new paint sits on top like lipstick on glass. The primer I keep coming back to is Sherwin-Williams Extreme Bond Primer. Sources pair it with their Emerald Urethane Trim Enamel for a reason: it sticks to previously finished surfaces without the sanding marathon oil-based primer demands.
After the primer dries, another light sanding with 220 and a tack cloth pick up the dust that causes those tiny bumps you’ll stare at for years. Every source that shows a cabinet job worth copying runs this sequence clean, sand, prime, sand again. None of them treat any step as optional, and neither should you.
Roll in One Direction
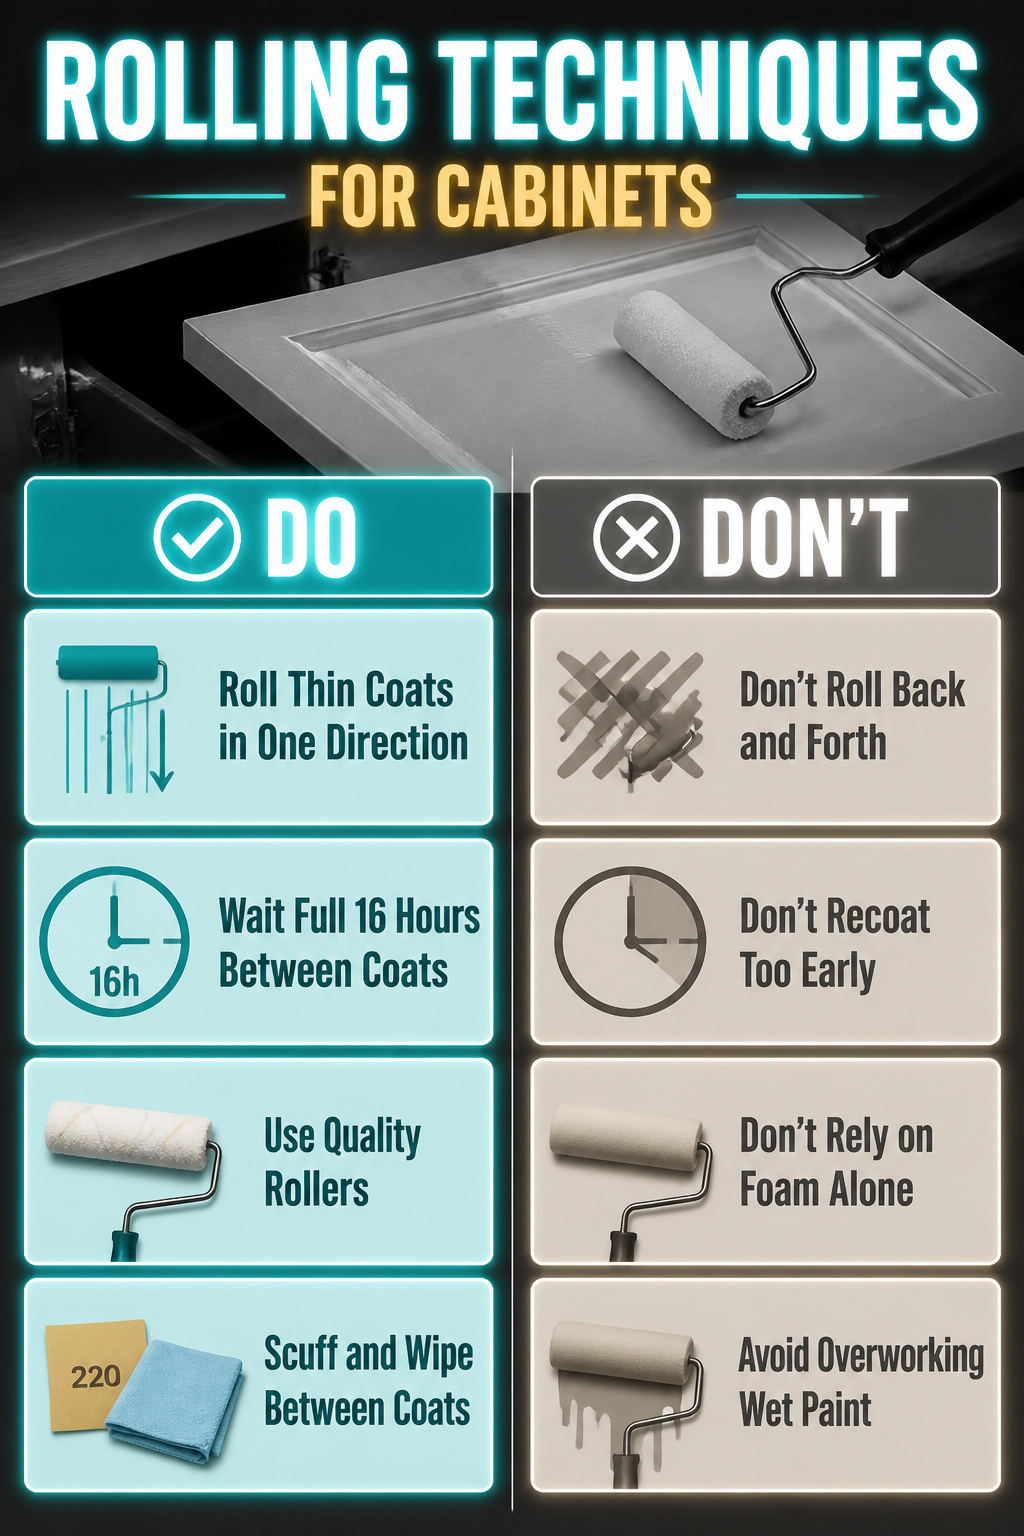
Thin coats rolled in one direction keep the nap from standing back up and telegraphing through. I learned that the hard way on a set of laundry-room cabinets where I kept going back over the same patch to "even it out" and ended up with a corduroy texture that dried exactly that way. Step away after the pass. The paint is already beginning to level; any extra rolling breaks that process and drags the finish.
The 16-hour dry time between coats matters more than the label’s "recoat in four hours" claim. At hour four the surface feels dry but the film underneath is still mobile; roll a second coat on too early and you trap solvent that later rises as fisheyes. I wait the full interval, then hit the surface with 220 grit just until it turns matte, not through to the color. The dust gets wiped off with a tack cloth. That scuff gives the next coat mechanical grip without visible scratch marks.
Some rollers forgive more than others. The Sherwin-Williams mohair loads evenly and doesn’t dump or starve mid-pass, which masks laps if your rhythm drifts. Foam and microfiber are less tolerant; they show every place you doubled back. No roller, though, covers for overworking wet paint. The technique is the finish.
Frequently Asked Questions
What is the best roller for painting cabinets?
A mohair roller gives you the smoothest finish that looks almost sprayed without needing a compressor. The Sherwin-Williams Mohair and Whizz Velour both rank at the top for glass-like results on cabinet doors and frames. If you want to skip the fiber cleanup that mohair requires, a high density foam roller with rounded edges is the choice most pros reach for instead.
How do I achieve a smooth finish when painting cabinets?
Roll thin coats in one direction only, then step away. Overworking wet paint breaks the self-leveling process and leaves texture that dries permanent. Sand with 220 grit between coats until the surface turns matte, wipe with a tack cloth, and wait the full 16 hours before recoating even if the label says four. Self-leveling paints like Benjamin Moore Advance or Sherwin-Williams Emerald Urethane do half the work for you by settling out roller marks as they dry.
What paint should I use for cabinets?
Benjamin Moore Advance and Sherwin-Williams Emerald Urethane Trim Enamel are both built specifically for cabinet work. Both formulas self-level, which means the film softens stipple and brush marks after you roll it on. Emerald Urethane cures hard enough that it needs no protective topcoat. Cheap paint stays exactly where you leave it, so every bump becomes permanent on a surface that shows everything.





