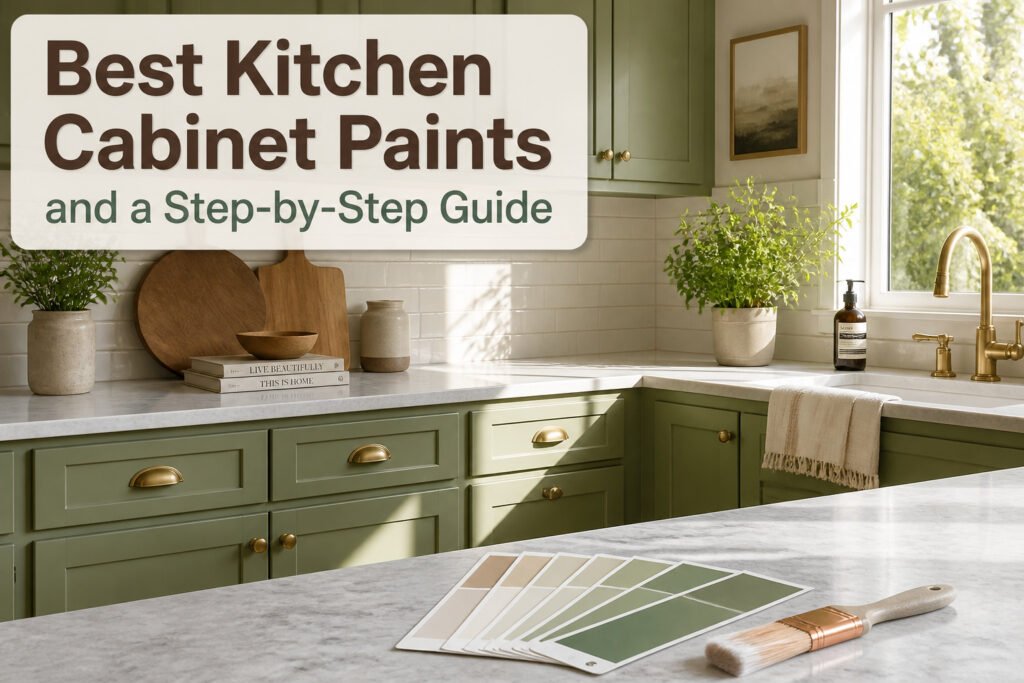
Benjamin Moore Advance is the kitchen cabinet paint to beat if you want factory-smooth leveling overnight, but only if you can wait the full 24 hours between coats and two to three weeks for full cure. Anyone reassembling cabinets the same day should grab Sherwin-Williams Urethane Trim Enamel instead; it trades a little smoothness for speed and still hardens into a durable, soap-and-water-cleanable surface. The $65 per quart price is the first hurdle, though the real test comes six months in near a busy sink, where moisture can still win against the finish if the cure was rushed.
1. Gather Supplies
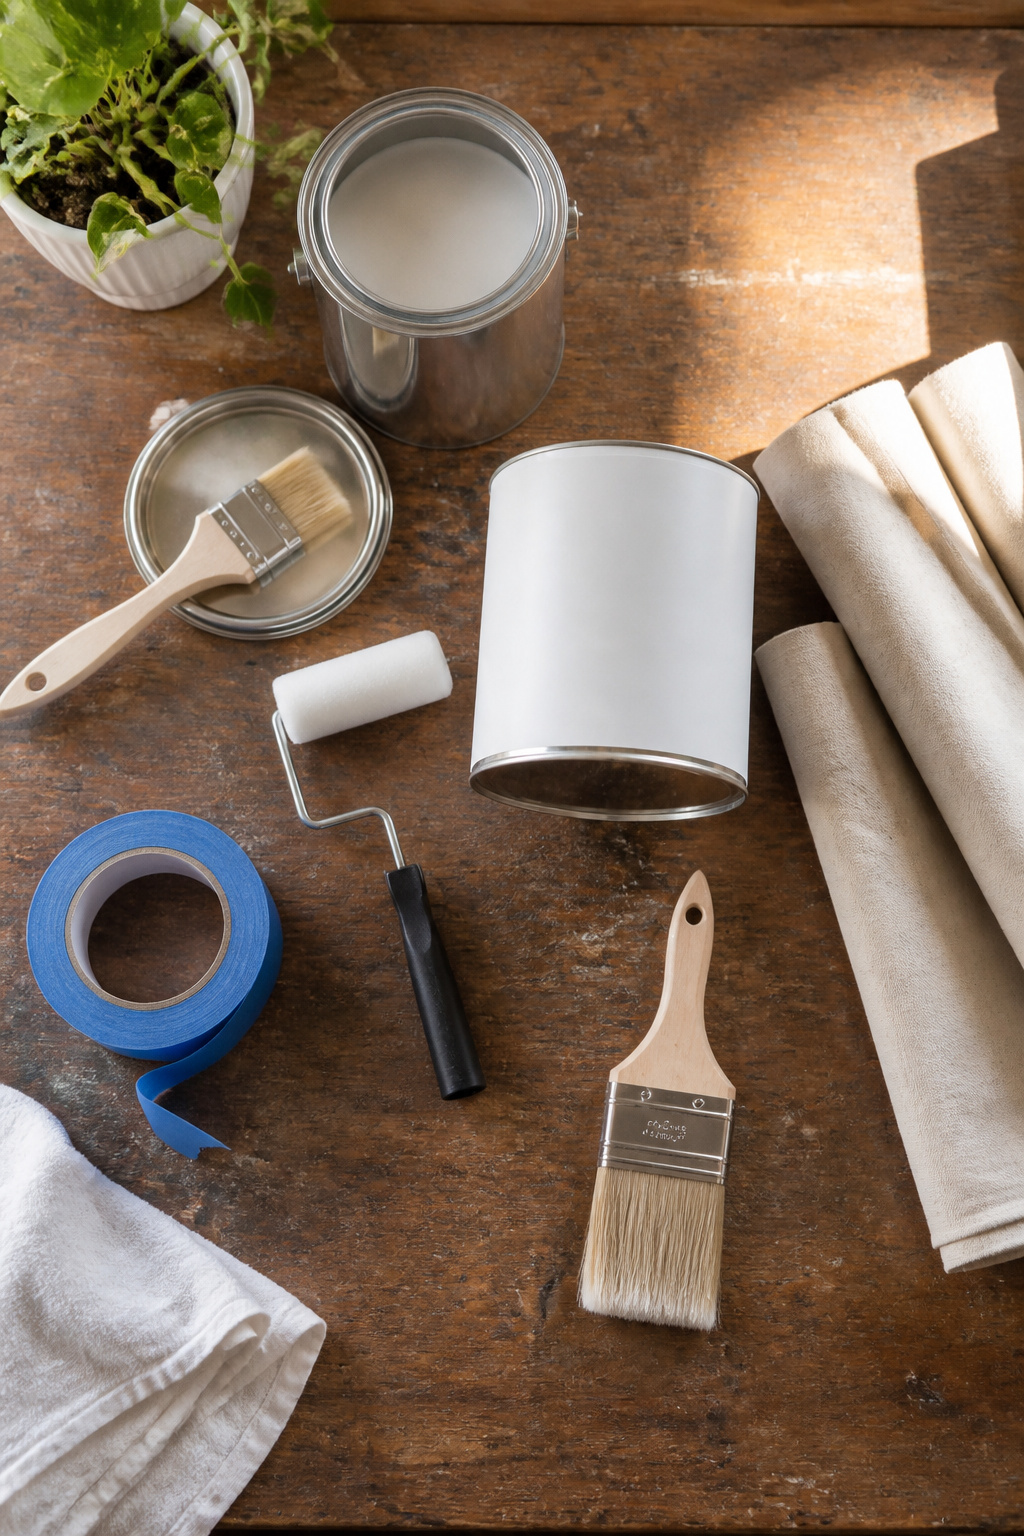
Painter’s tape, TSP cleaner, primer, paint, brushes, and rollers sound like a short list until you’re standing in aisle seven realizing you forgot the drop cloths. Zinsser Primer for All Surfaces is what I’d grab first trip for laminate, or Zinsser B-I-N Advanced Shellac primer if the doors are wood. The paint store is where I blew the second trip: I skipped the painter’s pyramids, which turn out to matter more than you’d think for anything you need to flip and paint both sides of. A 6-inch foam roller and a Purdy brush kept the finish smooth on the flat panels, though the grooves still needed the brush by hand. The one supply I’d add to any list after doing this: ultrasmooth fiber rollers, not the cheap ones that leave texture you see at 7 a.m. with coffee in hand.
2. Remove Cabinet Doors and Hardware
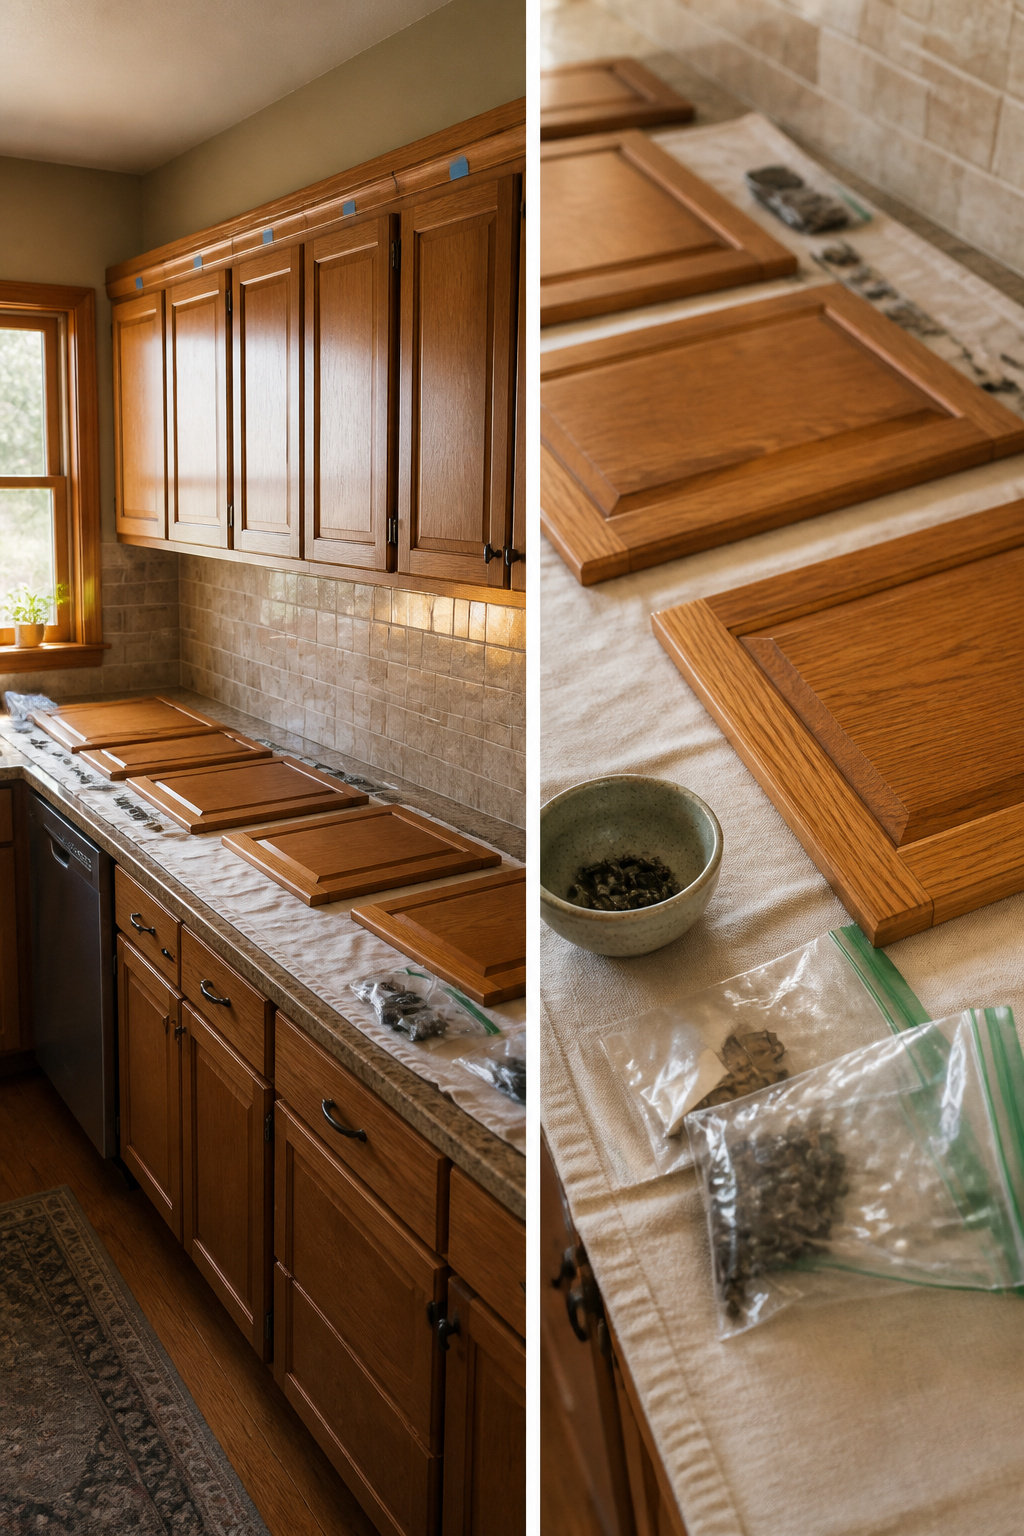
Label every door before the first screw turns. I learned this the hard way on a set of maple uppers where one door went back with a sixteenth-inch gap at the top that stared at me for two years. My system now is painter’s tape inside the hinge pocket, numbered with a Sharpie, and the same number on the matching cabinet box. The tape stays on through stripping, priming, and painting because I stick it to the wall above each door in order as I take it down. Hardware goes into labeled sandwich bags; hinges into one set of bags, screws into another with the same number. A helper matters here more than pride, unless you enjoy holding a solid wood slab in one hand while a drill wobbles in the other, one knee on the counter, the other foot somewhere near the sink. That was my first kitchen. No photos exist of that part for good reason.
3. Clean Surfaces

A quarter cup of TSP crystals into two gallons of warm water turned the solution cloudy white, and the rag came back yellow-brown after the first pass along the stove-side cabinets. The water in the bucket looked like weak coffee by the time I finished the uppers, which told me the degreaser was doing its job. I thought I had been thorough, but a dime-size patch behind the range hood, right where the backsplash meets the frame, still had a faint slickness my fingers missed. The primer skimmed over it the next morning and beaded like water on wax; I sanded it back to bare wood, cleaned again with the same mix, and the second attempt held fine. TSP is not optional near the cooktop, even when the cabinets look clean enough to skip it.
4. Repair Imperfections
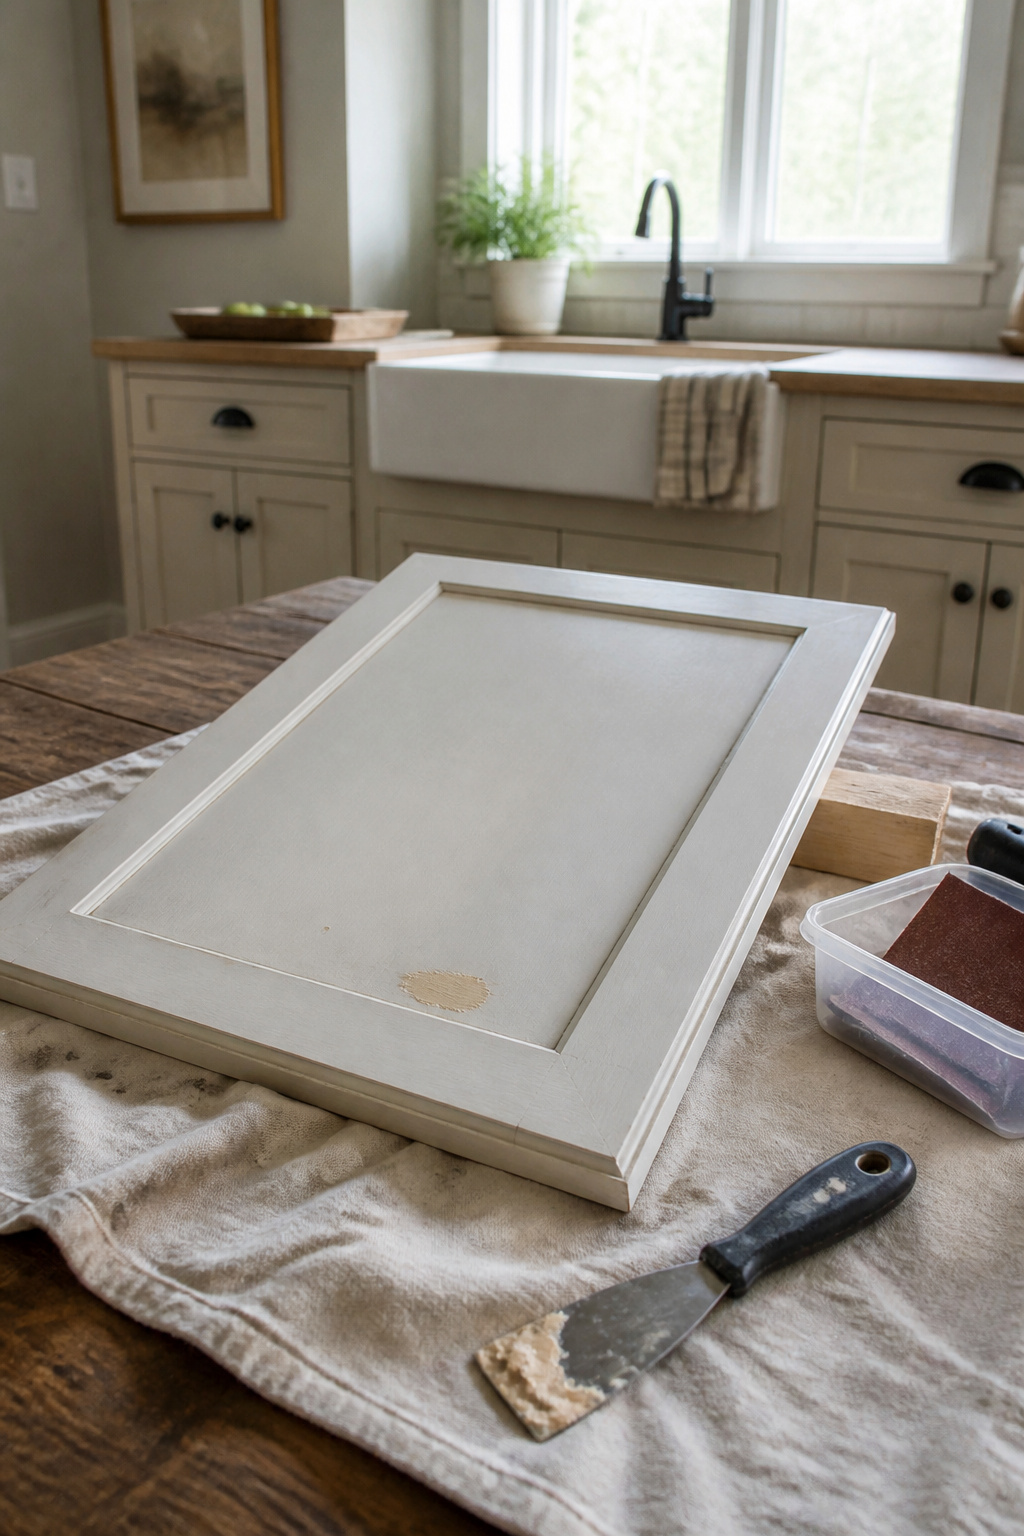
Wood filler sits in the dent my screwdriver handle left when I wedged it against the door to steady the hinge, and in the hairline crack I found only after pulling down the spice rack. The tube says to overfill slightly, so I did, then scraped the excess flat with a putty knife while it was still workable. Once the filler dries hard, sand it flush with the surrounding surface rather than leaving any ridge; paint will telegraph every bump you can feel with a fingernail. The same sanding that removes old sheen also knocks down patched spots, so this step folds into the broader prep rather than standing alone.
5. Sand Surfaces
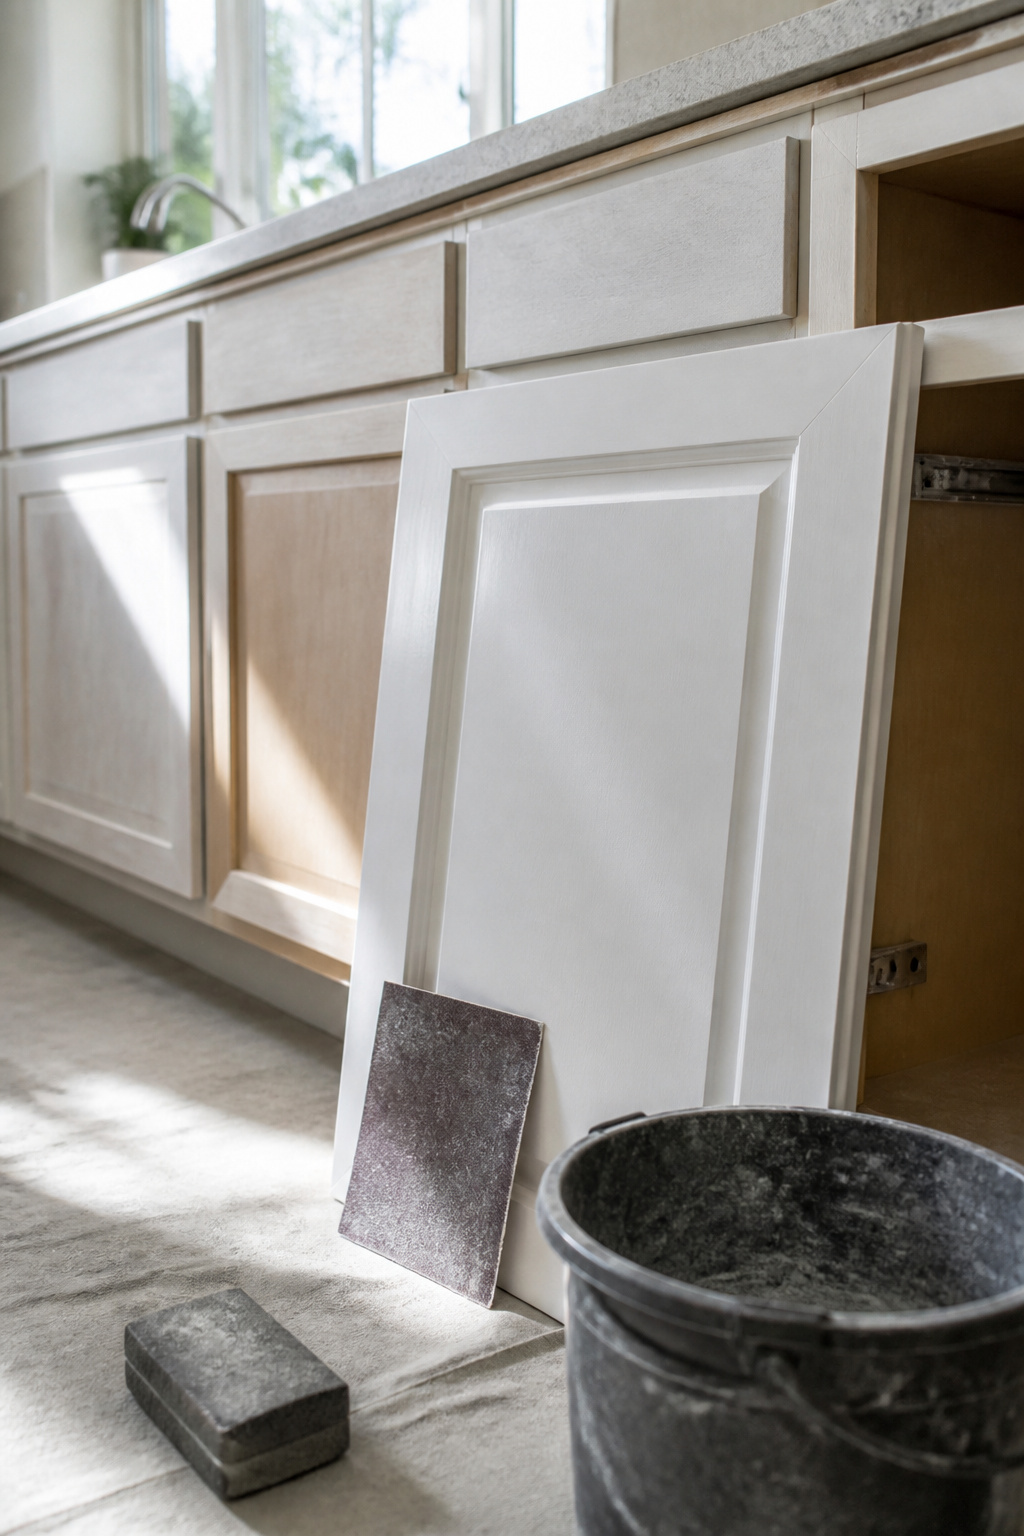
220-grit sandpaper is what I landed on after reading that 120 followed by 220 is the standard two-step, but for cabinets already in decent shape, the finer grit alone does enough scuffing without chewing through the finish. Each door took about ten minutes by hand, working with the grain in long strokes, enough to dull the surface without leaving visible scratches.
The mistake came on the upper corner of the sink cabinet, where the veneer was already thin from years of moisture and handling. I pressed harder there to smooth out a drip of old varnish, and sanded straight through to the pressed board beneath. That patch needed filler later, and it still reads slightly darker under paint. Now I keep pressure light and check corners by eye every few passes, since those edges are where cabinets always wear first.
6. Prime Surfaces
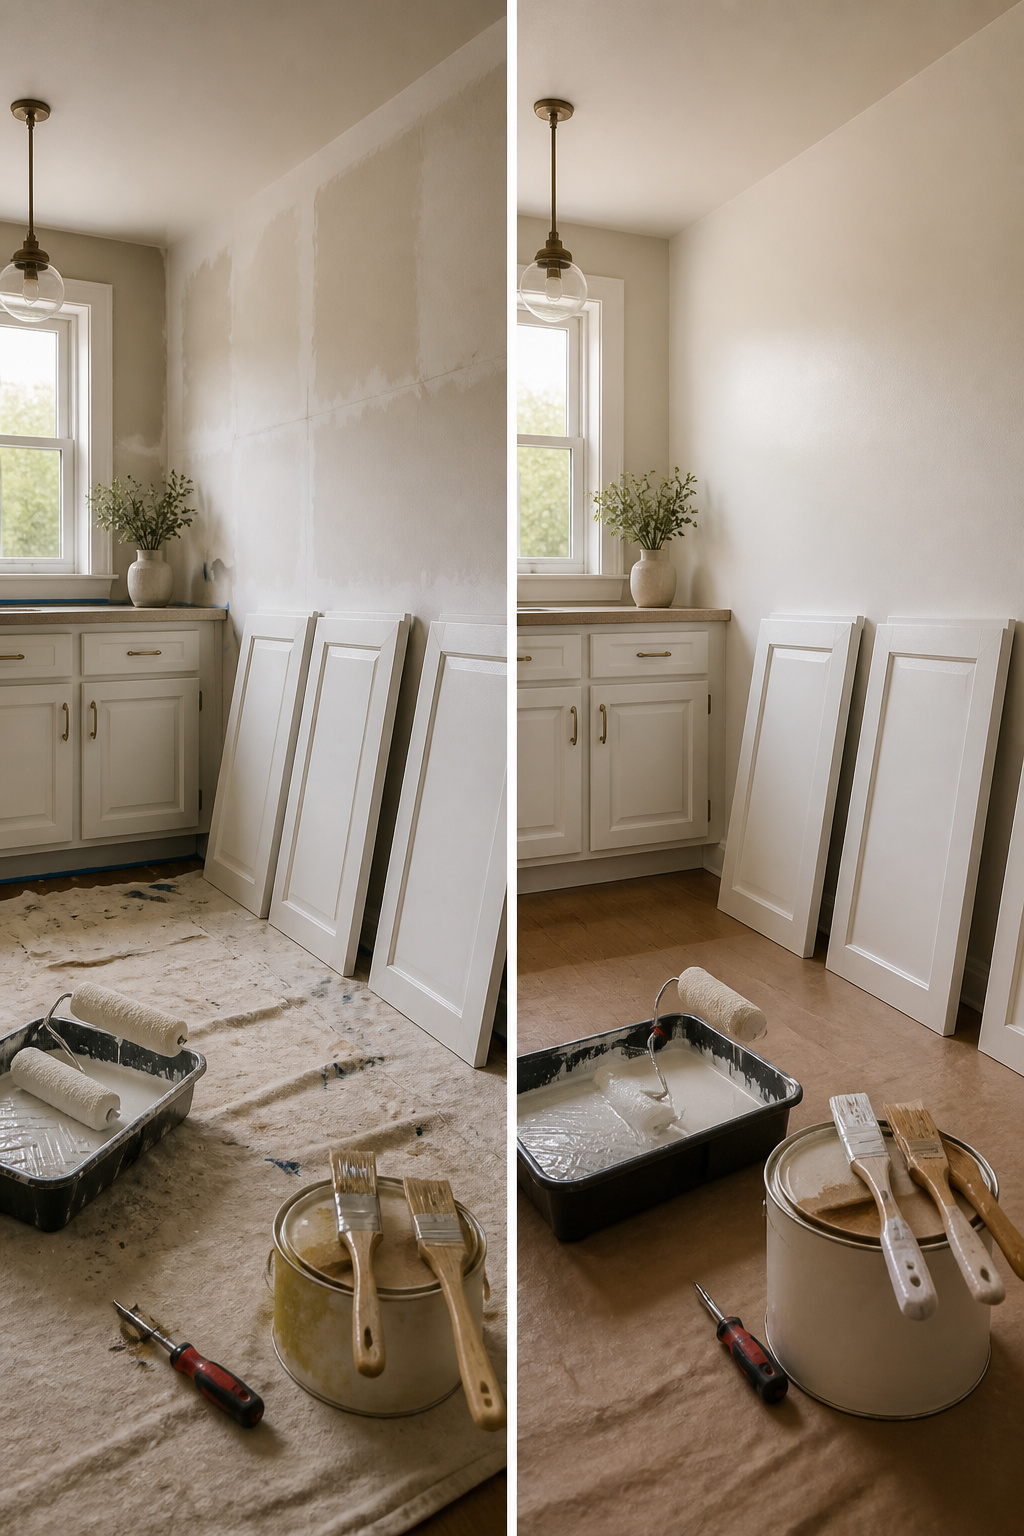
Zinsser BIN Advanced Shellac primer is what I would reach for on wood cabinets, and the first coat I rolled on too thick took a full 48 hours to dry. The second coat went on thin, almost wiped across the surface rather than loaded on, and that one was ready for paint in 45 minutes. The thin coat is the one that actually worked. For laminate, Zinsser Primer for All Surfaces will grip where standard primers slide. Behr Kitchen, Bath, and Trim Stain-Blocking Primer & Sealer is another option if the store stocks it. Either way, brush the grooves first, then roll the flats before the brushed areas skin over. Test a patch on the back of a door before committing the whole kitchen to it.
7. Paint Cabinets
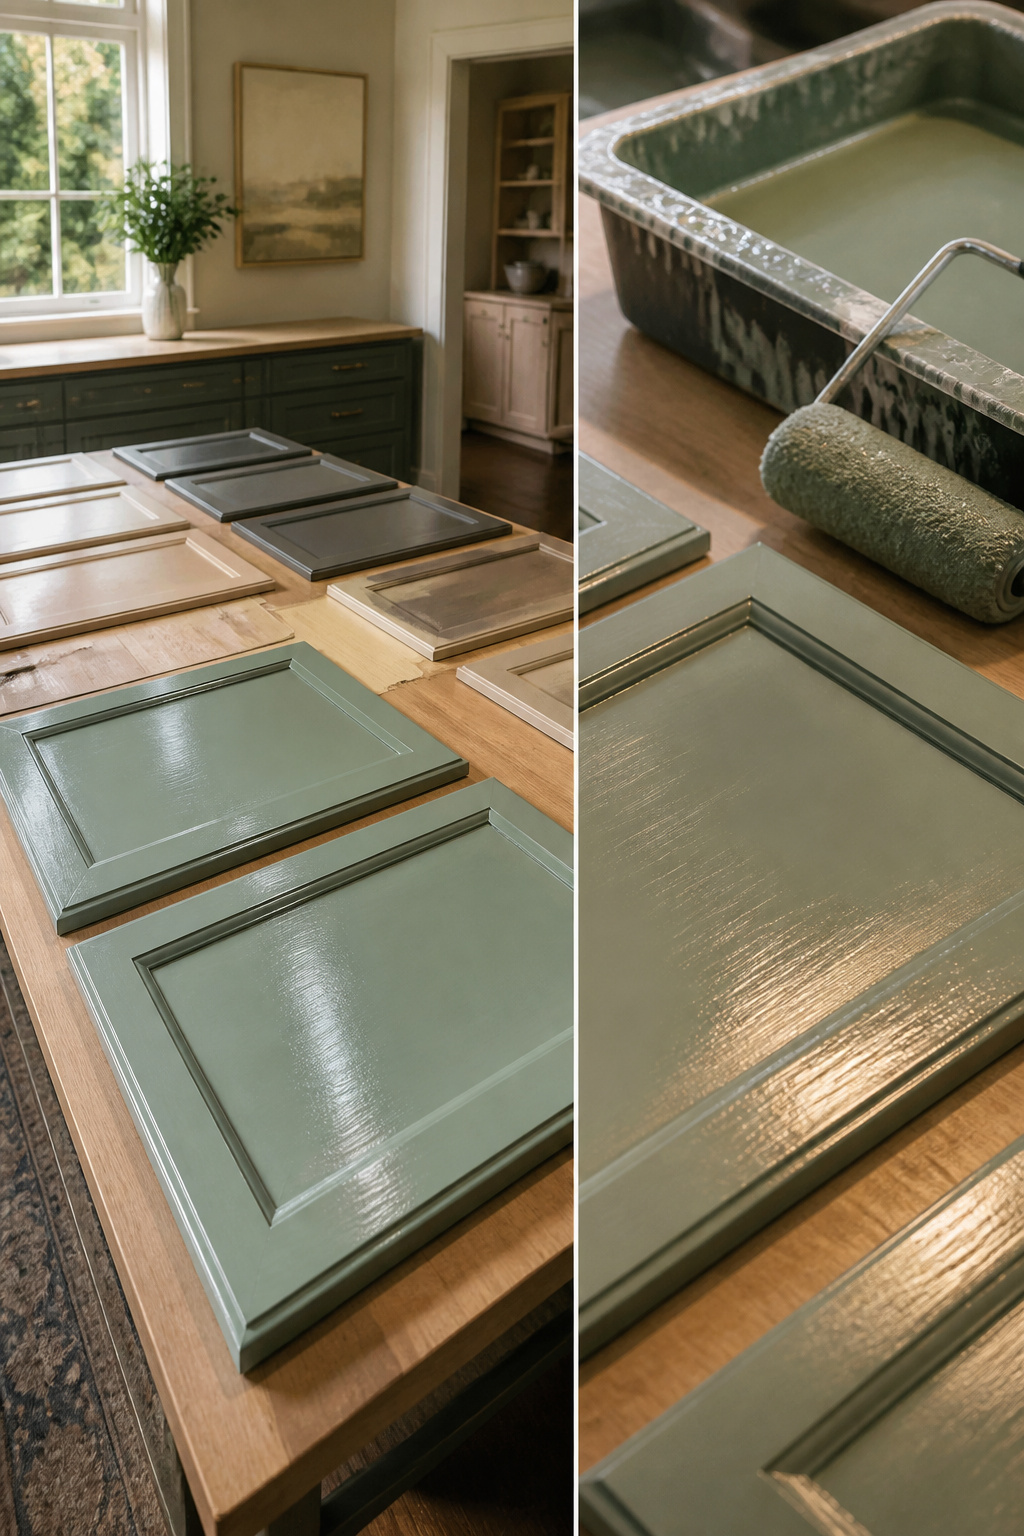
Thin coats with real drying time between them are what separate a cabinet job from a furniture refinishing disaster. The can on my last project promised full coverage in two coats. Three is what it actually took, and stopping at two would have left the grain showing through on every drawer front.
A brush gives you control at the edges; a mohair roller or large brush covers the flat fields faster. I used both, brushing the inlays first, then rolling the panels. The drip happened on a lower drawer front where I overloaded the brush in a corner and didn’t catch the run before the enamel started to set. Satin enamel holds its shape better than traditional latex, but corners still pool if you let them. I sanded that spot back to primer the next morning.
Laying doors flat while the topcoat dries stops the drips you get working vertically. Three very thin, even coats of protective finish over the paint, each one moving quickly, gave the surface the durability that actually held up. Self-leveling matters here: the paint needs time to lose brush marks, but not so much time that it sags. The right enamel lets you recoat the same day once it’s dry to the touch.
8. Reattach Doors and Hardware
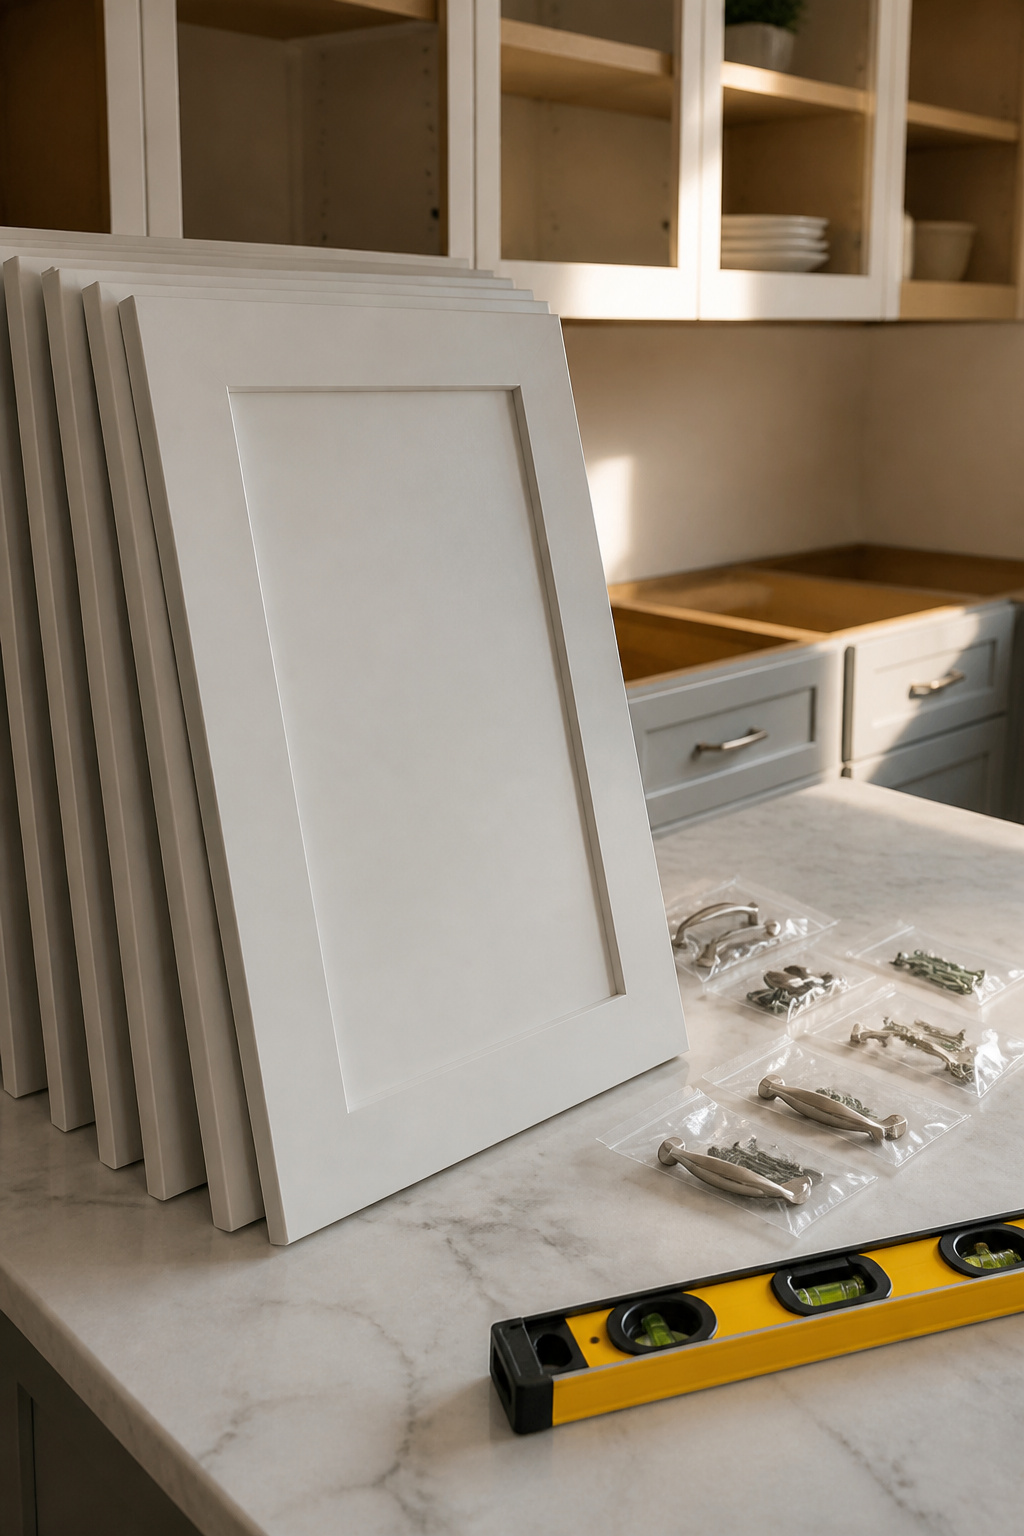
Paint that feels dry to the touch is not ready for hardware. The cabinet door you hang three days after the final coat will stick to the frame, and the handle you bolt on will leave a permanent print. Full hardness takes two to three weeks, and nothing in that window speeds it up.
My first set of cabinets looked finished on day five, so I started reinstalling. The satin nickel pull I chose went on upside down, which I did not notice until the third one was mounted and the pattern broke. A cabinet pull has a top and a bottom even when the shape looks symmetrical; the screw holes are offset slightly, and your fingers know the difference even if your eyes miss it. I left the wrong one in place as a reminder and fixed the rest.
When the waiting is actually over, attach doors at both hinges before tightening anything. The holes are already drilled, but the weight of fresh paint changes how the door hangs by a fraction of an inch. Check the reveal at the top and the side, then snug the screws in place. Hardware last, not first; the door needs to settle before you add the piece you touch every day.
9. Benjamin Moore Advance
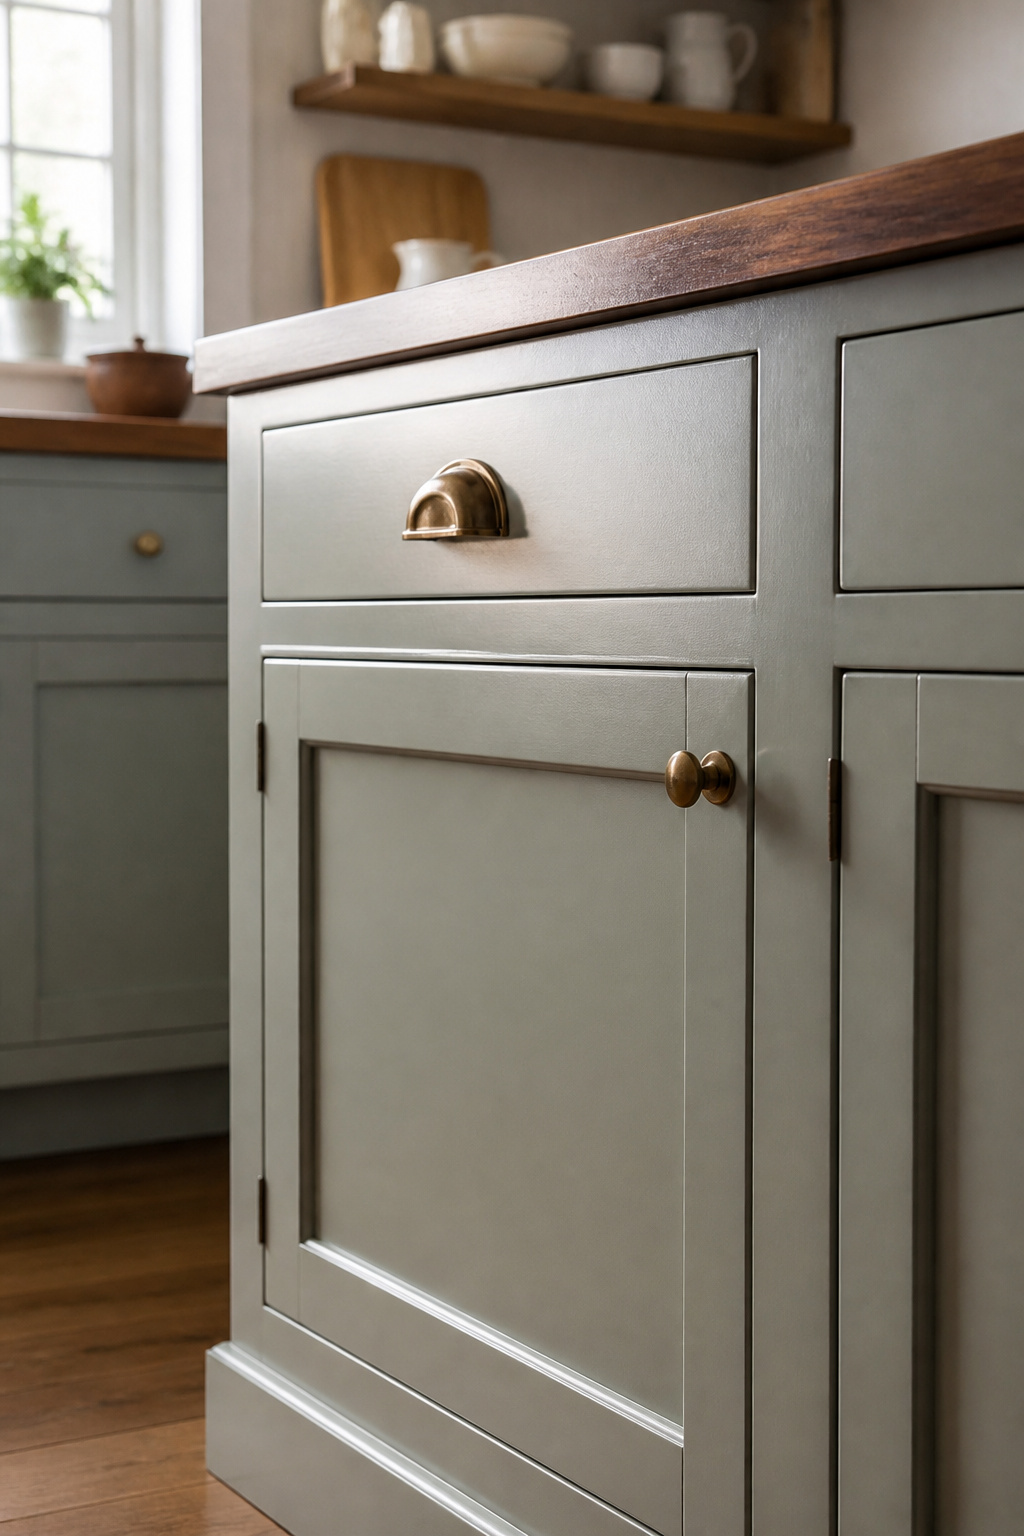
Waterborne alkyd formulas sit at an odd intersection, and Benjamin Moore Advance is where that tension became real for me. The quart ran about $65, which puts it at the high end of anything I have rolled onto cabinets. What that money buys is leveling that happens while you sleep; the surface I left slightly textured at 8 p.m. read as factory-smooth by morning, no sanding between coats required.
That overnight wait is non-negotiable. Anyone reassembling cabinets the same day should skip this paint entirely; the surface feels dry to the touch in hours, but the film stays soft enough to fingerprint through dinner time. I learned the schedule the hard way on a bathroom vanity, not a kitchen, and the lesson transferred.
Six months in, a chip appeared by the sink, right where water splashed and sat. The finish everywhere else held, but that spot suggested the cure never fully won against daily moisture. For a kitchen with heavy sink use, that durability gap matters more than the self-leveling wins.
10. Sherwin-Williams Urethane Trim Enamel
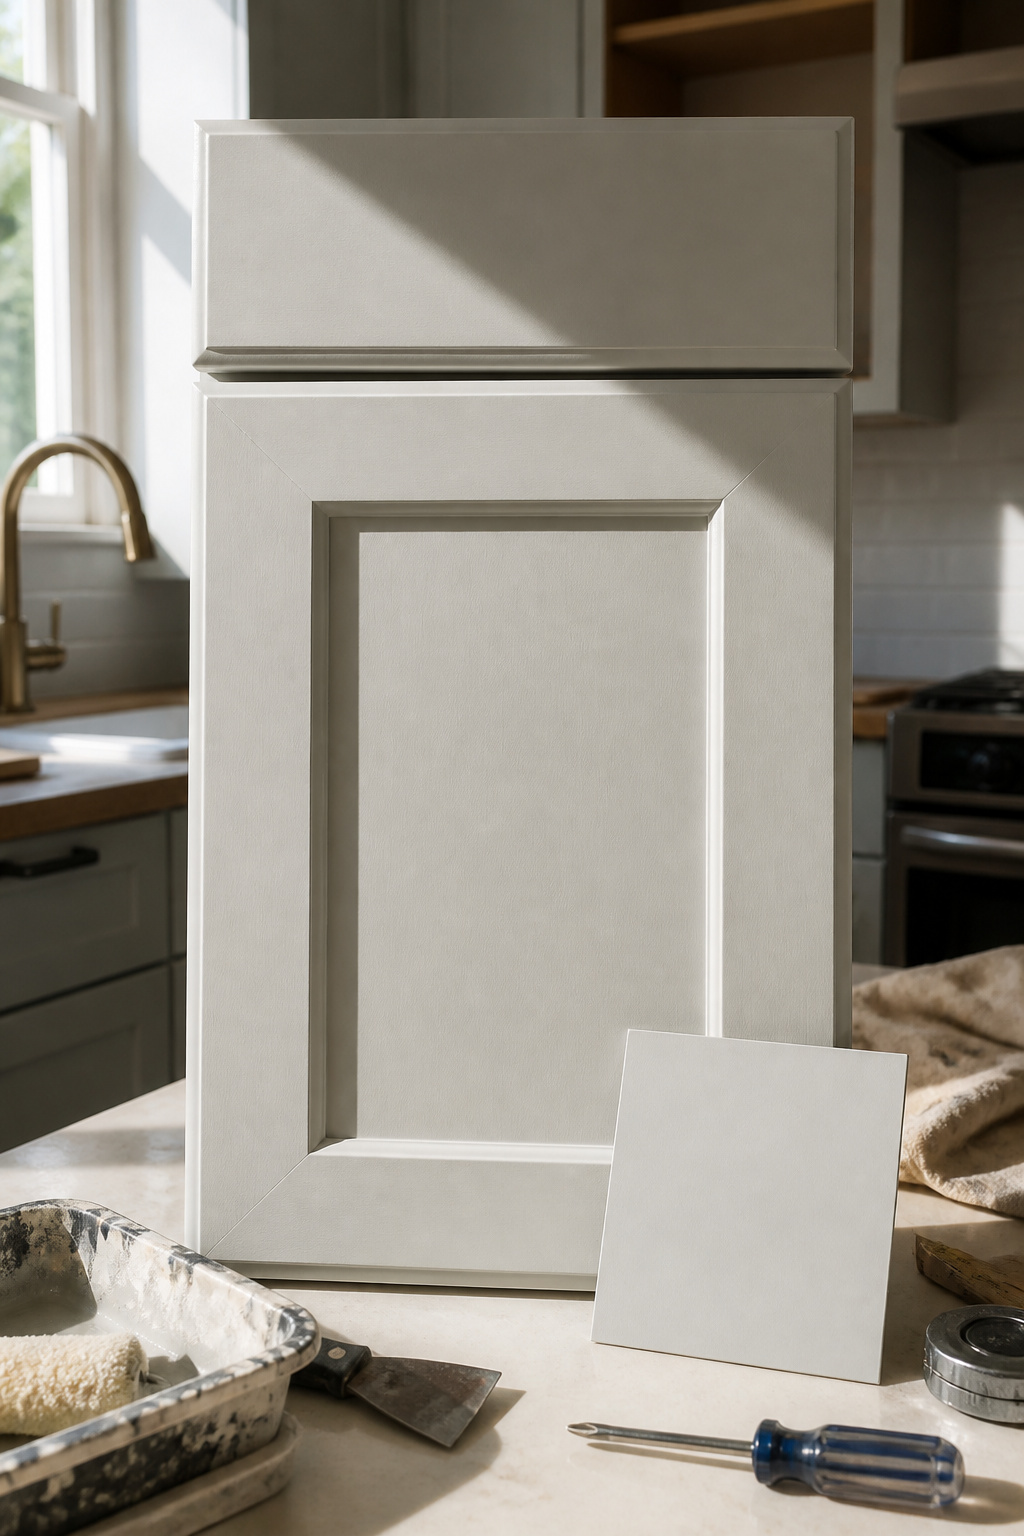
Sherwin-Williams Urethane Trim Enamel is a water-based urethane-modified alkyd, which means you get the easy soap-and-water cleanup of a water-based paint with the hardness that used to require oil. The finish cures to a durable surface without needing a separate top coat, and it carries low-VOC levels so the air quality stays reasonable while you work.
Against Benjamin Moore Advance, this one trades a little smoothness for speed. Advance tends to level out with fewer visible brush strokes and forgives a roller more willingly. Urethane Trim Enamel dries faster and gets hard sooner, but the texture is slightly more apparent up close. Both clean up with soap and water, and both hold up well over time. The choice depends on whether you need the job done tonight or you need the job to look like someone else did it.
I brought home a sample to test against my existing trim. The color matched close enough that one coat covered the test piece completely, no primer, no second pass. For an afternoon project where you want to close the kitchen back up before dinner, that single-coat coverage matters more than a marginally softer finish.
11. General Finishes Milk Paint

General Finishes Milk Paint is the product most often cited for skipping prep work entirely. The claim is that wood cabinets need no sanding and no primer, just a good cleaning with TSP and straight to paint. That sounded like either a genuine shortcut or a future regret, so I treated one upper cabinet as the test case. I cleaned it, skipped the deglosser, and rolled on two coats of Seagull Gray followed by three coats of the High-Performance Top Coat in flat.
At 30 days the finish looked fine. The surface felt smooth, the color was even, and I had to remind myself which door had been the experiment. By 90 days the difference showed. The unprepped cabinet had two small chips along the edge where a drawer front bumped it, and the paint had started to lift at the inside corner near the hinge. Nothing dramatic, but the prepped cabinets in the same kitchen had no matching damage. The no-sand claim holds for adhesion in low-abrasion spots, but edges and contact points still want that mechanical bite.
Three coats of top coat are non-negotiable with this system, and the flat sheen does help hide wood grain. The color range runs to about two dozen options, which covers most kitchens but not every vision.
12. Fusion Mineral Paint
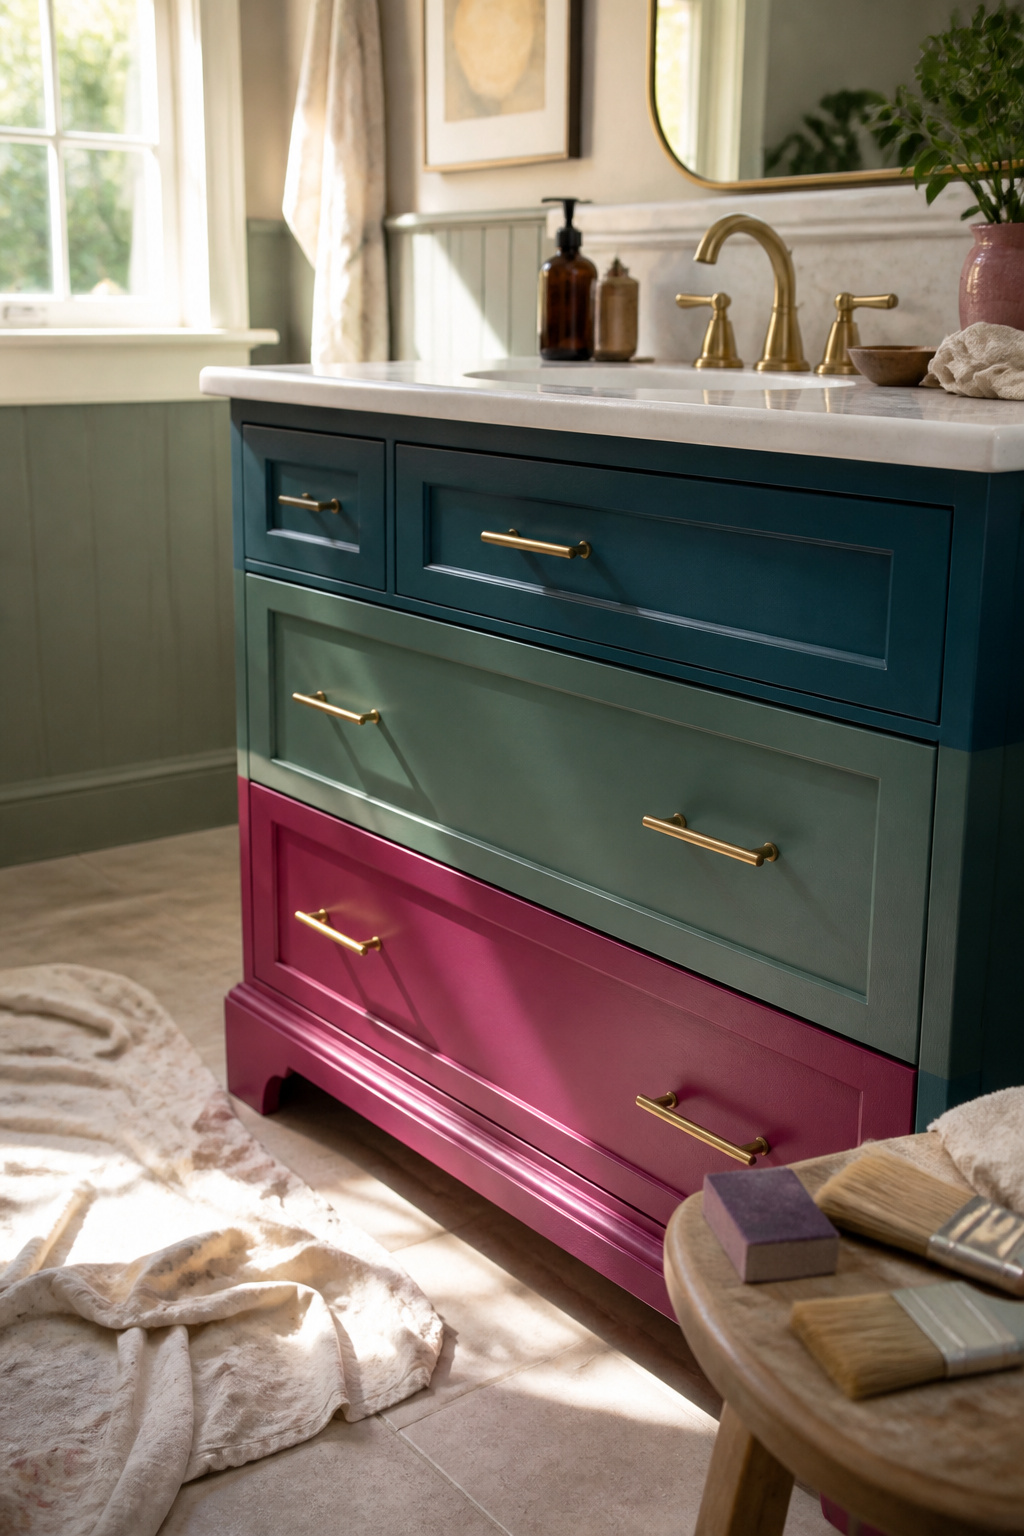
Fusion Mineral Paint built its following on the promise that cabinets can go from tired to finished with almost no sanding and no primer at all. The designer who popularized the method for kitchen work claims about two days start to finish, and I wanted to see whether that held up on something smaller. My test was a bathroom vanity, a single cabinet and drawer front, clocked from popping the lid to closing the door.
The paint itself covers well in two coats. I still had to break out sandpaper twice: once to knock down the old water-damaged finish where the sink had leaked, and again between coats because the first layer caught dust from the bathroom fan. Total active time ran just under six hours across two days, most of it drying. The vanity has held up fine for light use, though I would not trust that finish to the grease and impact of a kitchen without the Ultra Guard topcoat the original method added. For a quick afternoon project that lets you skip the full kitchen teardown, this one delivers, but "minimal prep" still means looking the surface over before you start.
13. Behr Cabinet Enamel
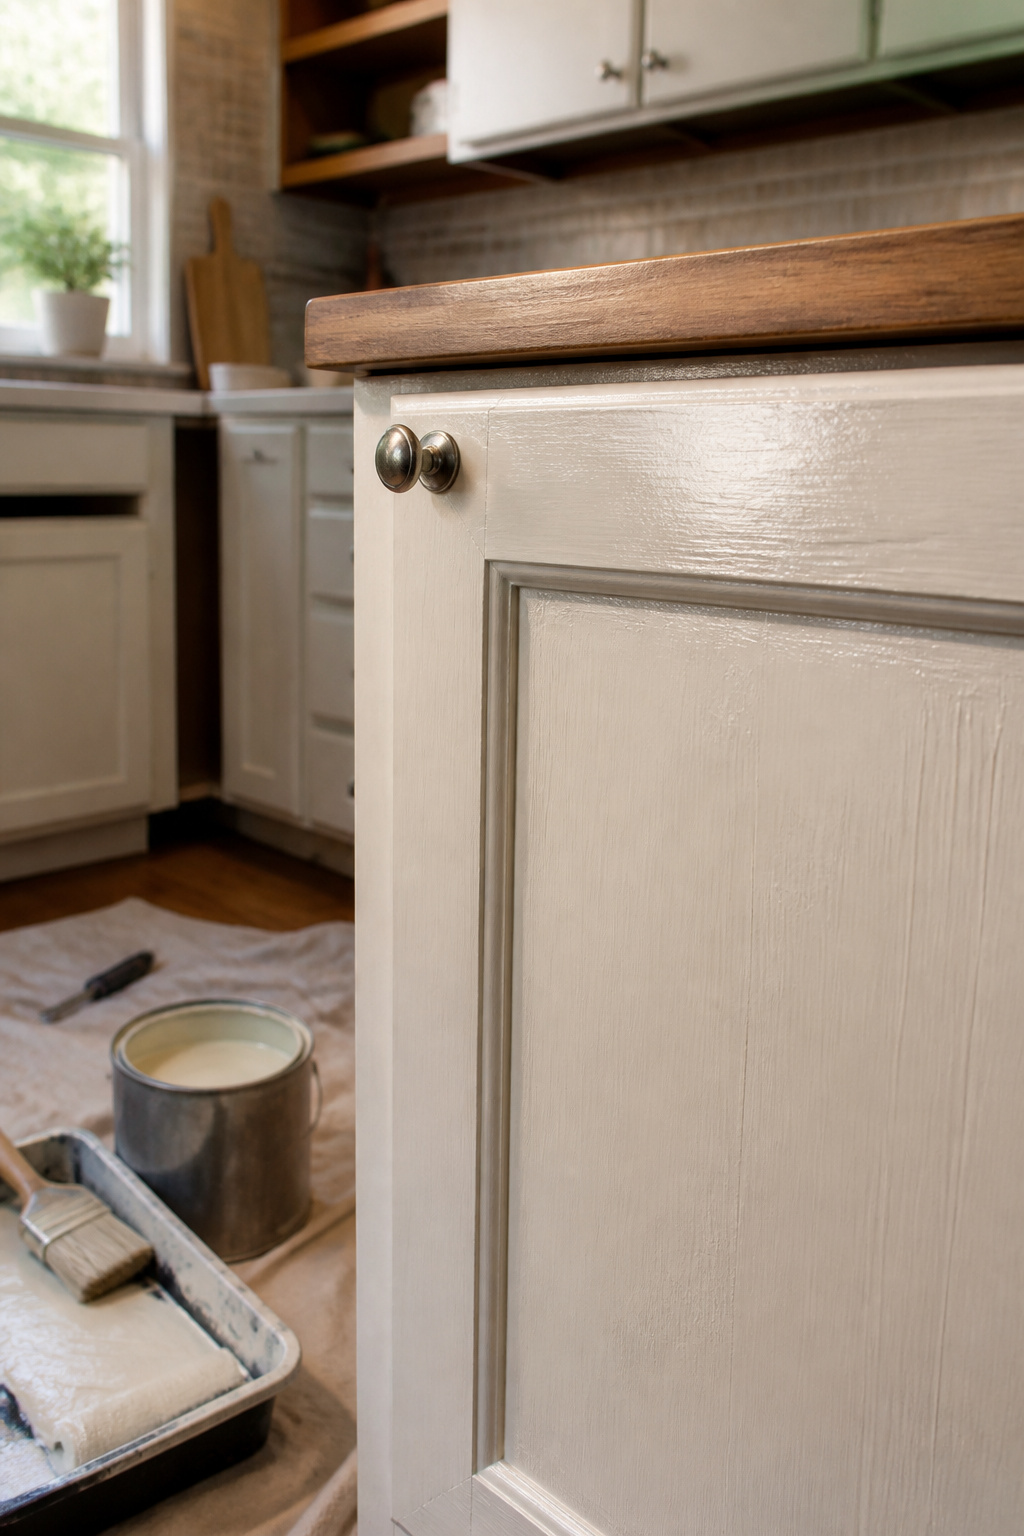
Behr Cabinet Enamel runs about $0.36 per ounce, which pencils out to roughly one-third the per-face cost of Benjamin Moore Advance once you factor in coverage rate. The savings are real, and for a rental or a first kitchen refresh they can be the difference between starting this weekend and waiting until next tax season.
The coverage impressed me reading through write-ups: two coats over a decent primer and the grain stays hidden, the color looks full. Brush marks, though, are where the budget shows. Several painters noted strokes stayed visible even with careful work, especially on the flat door panels where light hits flat across the surface. Leveling just does not happen the way it does with the pricier enamels.
Durability splits the difference. One kitchen saw a year of dishwasher-adjacent use, steam and the occasional bump from a loaded rack, and the finish held without chipping. Another project chipped badly, though that painter admitted the prep was rushed and the primer thin. The sticky feel some people report seems to fade after full cure, but it can make rehanging doors a patience test in the first week.
Two ways to play this: accept the brush texture and save the money, or spend the difference on a better brush and a bonding primer to push the finish closer to premium. For cabinets that see light duty or a temporary fix, the first option wins. For a kitchen that works hard, the extra prep stops being optional.
How to Choose Cabinet Paint
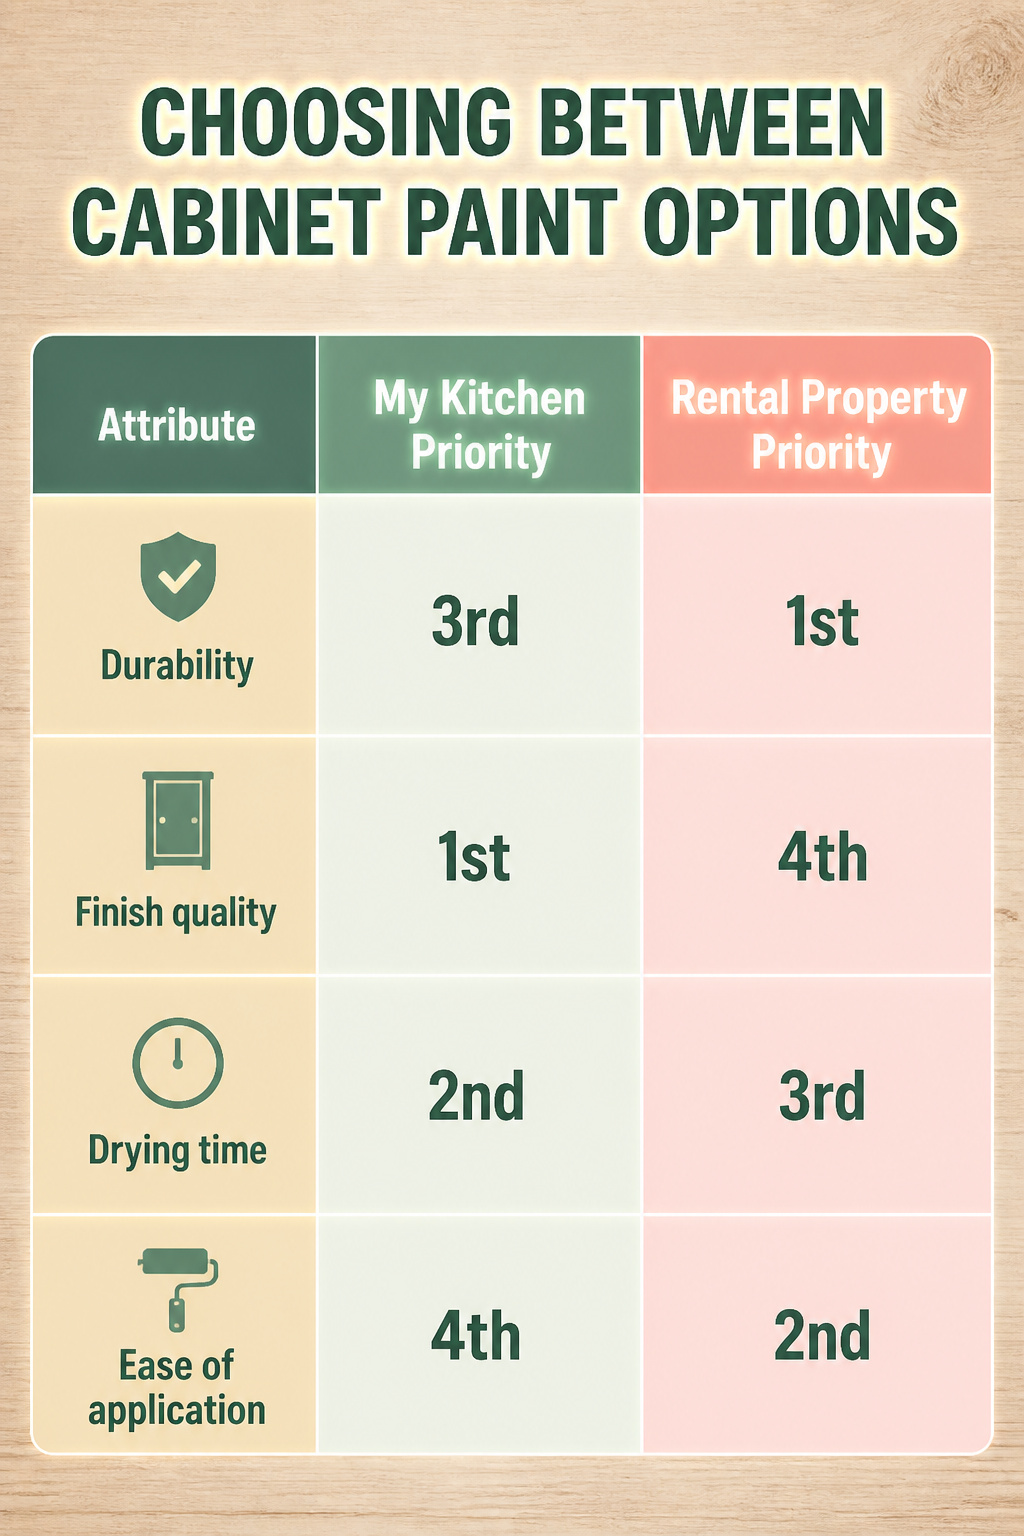
High-quality paint designed for cabinets matters more than any brand name on the can. What actually separates the good from the wasted weekend comes down to four attributes: durability, finish quality, drying time, and ease of application. I reorder them depending on whose kitchen I’m standing in.
For my own space, finish quality wins. I want that furniture-grade surface, the kind Benjamin Moore Advance advertises as "hand-rubbed lacquer" smooth in its Satin sheen. Drying time comes second; I’ll wait the full 24 hours between coats and the 2–3 weeks for full curing that Jenna Kate at Home insists on. Durability sits third because I’m gentle on my own cabinets.
Rental properties flip that list entirely. Durability climbs to the top, followed by ease of application since I’m often hiring help or squeezing the job between tenants. Finish quality drops to last; a satin sheen that hides fingerprints beats a high-gloss mirror that shows every smudge.
The glossier the finish, the easier it is to wipe clean, though fingerprints become more visible. A satin finish probably offers the best balance for most households.
"The glossier the finish, the easier it is to wipe clean… [but] if that bothers you, and you don’t want to wipe your cabinets obsessively, a satin finish is probably the best bet."
This means most readers should start their search in the satin to semi-gloss range, not at the extremes.
| Attribute | My Kitchen Priority | Rental Property Priority |
|---|---|---|
| Durability | 3rd | 1st |
| Finish quality | 1st | 4th |
| Drying time | 2nd | 3rd |
| Ease of application | 4th | 2nd |
Water-based urethane-modified alkyd enamels like Sherwin-Williams Urethane Trim Enamel give you the cleanup convenience of latex with the hardness of oil, and the low-VOC formula keeps the headache out of a multi-day project.
Brush, Roller, or Sprayer
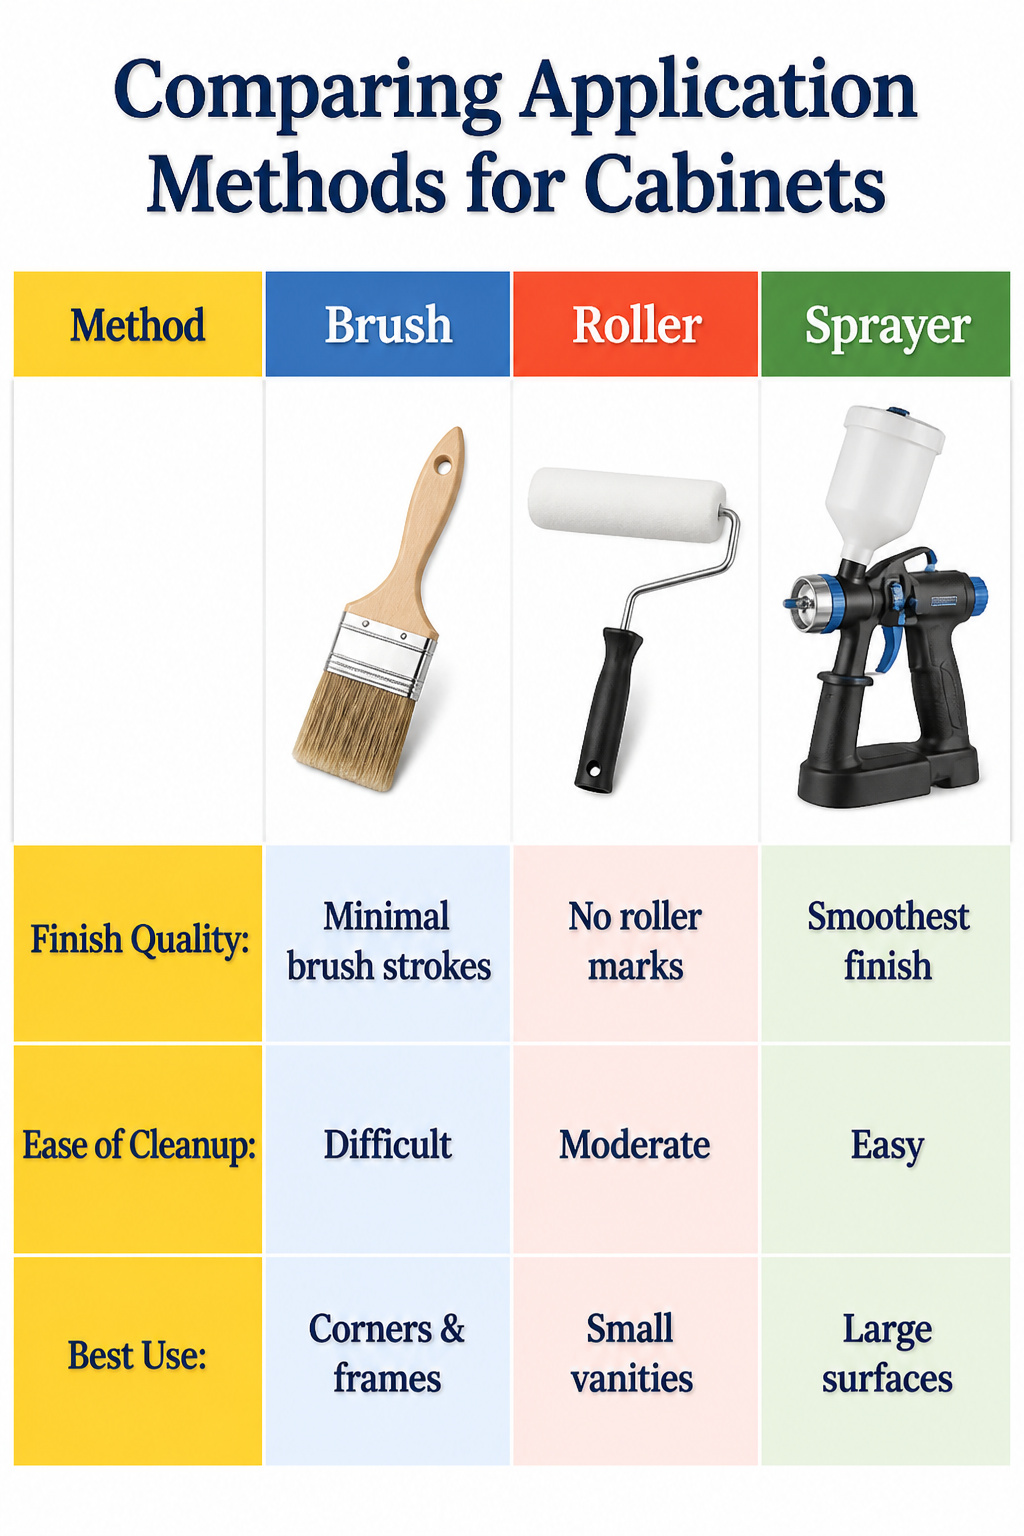
Foam rollers handle small vanities and built-ins without much fuss, and for most kitchen cabinet paint projects they stay my first pick. The finish lands smooth enough that several reviewers of Behr’s Urethane Alkyd Satin Enamel specifically noted no roller marks in the surface, and that paint runs about $0.30 an ounce at any Home Depot. A good angled brush works for face frames and corners, though that same Behr enamel leaves minimal brush strokes and does not level as well as some competitors.
A sprayer, specifically an HVLP unit, lays down the most even coats on large surfaces like full kitchen uppers and lowers. Self-leveling paints such as Sherwin-Williams Urethane Trim Enamel will smooth out brush or roller texture anyway, which blunts some of that advantage. I once rented a Graco handheld for eight doors. The setup ate time, overspray hit my backsplash, and the finish was smoother but not smoother enough to justify the cleanup.
Rent or buy a sprayer only when you have many cabinets, new construction with no surfaces to mask, or a workable outdoor setup. For the typical kitchen refresh with doors off and a drop cloth down, a roller and brush finish cures just as hard if you let it. Curing time runs 2–3 weeks regardless of method, and rushing that step ruins more cabinets than any tool choice.
What Curing Time Actually Means
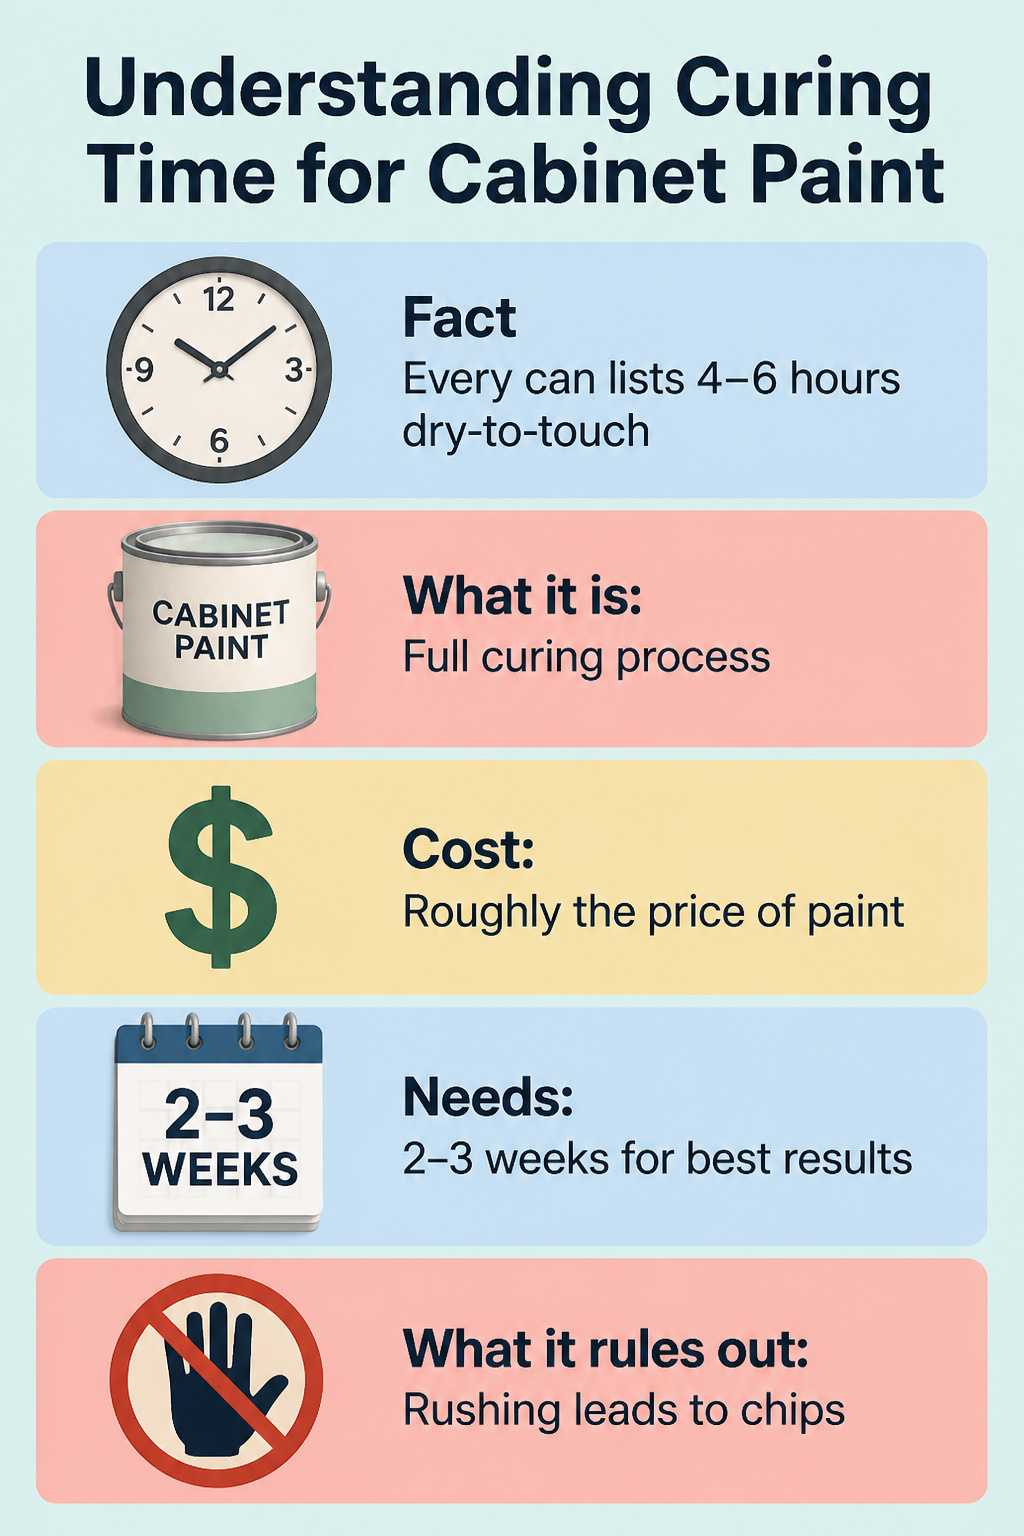
Every can of kitchen cabinet paint lists a dry-to-touch time, usually four to six hours, and a recoat window around twenty-four hours. The number that actually matters, the one that gets ignored because it sits in smaller print three lines down, is 2–3 weeks for full curing. Dry to the touch and hard enough to slam a drawer are two different materials entirely. At three days the surface feels solid; press a thumbnail into the door edge and it sinks in like soft cheese. By day seven there’s resistance, but the dent stays. The dust that collected on a door I leaned against a workbench at day five had half-embedded into the paint film, soft enough to bond with. Fourteen days brought real firmness, the thumbnail test leaving only a faint mark that recovered within the hour. The full three weeks is when the surface finally stops being a record of everything that touched it. Rushing this step is the single most common reason painted cabinets chip or peel, which is why curing time is non-negotiable no matter what the touch test tells you.
Frequently Asked Questions
What is the best paint for kitchen cabinets?
Benjamin Moore Advance and Sherwin-Williams Urethane Trim Enamel are the two top choices for most kitchen cabinet paint projects. Advance levels to a smoother, more professional finish with fewer brush strokes, while Urethane Trim Enamel dries faster and reaches full hardness in about a week rather than two to three weeks. For a furniture-grade surface and you can wait the full cure time, Advance wins; for a quicker turnaround, Urethane Trim Enamel is the better pick.
Do you need to sand cabinets before painting?
Yes, sanding is recommended even when the paint label claims otherwise. The article tested the no-sand claim on General Finishes Milk Paint and found that at 90 days, the unprepped cabinet had chips and lifting at edges and contact points where prepped cabinets in the same kitchen showed no damage. A 220-grit scuff gives the mechanical bite that keeps paint stuck where doors bump and hinges rub.
How long does it take to paint kitchen cabinets?
The active work spans several days, but the full timeline runs two to three weeks for curing. Thin coats with real drying time between them, plus 24 hours between paint coats, add up fast. The surface feels dry to the touch in hours, yet pressing a thumbnail into the edge at day five still sinks in like soft cheese; full hardness that resists chipping and peeling needs the full cure window.
What type of primer should I use?
For wood cabinets, Zinsser BIN Advanced Shellac primer grips and seals better than standard options. For laminate, use Zinsser Primer for All Surfaces, since regular primers slide off. Behr Kitchen, Bath, and Trim Stain-Blocking Primer & Sealer works if your store stocks it. Either way, roll thin coats; the first coat the author loaded too thick took 48 hours to dry, while a thin second coat was ready in 45 minutes.





