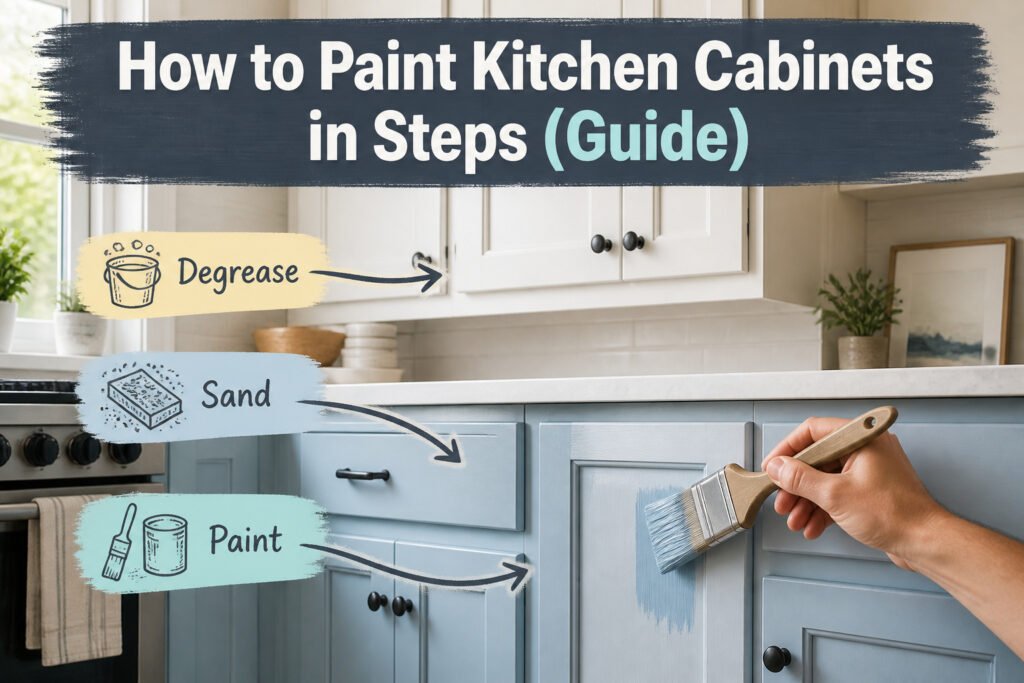
A professional cabinet repaint runs most of a weekend and about $150 to $300 in paint and supplies, but the step that ruins it costs nothing to skip. That step is degreasing with TSP before sanding. The cabinets may look clean; the cooking oil that polymerized into the grain over years does not. Paint over it and the finish fails in six months, starting exactly where the stove stood.
1. Remove Doors and Hardware

Every cabinet door needs a name before it comes off the hinges. Number or letter each one, then write that same name on its matching cabinet box and on the spot where it will dry. Keep the hinges and screws with the box they belong to, not with the door itself; the hardware stays, the door goes to its flat station. A drill makes the actual removal quick, and once the doors, drawers, and pulls are off, you have two things worth the trouble: no paint creeping into hinge cups or handle threads, and every surface lying flat where a brush can move with the grain instead of fighting gravity. If new hardware is part of the plan, fill the old holes with wood filler now so it has time to cure while you work the frames.
2. Clean With Degreaser
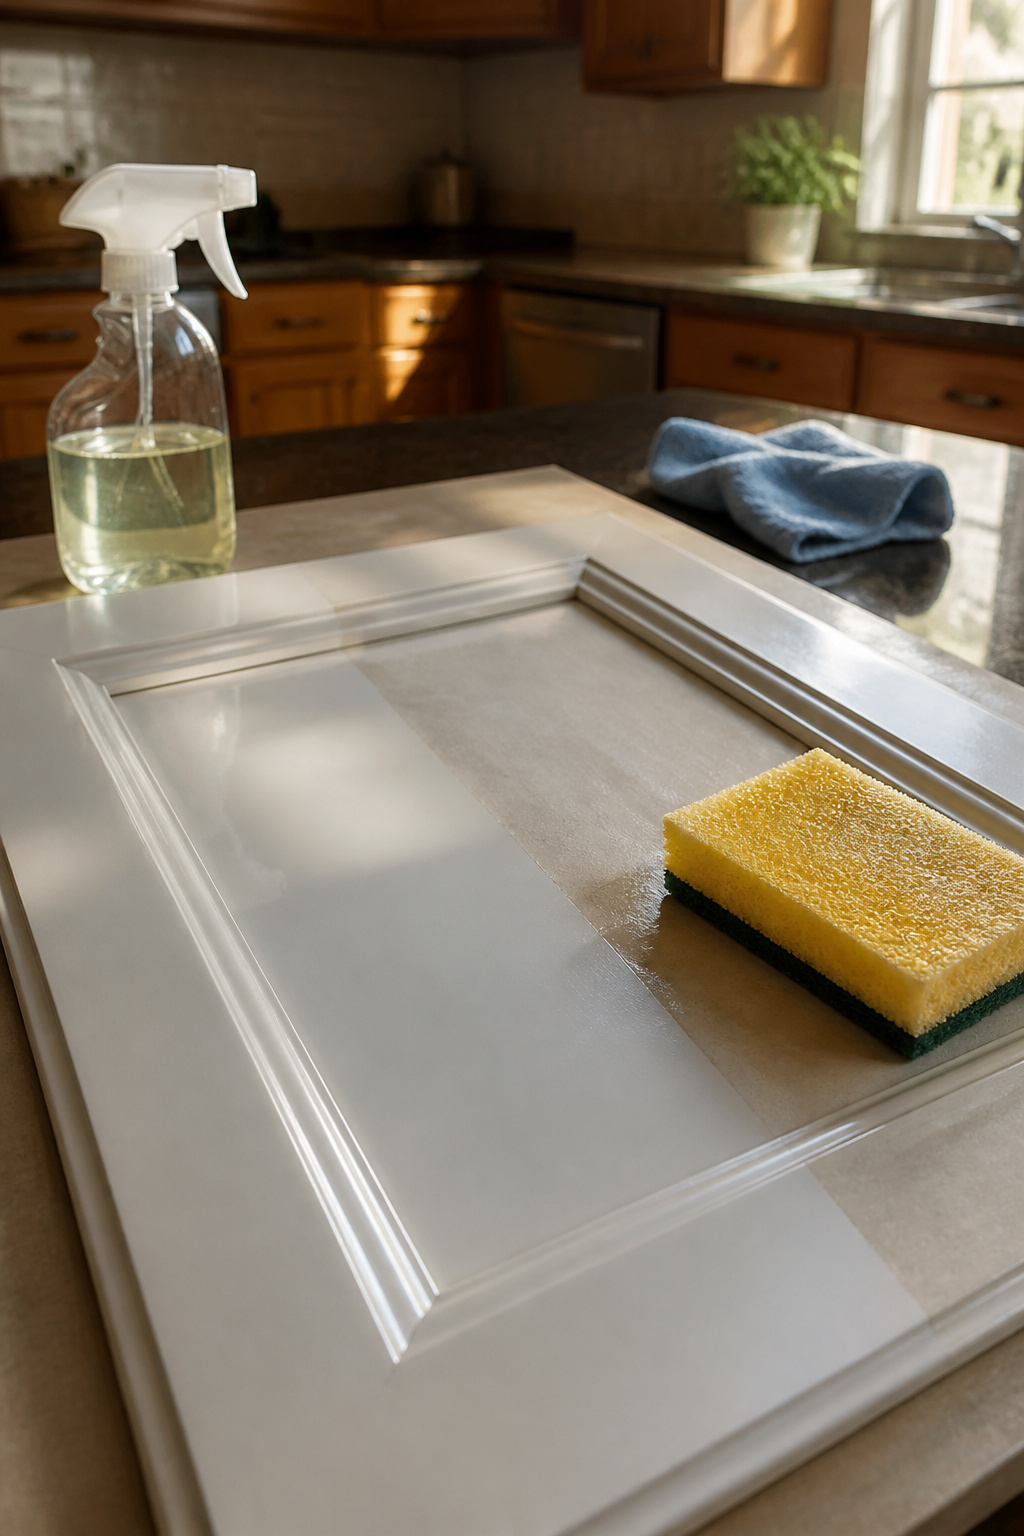
TSP degreaser is what separates cabinets that look painted from cabinets that look like paint sitting on top of old grease. The kitchen builds up layers of cooking oil, fingerprints, and dust that sanding alone pushes deeper into the grain instead of removing. Skipping this step is the mistake that shows up six months later when the finish starts failing exactly where the grime was worst.
I read enough how-to guides to notice a split in what people actually use. TSP, the heavy-duty cleaner that banishes oil and debris, wins in most pro recommendations. Krud Kutter works too if you want something non-toxic and hardware-store easy. Spray Nine with a scour pad handles the first pass, then TSP solution wiped with a microfiber cloth finishes it. Every paintable surface matters: frames, doors, trim, any existing moulding. The degreaser leaves a clean surface for primer to bond to, and that bond is what survives daily kitchen use.
3. Sand the Surfaces
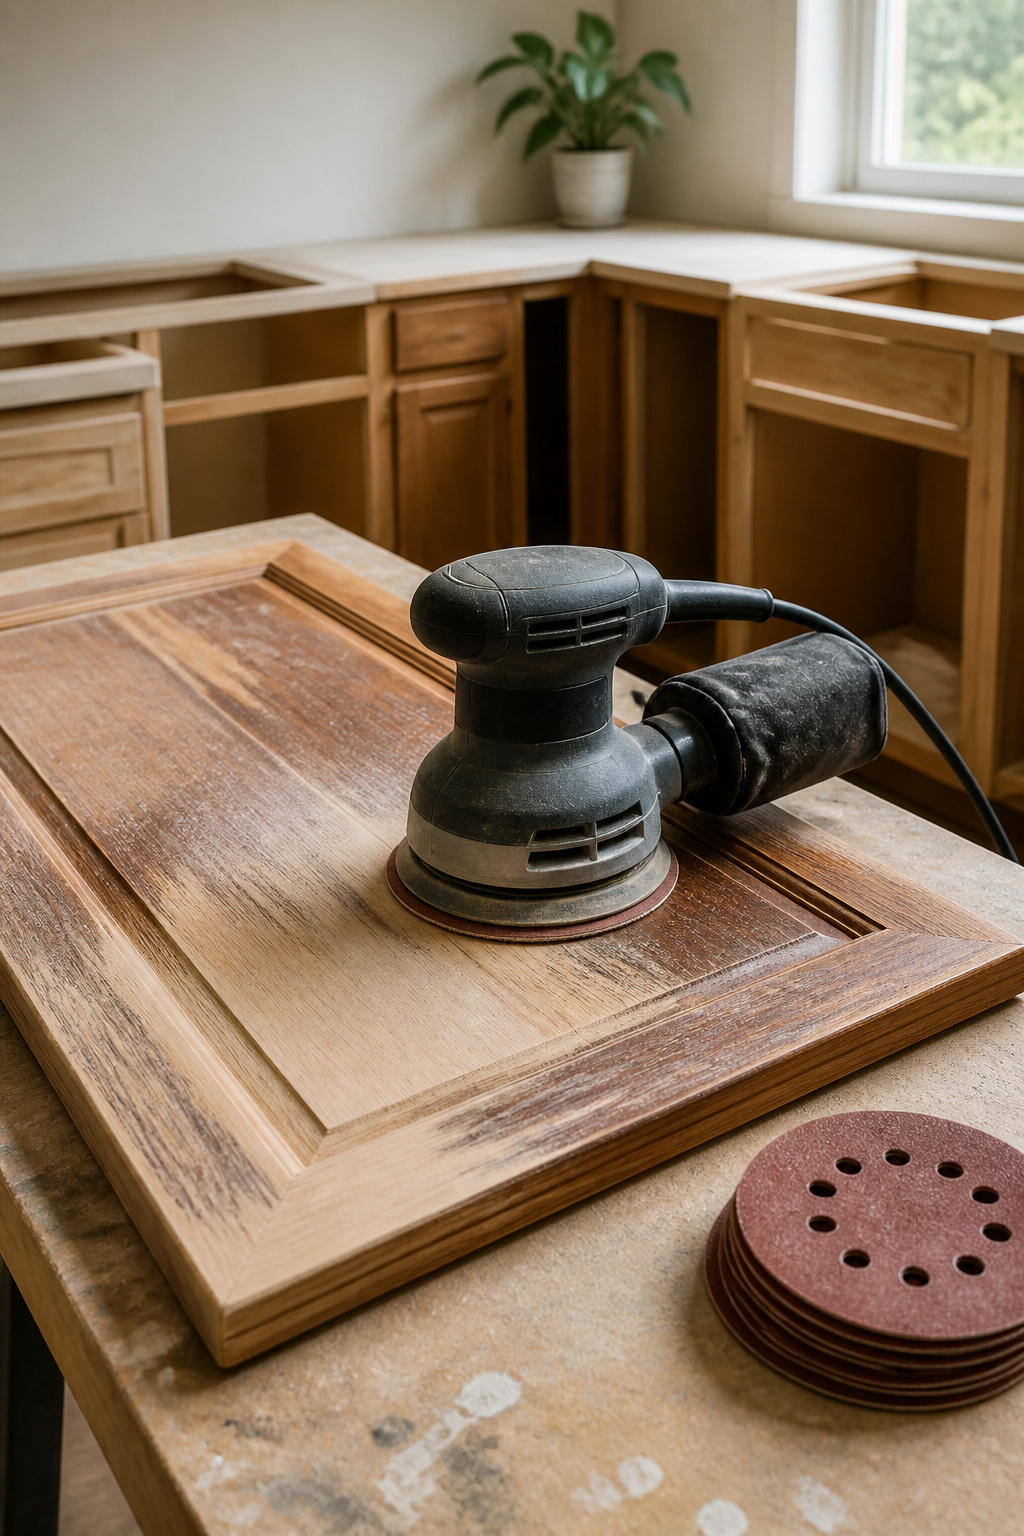
A palm sander saves time on the doors, but the cabinet boxes get sanded in place by hand. The point is not to strip the old finish off, just to break the surface enough that the primer has something to grip. 120-grit scratches the sheen, 220 smooths the tooth, and either range works for this step. I used to wonder whether the grit choice mattered as much as the tool; after reading enough accounts of peeling paint traced back to lazy prep, the answer is yes.
Skipping sanding is a surefire way to lead to a messy finished product.
What that means for your afternoon: ten minutes of dusty work now, or weeks of watching the new coat lift at the edges later. A sanding mask is non-negotiable if your cabinets predate 1978, when lead in paint was still legal. Wipe everything down with a tack cloth after; primer over dust is primer wasted.
4. Apply Primer

Primer blocks stains and gives paint a base that actually holds. Skip it and the old finish bleeds through within months, especially on cabinets that started dark or lived near a stove.
For this layer, Zinsser 1-2-3 or KILZ 3 Premium both do the job. KILZ 3 in particular carries a thicker formula that fills minor grain imperfections, and it dries ready for paint in one hour. If the wood is old, dried out, or marked with knots and water spots, the extra adhesion and stain-blocking matter more. Zinsser’s BIN Advanced line is another option with a 45-minute dry time, though the sources I read leaned on KILZ 3 for cabinet work specifically.
A brush works the primer into corners and crevices; a mini foam roller takes the flat surfaces and knocks down brush marks. The roller alone tends to leave the smoothest finish if you are not spraying. One uniform coat across frames and doors is enough before the light sand that comes next.
5. Sand Again

The primer coat feels smooth to the touch once it dries, but paint has a way of magnifying every bump underneath it. A quick pass with 320-grit sandpaper knocks down the brush marks and dust specks that settled while the primer was wet. Jonathan Culp, a design principal in Denver, reaches for a Scotch-Brite pad instead when he wants something even less abrasive than sandpaper, since fresh paint can gum up paper and leave scratches deeper than intended.
The corners and inside edges need the most attention. Primer pools there, and a ridge at the seam of two flat surfaces telegraphs straight through color coats. Sanding twice total, once after primer and once before it, is what separates a finish that looks sprayed from one that looks hurried. Wipe the dust away with a tack cloth or a barely damp rag afterward, and let the surface dry completely before opening the paint can.
6. Paint the Cabinets

Paint goes on in two coats, with full drying between them, and the finish you get depends almost entirely on how you apply it. I start the detailed areas with an angled brush, which lets me work paint into the recessed panels and inside edges without loading the flat surfaces. The flat planes get a microfiber mini roller, and I roll them immediately after brushing so the overlap disappears into a single uniform skin. Any drips or ridges left by the transition get smoothed while the paint is still wet; once it skins over, the mark stays.
The paint itself matters more than the tool. Nine out of ten professional recommendations I have read settle on two products for cabinets: Benjamin Moore Advance and Sherwin-Williams Emerald Urethane Trim Enamel. Both level out to a hard, washable film that survives the daily abuse of a working kitchen. Emerald comes in gloss, semi-gloss, or satin; Advance pairs with a nylon-polyester brush if you are brushing at all. Spray equipment will give the most glass-like surface, but a brush-and-roller setup in a basement or garage is how most of us actually finish this in an afternoon. The second coat goes on only after the first is completely dry to the touch, which in humid weather can stretch overnight despite what the can says.
7. Let It Dry

Paint stays soft longer than it looks wet. The surface can feel dry to a light touch while the film underneath is still shifting, and that is when a fingerprint or a brush against the edge will leave a mark you cannot feather out.
Wait 24 to 48 hours between coats, and the same again before you hang a door or pull a drawer front back into service. Two full days is better than one if your kitchen runs humid or the cabinet sits in a corner with less airflow. The longer the paint cures, the harder the finish and the less likely it is to tack or chip when hardware presses against it.
Soft paint ruins the job faster than a drip or a hair in the film. A drip you can sand level; a chip from impatience means starting that door again. When you are tempted to speed the line, remember that cabinets are touched every day, and the thumb that opens the spice drawer does not care about your weekend schedule.
8. Reattach Doors and Hardware
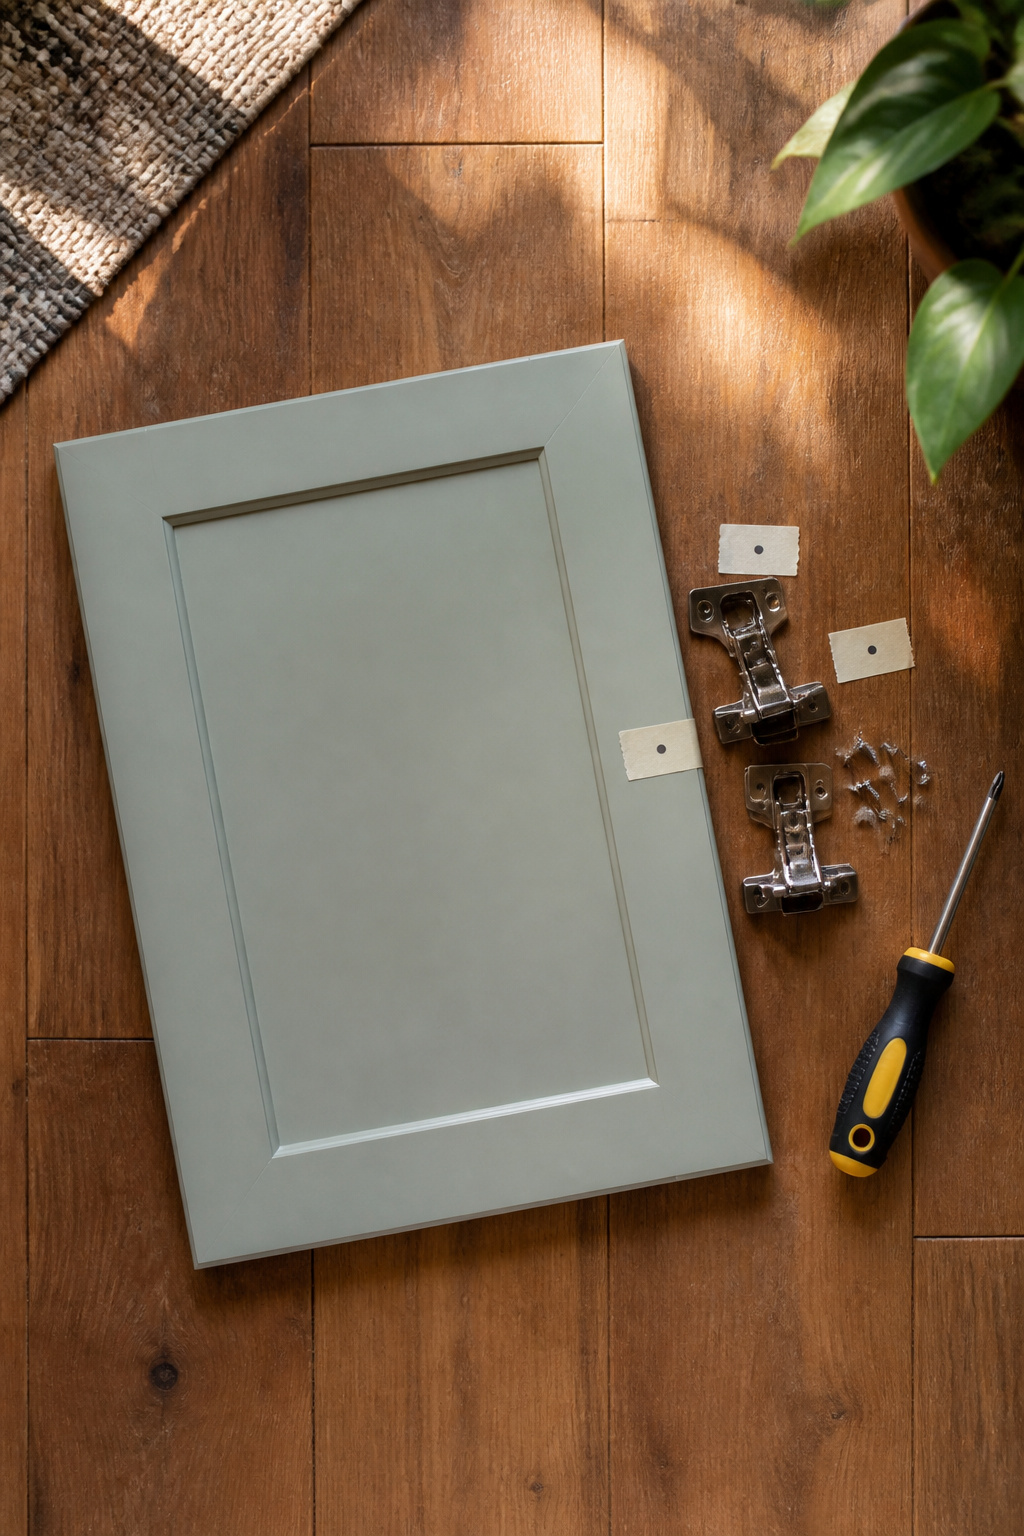
The labels you made on day one earn their keep here. Work cabinet by cabinet, not door by door, matching each label to its frame so the hinge holes line up with the marks they left behind. Those holes remember their screws if you go in order; the wood has settled into that particular hinge, and forcing a mismatched door means redrilling or living with a swing that sticks.
Hardware goes back last, after the doors are hung and the drawers are sliding smooth. Check alignment before you tighten anything fully. A door that sits a hair low will grind its corner against the frame every morning until you fix it. One pass with a screwdriver, now, saves that slow damage later.
If you labeled the boxes too, the knobs and pulls find their original holes without fresh drilling. The finish is only as good as this last hour of patience.
What You Need

A full kitchen cabinet repaint needs less than you’d think, and more than the paint aisle suggests.
- TSP degreaser, not dish soap. Cabinet grease is years of cooking oil polymerized onto the surface; regular cleaner leaves enough behind that primer eventually lets go. Mix per the jug label, wear gloves, and rinse twice.
- Two grits of sandpaper: 120–220 for the first pass, 320 between coats. A sanding block works; an orbital sander saves time on flat panels but will chew through detail if you’re not watching.
- Primer matters more than paint brands let on. Zinsser or KILZ all-surface primer gives the topcoat something to bite into and blocks the tannins that bleed through oak or pine. Skip it and you’ll be brushing on a third coat of paint that still looks patchy.
- For the finish coat, Benjamin Moore Advance or Sherwin-Williams Emerald are the two names that keep coming up from people who’ve actually lived with the results for years. The cheap stuff looks fine for a season, then starts chipping where you pull the spice drawer.
- Application: a quality brush or roller, your choice. Rollers leave slight texture, brushes leave slight marks. Either beats picking bristles out of wet paint at 10 p.m. because you grabbed the dollar bin set.
- Painter’s tape and drop cloths. The tape is for hinges you decided not to remove, and the cloths are for the floor you forgot was there until the roller flicked.
Enamel or Latex

Enamel paint holds up better on cabinets that get opened twenty times a day. The oil-based formula dries to a harder, more durable surface that resists moisture and stains, which is why most cabinet-specific lines like Benjamin Moore Advanced or Sherwin-Williams Emerald Enamel use it. The tradeoff is cleanup: you’ll need mineral spirits or turpentine, and spills are harder to wipe away.
Latex paint, being water-based, cleans up with soap and water and dries faster with less odor. It is easier to apply, but it cures softer. Some experts skip it entirely for cabinets, noting it was developed for walls and simply does not dry hard enough for high-use surfaces.
Your own kitchen’s traffic matters here. A household with kids grabbing handles all day probably wants the hardness enamel provides. If you are set on latex for the easier cleanup, look for latex enamel formulations that add some durability back in, like Behr’s Cottage White in a satin finish. Either way, enamel wins for daily wear, and the extra cleanup effort pays off in how the finish lasts.
Spray, Brush, or Roll

Spraying lays down the smoothest finish by a wide margin, and that smoothness matters for how long the paint job lasts. The catch is the upfront cost of the sprayer, the hose, the masking tape, the plastic, the drop cloths, and the builder’s paper for floors and countertops. One account I read had the taping alone run six hours before the painting took twelve minutes.
Brushing and rolling work with what most people already own. A 4-inch microfiber roller covers the flat surfaces, and a 2.5-inch angle brush handles the cut-ins and the detail edges. The trick is brushing with the wood grain and following immediately with a dry soft brush over any rolled section that shows bubbles or texture. A mohair roller helps avoid that texture in the first place.
For most kitchens, the hybrid approach wins: brush the inset edges and recesses first, roll the field second. The roller does the heavy lifting; the brush just cleans up after it. The result won’t match a sprayed finish on close inspection, but it costs nothing extra in equipment and the kitchen stays usable the same weekend.
Sanding Versus Deglosser

Sanding cabinet doors opens the wood’s pores so primer actually grips. A light scuff by hand with 120-grit paper followed by 220 grit works for most jobs; an orbital sander saves time on bigger kitchens or older finishes. The dust is the tradeoff. Even on cabinets installed after 1978, a sanding mask belongs on your face the second the paper touches the door.
Liquid deglosser skips the dust entirely. Spray it onto a Scotch-Brite sponge, wipe the surface down, and the gloss disappears without the noise or the grit cloud. The chemical smell lingers in a way sandpaper doesn’t, and some people find that harder to work through than the physical labor of sanding. Gloves are non-negotiable with the liquid.
Both routes demand the same follow-through: a damp cloth or tack cloth to lift every trace of residue before primer goes on. Paint fails on leftover dust or evaporated deglosser film, not on which prep method you picked.
Why Primer Matters
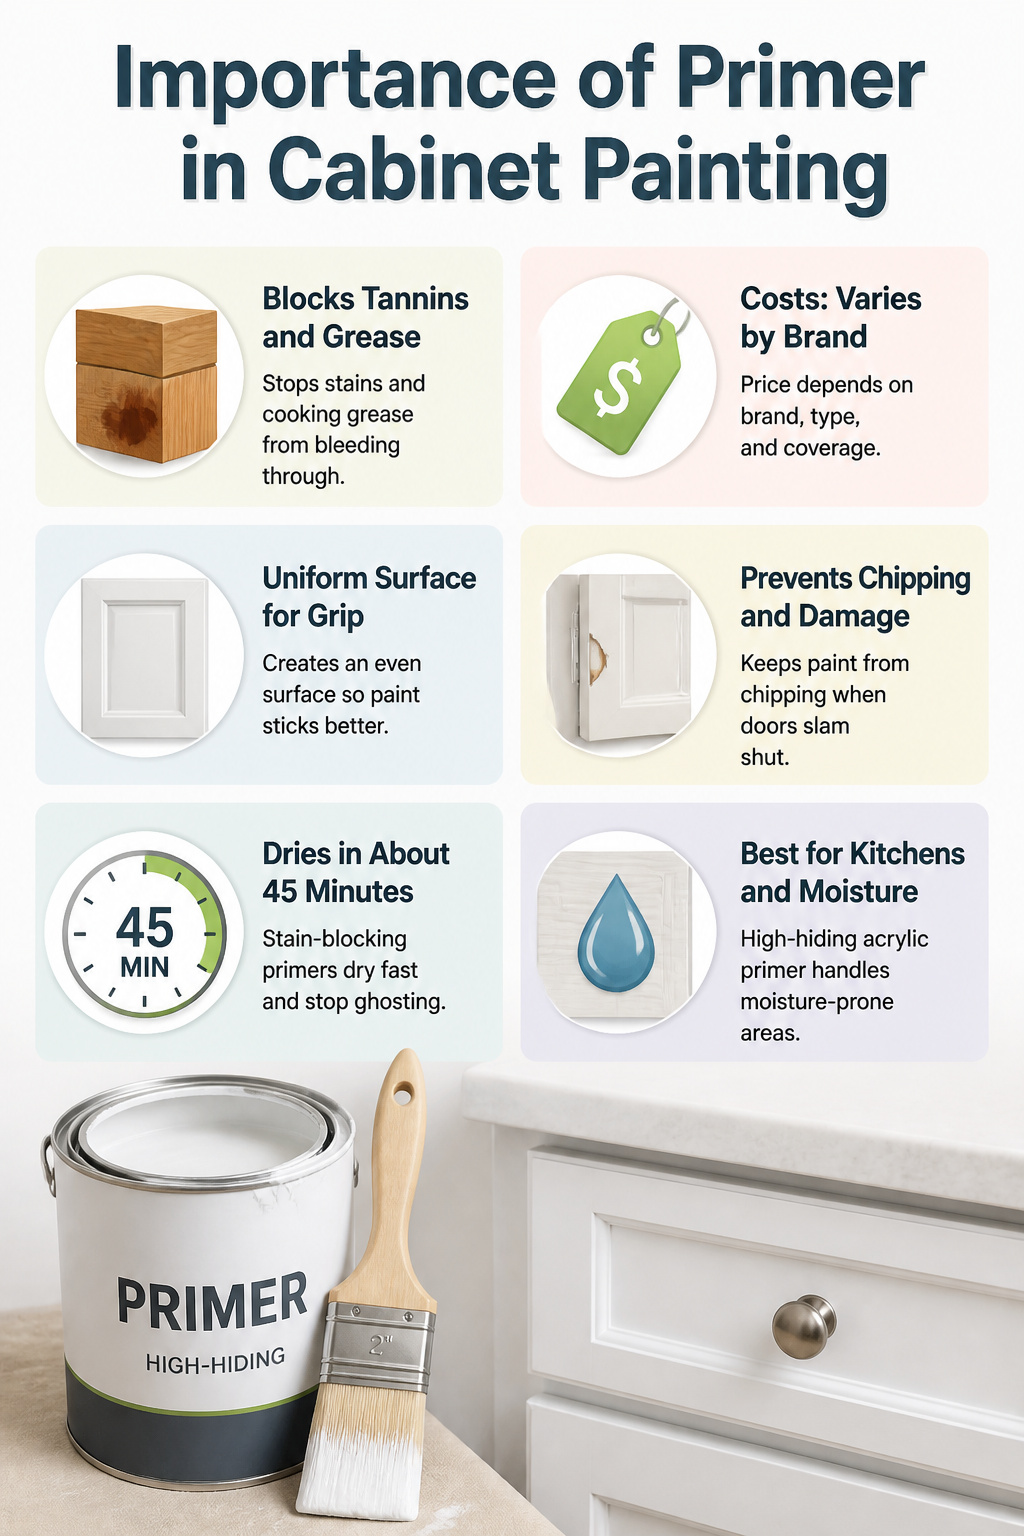
Primer does three jobs that paint alone cannot manage. It blocks wood tannins and cooking grease from bleeding through the new color, gives the finish coat a uniform surface to grip, and keeps the paint from chipping when cabinet doors slam shut a dozen times a day. Skip it, and the most common result is a finish that starts failing within a year.
There is one split worth knowing about. Some newer cabinet paints, including certain enamels, are formulated to adhere directly to clean, sanded wood. That can work on cabinets in good condition with no stains or dark knots. Kitchens with older wood, water marks, or the dried-out grain common in desert climates need a dedicated primer. The stain-blocking formulas, like shellac-based BIN Advanced, dry in about 45 minutes and stop old discoloration from ghosting through light paint colors.
For most kitchen projects, a high-hiding acrylic primer is the safer bet, especially when covering a dark existing color or working around the sink where moisture lingers. The thicker formulas also fill imperfections in the wood grain, so the final surface looks level rather than busy. Let it dry at least an hour before sanding or painting over it.
Frequently Asked Questions
Can I just paint over my kitchen cabinets?
No. Grease, old finish, and grime will push through or stop the new paint from bonding. The article’s eight steps start with removing doors, degreasing with TSP, and sanding so primer has something to grip. Skip prep and the finish fails within months.
Do you need to sand cabinets before painting?
Yes. A light scuff with 120-grit to break the sheen, then 220-grit to smooth, gives primer the mechanical grip it needs. The article calls skipping this step the mistake that shows up six months later when paint starts lifting at the edges.
What is the best paint for kitchen cabinets?
Enamel paint wins for daily wear. The article names Benjamin Moore Advance and Sherwin-Williams Emerald Urethane Trim Enamel as the two products professionals return to, both drying to a hard, washable film that survives constant handling.
How long does it take to paint kitchen cabinets?
Plan on several days. The article recommends 24 to 48 hours between coats, and the same again before reattaching doors or using drawers. Humid kitchens or corner cabinets with less airflow stretch that timeline further.





