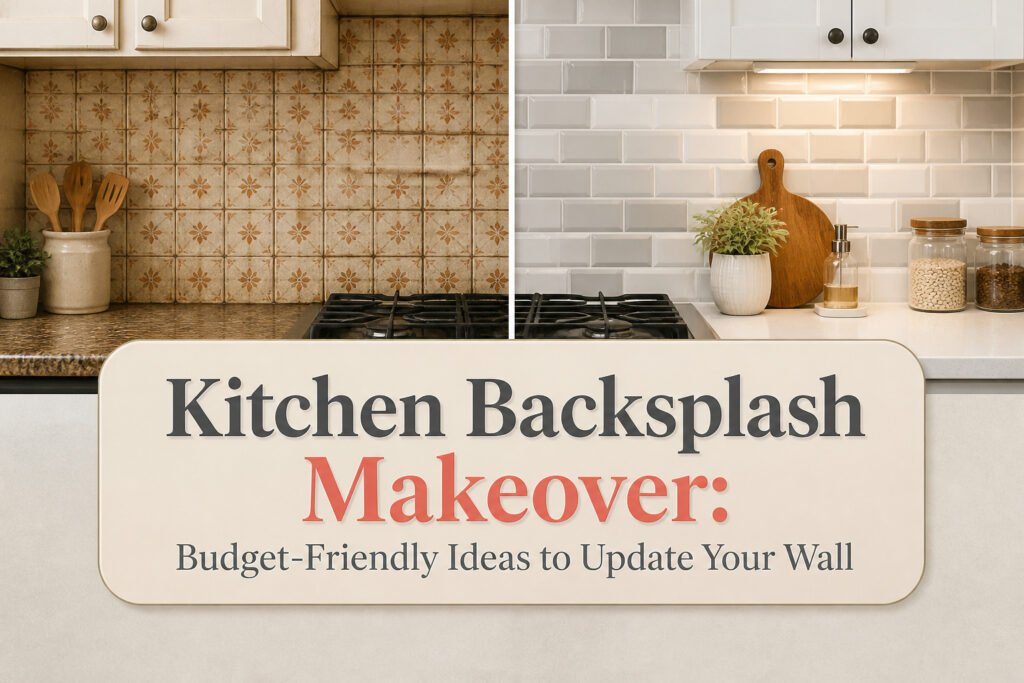
A kitchen backsplash makeover is any project that changes the look of the wall between your countertop and cabinets without a full renovation. The catch is that almost every method depends on the shape of what’s already there: loose tile or crumbling grout means the old surface has to come down first, no matter how clever the cover-up. Even a $1.99 roll of electrical tape needs a sound, grease-free base to stick to, and the same prep rule applies whether you are painting existing ceramic, laying peel-and-stick vinyl, or floating wood panels over the old field tile.
Staining Grout
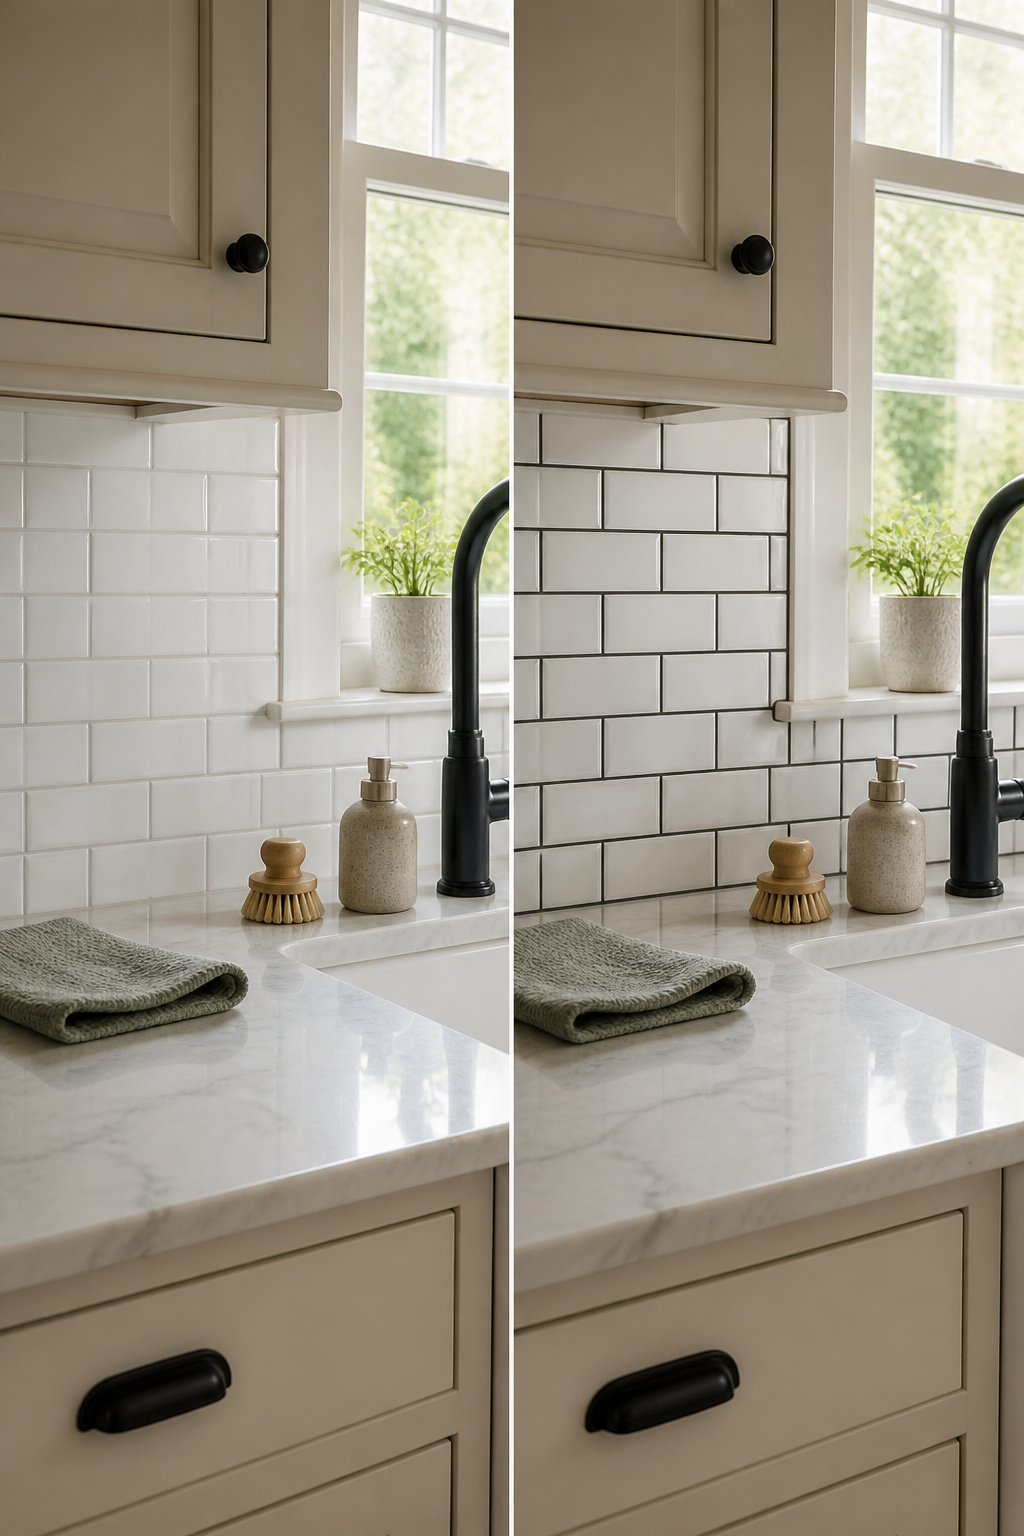
Grout stain changes the whole look of existing tile without prying a single piece off the wall. The technique works best when the tile itself is in good shape but the pale grout has turned dingy or disappears against pale cabinets. I started seeing this as a real alternative after reading how one homeowner described her white kitchen as "blah" until the darker grout added the contrast she needed.
The process is straightforward but demands quick hands. Clean the surface first with something that cuts grease, then tape off cabinets and walls. Shake the stain well, load a brush lightly, and work it into the grout lines in both directions to saturate them. Wipe excess off the tile immediately with a damp microfiber cloth; the stain sets in 30–60 minutes, so small sections are the only way to avoid permanent streaks on the face of the tile. A blade scraped the few spots she missed.
Compared to full replacement, the difference is labor and mess, not just cost. You keep the existing field tile but gain a visual reset that reads almost like new patterning. The bottom grout line where tile meets countertop should stay untouched until you are ready to lay fresh caulk.
Peel-and-Stick Tiles
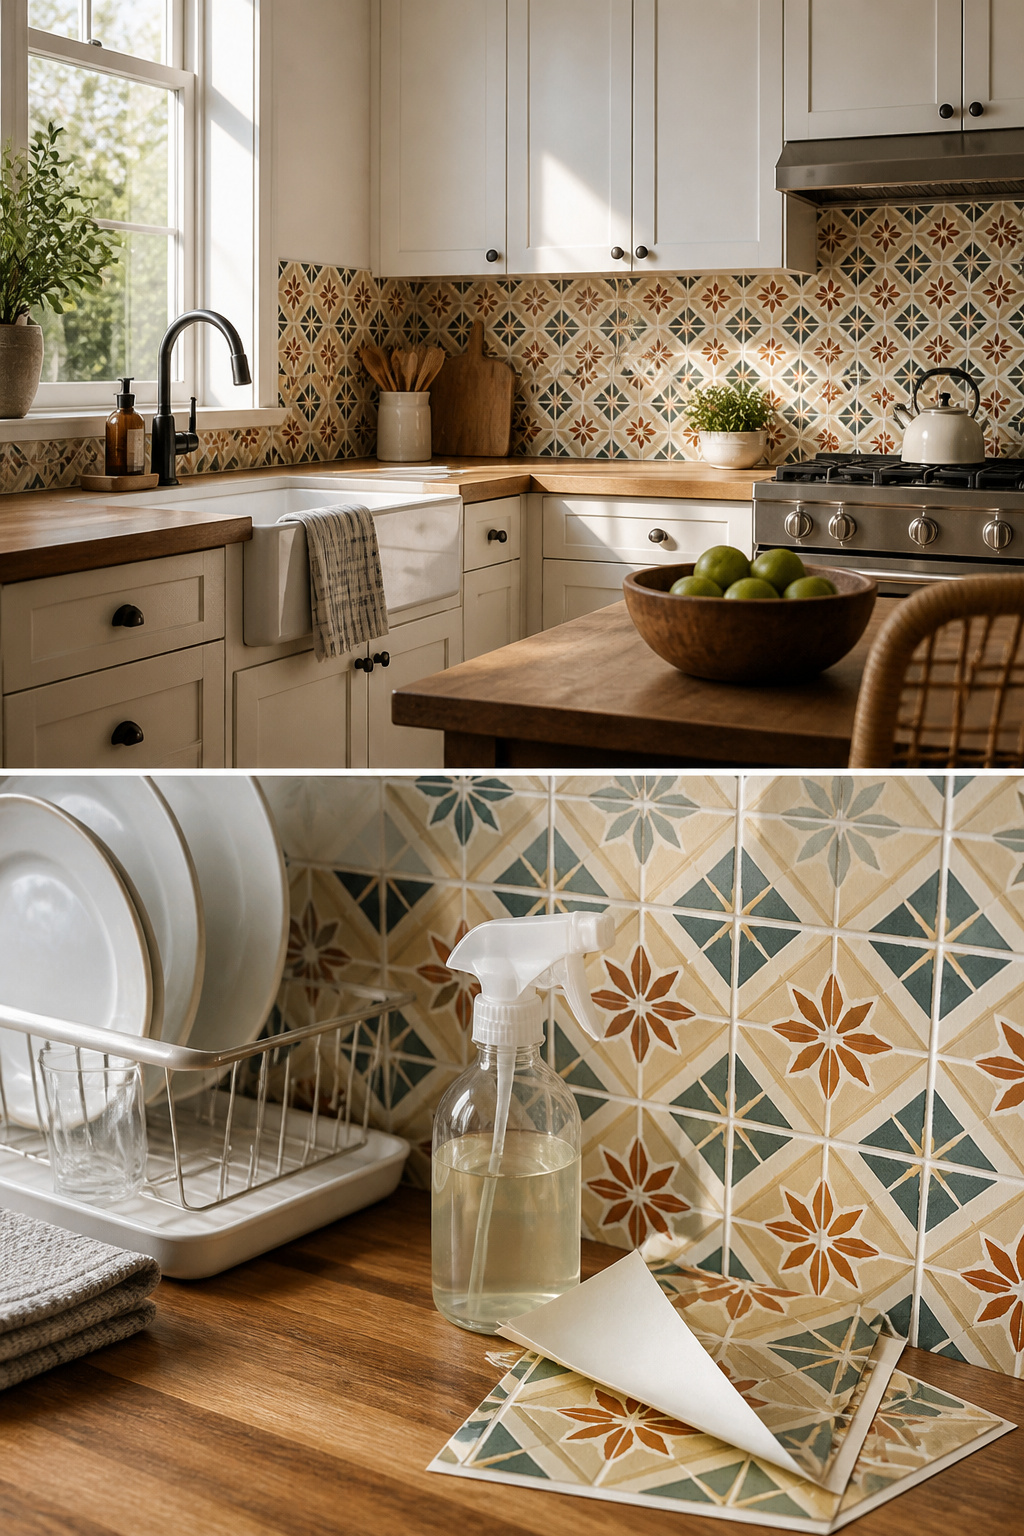
Peel-and-stick tiles stick straight onto whatever is already on the wall, which makes them the most forgiving entry point into a kitchen backsplash makeover. No grout, no wet saw, no curing time. For renters especially, the appeal is obvious: the landlord’s beige ceramic stays put, and so does your deposit.
Surface prep is where this lives or dies. Clean means grease-free, not just wiped down. Krud Kutter or a similar degreaser on the old tile and grout lines is the move sources describe, because cooking residue lives invisibly on walls and adhesive hates it. Level matters too, but in practice it means no loose tiles, no pronounced grout ridges that telegraph through the thin vinyl or gel layer. A fingertip dragged across the surface catches what eyes miss.
The failure mode is time plus heat. Months of steam from the stove and temperature swings behind the range soften the adhesive backing. Corners lift first, then seams gap, and the clean graphic pattern starts looking like a loosely held secret. Smart Tiles and similar products hold up fine in low-splash zones; behind a gas cooktop with no hood is where they quietly surrender.
Painting the Backsplash
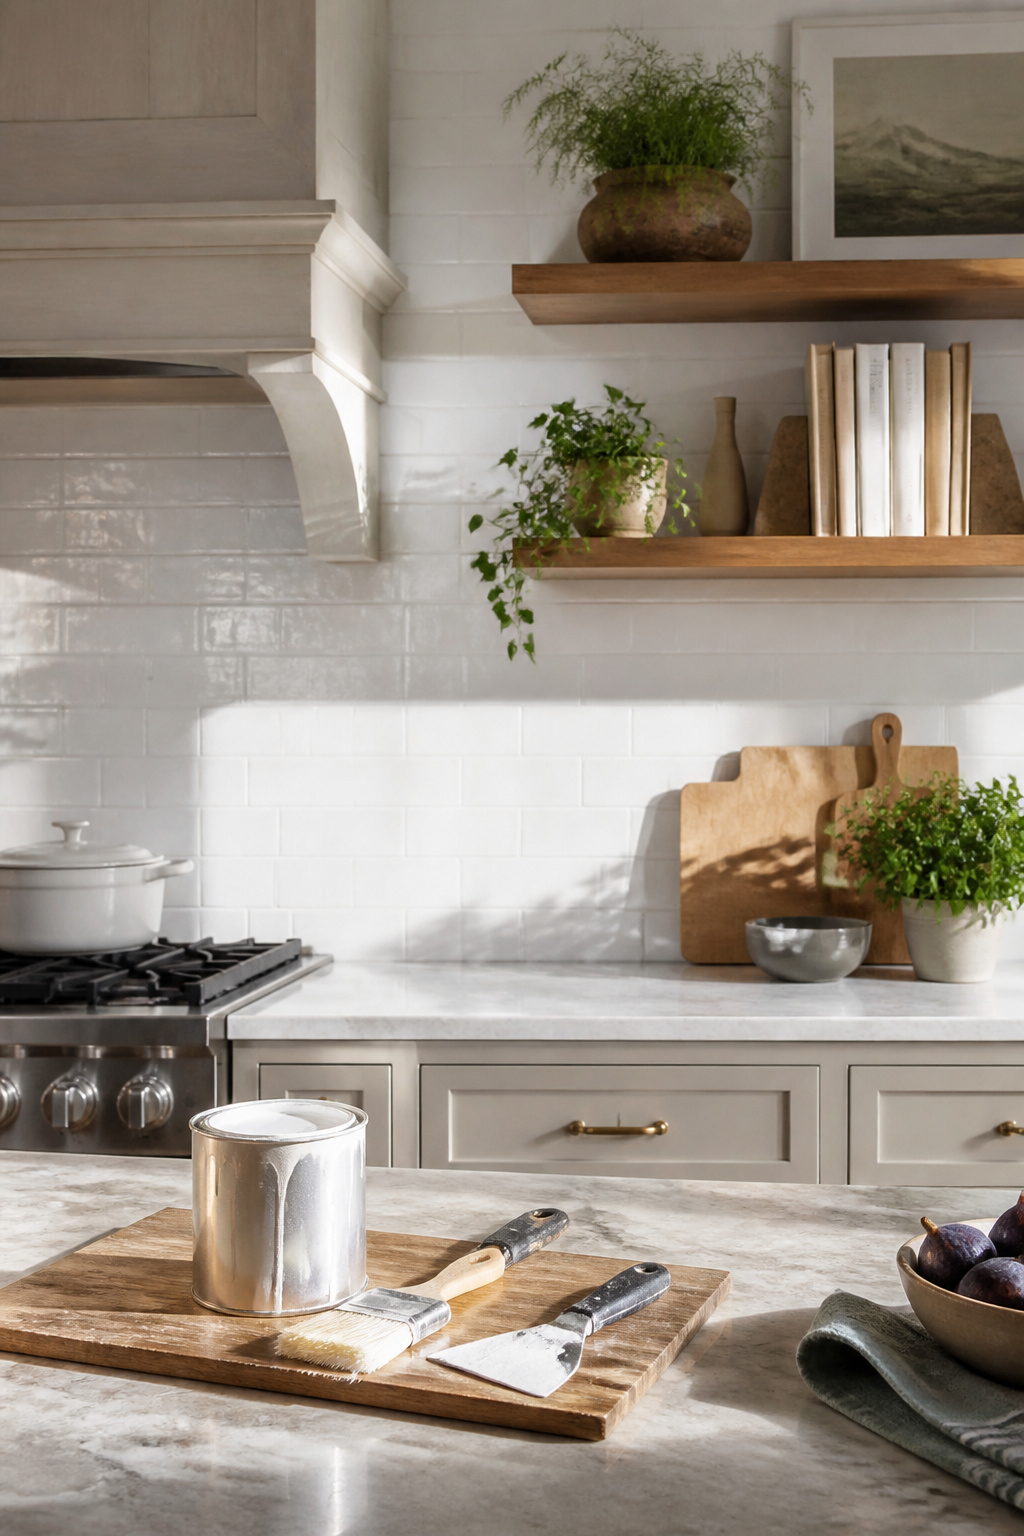
Painting a tile backsplash takes patience, but the savings over replacement are real. A water-based paint-and-primer combo with high hide will cover most colors in three coats, which is what the job actually needs. The fumes stay mild enough to work without a respirator, a trade-off that matters if you cook while the paint cures or share the house with pets.
Heat from the stove softens the finish over time, and pots swung too close will chip the surface where glaze would have shrugged it off. Wipeable, yes, but not indestructible. For a rental or a kitchen you plan to gut in two years, the math works. For a cook who beats dough against the wall, it probably does not.
Covering With Wood
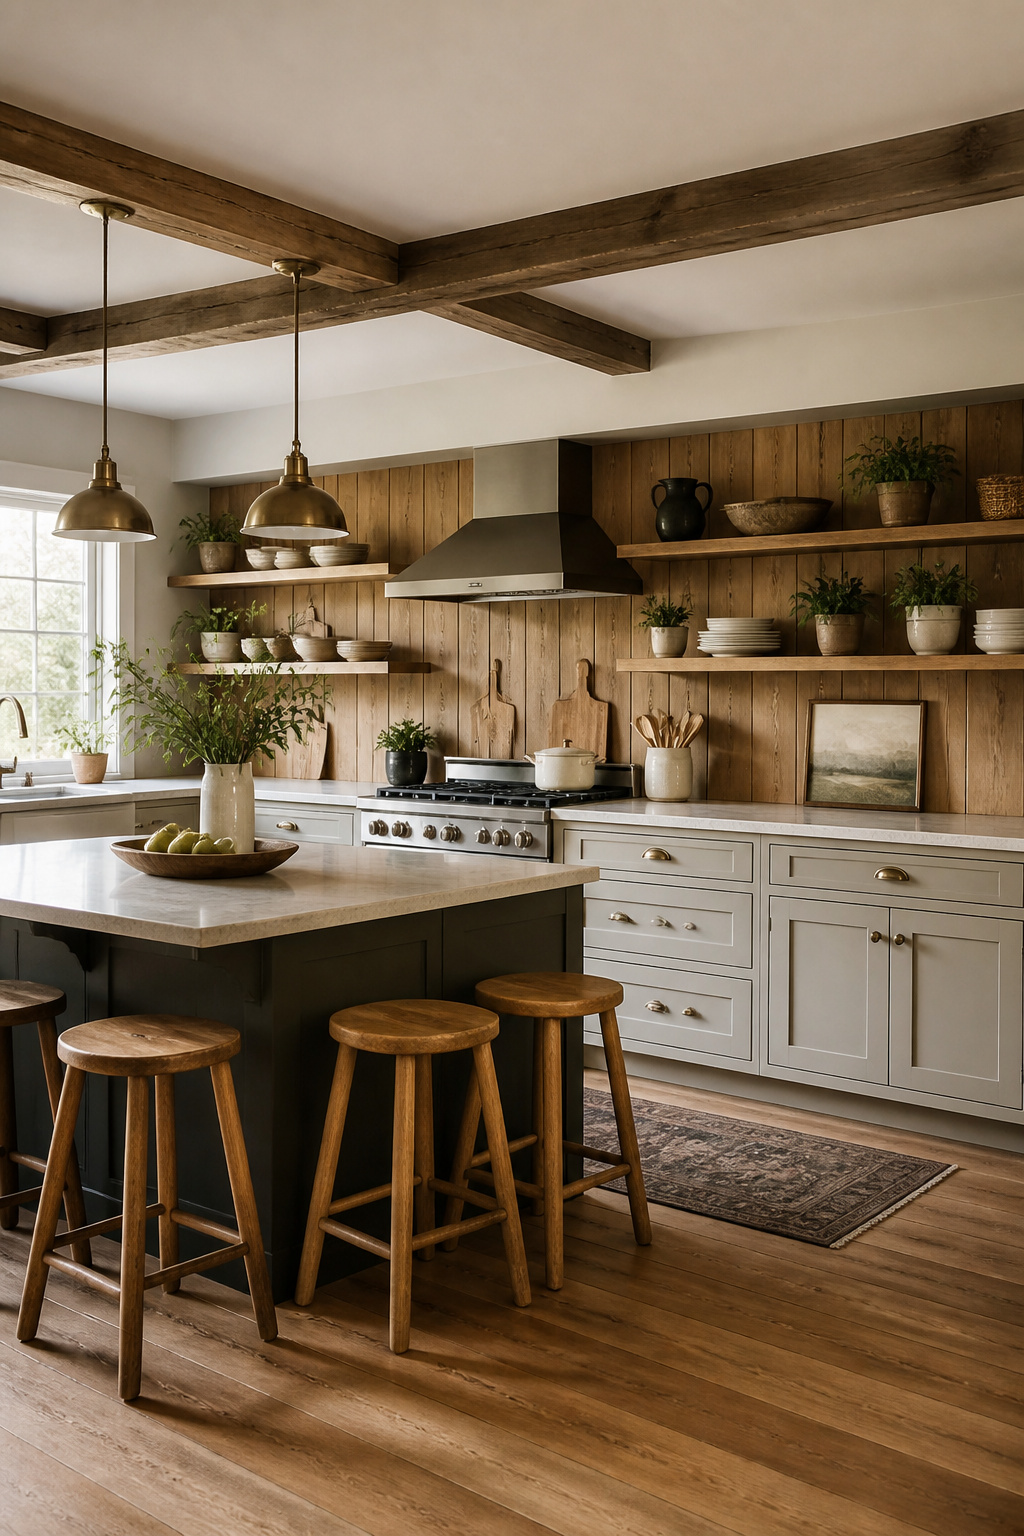
Wood panels laid over existing tile add instant warmth that glossy ceramic never quite reaches. Solid planks or V-groove boards bring in that rustic, lived-in quality, and a coat of paint over the wood still hides the old backsplash if the natural tone is not your style. Engineered hardwood with a factory finish holds up better than raw stock against daily splatter.
Moisture is the real enemy here. Water that gets behind the wood has nowhere to dry, so the gap between plank and tile needs a barrier and a way out through careful ventilation at edges. Near the stove, expansion from heat cycles will bump and buckle boards that sit too tight. A flexible adhesive rated for kitchens helps, or furring strips screwed into grout lines keep the whole layer removable without chewing up the tile underneath. Seal every face and edge with a marine-grade or kitchen-safe polyurethane, reapplying at seams every couple of years.
Electrical Tape Faux Tile
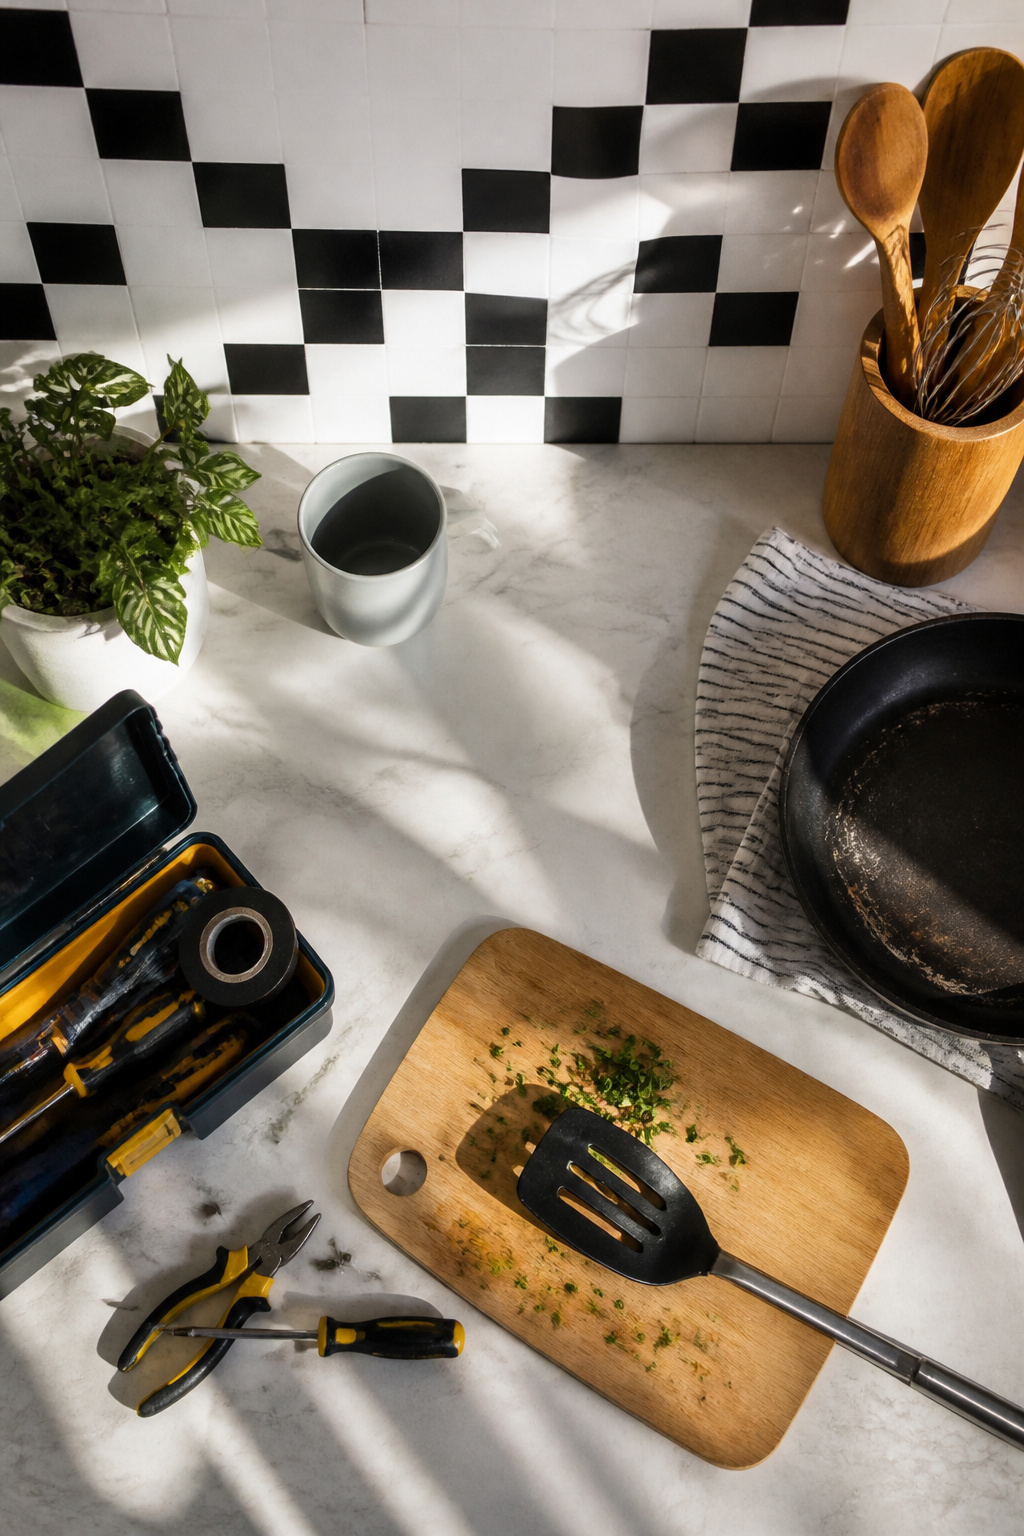
A 60-foot roll of electrical tape runs about $1.99, which makes this the cheapest kitchen backsplash makeover you can pull off in an afternoon. The idea is simple: cut the tape into squares, stick two pieces together to match the width of standard ceramic tile, and lay out a geometric pattern on the wall behind your stove or sink. The tape is roughly three-quarters of an inch wide, so doubling it gets you close to a one-inch tile look without much fuss.
Repositioning works for the first few minutes, but after about half an hour the adhesive starts to grip for real. One test pull at that point took some paint with it, so commit to your layout before you press down. A few coats of clear polyurethane on top make the surface wipeable and buy you some time, though this is still a temporary fix. Near a gas burner, heat and grease will shorten the lifespan. The low price and low stakes are the whole point here: when it starts to peel or you tire of the look, you pull it off and try something else.
Plaster or Micro-Cement
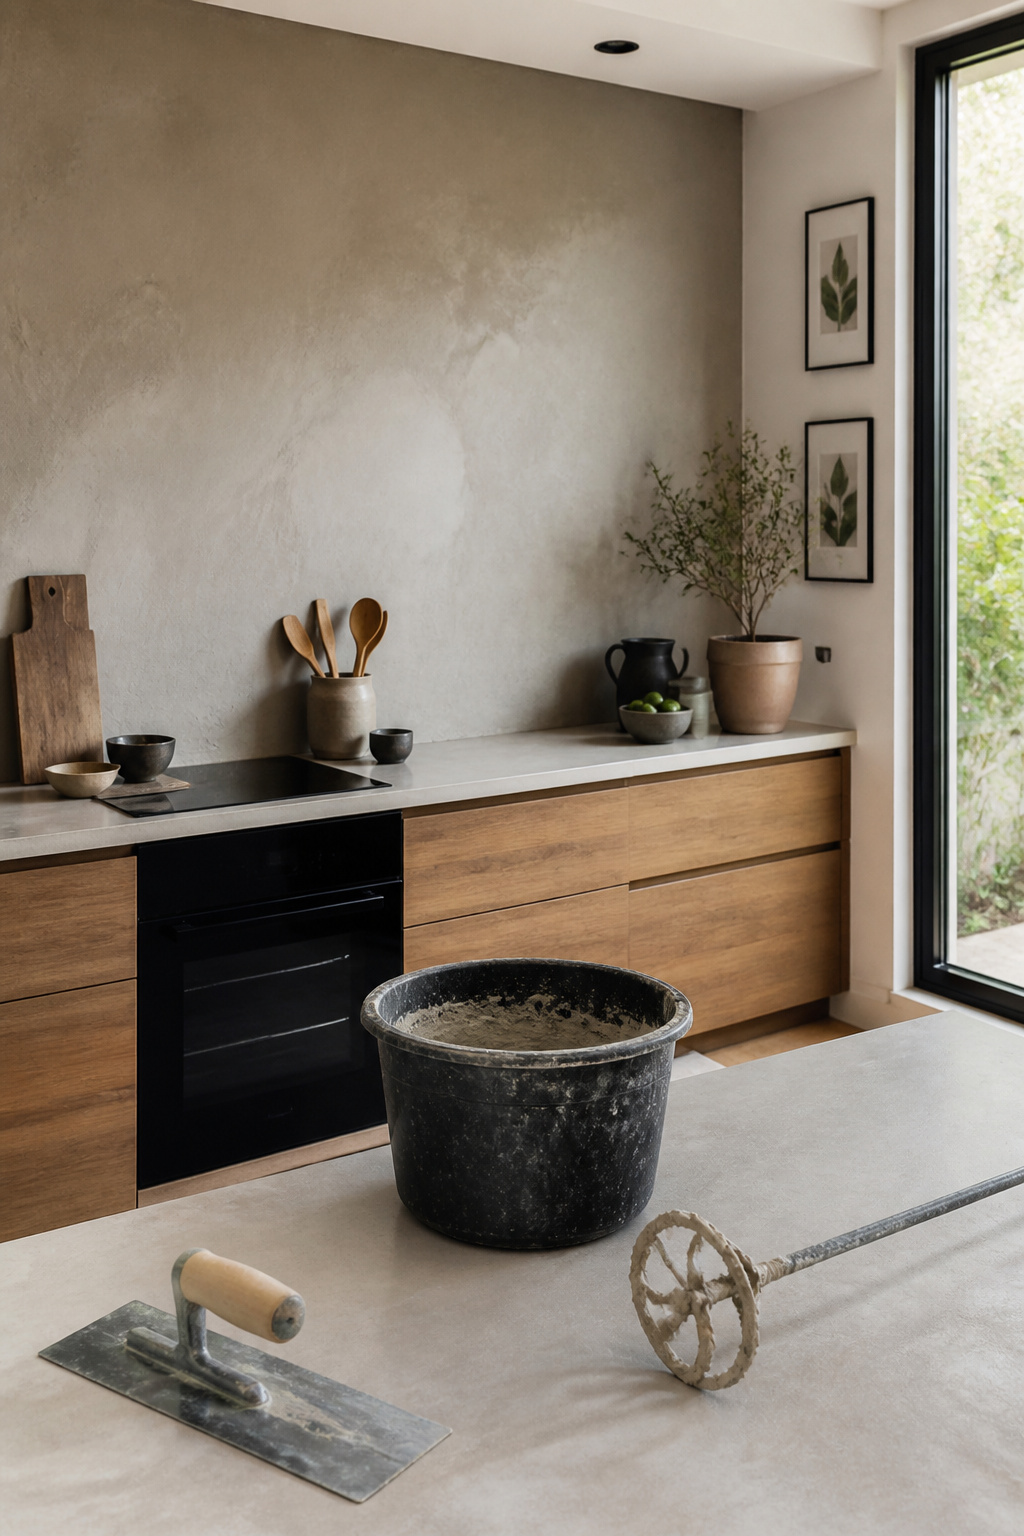
A skim coat of micro-cement or plaster over existing tile gives you that single, continuous surface that reads as custom work, not a cover-up. The material fills grout lines and erases the grid pattern underneath, which is why the finished wall looks intentional rather than improvised.
Tools are minimal: a mixing paddle, steel trowel, and hawk, plus primer rated for glossy ceramic. The learning curve sits almost entirely in the trowel work. Thin, even pressure hides seams; uneven pressure telegraphs every stroke. Corners and edges along the countertop crack first, since the two planes shift independently with heat and humidity. That movement also makes this a poor fit for renters; removal means demolishing the new surface entirely.
In a cooking space, the finish needs sealing, and resealing, because grease and acidic splatter etch unprotected cement. Designer Sarah Snouffer points to Meoded’s Concretta plaster for its range of shades that run warmer and more organic than paint. The variation in tone is what keeps the wall from looking like a poured garage floor. High-end comes from that subtle irregularity, the slight unevenness that reads as hand-finished rather than factory-perfect.
Hiding With Decor or Artwork
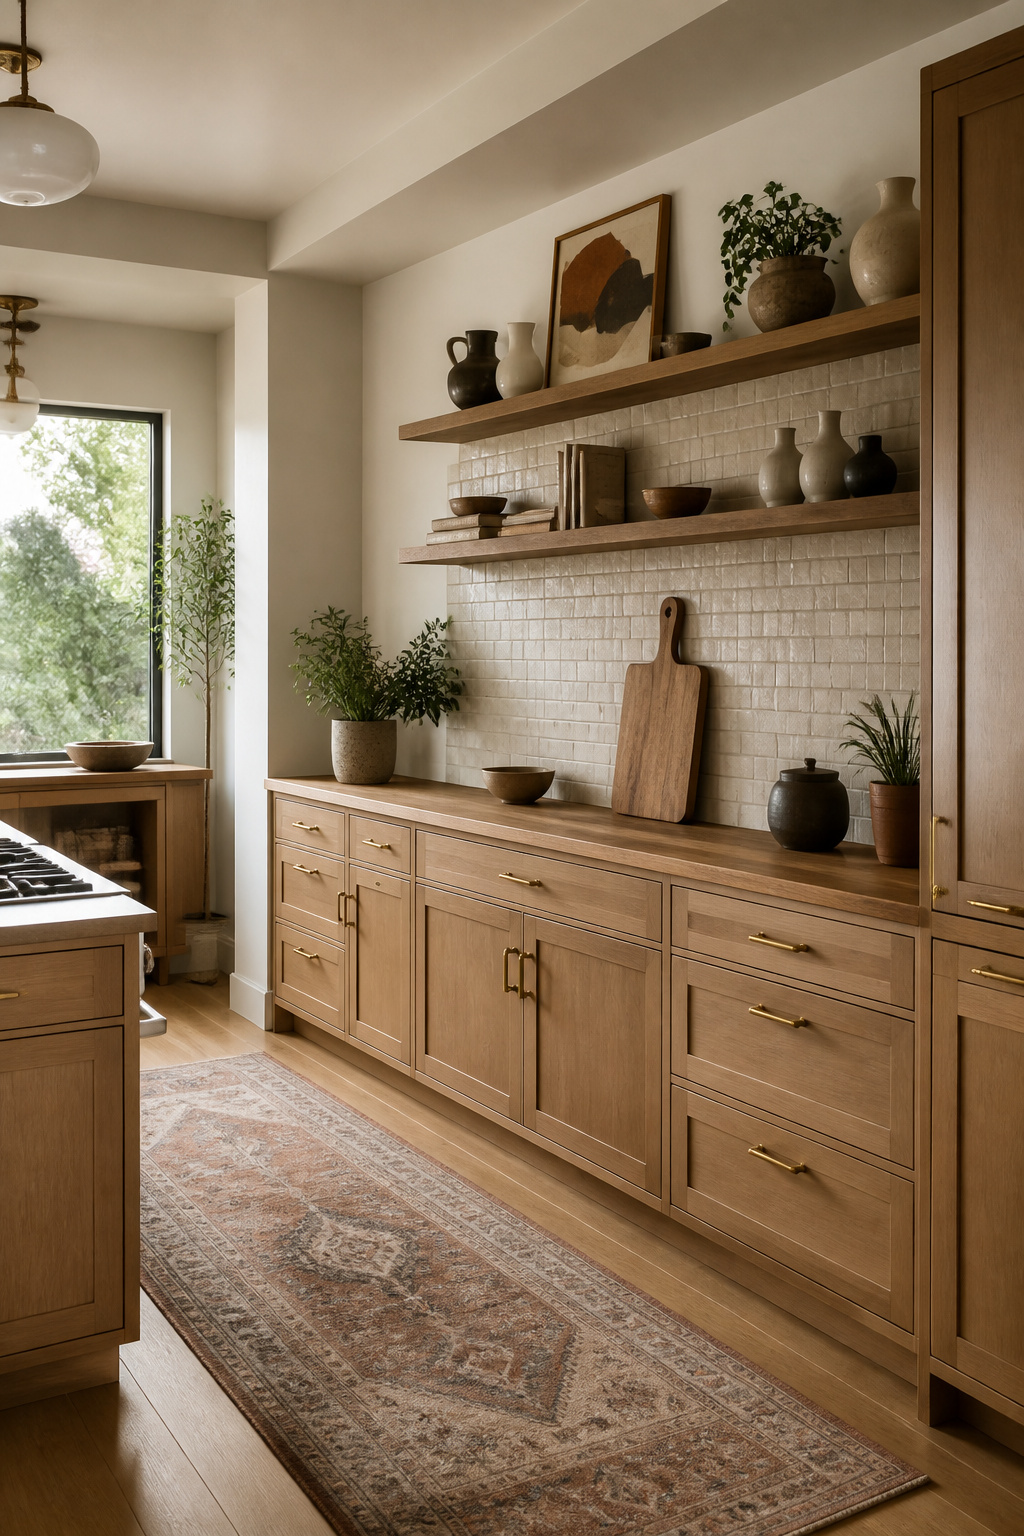
A few well-placed shelves or leaning boards can shift attention away from tile you are stuck with. The trick is treating the backsplash as a backdrop, not a feature. A row of small sculptural vases, a stack of cookbooks, or a cutting board propped at an angle turns the wall into layered scenery rather than the main event. Framed art works the same way hung over the cleaner zones above the counter, where grease and splatter will not reach it.
This approach shines for renters because nothing attaches permanently, but the coverage is always partial. You are drawing the eye elsewhere, not erasing the tile. Standard ceramic wall tile can handle the weight of a small shelf or a light frame with standard anchors, though anything heavier needs a stud or a toggle bolt that bites into the drywall behind, not the glaze itself. Skip the area behind the stove; steam and oil make a mess of whatever you hang there, and the visual clutter fights the cooking space rather than calming it.
Slab Backsplash
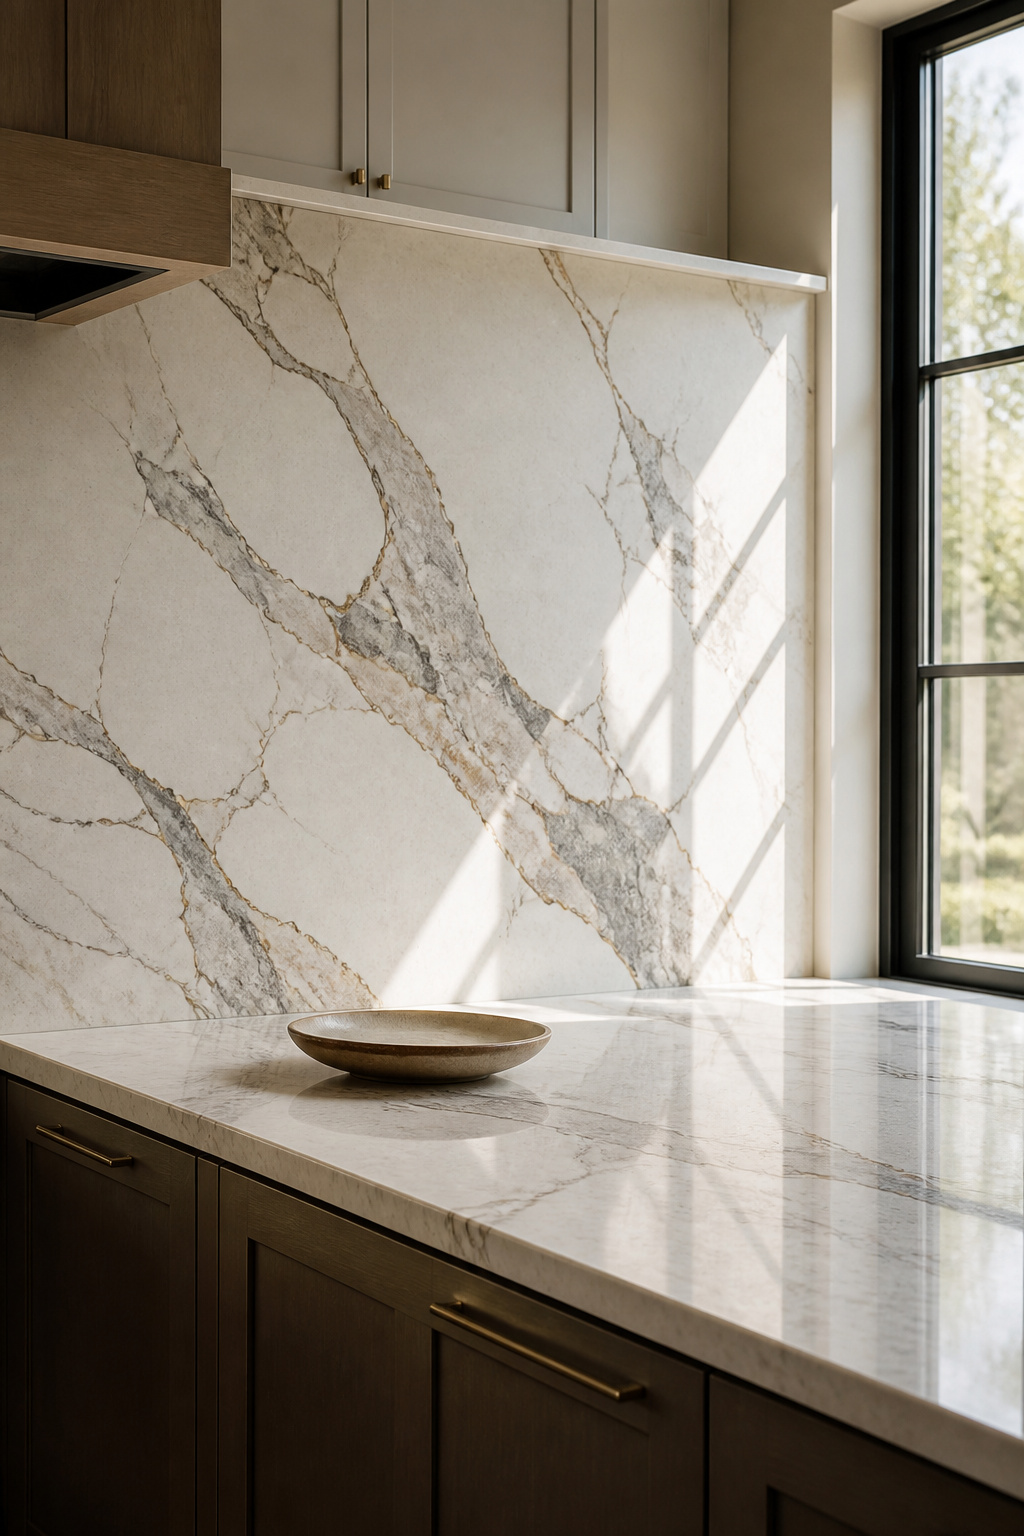
A single slab of stone or quartz carried from counter to wall reads as one continuous plane, which is the whole point. The eye finds no seam between surfaces, and in an open-plan kitchen that long sight line across the room stays calm instead of busy. Bold-veined marble, quartzite, or granite turns the stove wall into a feature; bookmatched cuts let the veining mirror itself for a gallery effect.
This is the least DIY option in any kitchen backsplash makeover. The weight alone changes the job. Stone that heavy needs a wall that can take it, and if you are going over existing tile rather than stripping back to studs, you need to know whether the structure and the adhesive together can handle the load. Most of the time, the slab replaces the backsplash entirely rather than layering on top.
Cost jumps fast here. Premium stone pushes the budget past the average kitchen remodel cost before you have measured twice. Fewer grout lines mean easier cleaning, but the trade is real: the material, the cut, and the install each run higher than tile. I would call a fabricator for templating and a crew for the hang. Doing the sink cutout and the seam placement yourself is where the money you saved turns into the crack you stare at every morning.
Mosaic or Patterned Tiles
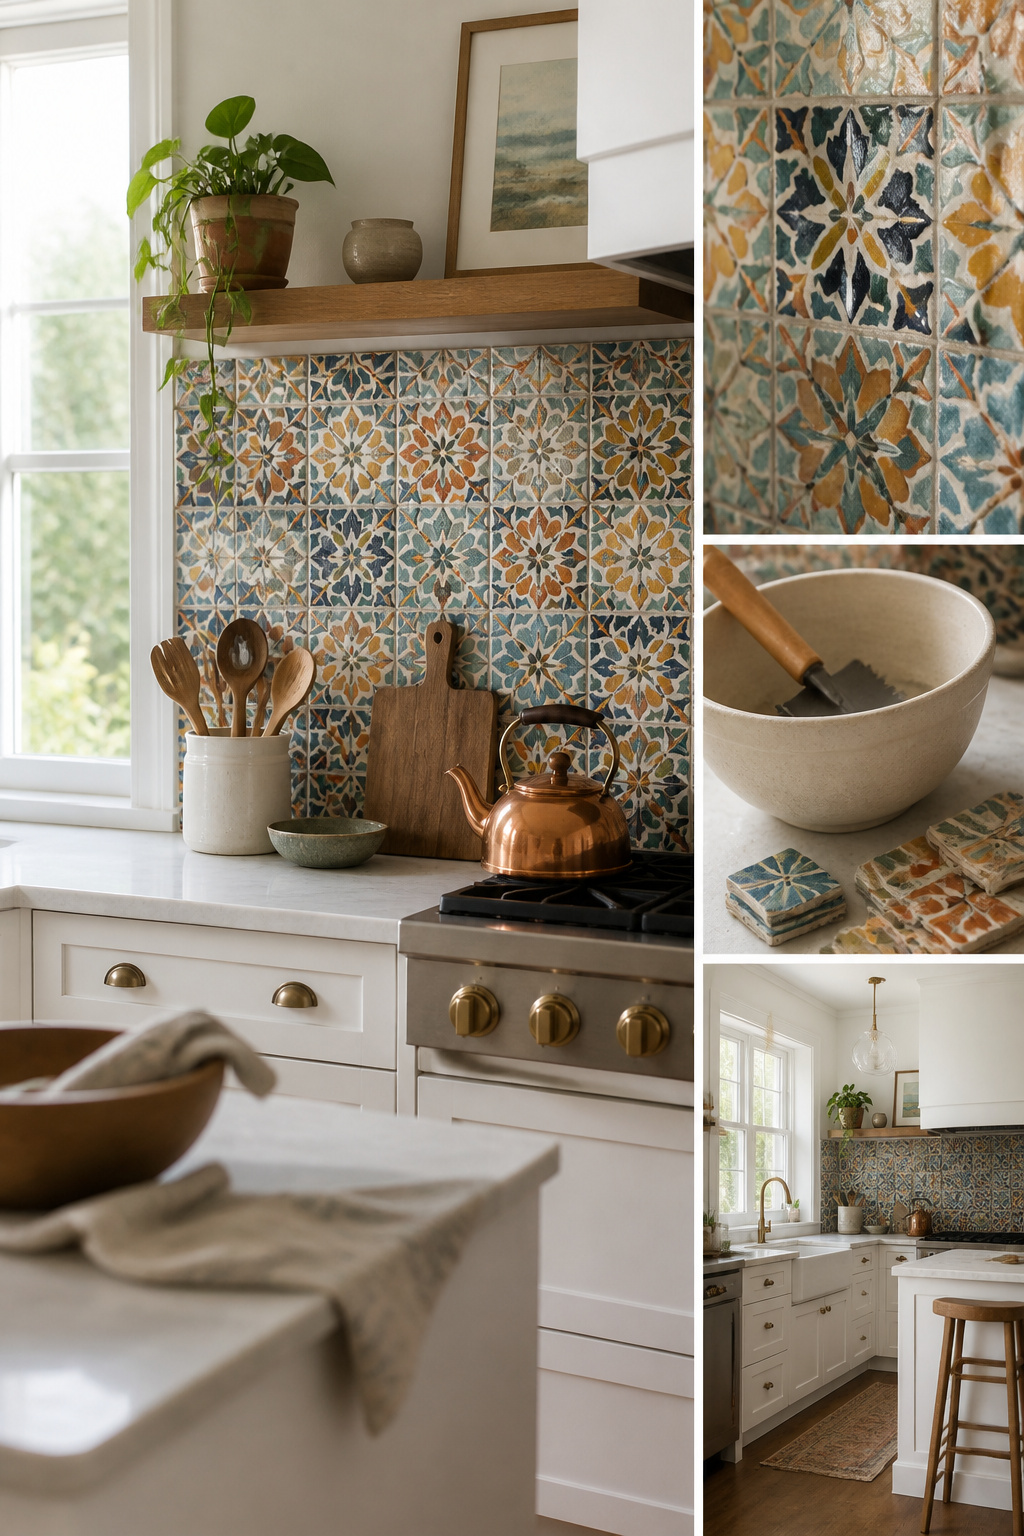
Small-format tiles turn a flat wall into something that catches light differently from every angle. The mesh-backed sheets keep rows straight while you work, though the real art is in the pattern alignment; one sheet shifted half an inch throws the whole rhythm off, and you won’t notice until the thinset skins over.
Going over old tile means finding the right thinset. Some bags rate for bonded applications right on the label, and that’s the number to trust. The existing surface needs to be scored or abraded so the new bed has something to grip; skip this and the new mosaic follows the old grout lines straight back off the wall. Budget an extra hour for surface prep that peel-and-stick skips entirely.
The concept feels similar to those adhesive sheets, but the timeline diverges fast. Mixing, setting, grouting, sealing, each layer needs its cure before the next one goes on. Where peel-and-stick might finish by lunch, thinset work stretches across two days minimum. The payoff is permanence and the depth that real grout lines give; the cost is an afternoon that turns into a weekend, and a kitchen temporarily out of commission.
Geometric Pattern Layout
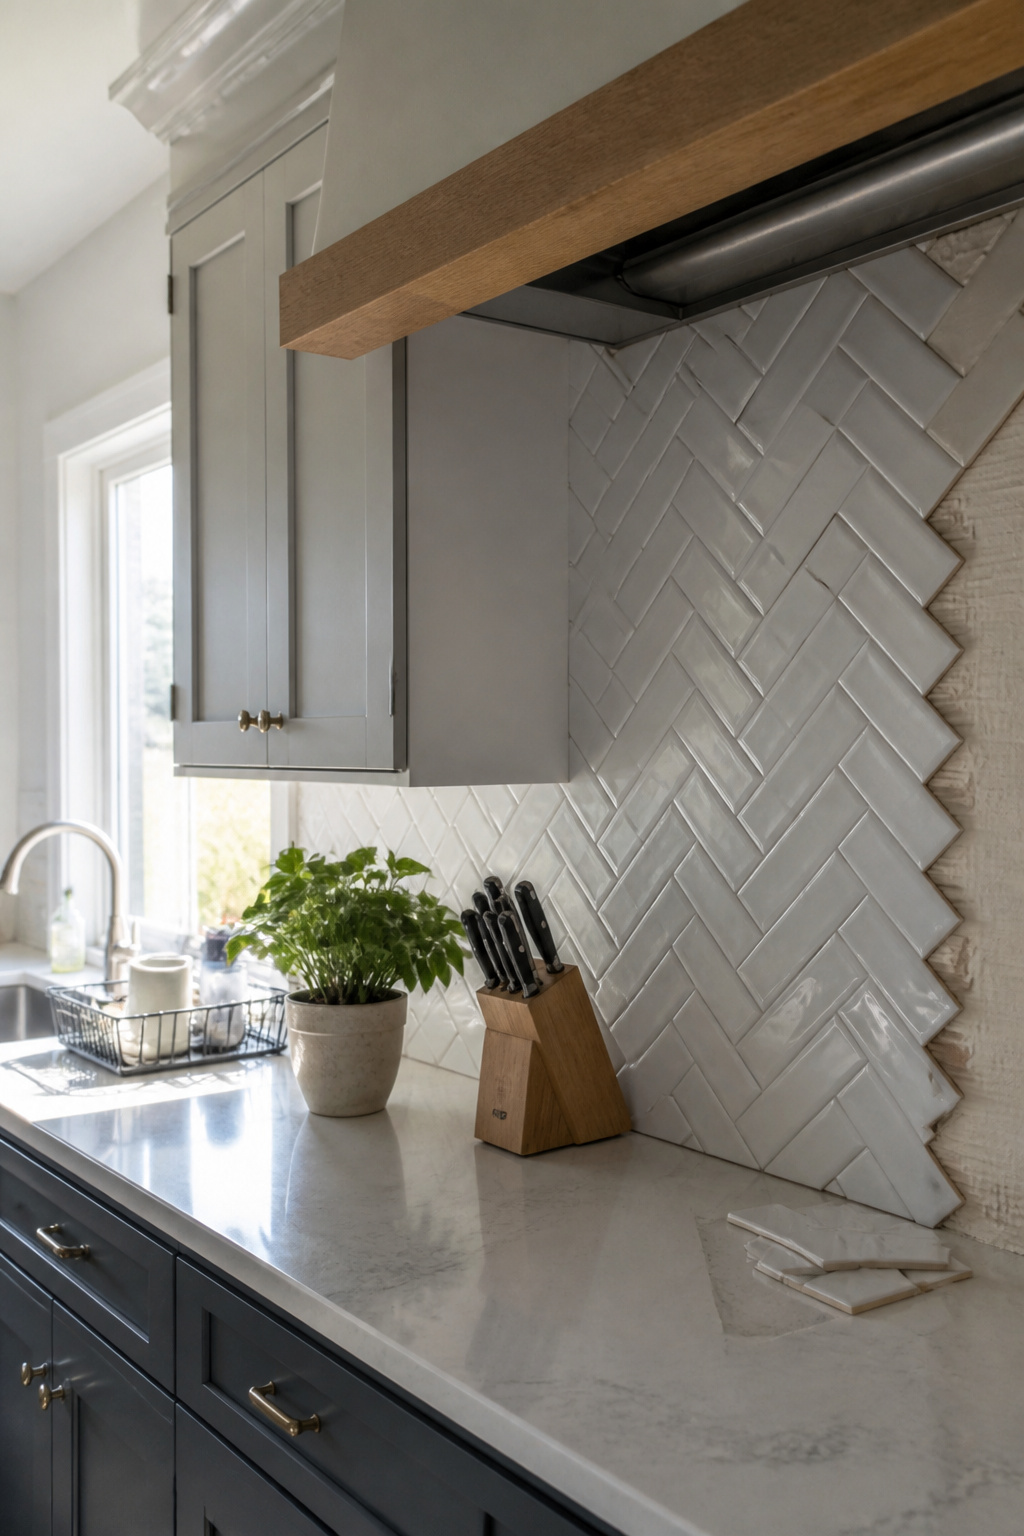
Standard subway tile arranged herringbone reads expensive even when it is not. The angled rectangles create a woven look that draws the eye across the wall, and the motion helps a small kitchen feel larger than its footprint. I like this pattern best on a single surface, the range wall, where it becomes a focal point without turning the whole room into visual noise.
Vertical stack flips the familiar running bond ninety degrees and suddenly the same white rectangles read clean and modern. Stacked rows running the long wall of a galley kitchen stretch the space sideways, and the grid leaves room for open shelving or short uppers to breathe. Both herringbone and stack work over existing tile if the current surface is sound; the new layer needs a bonding primer and attention to trim at edges, where bullnose or metal strip finishes the job clean.
Basketweave I leave for walls that are down to studs or backer board. The pattern wants precise alignment and a flat substrate, and trying to float it over old grout lines invites lippage that catches grease and light the wrong way. Porcelain or ceramic units in this layout add texture without demanding unusual materials, but the removal step pushes it past an afternoon project for most hands.
What Costs What
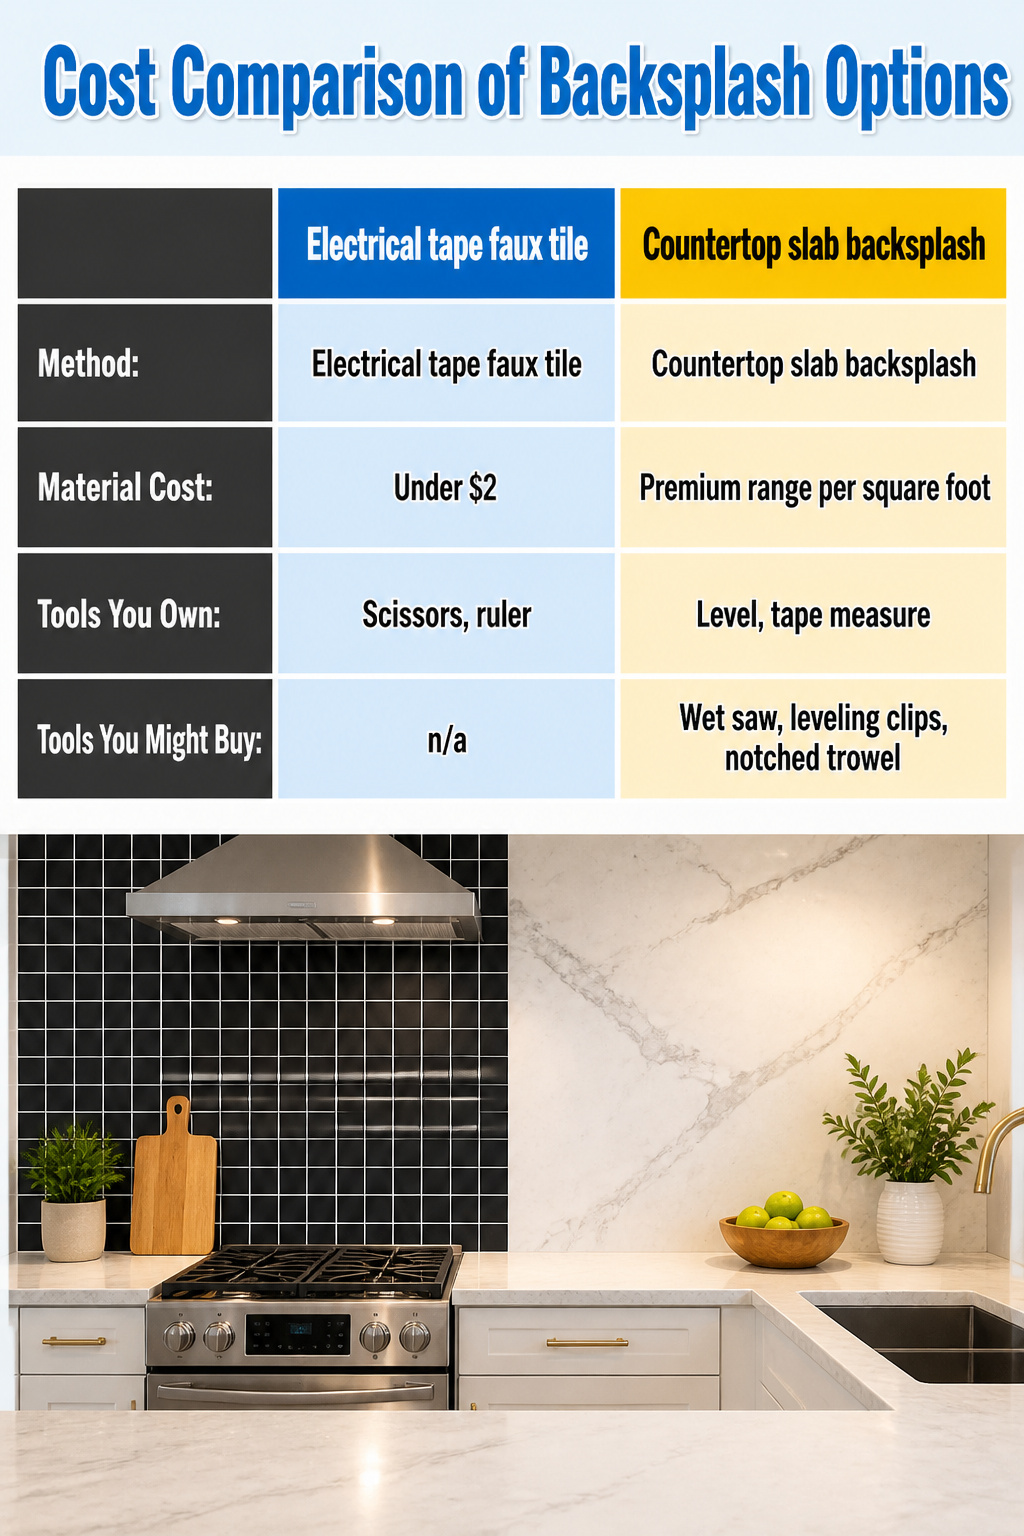
A $1.99 roll of electrical tape can cover a backsplash if you spend an afternoon cutting 600 squares into faux tiles. That puts the cheapest kitchen backsplash makeover firmly under two dollars, assuming you already own scissors and a ruler. Most households do.
The other end runs to slab installation, where a single quartz or stone piece carrying from counter to wall can push a full renovation into premium territory. Tool costs gap the two: tape needs almost nothing, while slab work demands wet saws, leveling systems, and adhesive trowels most renters will not own.
| Method | Material Cost | Tools You Probably Own | Tools You Might Buy |
|---|---|---|---|
| Electrical tape faux tile | Under $2 | Scissors, ruler | n/a |
| Countertop slab backsplash | Premium range per square foot | Level, tape measure | Wet saw, leveling clips, notched trowel |
Where you land depends on permanence. Tape is cheerful and wipeable after a few coats of clear poly, but it reads as temporary. A slab raises resale value and eliminates grout lines, yet removal means demolition. For an afternoon project with basic tools already in the drawer, the cheap option wins. For a kitchen you plan to sell, the slab cost is the smarter long bet.
What You Need on Hand
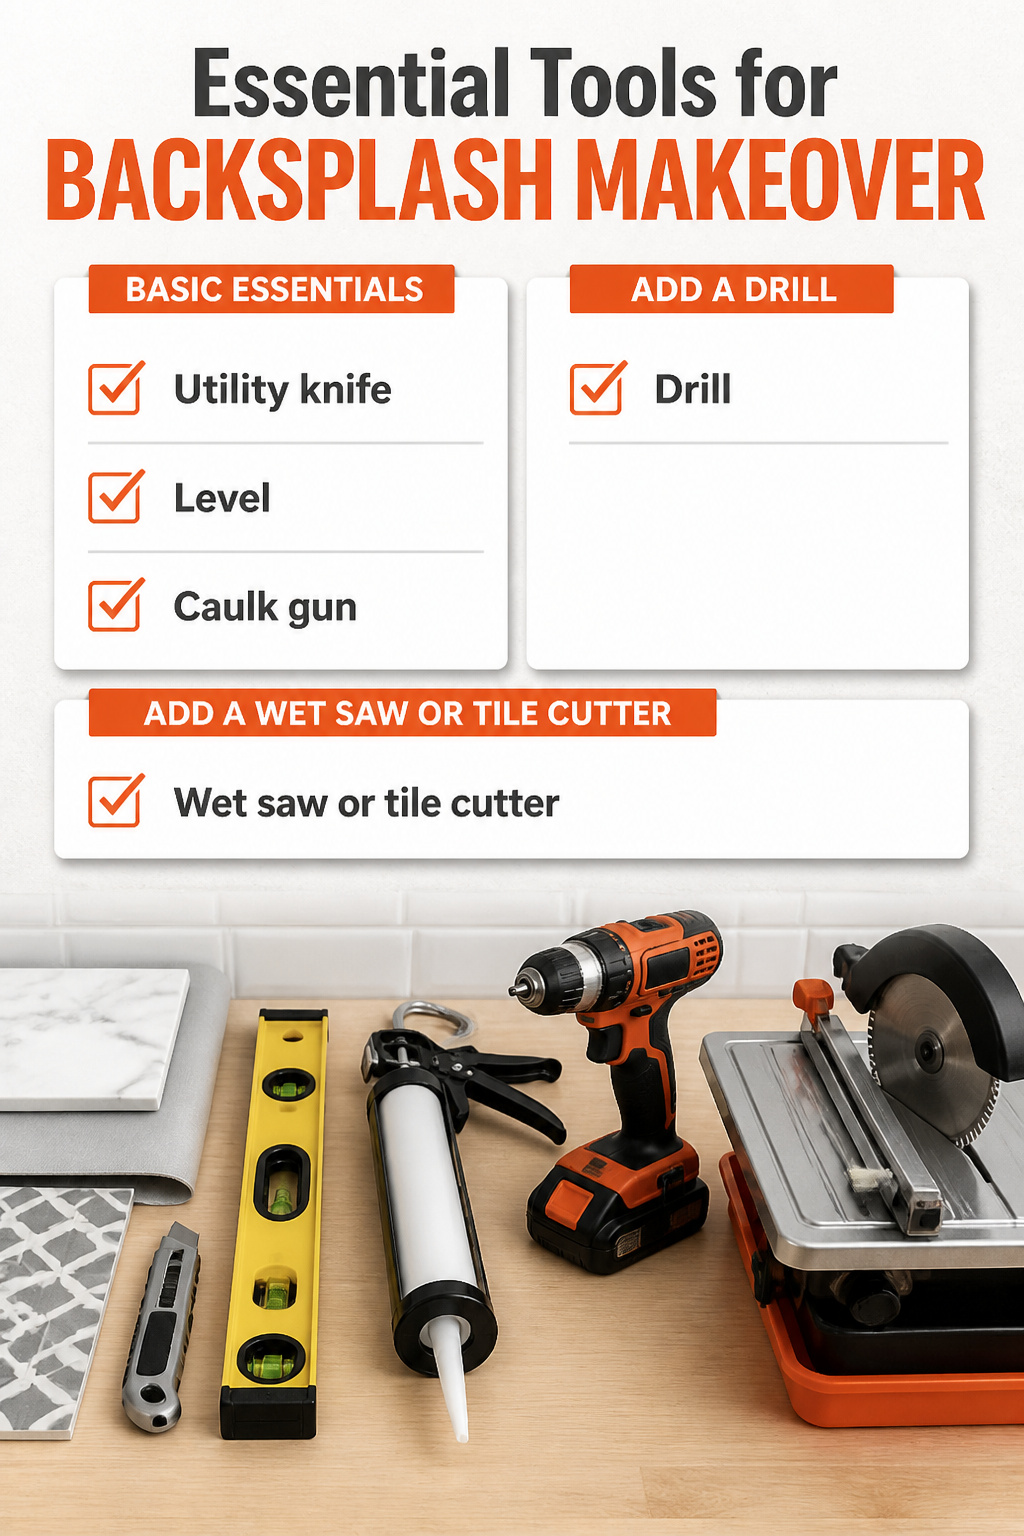
Most kitchen backsplash makeovers run into trouble because someone starts a project, then drives to the hardware store three times for tools they assumed they had. The right prep keeps the work in the kitchen and off the road.
A utility knife, level, and caulk gun handle the bulk of budget-friendly updates. Peel-and-stick tiles, contact paper, or paint on existing ceramic all lean on those three. A drill matters if you are mounting a panel, a rail, or anything that needs anchors. A wet saw only enters the picture for real tile cuts, and renting one for a single afternoon beats owning a tool you use twice.
Here is how the projects map to what is already in your drawer:
- Utility knife + level + caulk gun: peel-and-stick tile, contact paper, paint over existing tile, vinyl decals
- Add a drill: wood paneling, beadboard, mounted art or rail systems, temporary slab backers
- Add a wet saw or tile cutter: any actual ceramic, porcelain, or natural stone tile work
The level is the one people skip, then regret. A backsplash that looks straight to the eye reads crooked against countertops every single time.
When Tile Has to Come Down First
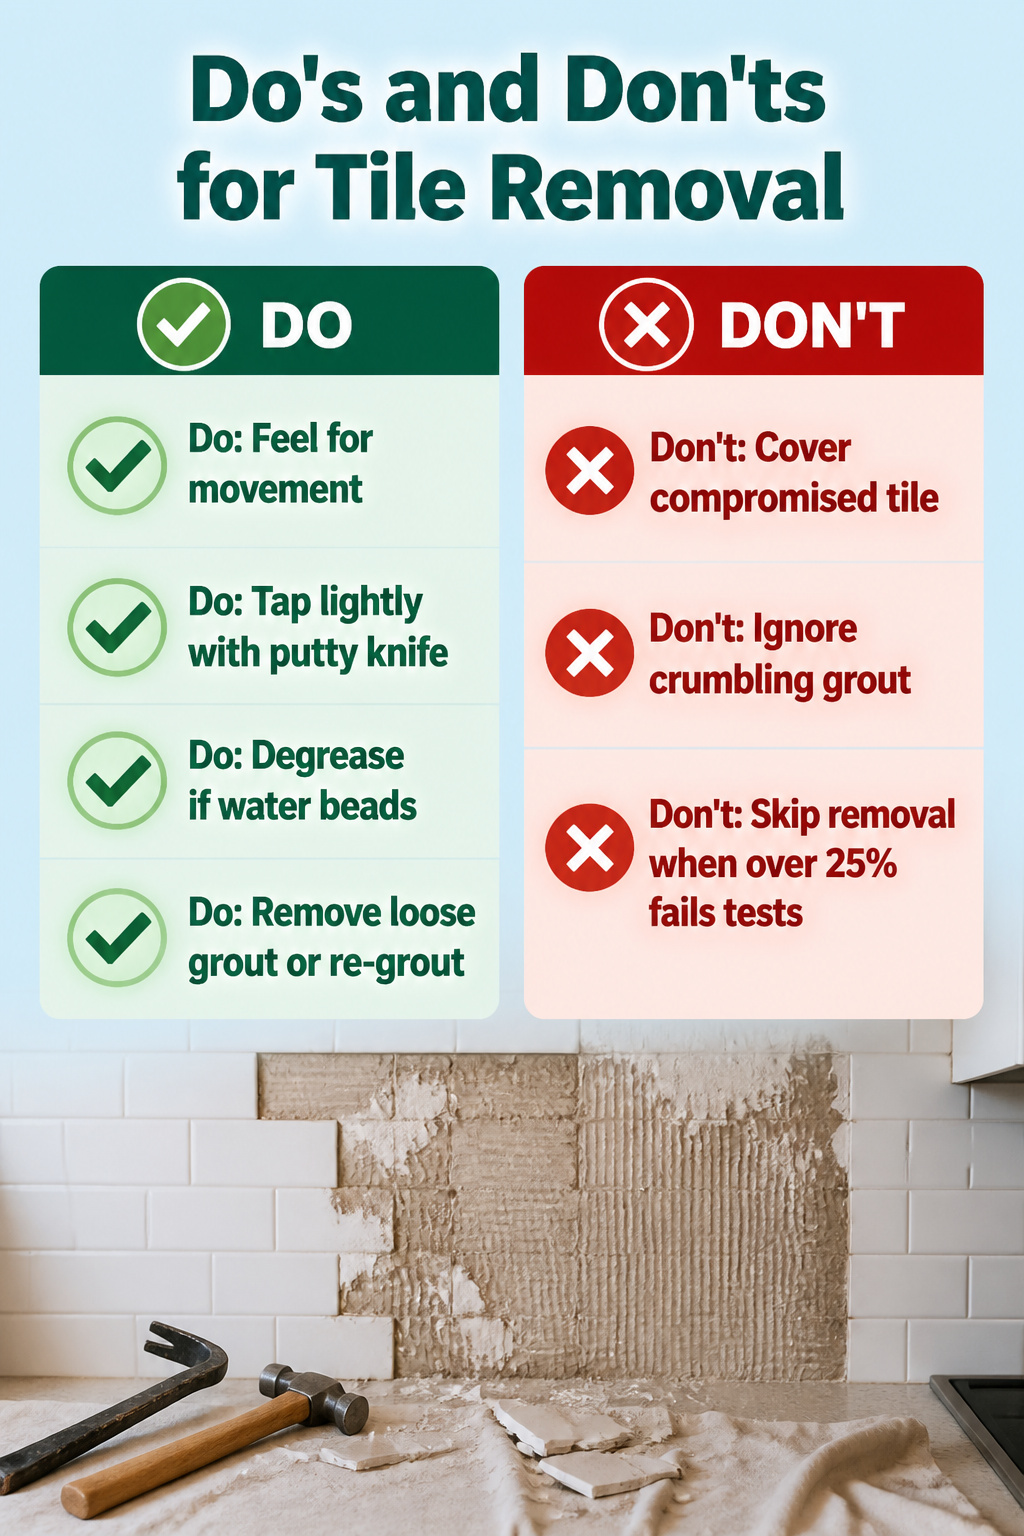
Loose tile shifts under a light press. That slight give means adhesive has failed somewhere behind it, and anything new you stick on top will eventually follow the same path. The same goes for grout that powders when you scratch it with a fingernail, or a grease film that repels water instead of letting it sheet evenly across the surface. These three conditions share one result: the next layer will not bond.
Start the check with dry hands. Run your palm across the tile, feeling for movement or hollow sounds. Tap lightly with the plastic handle of a putty knife and listen for the dead thud that signals a void behind the tile. Drip water in a few spots. If it beads up, degrease with trisodium phosphate or a heavy-duty cleaner rated for kitchen walls, then rinse twice. For crumbling grout, scrape out the loose material to solid edges and re-grout, or accept that the whole surface needs removal.
Removing the old tile is the only fix when more than a quarter of the area fails these tests. The labor is not light, but covering a compromised base wastes both the afternoon and the material budget. A pry bar, a hammer, and a drop cloth get you down to drywall or cement board. From there, every option in this article becomes viable again.
Frequently Asked Questions
Can I install a backsplash over the existing tile?
Yes, if the surface is clean, level, and in good condition. The article covers several methods that go right over old tile, including peel-and-stick, paint, wood panels, micro-cement, and new tile set with bonding primer. Always check that the existing tile is firmly attached first; loose tile or crumbling grout means removal, not covering.
What is the easiest backsplash material to clean?
Glossy ceramic or porcelain tiles wipe down easiest because their smooth finish and minimal grout lines reduce buildup. The article notes that slab backsplashes eliminate grout lines entirely, which also simplifies cleaning, though at a much higher cost.
How high should a kitchen backsplash go?
Most extend from the countertop to the bottom of the upper cabinets. The article does not specify a different height for any of its makeover methods, so this standard applies across the board.





