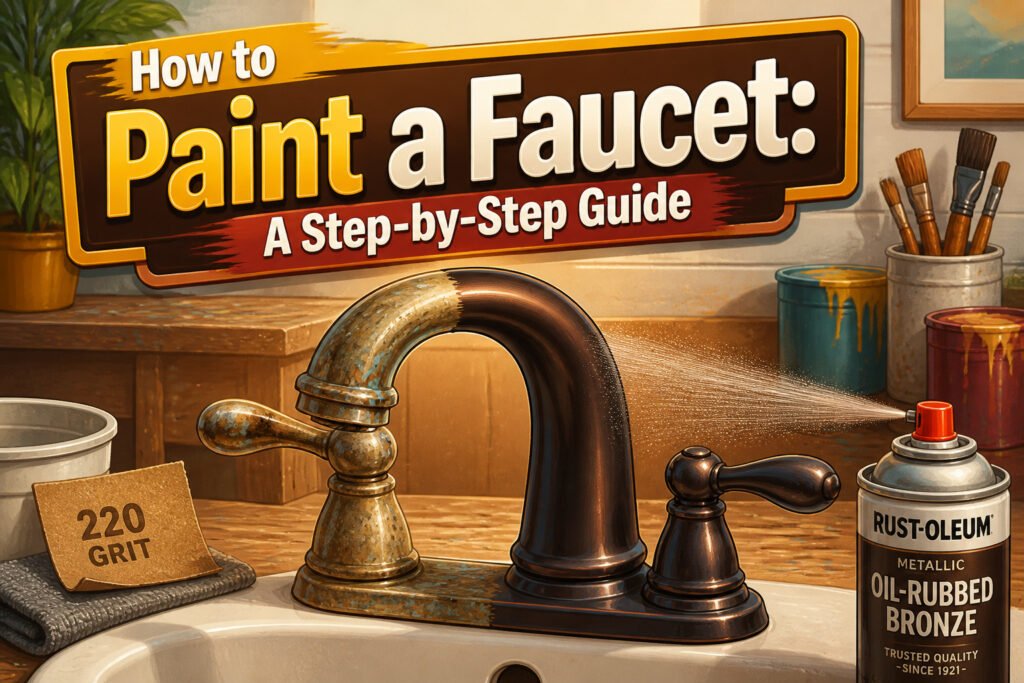
Painting a faucet means spraying new color onto the fixture you already have, not swapping it out, and the finish only holds if the metal underneath is scuffed clean first. Skip the sanding stage and the paint peels within weeks; do it with 220-grit paper, then wash and dry completely, and the primer has something to grip. Rust-Oleum’s metallic oil-rubbed bronze is the paint that kept showing up in projects that lasted, two to three thin coats with full dry time between each.
Preparation
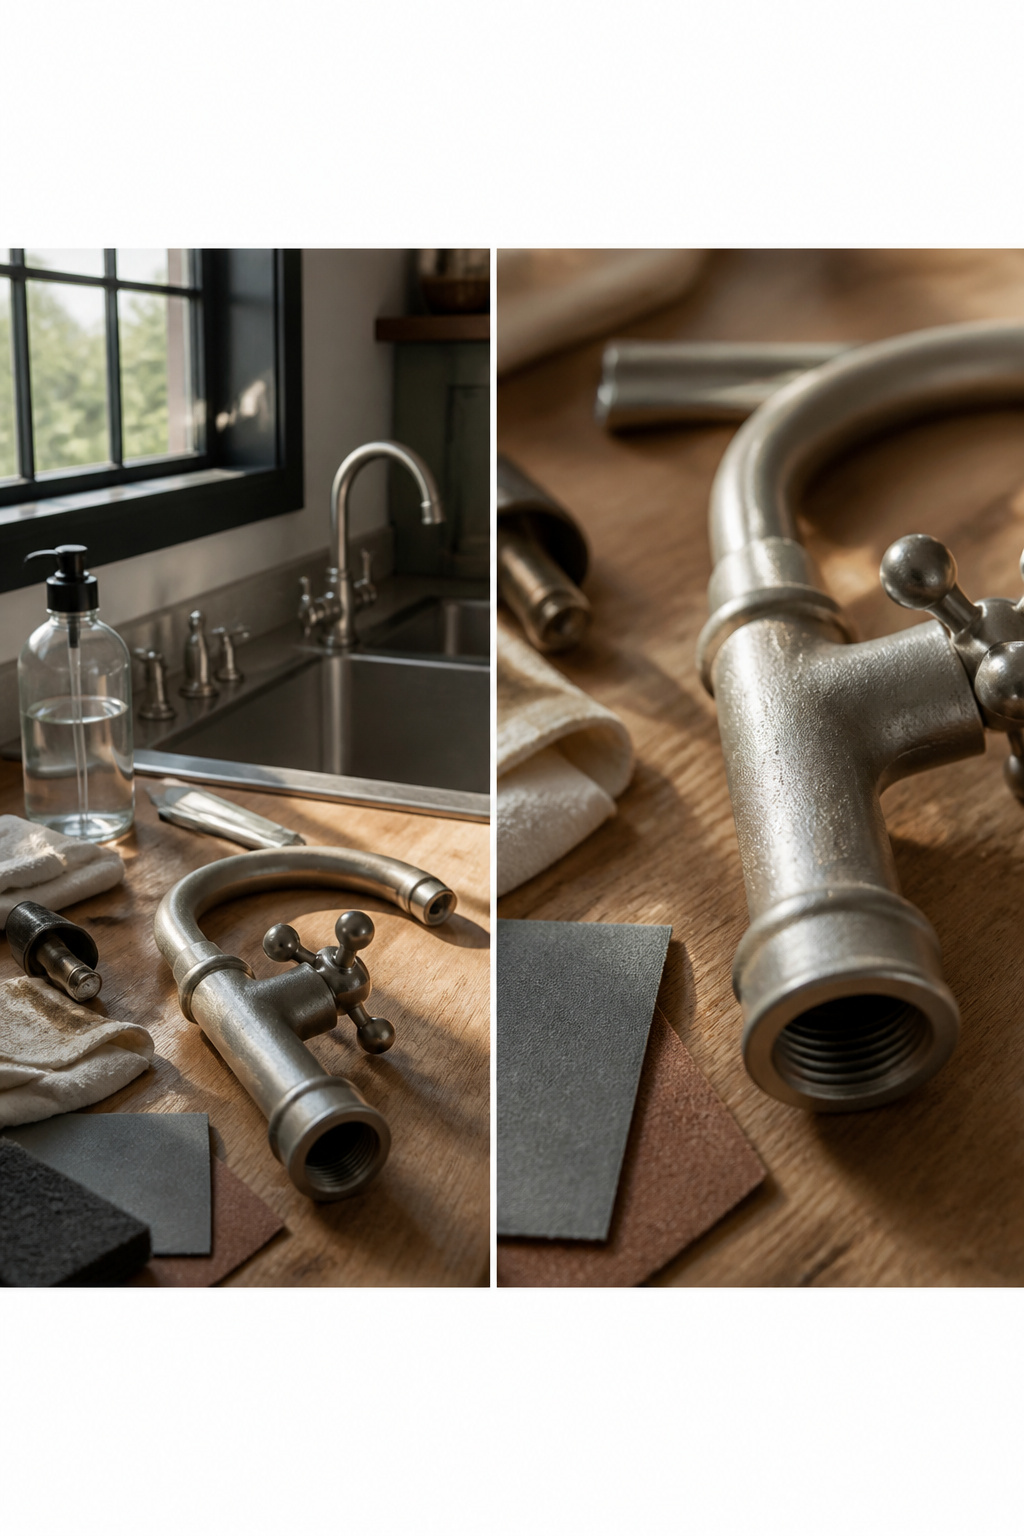
Turning off the water supply comes first, because a single drip will ruin wet paint hours later. The shut-off valves sit under most sinks, clockwise to close, and the handles or knobs lift off once the water is dead. I have skipped this step before, convinced I could work around a slow leak, and the result was a streaked finish that had to be stripped and started over.
Sanding is where the work actually happens. Fine-grit sandpaper, around 220, scuffs the metal just enough to give the primer something to bite into. The faucet should look slightly dull all over, with no remaining shine or rust spots, because paint over gloss peels within weeks. A thorough wipe with mild detergent and water follows, then a rinse and complete drying. This cleaning stage determines whether the paint lasts or peels — any dust or oil left from the sanding, and the new finish fails where you cannot see the problem until it bubbles.
Taping
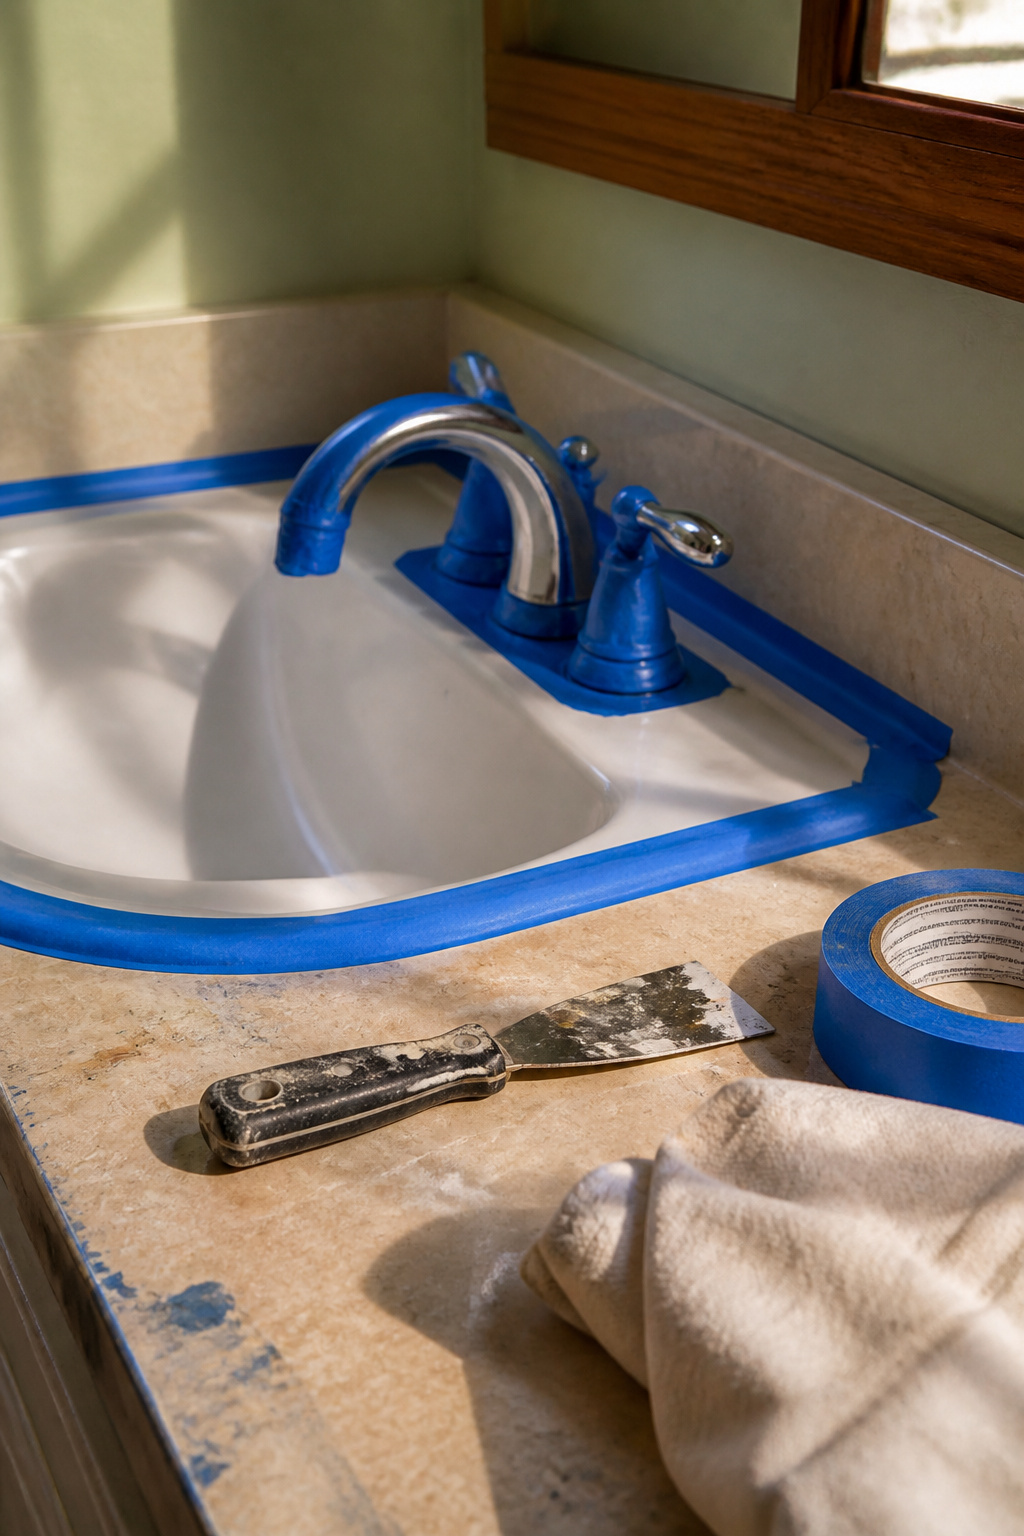
Painter’s tape that works fine for walls can still let you down here. On drywall, a little seepage sands away; on a chrome faucet or porcelain sink, overspray bonds permanently. The finish is too smooth and too non-porous for late fixes.
I learned this the expensive way the first time I tried this project, thinking my leftover blue tape from the bedroom would do. It didn’t. The adhesive left residue that solvent barely touched, and a gap at the rim let primer mist settle where I couldn’t scrape it without scratching.
What convinced me, reading through a dozen write-ups afterward, is how many people skip taping the sink basin entirely because "I’ll just be careful." The basin is exactly where overspray pools, and the flat surface shows every fleck. Tape the rim, then run a strip down into the bowl an inch or two. Manufacturer labels and water-use markings on the faucet body need their own small masks, cut to fit, or they disappear under paint and the next owner has no flow rate data.
Countertop edges at the back of the faucet are the worst to reach after the fact. I fold tape over a putty knife to press it into that crevice where faucet meets counter, then peel the knife out clean.
Priming
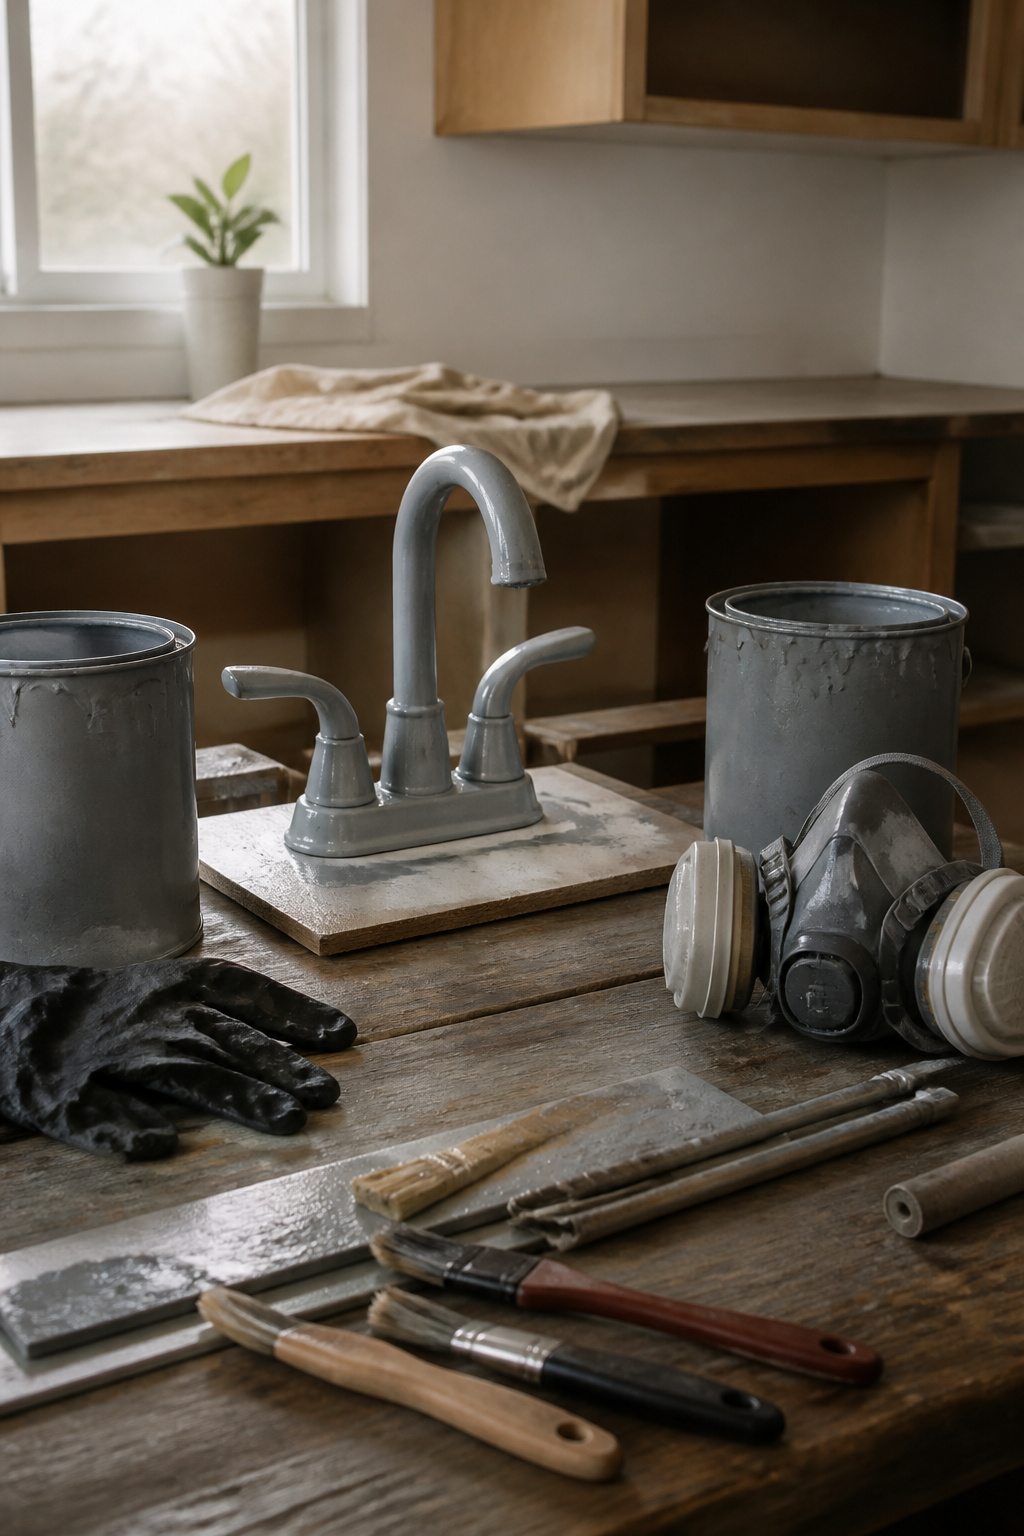
Metal primer is what keeps your paint from flaking off the first time someone turns the handle. I learned that the hard way on a brass bathroom faucet years ago: the paint looked fine for about three weeks, then started lifting in chips the size of pencil erasers. The surface underneath was slick as glass, and nothing I put on top had anything to grab.
For brass, an oil-based automotive primer has given me the most reliable bond. Chrome is trickier; its surface is so non-porous that light sanding beforehand matters even more, and I still give that primer an extra hour of drying time beyond what the can suggests. Nickel falls somewhere between the two, usually cooperative but not forgiving of rushed coats.
The distance matters as much as the product. Keep the spray can about a foot away and keep your hand moving in a sweeping motion. Two light coats beat one heavy coat every time; splotches and drips come from impatience, not from the metal itself. Let the primer dry completely before you even think about color. That waiting period is where most of my early projects failed: I’d start painting after an hour because it felt dry to the touch, then watch the finish wrinkle over the next day.
Painting
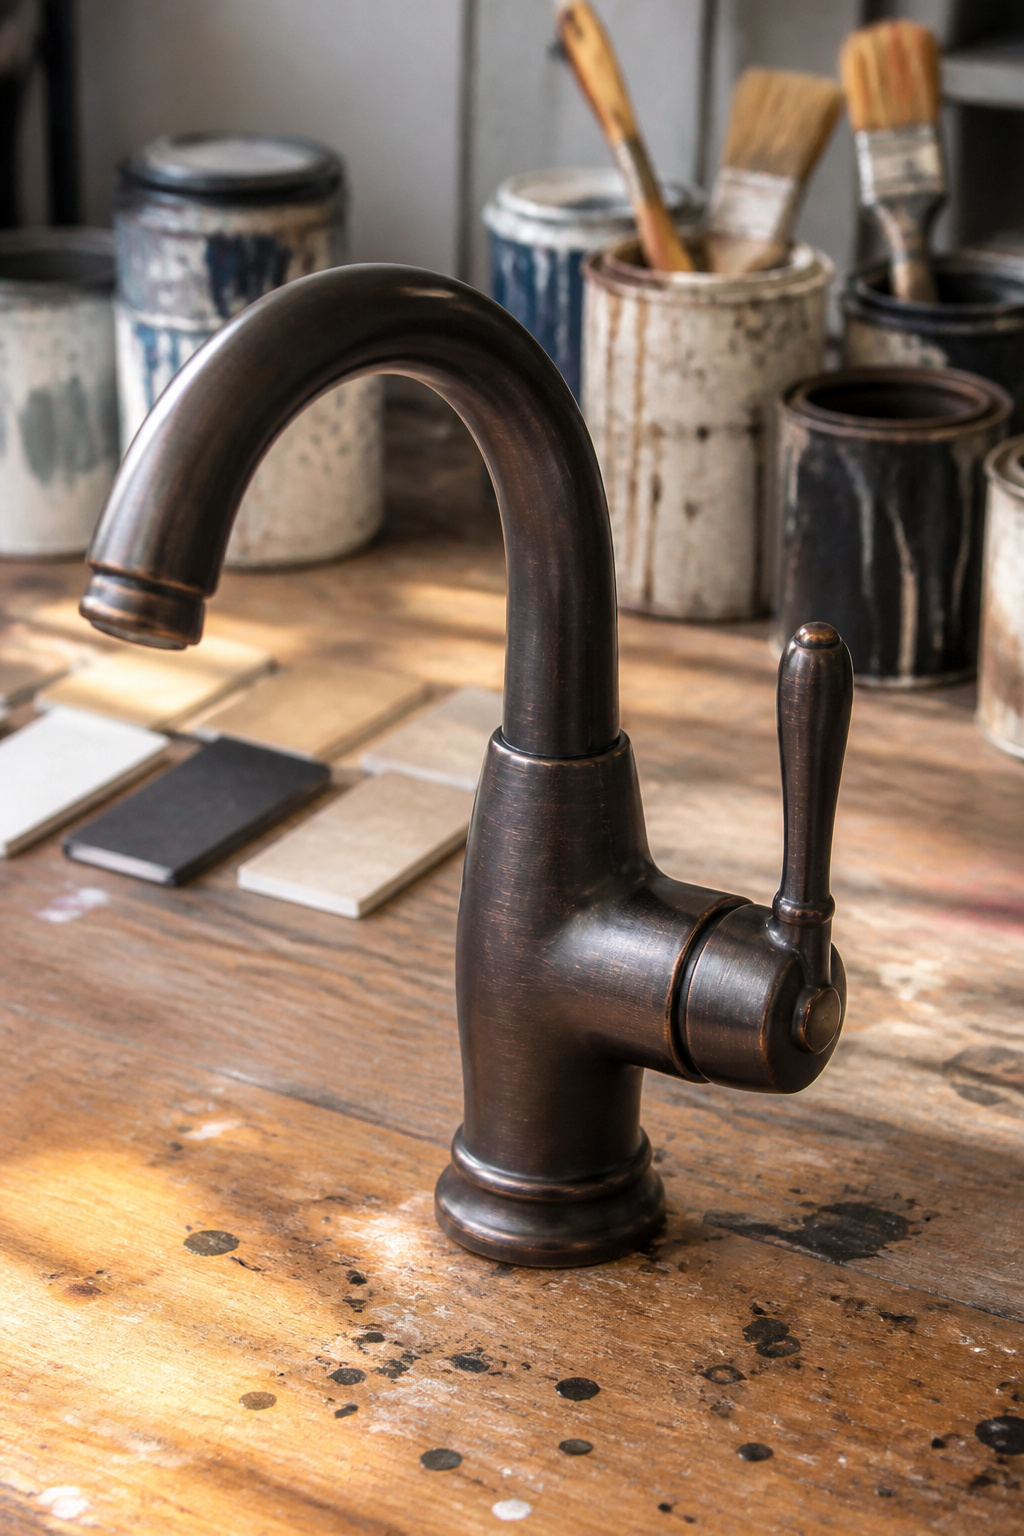
Rust-Oleum Painter’s Touch Ultra Cover in Metallic Oil Rubbed Bronze is the paint that kept coming up in the projects I studied, and the finish variety is why: one can covers several fixtures and still leaves plenty for touch-ups later. Two to three thin coats is the range that actually holds up, not one heavy pass that looks wet and runs. The first coat will look patchy and wrong; that is normal. Let it dry to the touch before the second coat goes on, and wait again before the third if the surface still shows lighter spots or streaks.
The mistake almost everyone makes is rushing the dry time between coats. Paint feels dry long before it is dry enough for another layer, and wet paint underneath shifts under fresh spray, leaving texture you cannot sand out without starting over. One project I followed skipped the wait on coat two and ended up with a ripple along the faucet neck that caught the light every time someone walked into the bathroom. The fix was another full day of stripping and re-coating, not the twenty minutes the painter hoped to save.
Sealing
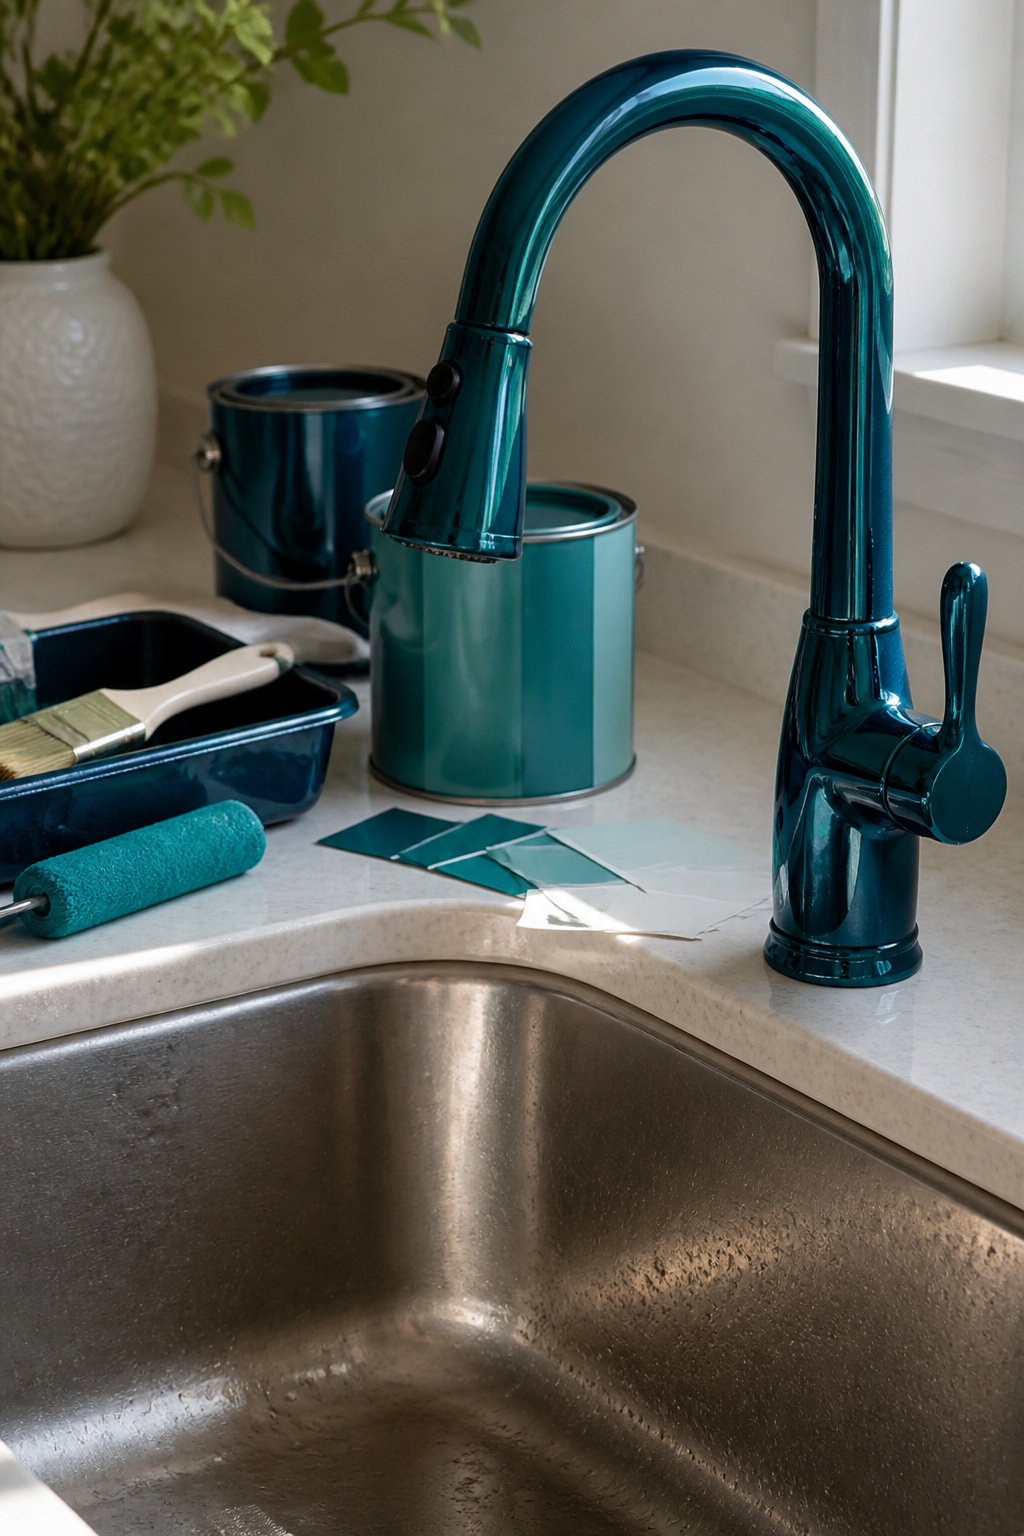
High gloss lacquer spray finishes the job, two light coats over fully dried paint. The whole project demands waiting between layers, but the payoff is real. A sealed surface holds up where hands grab daily, and the difference shows up months later in a bathroom or busy kitchen sink. For a powder room faucet that sees light use, the extra step might not earn its keep; paint alone can survive where fingers rarely land. Touch-ups once a year are the honest trade-off for skipping it, less bother than the curing time if the fixture is mostly decorative. Moving parts matter too, lacquer on handles or stems risks stiffening the turn. The sealant is worth the wait on anything touched often, skippable on the rest.
Reassembly
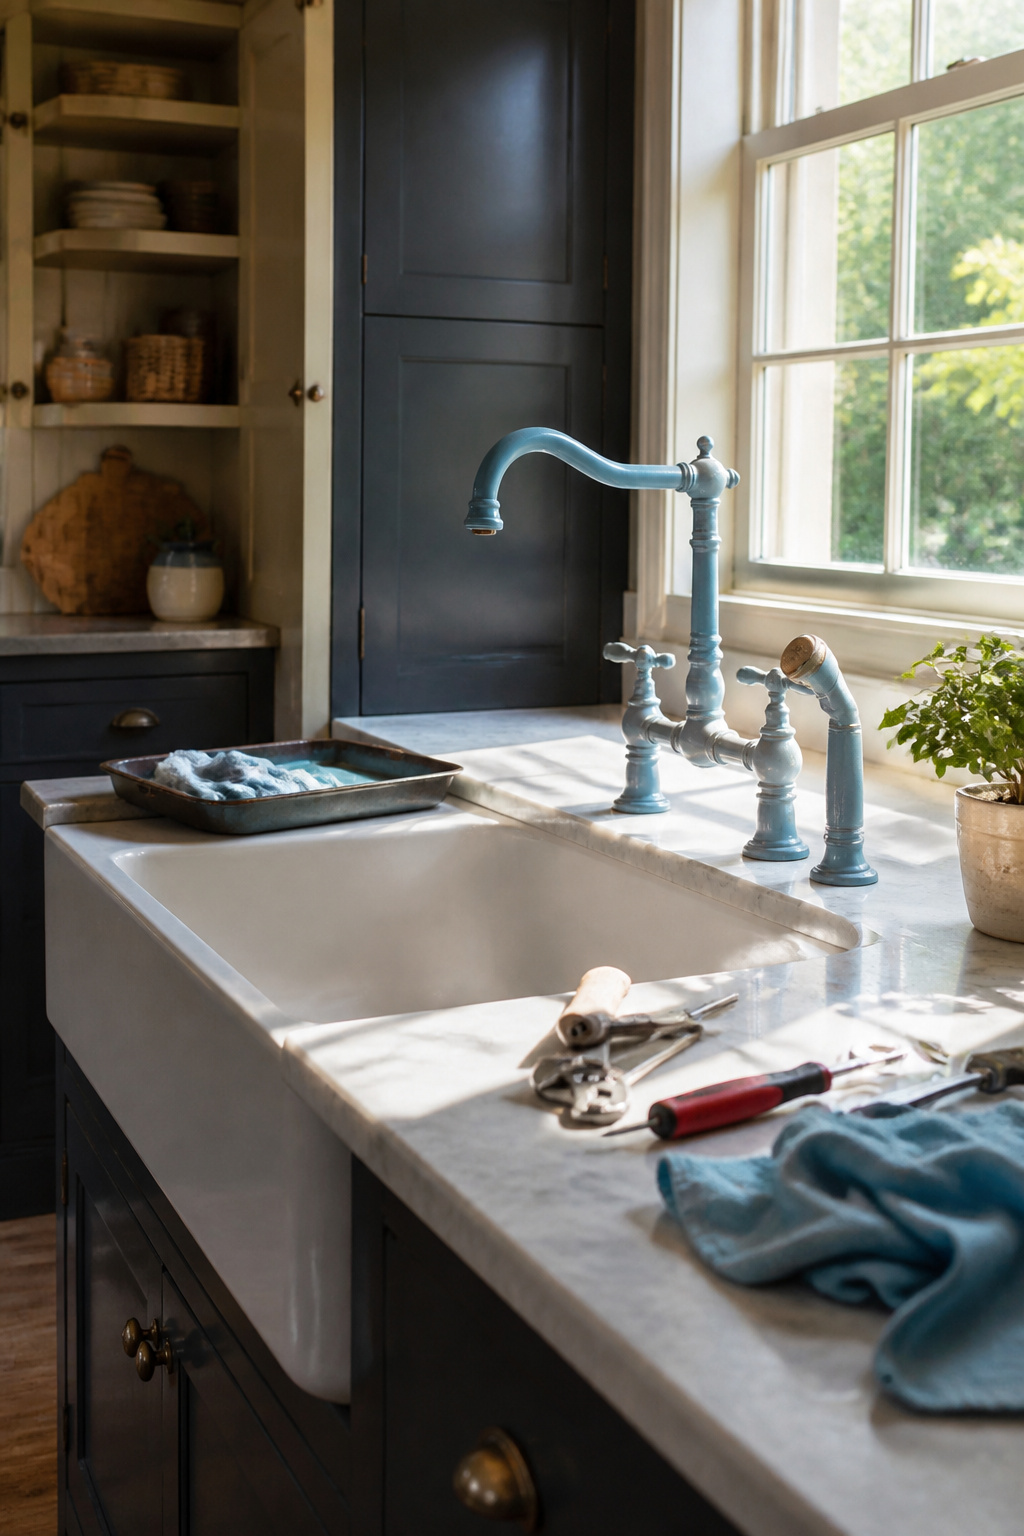
The finish on a painted faucet cures harder than it feels. Thumb-test the surface too early and the oils in your skin leave marks that do not wipe away. Wait the full cure time printed on the can, not just until the paint is dry to the touch.
Water pressure reveals every connection loosened during disassembly. Turn the supply back on with the handles open so air pushes out ahead of the stream, then close them and check the base of each handle, the spout joint, and the supply lines underneath for the telltale bead or hiss. A slow leak left overnight finds its way under the sink and into the cabinet floor.
Reassembly goes faster than teardown, which is where the mistake waits. The temptation is to muscle hardware tight and move on, but torque strips threads and cracks fresh paint at the escutcheon edges. Hand-tight plus a quarter turn on the set screw, then stop. The painted surface has no give; it chips before it bends.
What the Paint Needs to Last

A painted faucet lives in the space between factory finish and full replacement, and that space comes with honest limits. The handle sees the most wear, and sources recount needing quick touch-ups there after a year of daily use; one maker kept a q-tip of matching paint handy and called it a five-minute fix. Annual touch-ups in high-touch spots are the realistic expectation, not a sign the job failed.
Spray-painted fixtures have held up for several years when treated gently. One bathroom set reached six years and was still going, reported through the new owners after a sale. Hard water can shorten that span, so the maintenance routine matters more than the paint brand. Non-abrasive cleaners are the rule; anything that scrubs, peels, or chips the film risks exposing metal underneath to moisture and corrosion. Think of the finish as a coating you preserve rather than a surface you attack.
The tradeoff is clear: you save the cost and labor of replacement, but you trade permanence for convenience. For a faucet that works fine and looks tired, that math usually works. For a household that scrubs hard and often, the touch-up schedule steepens fast.
Materials That Work
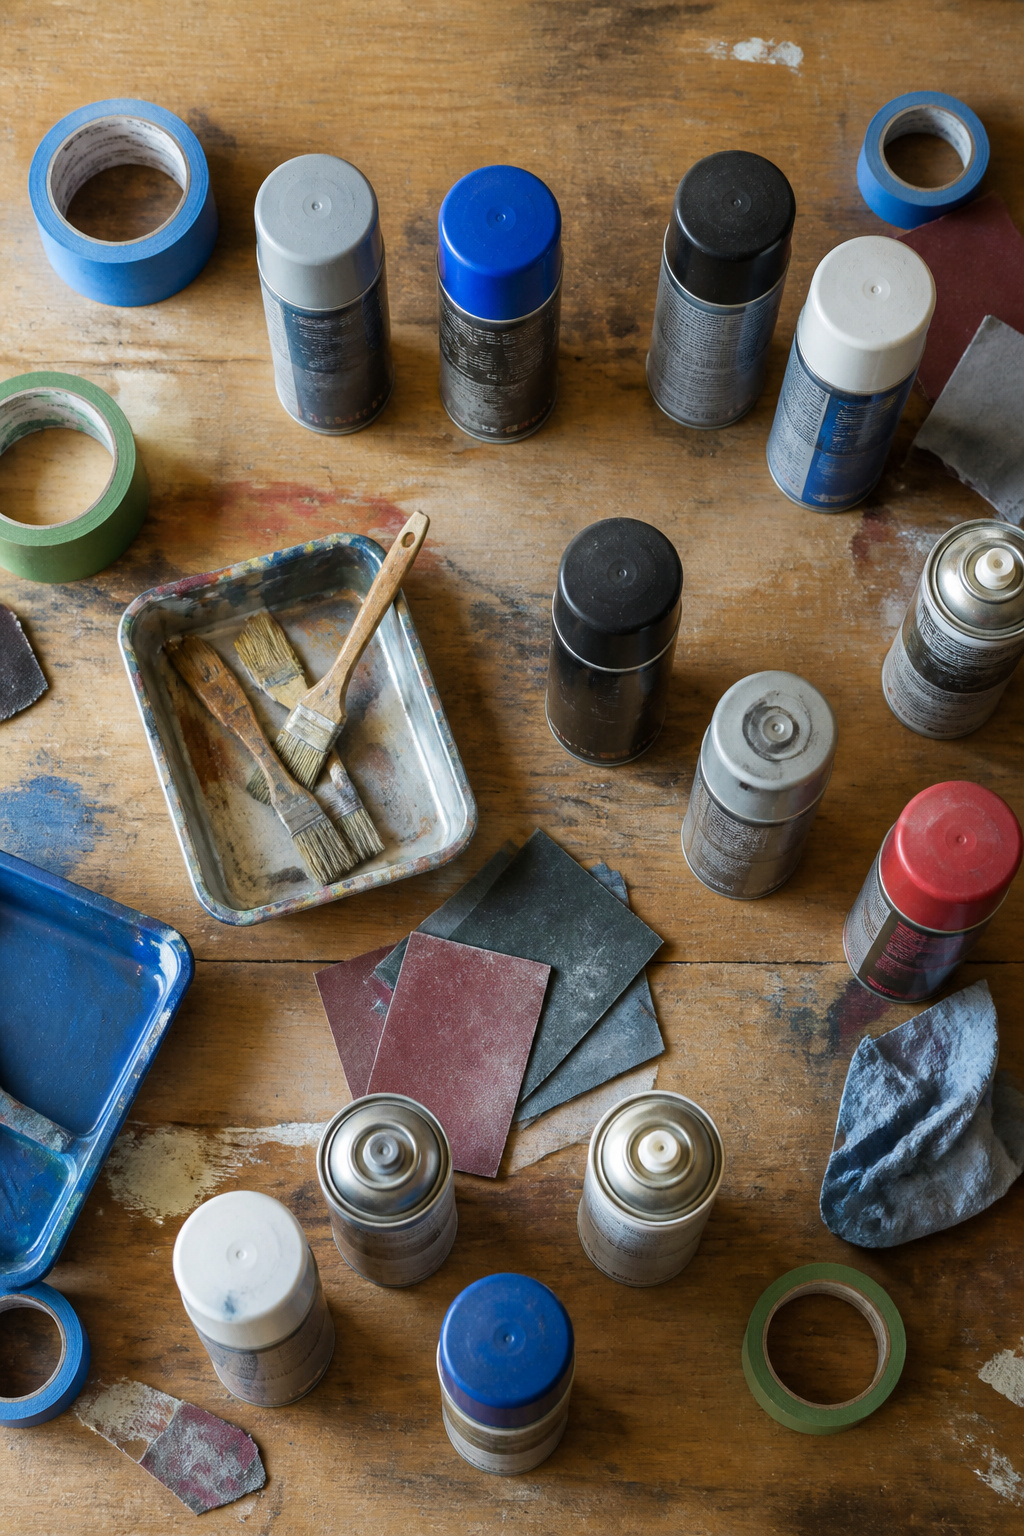
The right materials make the difference between a finish that holds up and one that chips by Tuesday. Automobile spray primer is what you want for metal surfaces; it bonds harder than the general-purpose stuff and gives the paint something to grip. Rustoleum is the brand that keeps coming up, though any automotive primer formulated for metal will do the same job.
For paint, high-quality spray paint is the durable choice. Oil-rubbed bronze and similar finishes go on even and handle daily water contact better than alternatives. Acrylic paint in matte black works if you prefer a softer, non-reflective look, but it is less durable and needs a water-based polyurethane topcoat for protection. That route runs about five dollars and takes twenty minutes, compared to roughly thirty-five dollars for the full spray system with respirator, drop cloth, and sealant.
Fine-grit sandpaper scuffs the surface without gouging it. Painter’s tape protects the sink and handles. A clear sealant adds a final barrier against wear, though some builders skip it and let the paint itself be the finish. Either way, primer and paint both need to list metal compatibility on the can; bathroom fixtures are not the place to test all-purpose claims.
What This Costs

A new faucet runs anywhere from a couple hundred dollars on up, plus installation if your plumbing skills are as thin as mine. Painting the one you have sidesteps all of that. One blogger puts the whole job at about five dollars and twenty minutes, which sounds almost suspiciously low. My own total landed closer to the thirty-five dollar mark, and that was only because I already owned the respirator and safety glasses. The nonreusable stack adds up fast: sandpaper, painter’s tape, drop cloth, primer, paint, and a high-gloss lacquer topcoat. Skip the primer and you might shave something off, though that same blogger who skipped it now treats the finish as a temporary fix, buying time until the budget allows a real replacement. For under ten dollars you can certainly change the color. Whether that counts as savings depends on how long you need it to last.
Frequently Asked Questions
Can I paint my faucet?
Yes, painting a faucet is a practical way to update its look without replacing the fixture. The project takes a few hours across several days due to drying times, and the result holds up for years when done with primer, light coats, and proper curing. It works best on a faucet that functions well but looks dated.
How long do spray-painted faucets last?
Spray-painted faucets commonly last several years with gentle care, and one bathroom set reached six years and was still going. The handle sees the most wear, so expect to do quick touch-ups there after about a year of daily use. Hard water and abrasive cleaners shorten that span, while non-abrasive maintenance preserves the finish longer.
What materials do I need to paint a faucet?
You need fine-grit sandpaper around 220, painter’s tape, an automotive spray primer for metal, high-quality spray paint, and optionally a clear lacquer sealant. A drop cloth, respirator, and safety glasses complete the setup. Oil-rubbed bronze spray paint handles water contact well; acrylic paint in matte black works too but needs a water-based polyurethane topcoat for protection.





