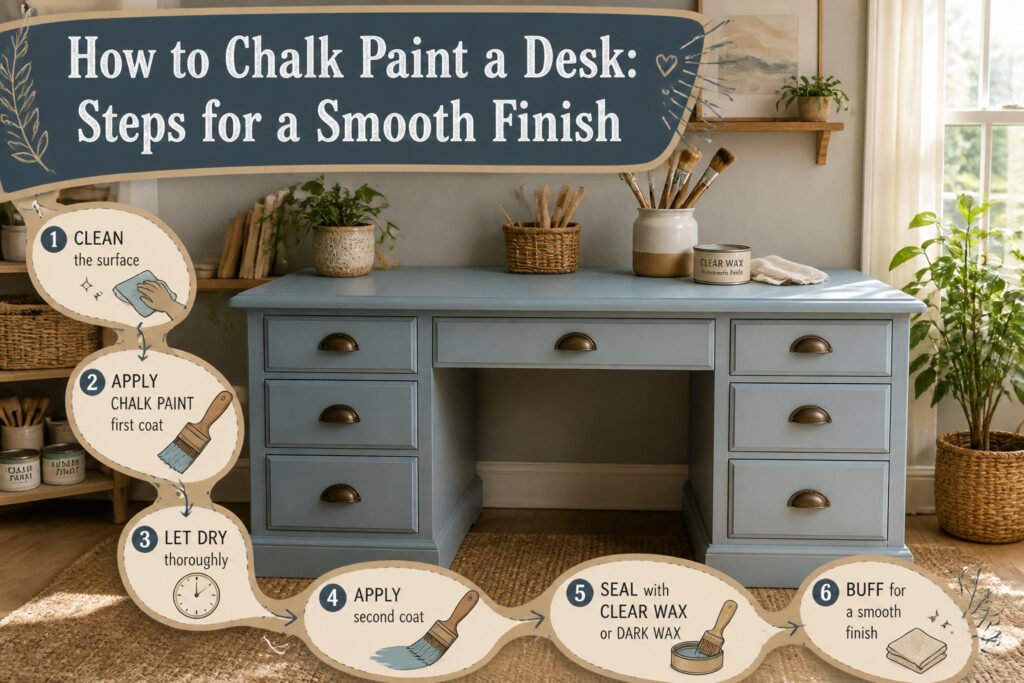
Chalk paint desk refinishing is a brush-on method that sticks to wood, varnish, and laminate without the sanding and priming latex demands. The catch is the cost: chalk paint runs roughly double the price of latex, plus another purchase for clear or dark wax to seal the finish. Two coats is standard, though pale colors over dark laminate or wood may need a third.
1. Remove Drawers and Hardware
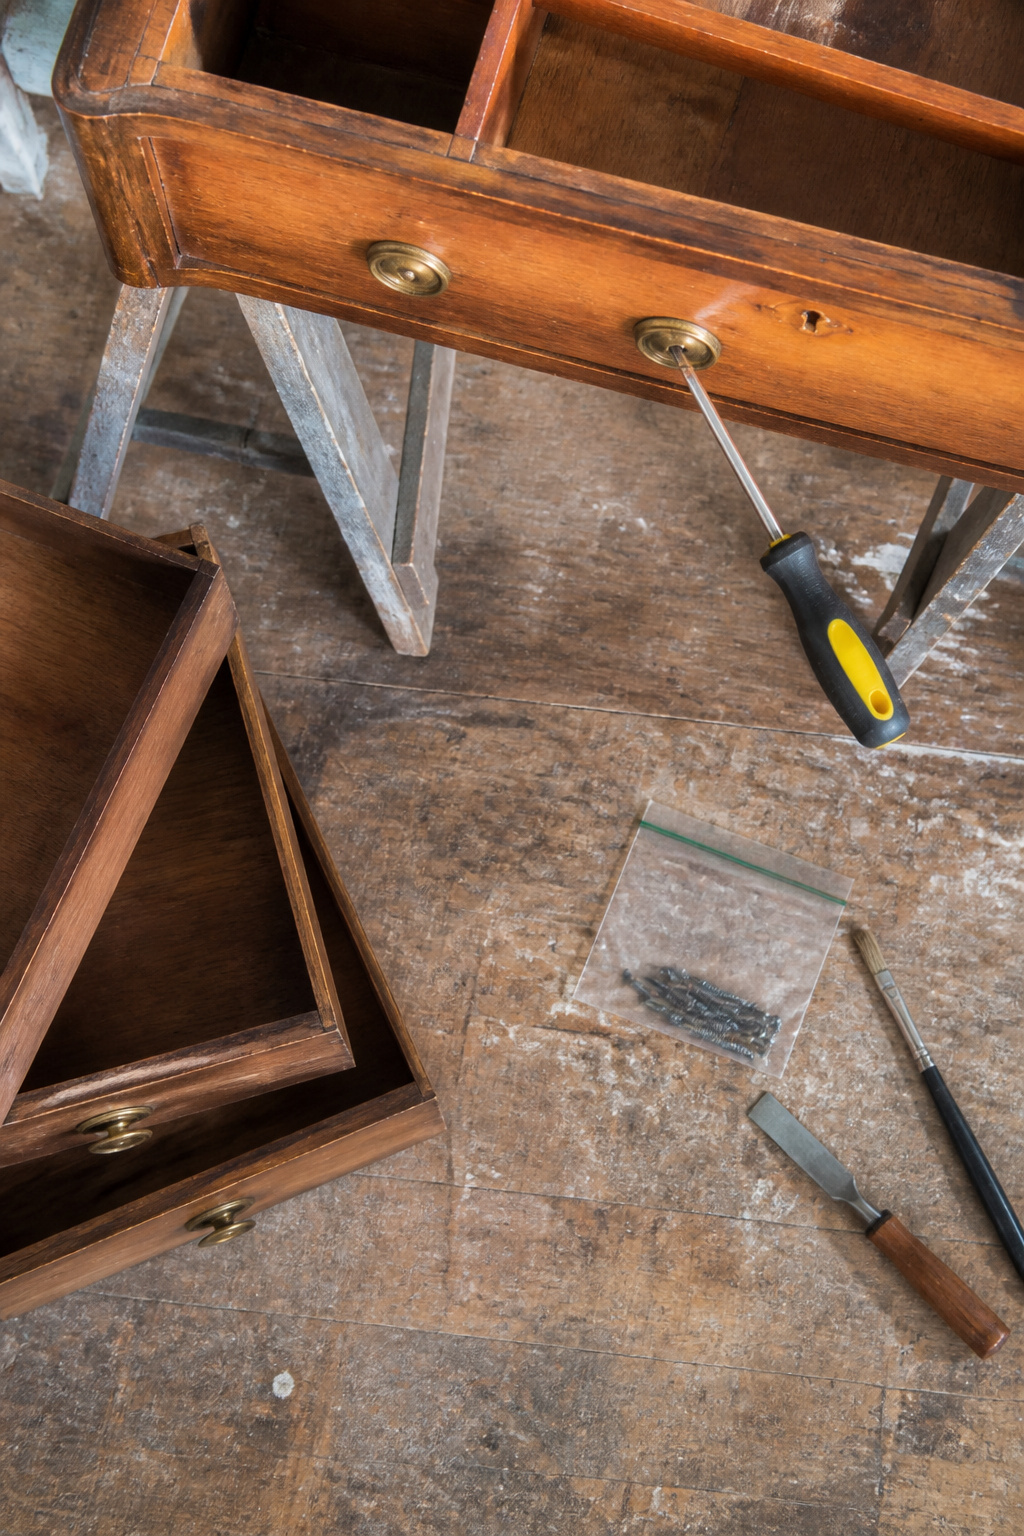
A Phillips head screwdriver is the right tool for almost every desk, and the first one I grabbed from the junk drawer happened to fit every screw on mine. The hardware came off in about four minutes, though one brass handle had been overtightened by whoever owned the desk before me and needed a little extra pressure before it turned. That same brass got set aside to be repainted later, this time in dark gray.
The drawers slide out easier once the stops are gone, and the frame sits lighter on the sawhorses without them. Keep the screws in a labeled bag or a cup so nothing wanders off while you work. I used a sandwich bag with the date scribbled on it, which felt excessive until I knocked the cup over with my hip and watched three screws roll under the workbench. Chalk paint desk projects stall fast when you are crawling around hunting hardware instead of painting.
2. Clean the Desk
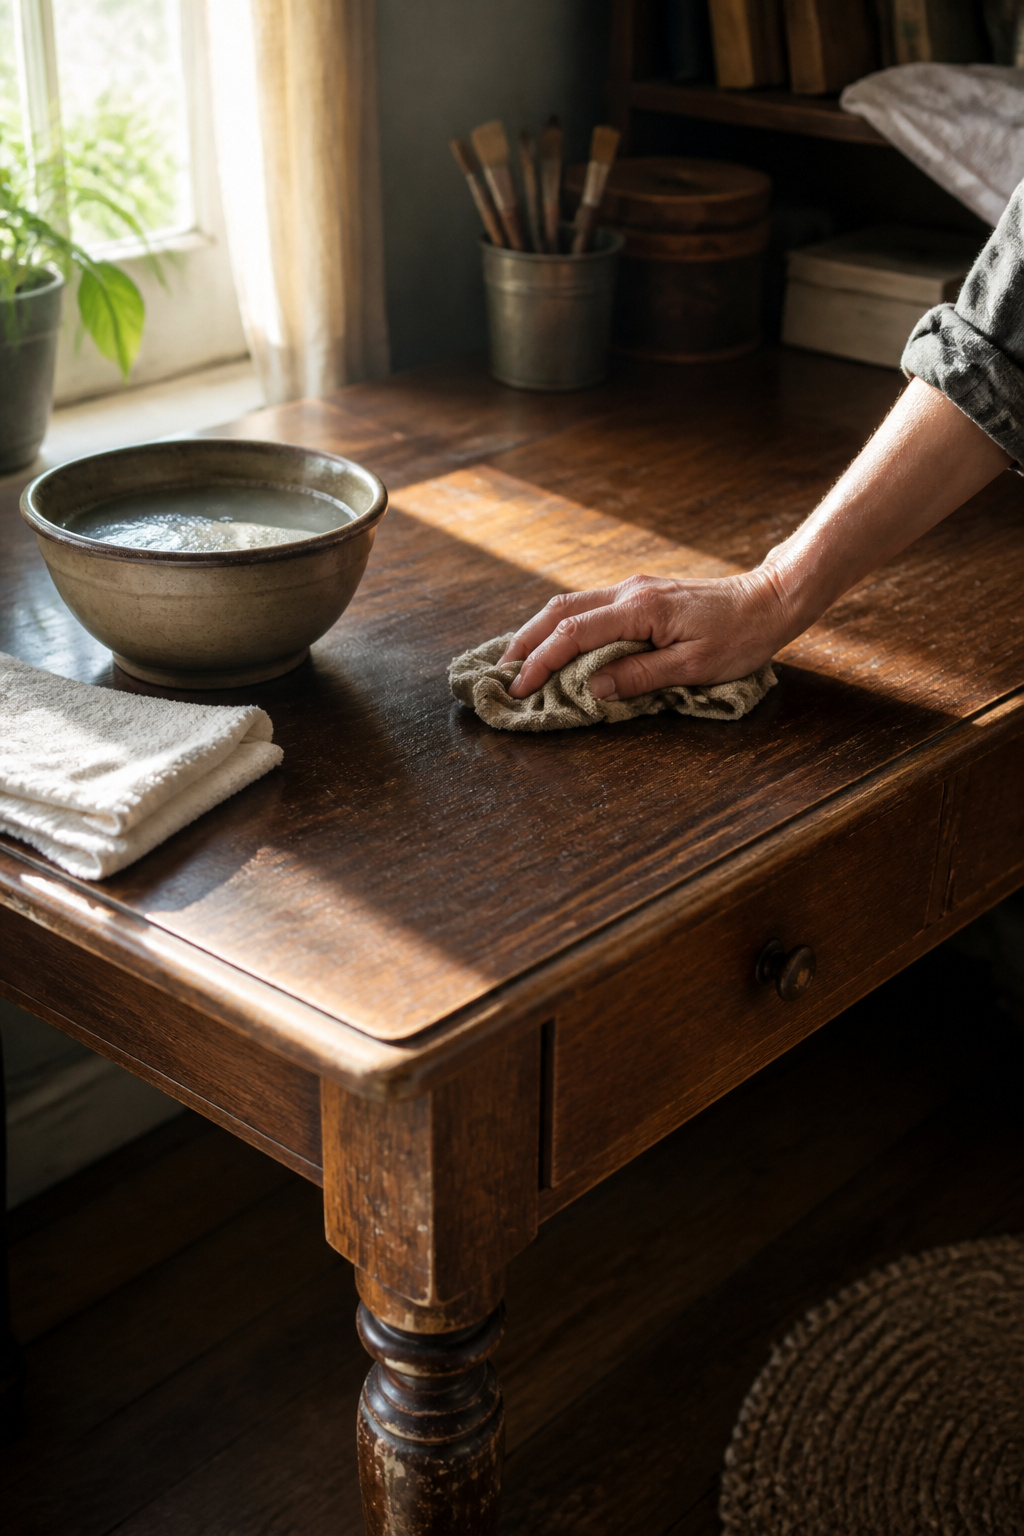
Chalk paint is forgiving, but a clean surface is still non-negotiable. Dust, grease, and old polish create a barrier the paint has to fight through, and fighting paint never ends well.
I mix a few drops of dish soap into warm water and wipe every surface with a rag that has some grip to it, not a fluffy microfiber that just pushes grime around. The legs, the underside of the apron, inside the drawer boxes if they are getting painted too. Pine desks especially can harbor years of hand oil along the front edge where palms rest.
Then I dry it completely with a clean towel, running my hand over the wood to catch any tacky spots I missed. Water left sitting raises the grain or traps dampness under the first coat, and that is a problem you will not see until the paint starts to bead or flake. Ten minutes of thorough drying now saves sanding back to bare wood later.
Most makers I have learned from treat this step as absolute, even with Annie Sloan Chalk Paint’s reputation for sticking to almost anything. The paint may bond, but bond and bond well are different standards when a desk sees daily coffee cups and elbow grease.
3. Light Sanding

Chalk paint advertises itself as no-prep, and sometimes that promise holds up. Solid wood in decent shape, no flaking, no mystery residue from the last decade, can go straight to color. The paint grips well enough, and you save twenty minutes.
Laminate, high-gloss finishes, or a desk that has lived through years of skin oil and coffee rings are a different story. A quick pass with 220-grit sandpaper scuffs the surface enough for the paint to bite, and it knocks down splinters or raised grain you did not notice in the store. The dusting afterward matters more than the sanding itself. A tack cloth picks up what a dry rag pushes around.
I skip this step maybe half the time, always on pieces that feel clean and matte already. When I do sand, it is less about roughing up the whole plane and more about targeting the spots where paint tends to let go first: edges, drawer fronts, anywhere hands rest.
4. First Coat of Chalk Paint
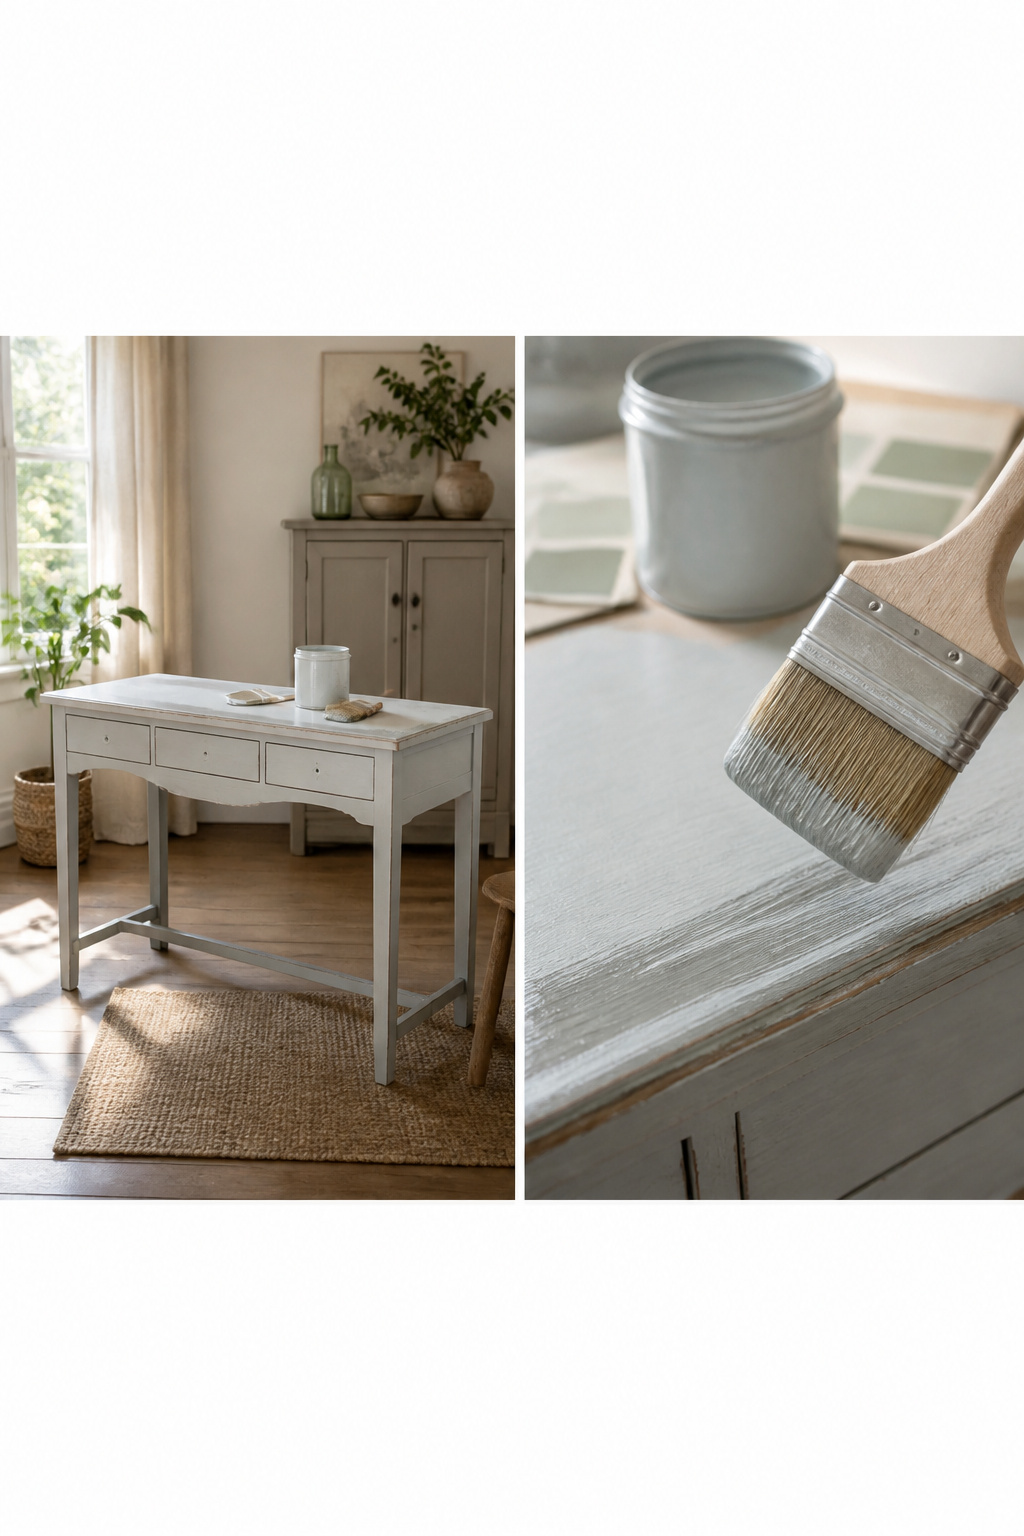
A natural-bristle brush loaded with Annie Sloan Chalk Paint lays down the first layer with more drag than coverage, which is exactly what you should expect. Work with the grain on any surface that has one; the paint skips slightly over the ridges and pools in the valleys, leaving streaks that look like failure but are not. Three brands have given me this same thin first pass: Annie Sloan, FolkArt in Parisian Gray, and Valspar in Kid Gloves. None of them blanket the desk on round one. The first coat is meant to be imperfect; it is a tinted primer more than a finish, and chasing opacity now wastes paint and leaves ridges. Load the brush lightly, spread it thin, and let the streaks stand until the second coat.
5. Second Coat
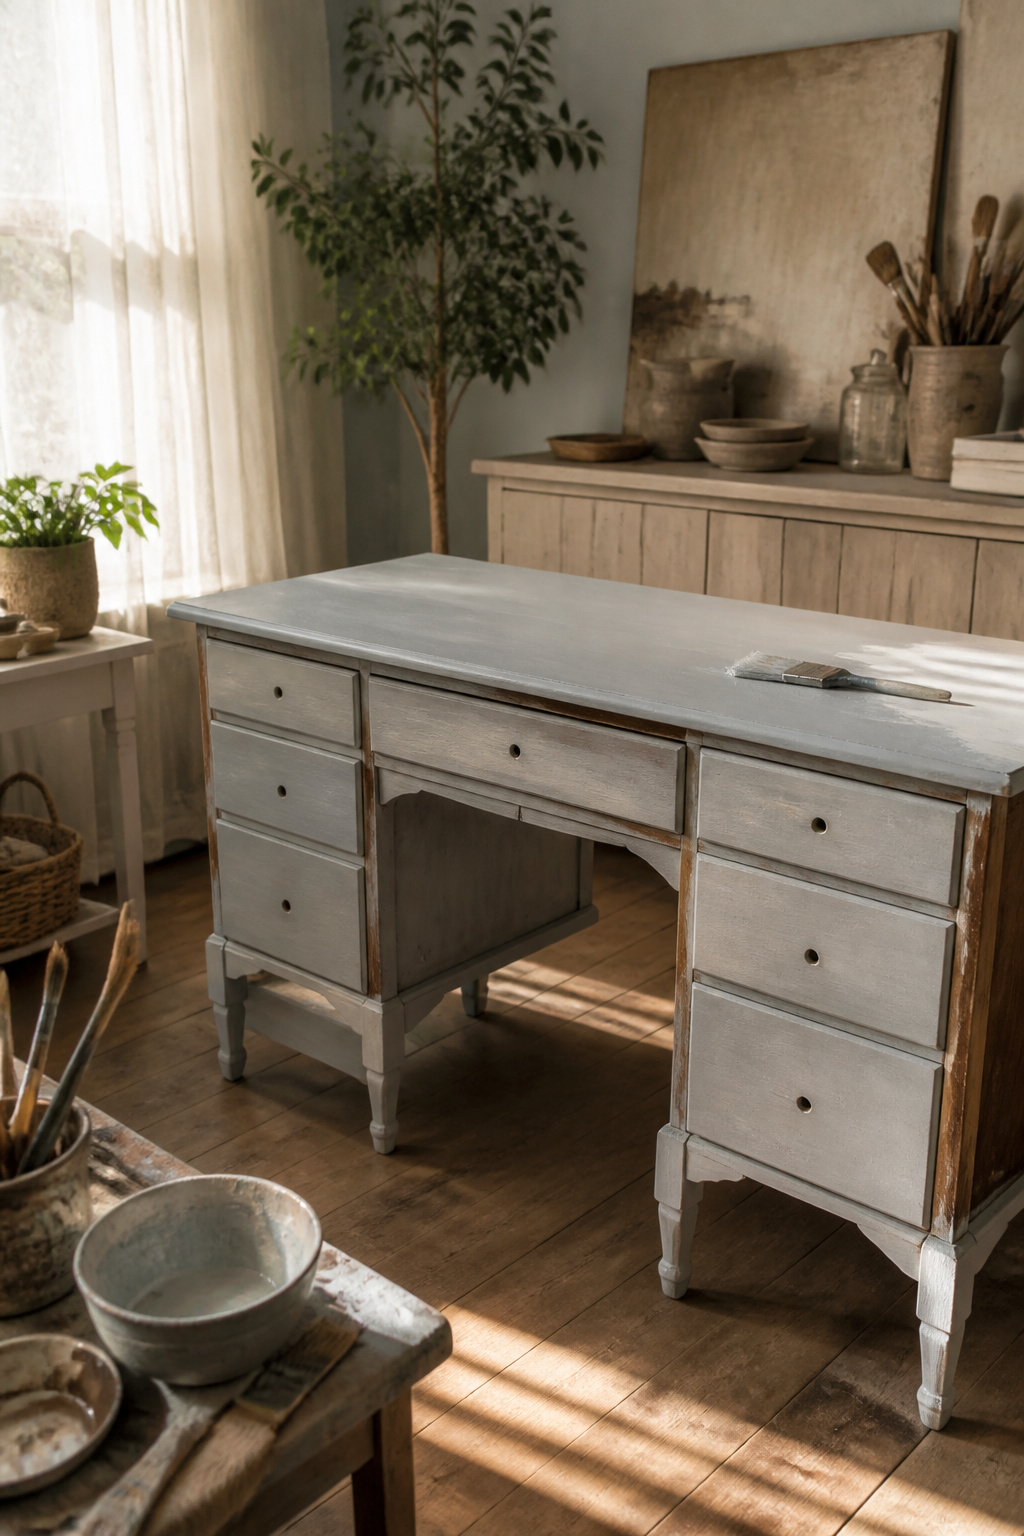
The first coat on my desk dried to the touch in about an hour, which is when I started the second. Two coats is the standard for most chalk paint desk projects; three only enters the conversation if the color still reads uneven or if the original finish is dark and bleeding through. That second coat is where the finish actually happens. The first layer can look thin and a little desperate, like it’s trying to cover more than it can. The second one settles in and gives you the depth and opacity you pictured. I worked in the same direction as the first coat, keeping the brush strokes loose enough that they flattened out as the paint set. If you’re chasing an ultra-smooth surface, a very light sanding between coats with fine-grit paper helps, though I skipped it and still got a finish I could live with. Let this coat dry fully before you decide whether a third is necessary. In most cases, you won’t need one.
6. Distressing
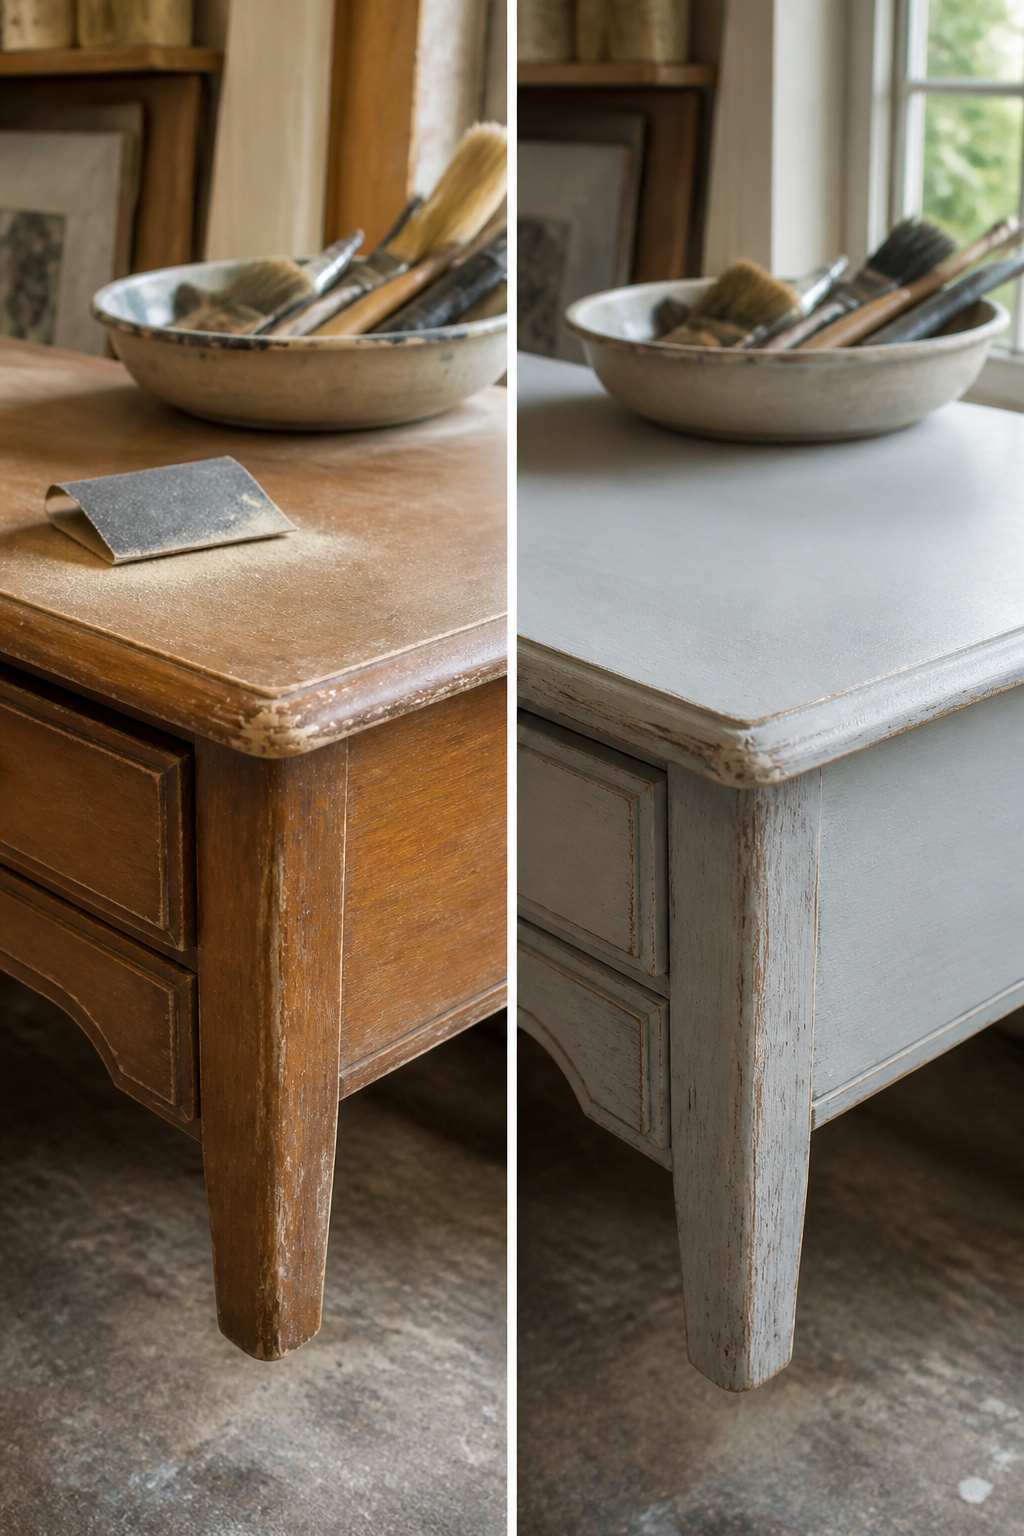
220-grit sandpaper is what you want for this part, not anything heavier. The paint comes up easier than you expect, so a lighter grit keeps you from accidentally stripping back to bare wood everywhere.
I think about where a desk actually wears after years of use: the front edge where forearms rest, corners that bump against chair backs, raised details on drawer fronts that catch sleeves, the lip of the tabletop where bags and coffee cups slide across. Those spots get the first passes with the sandpaper. Corners and raised details are where the original wood or your base color shows through most naturally, because that is where real furniture gets knocked and rubbed over time.
The degree of distressing is a judgment call. One approach is to sand only around detail areas and existing dents, keeping the wear subtle. Another is to sand the entire top deliberately, especially if you painted a base color underneath and want that layer visible for a layered, weathered effect. Go lightly; you can always add more paint back and start again if you take off too much, but building the look back up takes more patience than most afternoon projects allow.
7. Wax Finish
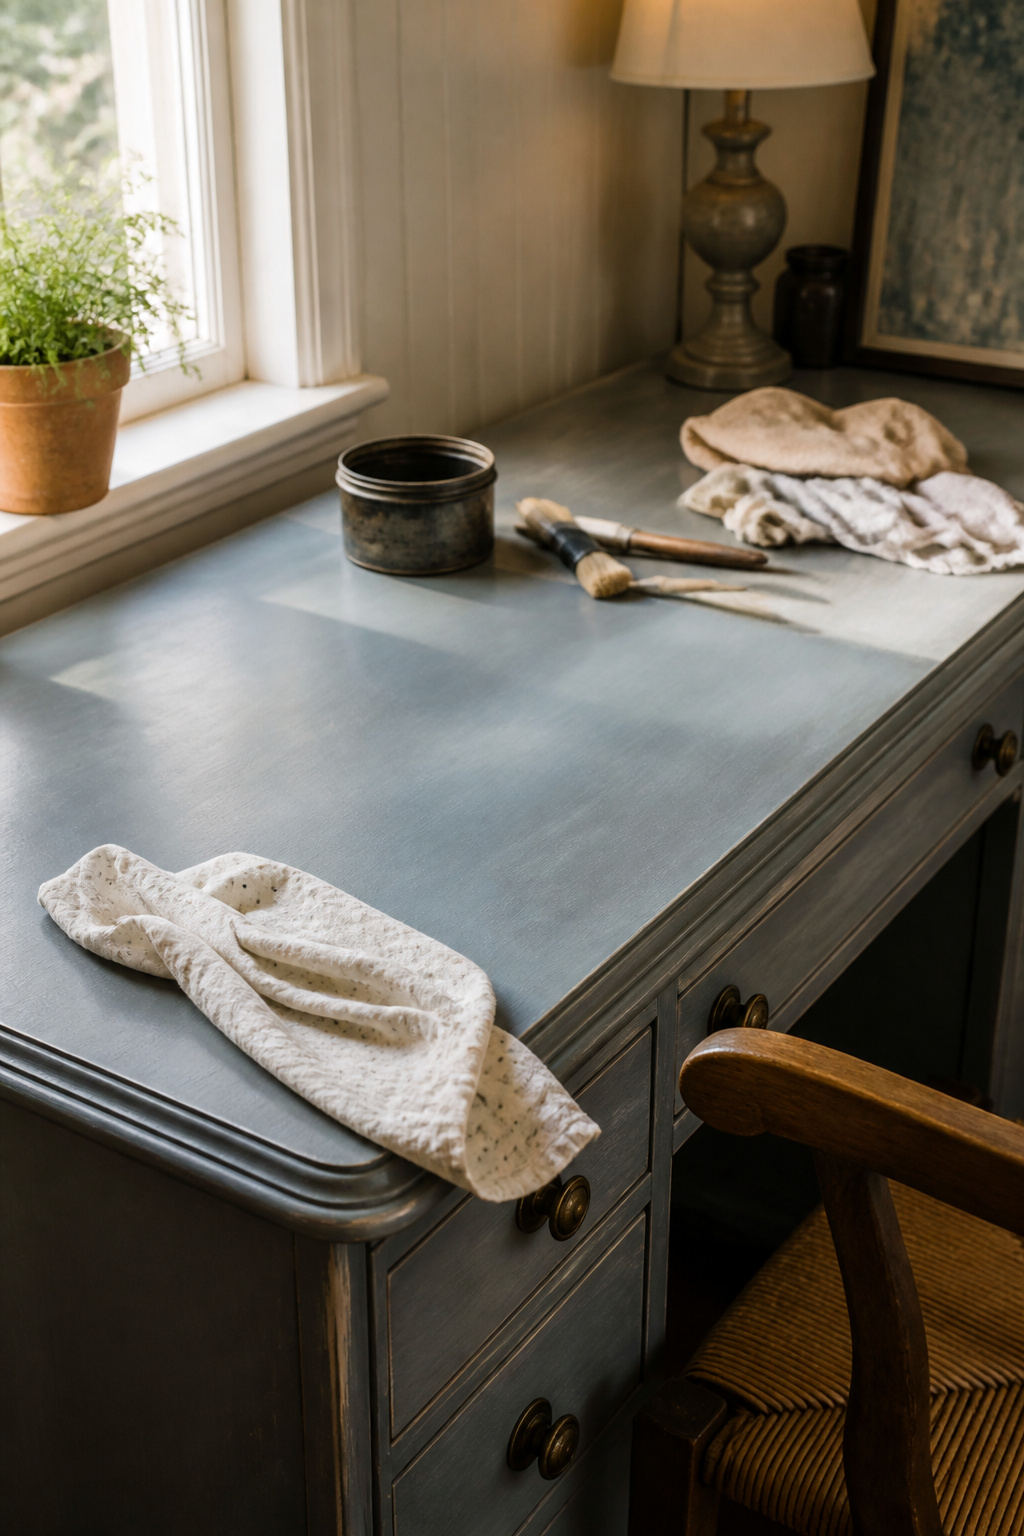
Clear wax keeps the chalk paint color you painted; dark wax ages it. I learned this distinction the hard way on my first piece, brushing dark wax over pale blue and watching it turn muddy before I could wipe it back. Work in small sections, one drawer front or leg at a time, so the wax stays workable while you decide how much to leave behind.
A soft cloth, even an old cotton onesie cut into rags, gives more control than a brush. Rub the wax on thin, then buff while it is still fresh. The sources split on layering order: one maker put clear wax down first as a barrier, then dark wax over it for depth; another used dark wax straight onto the paint and only came back with clear wax to soften edges she had sanded too aggressively. Either approach works, but the clear-first method forgives more if you hesitate.
Buffing is not optional. The surface stays tacky, collects dust, and marks easily until you have worked it to a low sheen with the cloth. Even then, wax needs time to harden fully before the desk goes back to daily use. A few days of light use, a week if the piece gets heavy wear, lets the finish cure to something durable enough for coffee cups and notebooks.
8. Reattach Hardware and Drawers

The brass pulls I started with looked expensive once, but against the new color they read as leftover from someone else’s room. That mismatch is worth trusting. New hardware runs about $2.50 apiece if you catch the discount rack, and the swap takes ten minutes with a screwdriver. I filled the old holes with wood filler when the spacing did not line up, sanded smooth once it dried, and the surface looked like nothing had been there.
Drawers slide back in last, after the paint has cured enough that you will not thumb-print the finish. The piece looks finished in a way it has not since you started, and the afternoon you set aside turns out to have been enough.
What You Need
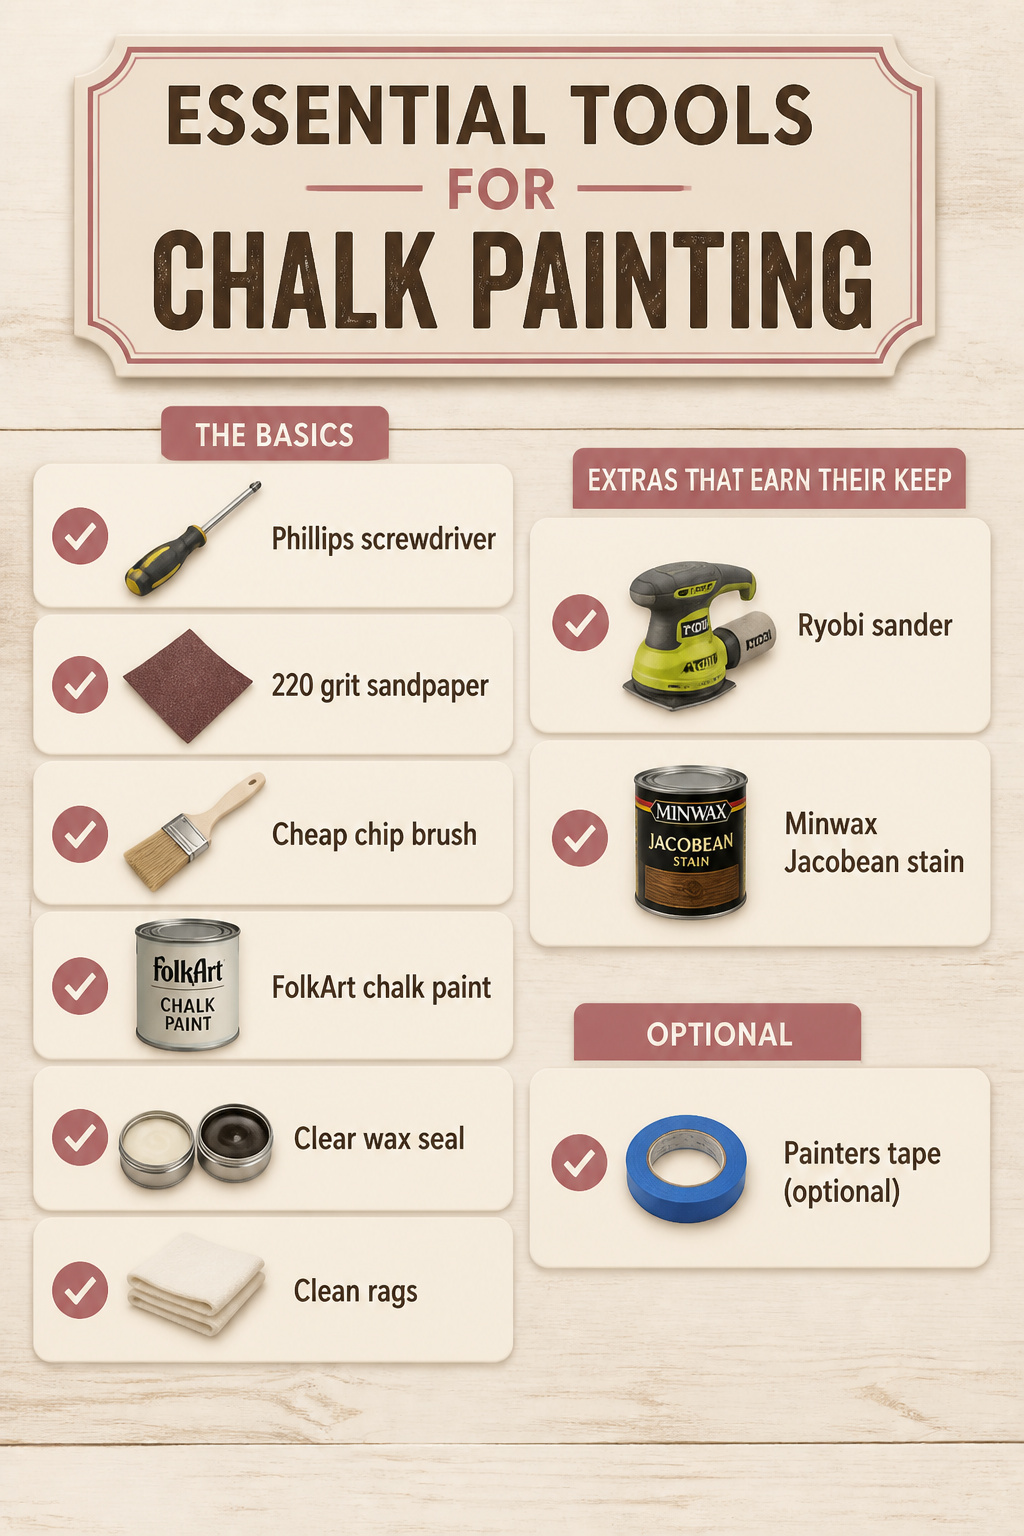
Most of what you need is probably already in a drawer somewhere. A Phillips screwdriver pulls the hardware, and 220 grit sandpaper knocks down the old finish. For the paint itself, chalk paint goes on thick enough that a cheap chip brush or foam brush does the job; Annie Sloan, FolkArt, and Valspar are the three brands that keep coming up in project write-ups. FolkArt in Parisian Grey covers a whole desk from one container if you are not being wasteful, though a pale color over dark wood took three coats in one case I read through. Clear wax is the standard seal, dark wax if you want age instead of clean. Clean rags, and I mean actually clean, because lint in fresh wax is a pain to fix.
A few extras that earn their keep:
- Ryobi sander for anything bigger than a side table; hand-sanding a desktop is possible but slow
- Minwax Jacobean stain if you distress back to wood and want that wood darker than it came
Painters tape is optional. One builder used it to shield already-painted legs while staining the top; waiting to paint the base until after the stain would have skipped that step entirely.
Chalk Paint Against Latex
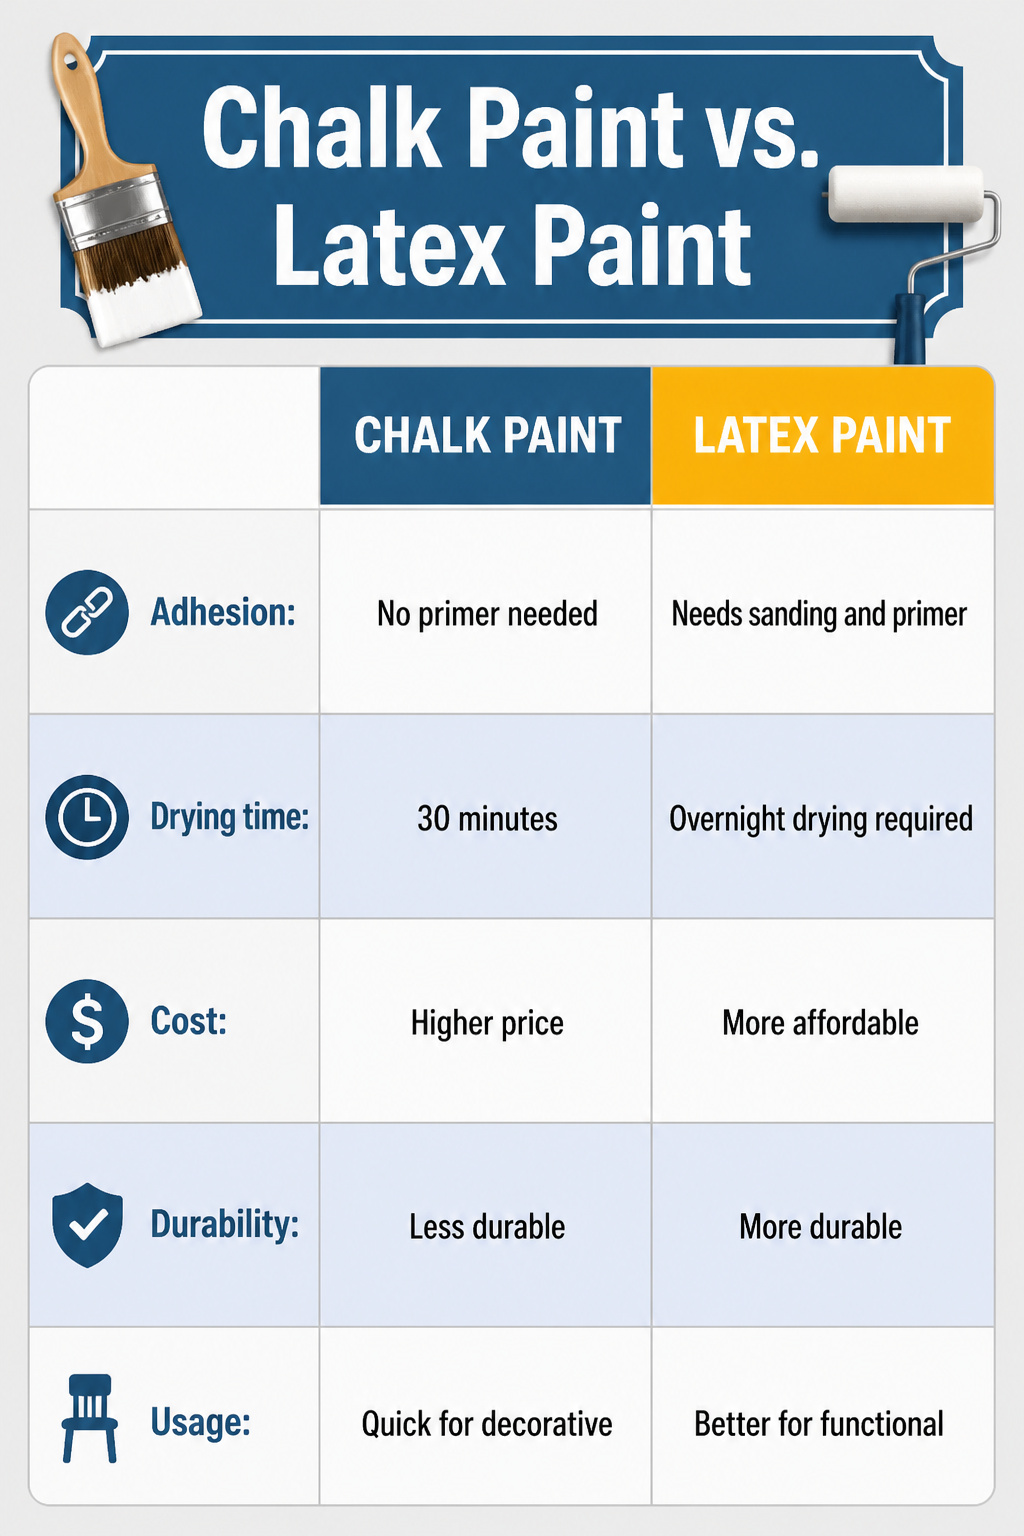
Chalk paint and latex sit at opposite ends of the furniture-painting spectrum, and the choice between them usually comes down to how much sanding you are willing to do. Chalk paint sticks to raw wood, existing varnish, and even some laminates without primer, which saves an afternoon of prep work. It also dries to the touch in roughly thirty minutes, so two coats and a light sanding between them can happen in a single day. The downside is the price tag, often double or more what a quart of latex costs, plus the cost of clear wax or a water-based topcoat to seal the finish. Without that seal, chalk paint scuffs and water-rings almost immediately.
Latex wins on durability and price. A good interior latex with a satin or semi-gloss sheen holds up to daily desk use without any waxing at all. The catch is the prep: most furniture needs sanding to rough up the surface, then a bonding primer, then two coats of paint, with overnight drying between each layer. For a desk that sees coffee cups and elbow grease, that extra labor buys a harder, more washable surface. For a piece that is more decorative than functional, chalk paint’s speed often justifies the higher cost.
Clear Wax Against Dark Wax
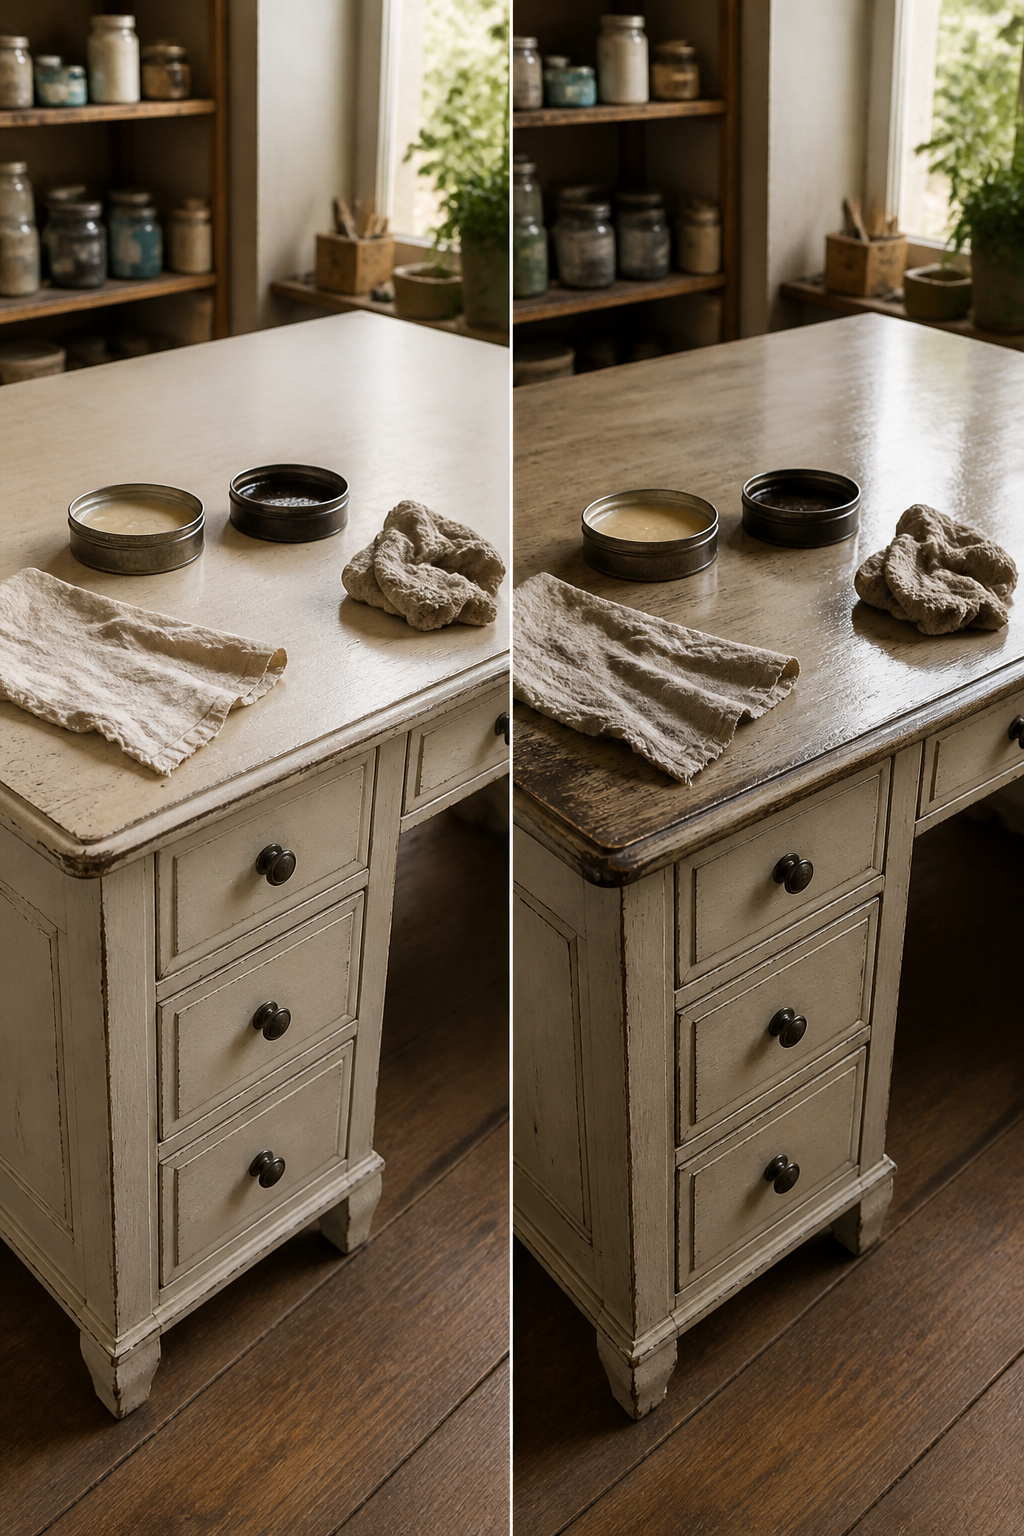
Clear wax keeps the paint color you actually chose. Dark wax settles into cracks and corners and ages the piece visually, sometimes more than you meant. I have used both on the same desk, and the order matters.
The safer move is clear wax first, then dark, then buff back before the dark stain locks in. That buffer layer keeps the dark from soaking straight into the paint and turning the whole surface muddy. On a two-toned desk, you can use clear wax alone on the drawers for contrast while the body carries the aged look. An old soft cloth works for rubbing both on and off; pieces of a worn baby onesie do the job better than anything store-bought.
Sand any edges you want exposed after the dark wax goes on, not before. Sanded raw wood will drink the dark wax and stay stained if you hit it too early. If you do expose original paint underneath, a wipe of clear wax over the sanded spot smooths the transition without losing the lighter color.
Painting Laminate
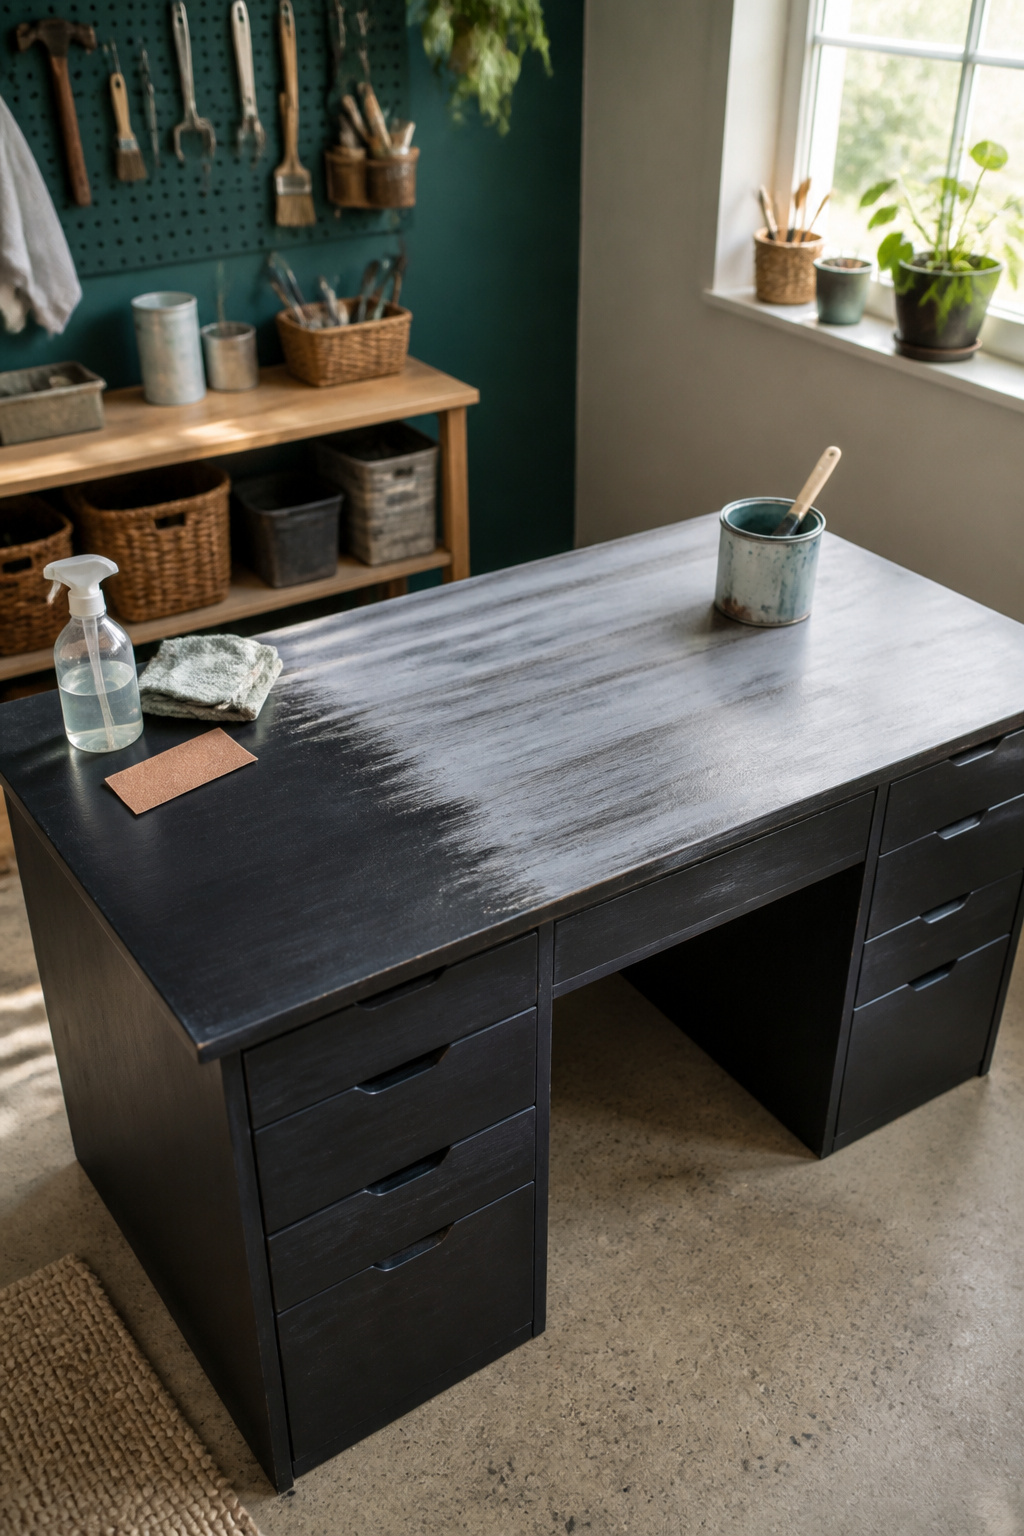
Laminate desks are where chalk paint earns its reputation, because the surface looks smooth and non-porous and a lot of people assume it will reject anything you brush on. The paint grips fine, but the first coat will look thin and streaky, almost like a wash, and that is normal. The second coat fills it in completely.
What matters more than on raw wood is the prep. Grease and the film left by furniture polish stop the bond before it starts, so the cleaning step needs to be aggressive, not a quick wipe. A vinegar-water mix cuts through it. After that, a light sanding with 220 grit just to break the sheen gives the paint something to bite into without cutting through the laminate layer underneath.
One coat on laminate can be discouraging enough that you start calculating how much paint you have left for a third or fourth pass. In my reading, two coats does the job for most colors, though a light shade over dark laminate may need that third pass in spots. Let it dry fully between coats; chalk paint dries fast, but rushing it risks lifting what you just laid down.
Frequently Asked Questions
Do I need to sand before using chalk paint?
Sanding is not strictly necessary, but a light pass with 220-grit sandpaper helps on laminate, high-gloss finishes, or desks with years of skin oil and coffee rings. Solid wood in decent shape can go straight to color. When you do sand, target edges, drawer fronts, and anywhere hands rest rather than roughing up the whole surface.
How many coats of chalk paint do I need?
Two coats is standard for most chalk paint desk projects. The first coat will look thin and streaky, almost like a tinted primer; the second coat gives you the depth and opacity you pictured. A third coat only becomes necessary if the color still reads uneven or if a dark original finish is bleeding through.
What type of wax should I use after painting?
Clear wax keeps the paint color you chose; dark wax ages the piece visually by settling into cracks and corners. The safer approach is clear wax first as a barrier, then dark wax over it for depth, buffing back before the dark stain locks in. On a two-toned desk, you can use clear wax alone on drawers for contrast while the body carries the aged look.
Can I use chalk paint on laminate furniture?
Yes, but the first coat will look thin and streaky, almost like a wash, and that is normal. Grease and furniture polish residue stop the bond before it starts, so clean aggressively with a vinegar-water mix first. A light sanding with 220 grit to break the sheen gives the paint something to bite into without cutting through the laminate layer.
How long does chalk paint take to dry?
Chalk paint dries to the touch in roughly thirty minutes, and the first coat on a desk is typically ready for a second pass in about an hour. Let each coat dry fully before deciding whether a third is necessary; rushing it risks lifting what you just laid down, especially on laminate.