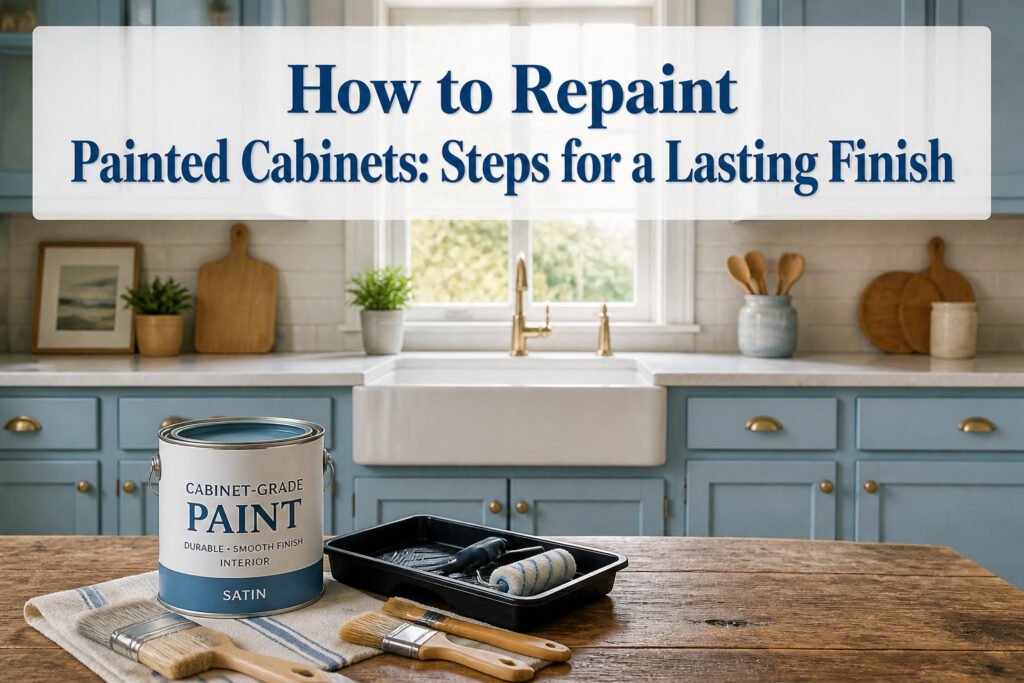
Repainting painted cabinets means adding a new coat over an existing one rather than stripping down to bare wood, but the old finish has to be willing to let it stay. Grease wins every time if you skip the degreaser step, and TSP is the heavy-duty cleaner that actually cuts through years of kitchen grime. Two thin coats of cabinet-grade paint, with 24 to 48 hours between them, separate a finish that lasts from one that chips by the first winter.
1. Remove Doors and Hardware

A drill makes quick work of the hinges, though a screwdriver works fine if that is what is already in the junk drawer. The doors come off easier with a second pair of hands; balancing a solid wood slab while the bit spins is a skill I do not possess, and my countertop and sink full of dishes paid the price for trying it solo. Label every door and its matching hardware before anything else, because the memory of which hinge belongs where will not survive the afternoon. Masking tape and a Sharpie do the job, or the raffle-ticket method if you want to feel organized. Stack the doors against a garage wall or along the baseboard where they will not get kicked. The knobs, pulls, and screws go into labeled bags or small containers; losing one specialty screw turns a Saturday project into a Tuesday errand. Drop cloths or plastic sheeting go under the frames and across the floor, because paint splatter on tile grout is a permanence you do not want to discover at cleanup time.
2. Clean With Degreaser
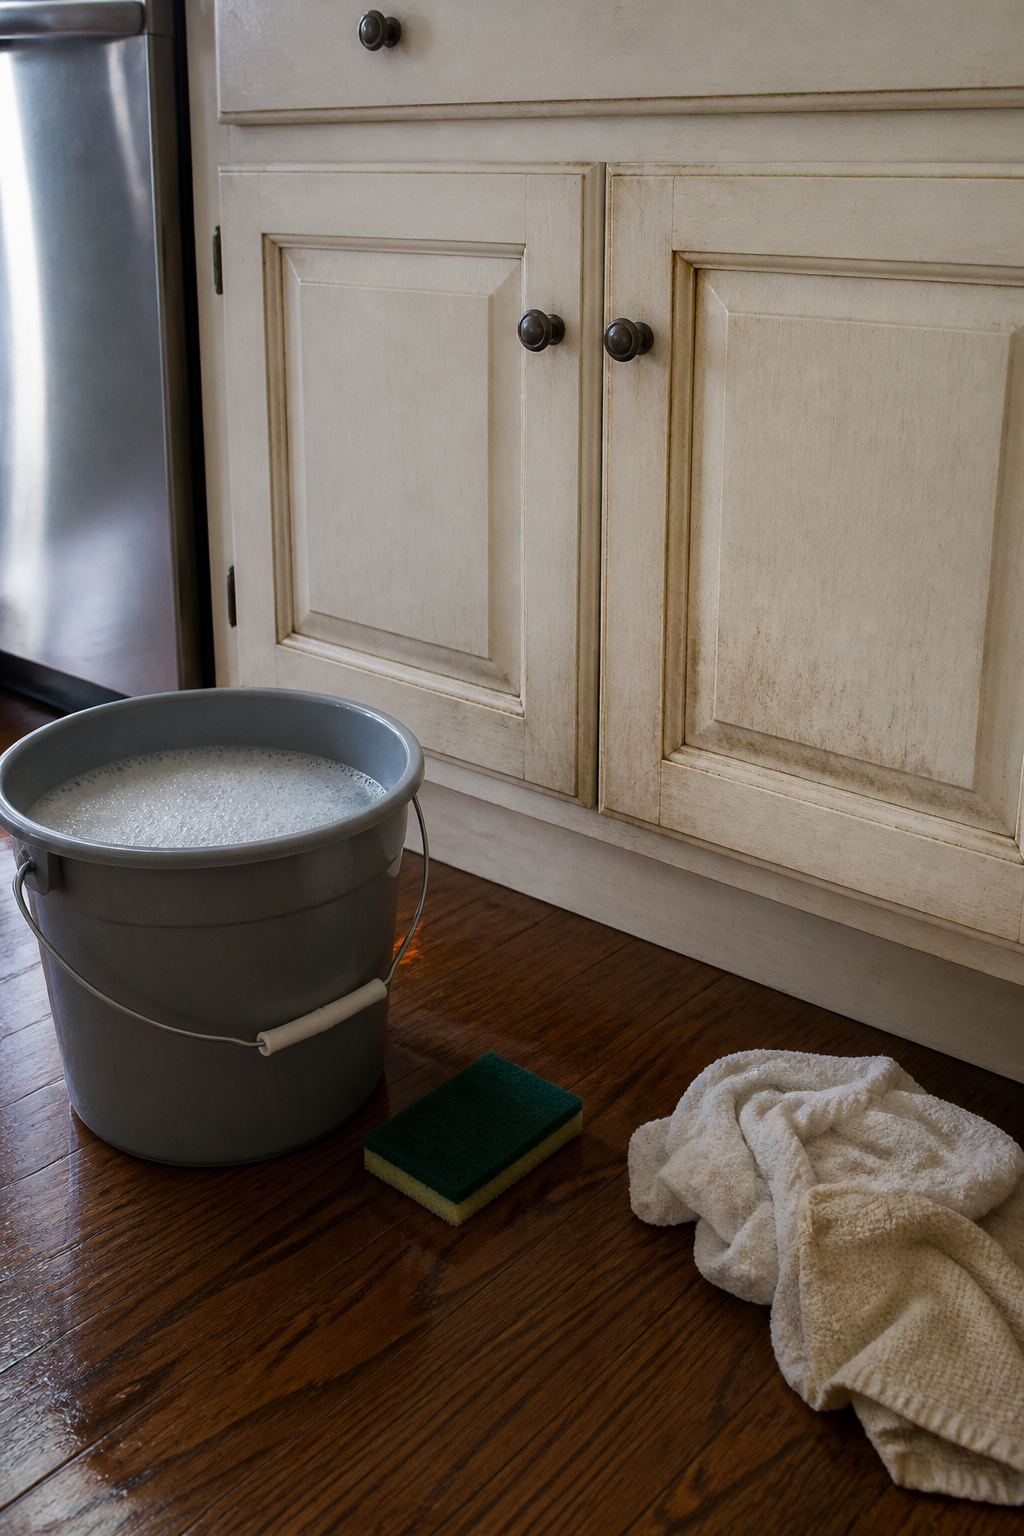
Grease wins every time if you skip this step. Kitchen cabinets collect years of oil and grime that dish soap won’t touch, and paint sticks to that film about as well as tape to dust. TSP, or trisodium phosphate, is the heavy-duty cleaner that actually cuts through it. One tablespoon mixes into two gallons of water, so a single box outlasts most of the project.
I have learned to read the label twice. TSP-PF, the phosphate-free version, handles the same degreasing job without the environmental restrictions some areas place on the original formula. Either way, the mix goes into a bucket, not straight onto the wood.
A scouring pad works the cleaner into corners and across flat panels where grease hides in the grain. Wipe with cleaning cloths or paper towels, rinse, then wipe again. The surface should feel slightly tacky-clean, not slick. Any remaining oil will telegraph through primer later, so the second pass matters more than the first. Let everything dry completely before you move on to sanding.
3. Sand or Degloss
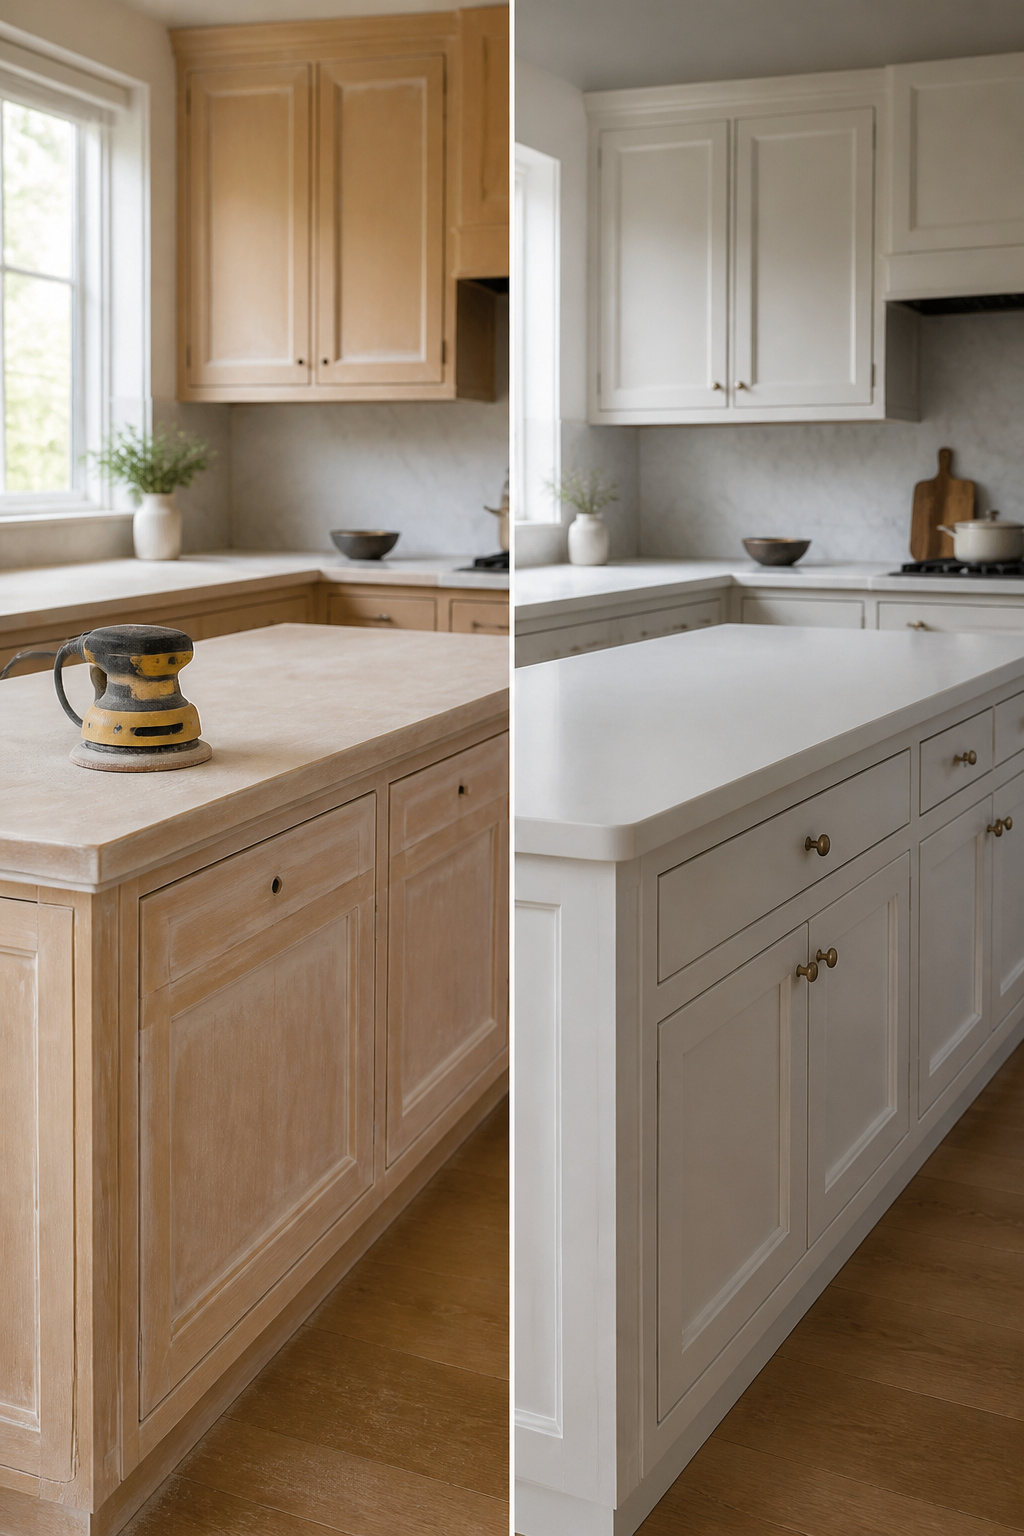
A gentle scuff with 100- to 150-grit sandpaper is enough to knock the sheen off old paint and give the next coat something to grab. You are not stripping back to bare wood, just breaking the surface gloss so primer does not skate across it. Corners and grooves need hand work; flat panels go faster with an orbital sander if you have one.
Some tutorials push liquid deglosser as a way to skip the dust entirely. That might hold for a quick furniture flip, but kitchen cabinets take daily abuse from hands, steam, and cleaners. I have not used deglosser on cabinets myself, so I cannot speak to how it holds up two years in. For a finish that stays put, sanding wins. Vacuum the dust, wipe with a damp rag, then run a tack cloth over the crevices before you move on.
4. Fill and Sand Smooth
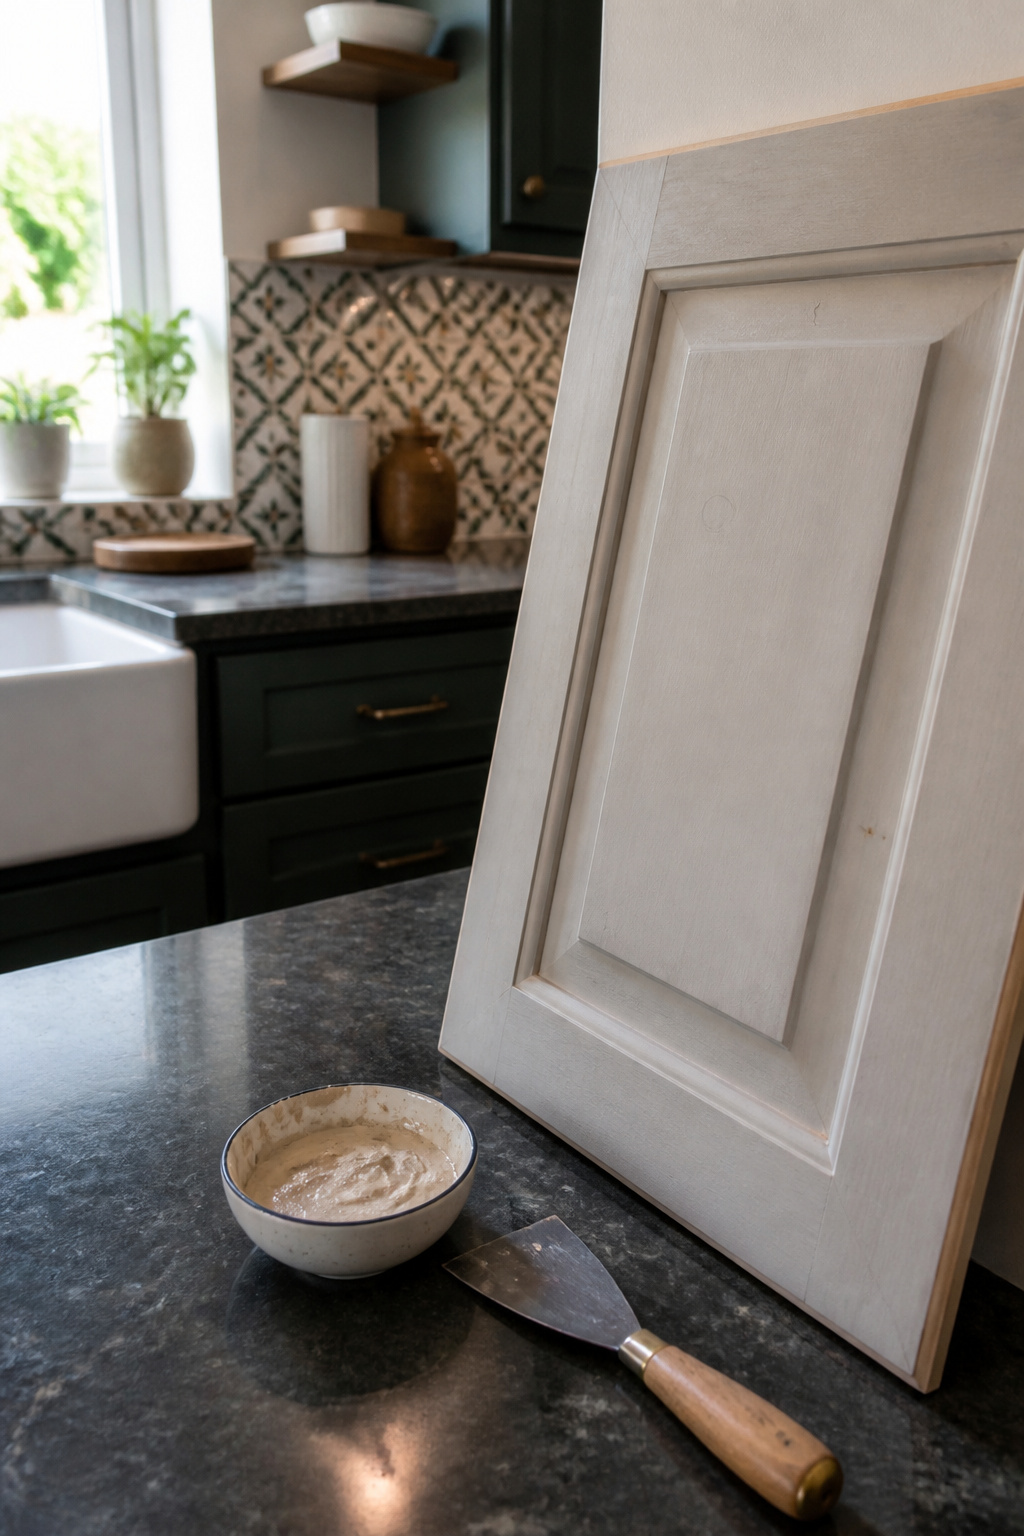
The first time I skipped wood filler on a cabinet repaint, the dimples showed through like thumbprints under a new coat two weeks later. Now I run my hand over every door and drawer front after the deglossing step, marking dents and old hardware holes with a pencil stub.
Wood filler goes on with a putty knife, pressed in slightly proud so it can shrink as it dries. Most brands need an hour or two; the label wins over guesswork here. Once it turns pale and hard, sand it flush. The sources split on grit sequence: 120 to 150-grit handles the leveling work, then 220-grit after that removes the scratch marks and leaves the surface ready for primer. A sanding block keeps the patch flat; fingers round it over without meaning to.
Vacuum the dust, wipe with a damp rag, and hit the corners with a tack cloth. The filler spots should disappear into the surrounding surface. If you still feel ridges, the primer coat will not hide them. It will broadcast them.
5. Prime With Bonding Primer
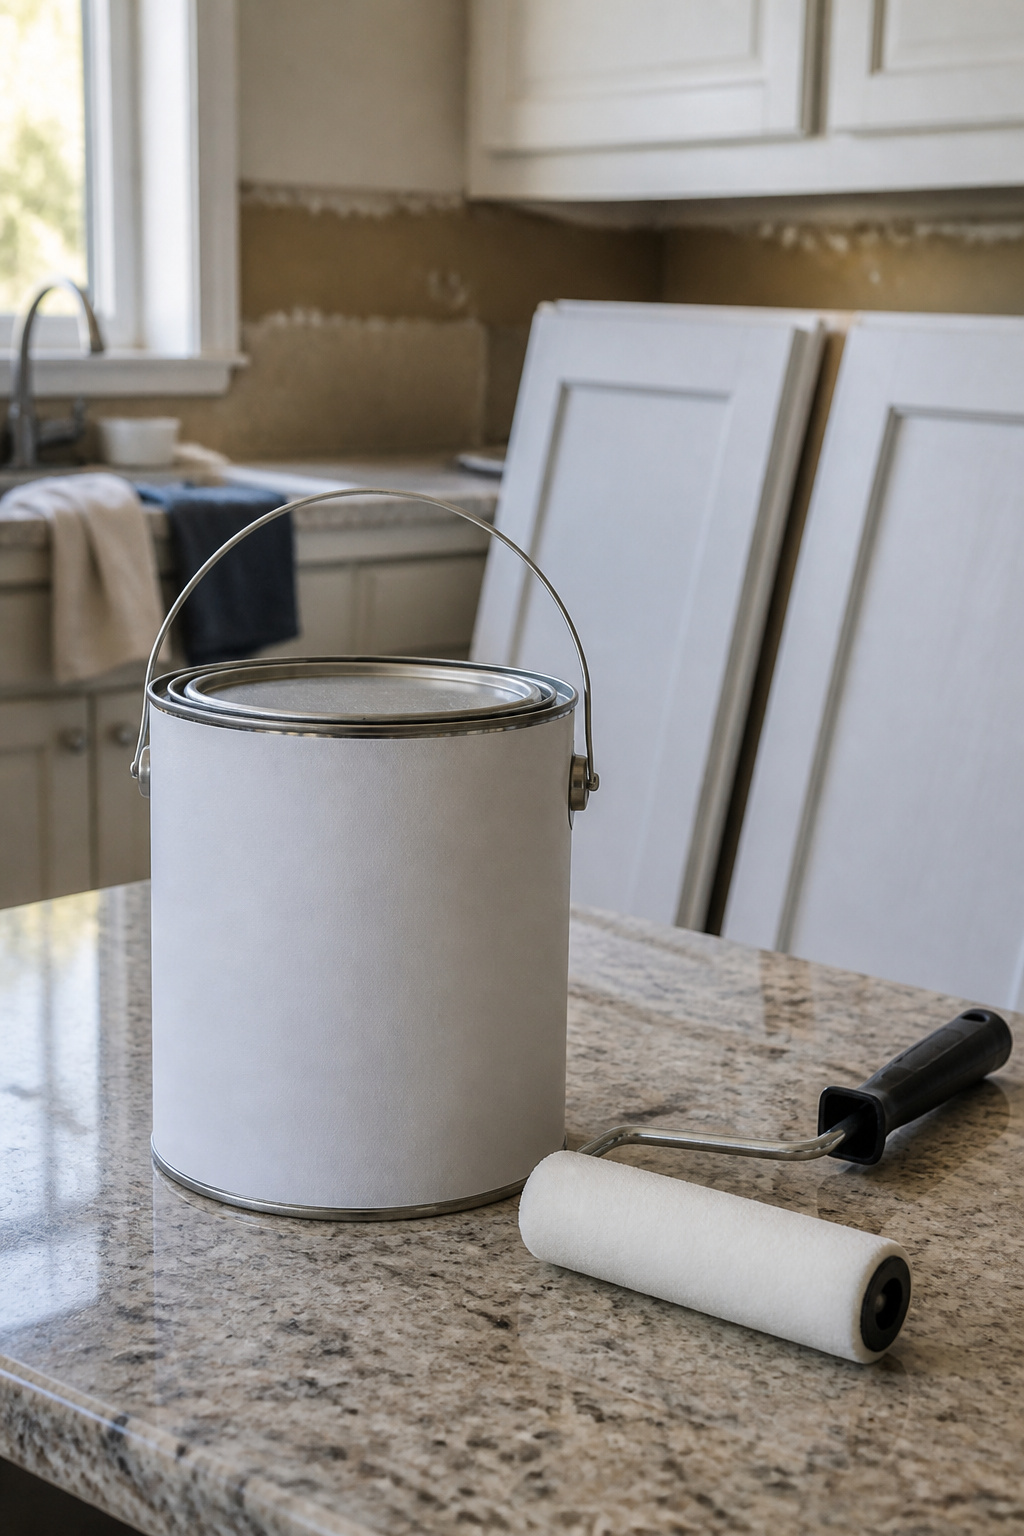
A bonding primer is what separates a repaint that lasts from one that starts chipping in six months. I learned this the hard way on a bathroom vanity where the new paint slid right off the old gloss in sheets, and the whole job had to be stripped back to raw wood. Zinsser Cover Stain is the one I reach for now: it bites into slick or previously painted surfaces even without sanding, though if you have already scuffed the cabinets it gains extra grab. The first time I used it, a single can covered a full kitchen’s worth of doors and frames with a brush and a high-density foam roller, working the corners with the brush and rolling the flats to keep ridges down.
KILZ 3® PREMIUM is the other option that keeps coming up in the conversations I follow, and the choice makes sense if your cabinets live in a kitchen or bath where steam collects. It blocks medium-to-heavy stains so a dark old color does not ghost through the new paint, and the thicker formula fills grain lines for a smoother topcoat. The recoat window is one hour, which matters when you are trying to finish in an afternoon. A mini foam roller keeps the finish level without hauling out a sprayer, though the sprayer crowd swears by the glass-like results if you already own one. Either way, let the primer cure fully before sanding again lightly and wiping the dust away; paint over tacky primer and the durability never recovers.
6. Paint Thin Coats
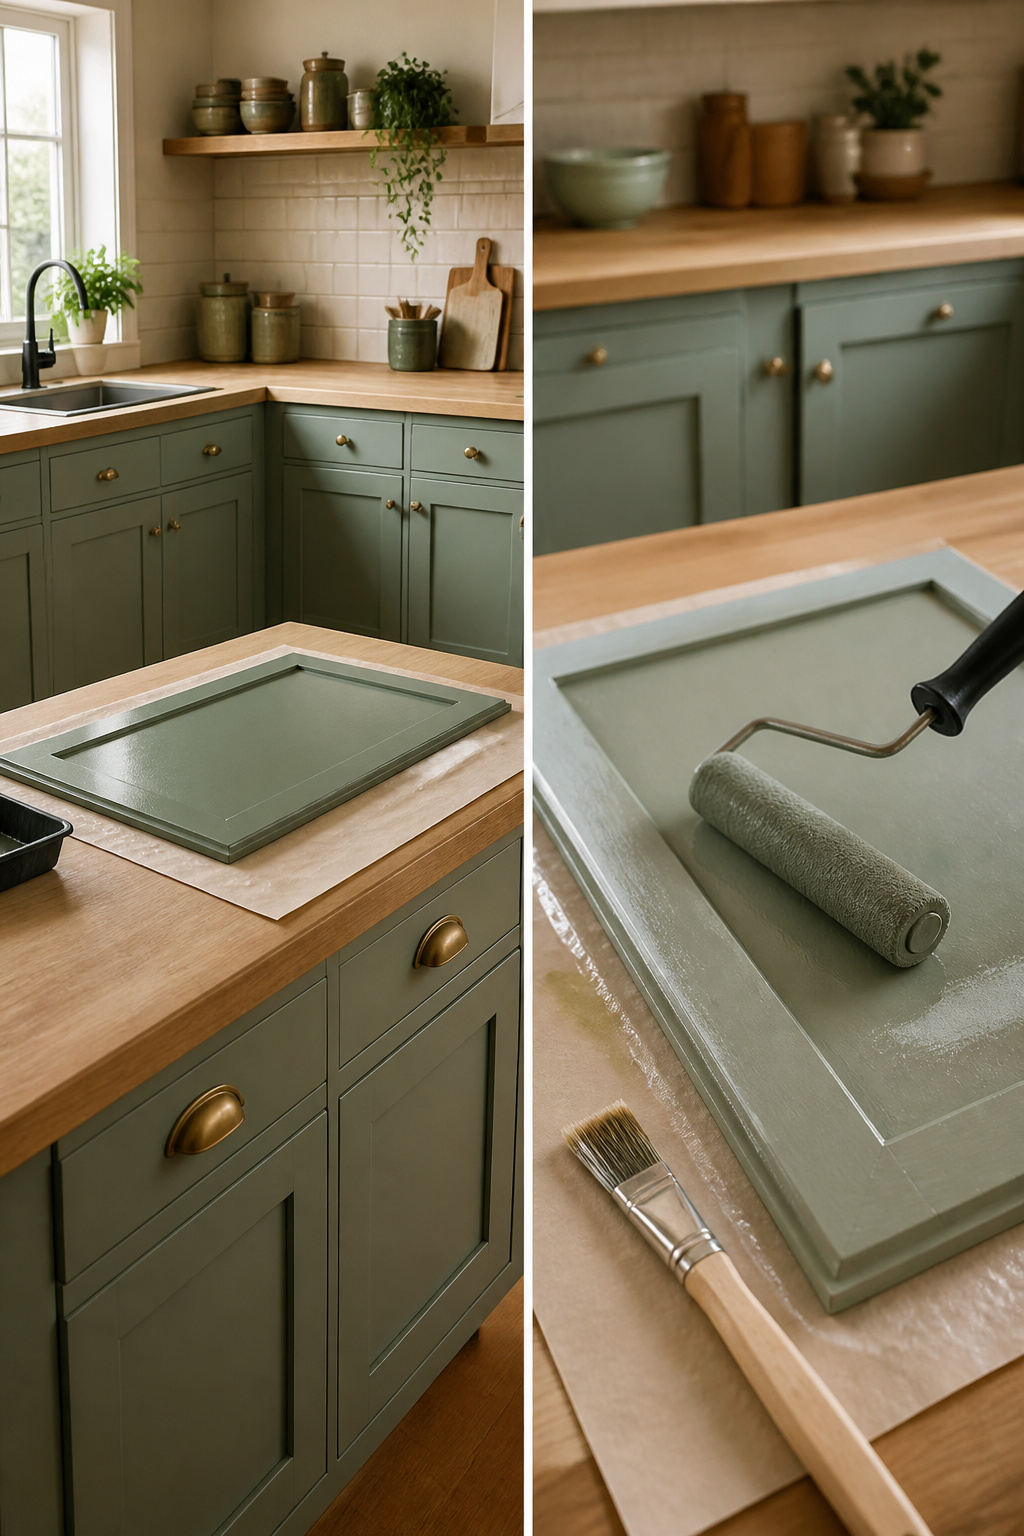
Cabinet paint is not wall paint with a different label. General Finishes Milk Paint and Fusion Mineral Paint both hold up to the daily abuse cabinets take: moisture, grease, the occasional collision with a skillet handle. The difference shows up six months in, when cheaper finishes start chipping at the edges and these do not.
A foam roller with rounded ends covers the flat surfaces fast, and a one-inch to two-inch angled brush works the beveled edges where a roller cannot reach. Two light coats beat one heavy coat every time. Heavy paint runs, sags, and dries with the texture of an orange peel. Thin coats level themselves out.
The hard part is the wait. Product labels vary, but 24 to 48 hours between coats is the range that actually works. Rushing it traps solvents underneath, and the surface stays tacky for weeks. If the first coat shows ridges once it is fully dry, a quick pass with a sanding block knocks them down. Wipe the grit away with a tack cloth before the next coat goes on. The finish is worth the pause.
7. Reattach Doors and Hardware
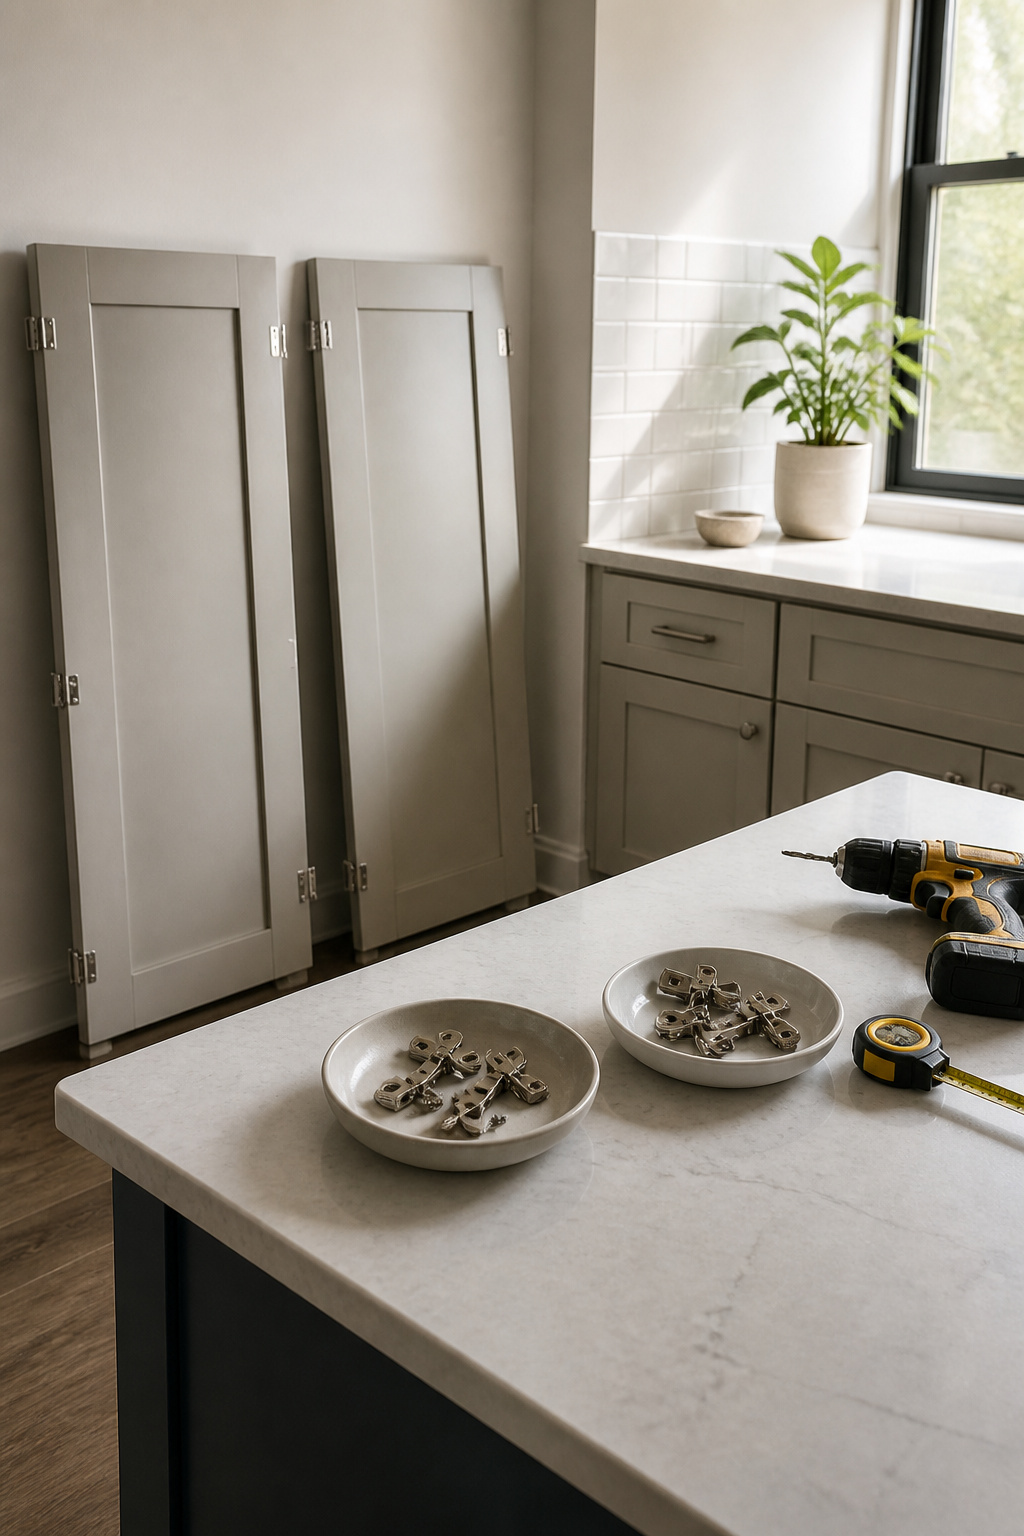
The paint needs time to harden before it takes the stress of hinges and handles. Two or three days of drying beats the minimum 24 hours for a finish that won’t stick or dent when you reinstall the doors.
Those labels from the first step earn their keep here. Matching each door back to its original opening saves the headache of rehanging a cabinet door that suddenly gaps on one side or refuses to close flush. The same goes for hardware: old screw holes can wallow out after years of use, so drilling fresh ones gives the screws something solid to bite into rather than spinning in place.
A second pair of hands helps more at this stage than anywhere else in the project. Holding a door steady while you align the hinges turns into a mid-air juggling act solo. Once the doors are up and the pulls or knobs are on, run every door and drawer through its full range. Anything that binds or sits crooked gets adjusted now, before the new paint starts wearing at the contact points.
Sanding Versus Deglossing
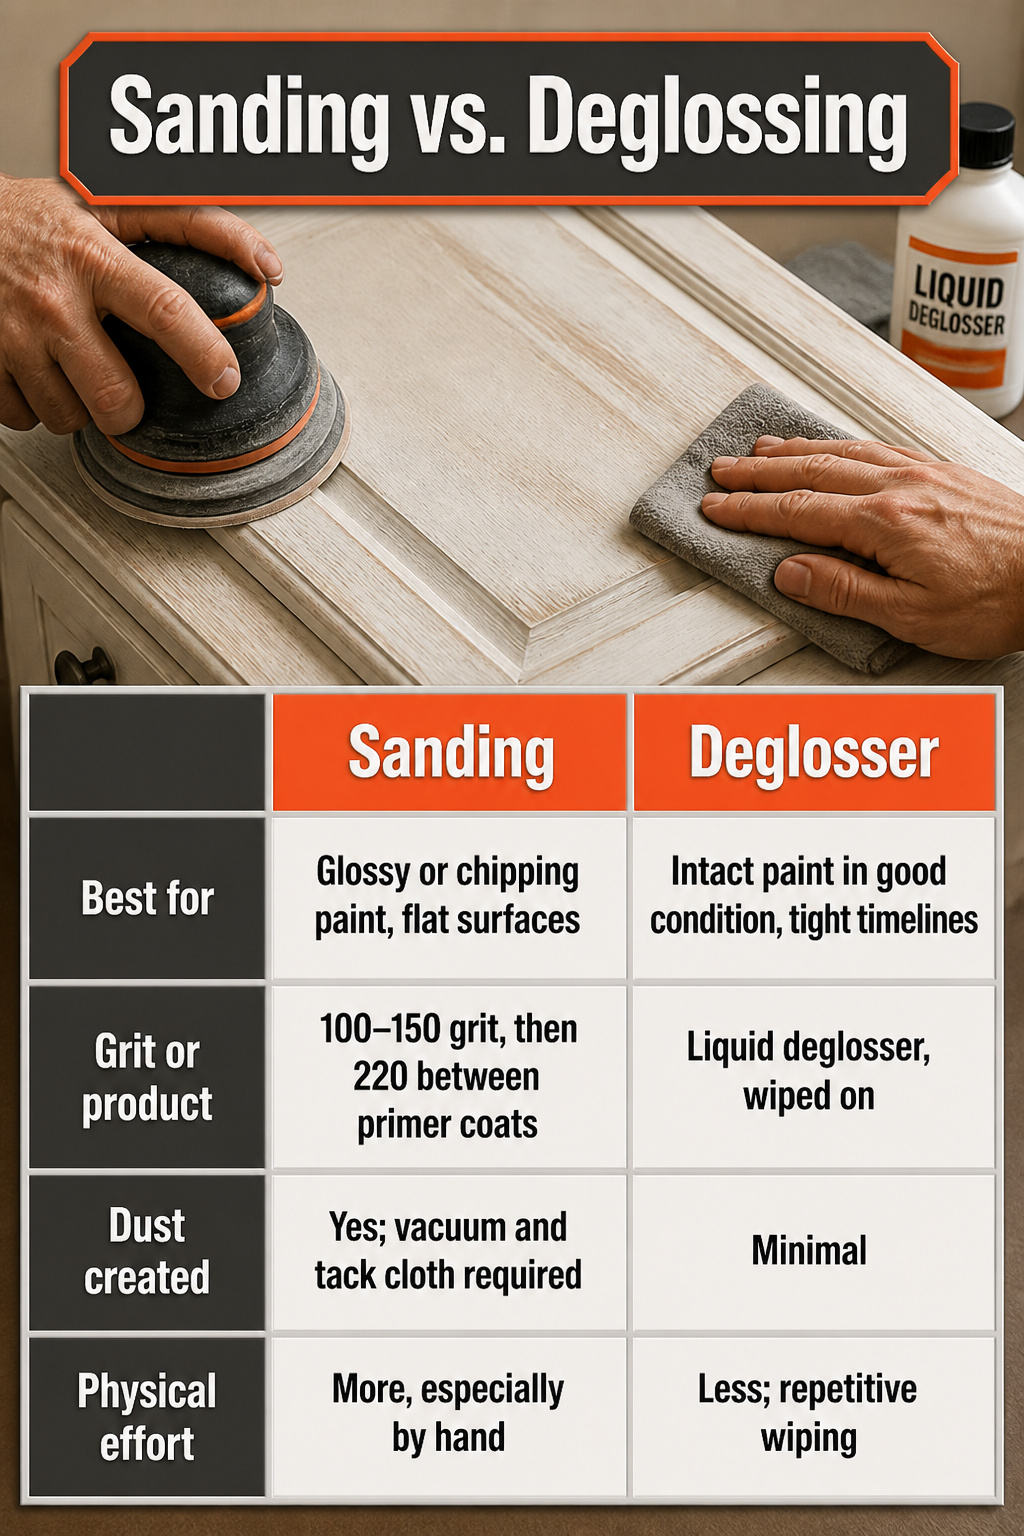
Sanding painted cabinets with 100- to 150-grit paper removes the sheen and gives primer something to bite into. A 120-grit disc on a random-orbit sander covers flat surfaces fast; corners need hand sanding. The dust is the trade-off. Vacuuming and a damp wipe follow, then a tack cloth for the crevices.
Liquid deglosser skips the dust entirely. Wipe it on with a cloth in circles, working in sections, and the surface is ready for paint once it dries. No power tools, no sanding between coats later.
| Sanding | Deglosser | |
|---|---|---|
| Best for | Glossy or chipping paint, flat surfaces | Intact paint in good condition, tight timelines |
| Grit or product | 100–150 grit, then 220 between primer coats | Liquid deglosser, wiped on |
| Dust created | Yes; vacuum and tack cloth required | Minimal |
| Physical effort | More, especially by hand | Less; repetitive wiping |
The real difference shows up on cabinet boxes already painted but not failing. A light scuff with 150 grit roughens the surface enough for bonding primer without cutting through to bare wood. Deglosser works on those same sound surfaces when you want to finish in a single afternoon and clean-up is not part of the plan. For paint that is peeling or cabinets with a clear topcoat still intact, sanding wins; deglosser sits on top of loose material instead of removing it.
Brush, Roller or Sprayer
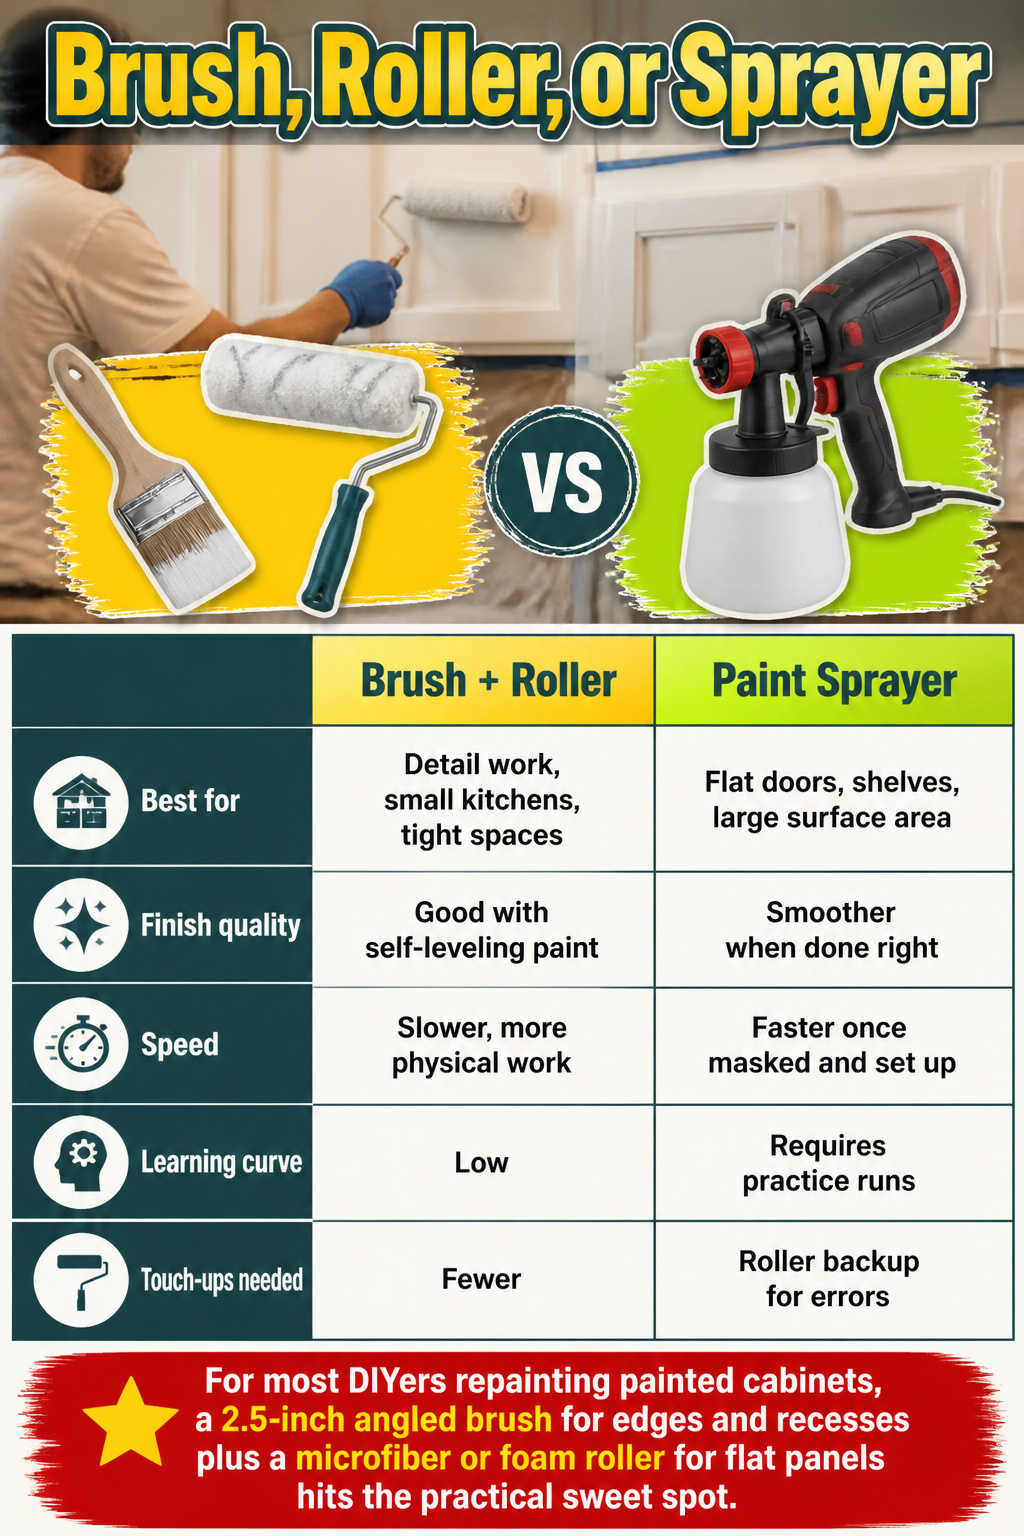
The right tool depends on how smooth you need it and how much setup you’ll tolerate.
A brush and roller still handle most cabinet repaints fine. One source rolled their first cabinet job, saw brush strokes and grain showing through the oak, but lived with it. Another sprayed three topcoats with a paint sprayer for speed, then still pulled out a high-density foam roller to fix spray errors. The self-leveling paint smoothed both methods to where they looked nearly identical after drying.
A sprayer saves time on flat doors and shelves, but it needs masking, ventilation, and practice runs on scrap. One writer spent those practice rounds on other surfaces before touching the actual cabinets.
| Brush + Roller | Paint Sprayer | |
|---|---|---|
| Best for | Detail work, small kitchens, tight spaces | Flat doors, shelves, large surface area |
| Finish quality | Good with self-leveling paint | Smoother when done right |
| Speed | Slower, more physical work | Faster once masked and set up |
| Learning curve | Low | Requires practice runs |
| Touch-ups needed | Fewer | Roller backup for errors |
For most DIYers repainting painted cabinets, a 2.5-inch angled brush for edges and recesses plus a microfiber or foam roller for flat panels hits the practical sweet spot.
What You Need
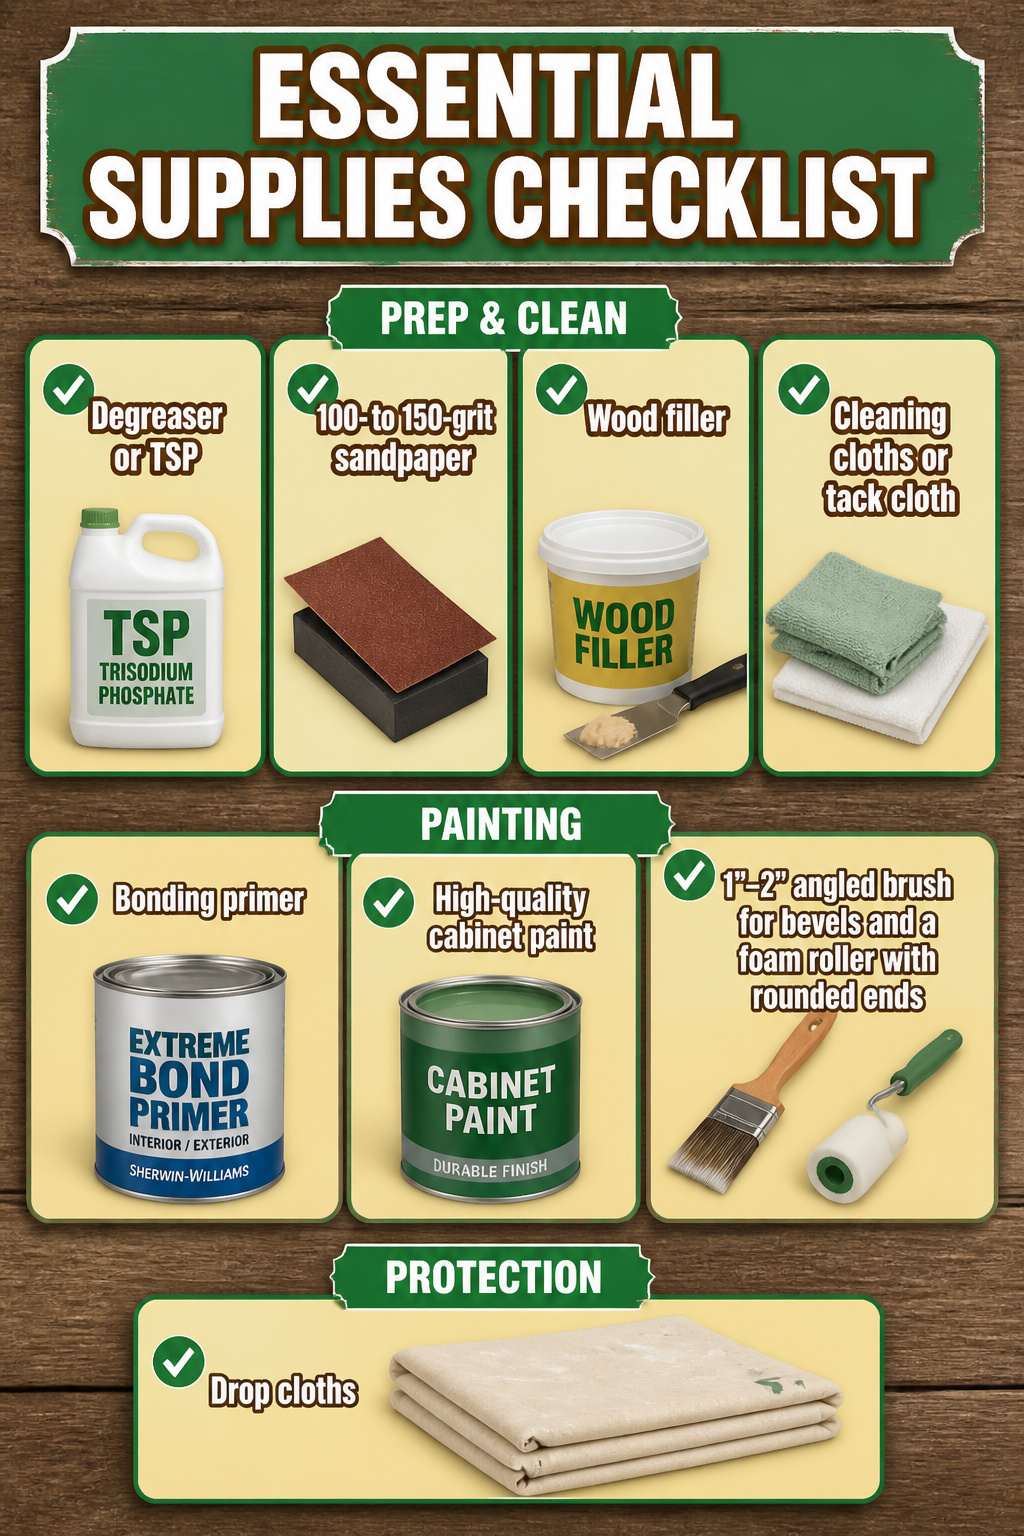
Gathering the right supplies before you start saves the mid-project run to the hardware store. Here is what sits on my counter before the first door comes off:
- Degreaser or TSP to cut through the kitchen film that sanding alone will not touch
- 100- to 150-grit sandpaper on a sanding block for scuffing the old paint without stripping to bare wood
- Wood filler for dents, old hardware holes, or the occasional gouge
- Cleaning cloths or a tack cloth to wipe away grit after sanding
- Bonding primer, Sherwin-Williams Extreme Bond Primer if the surface is slick or glossy
- High-quality cabinet paint, applied with a 1"–2" angled brush for bevels and a foam roller with rounded ends for flat panels
- Drop cloths to protect the floor
Applying Extreme Bond Primer to a test area and letting it dry allows you to test adhesion in an unnoticeable spot before continuing the project. Thanks to this primer’s outstanding adhesion, sanding may not be necessary for most clean, paintable surfaces.
That test spot matters. If the primer grips without sanding, you skip a step; if it does not, you know before you have committed the whole kitchen.
Why Preparation Matters
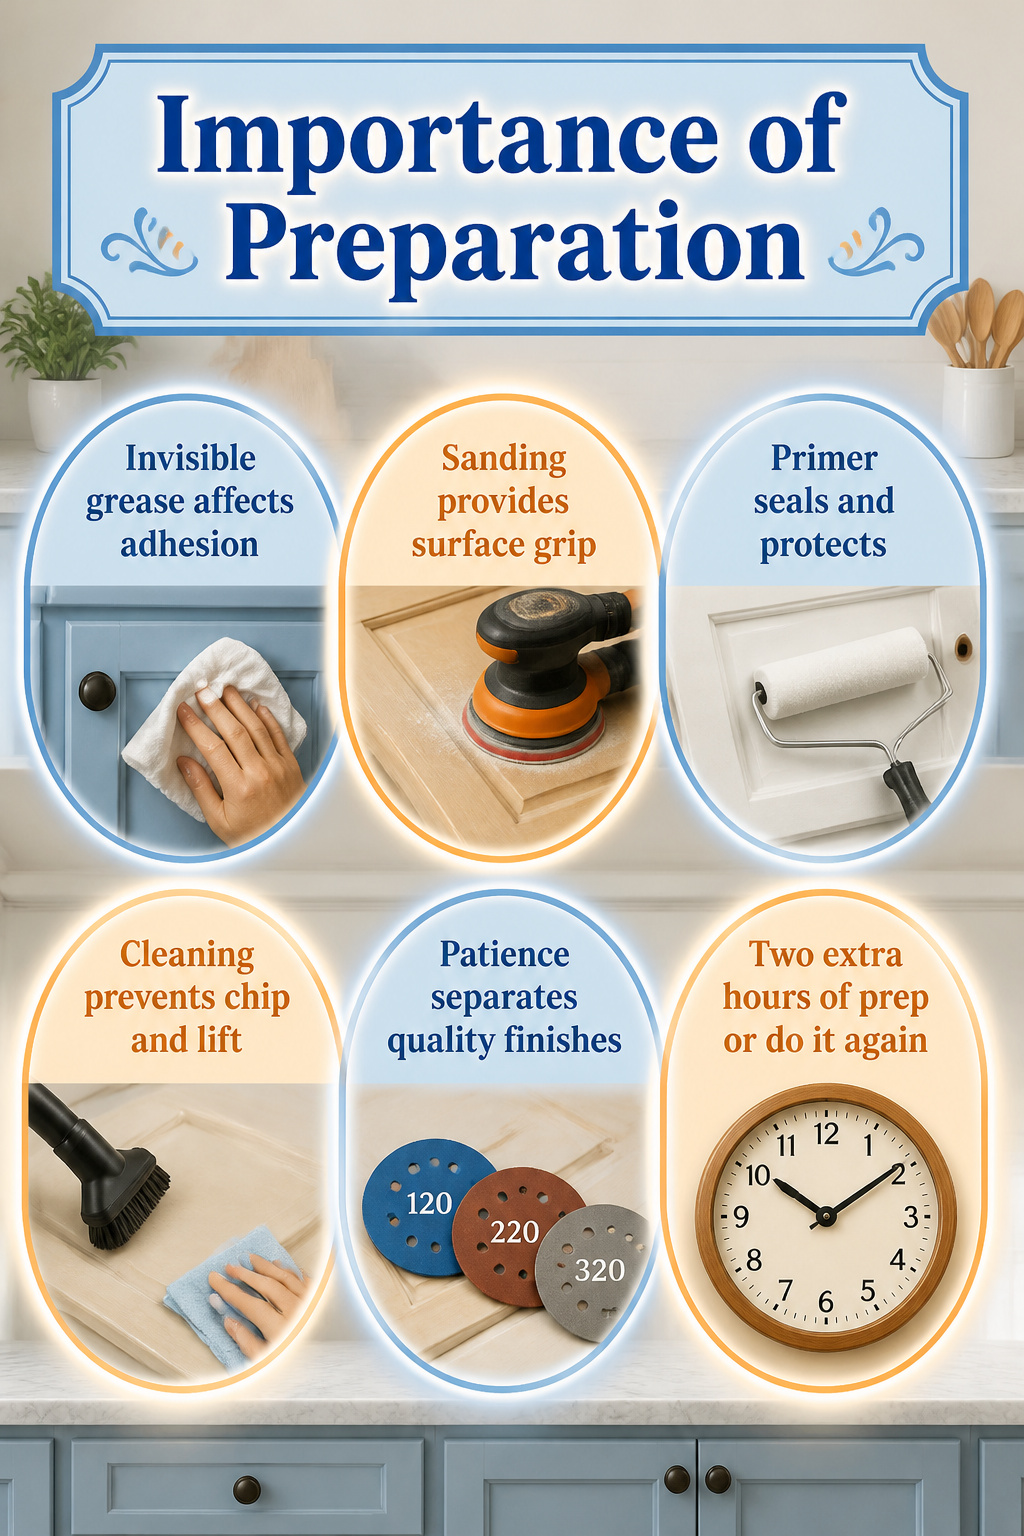
Grease on cabinet doors is nearly invisible until you try to paint over it. The first kitchen cabinet job I read about, the painter skipped the degreaser and went straight to sanding. Six months later the new coat was chipping along the rails where hands had opened and closed the doors for years. Skipping degreaser is the fastest way to ruin a repaint.
Sanding matters because paint needs something to bite into. A 120-grit disc takes off the old sheen without chewing through to bare wood, and that light roughness gives the next layer mechanical grip. One account used only one coat of bonding primer over sanded cabinets and called the extra durability worth the hour of dust. Another tried to skip primer on already-painted boxes, then watched the new color streak and lift within weeks.
Primer does two jobs at once. It seals what is underneath, dark colors or wood grain, so they do not telegraph through. It also gives the topcoat a uniform surface to stick to. A bonding primer sticks even to surfaces that were not sanded, though sanding makes the bond stronger. The tradeoff is time against insurance: two extra hours of prep, or the risk of doing it all again.
Vacuuming and wiping with a tack cloth after sanding catches the particles that a rag misses. One painter sanded between primer and paint with 220 grit, then again between color coats with 320. That level of patience is what separates a finish that lasts from one that flakes by the first winter.
Drying Times and Curing

Paint that feels dry to the touch after a few hours is still soft underneath. Wait 24 to 48 hours between coats, and another 24 to 48 hours after the final coat before you reinstall hardware. That second wait is what keeps pulls and hinges from pressing permanent dents into the finish.
Full curing takes longer than most people want it to. The surface may seem ready, but maximum hardness and true adhesion need five to seven days to develop. During that window, the cabinets are back in service, but they are not back to full abuse. Heavy scrubbing or slamming drawers will leave marks you cannot buff out later. I treat that first week as a gentle phase, not a finish line.
Frequently Asked Questions
Can I repaint cabinets that were previously painted?
Yes. With the right prep work and technique, you can repaint cabinets that were painted before and get a smooth, long-lasting finish. Clean with a degreaser like TSP, sand or degloss the old paint, fill any dents, apply a bonding primer, and finish with thin coats of high-quality cabinet paint.
What paint should I use for kitchen cabinets?
Use high-quality paint specifically designed for cabinetry, not wall paint with a different label. General Finishes Milk Paint and Fusion Mineral Paint both hold up to daily kitchen abuse from moisture, grease, and impacts. Benjamin Moore Advance and Sherwin-Williams Emerald Urethane Trim Enamel are also formulated for the wear cabinets take.
Do I need to sand before painting cabinets?
Light sanding is recommended to improve adhesion, but some methods allow for skipping this step. A gentle scuff with 100- to 150-grit sandpaper breaks the surface gloss so primer can grip. Sherwin-Williams Extreme Bond Primer can eliminate sanding on clean, paintable surfaces if you test a spot first. For paint that is peeling or has a clear topcoat, sanding wins over liquid deglosser.





