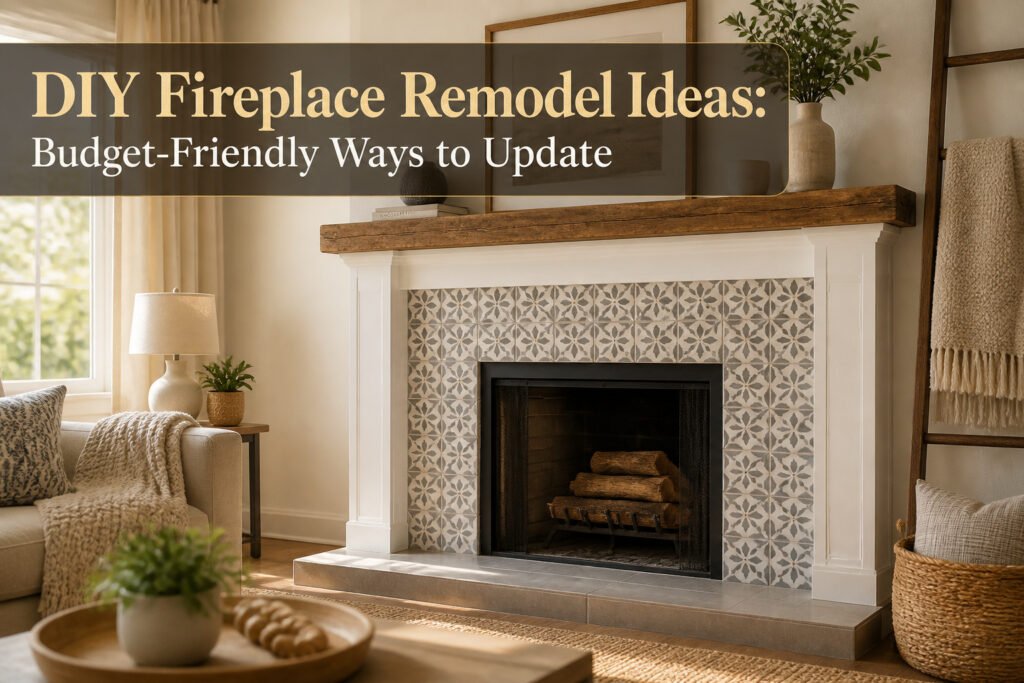
A fireplace remodel DIY project can run anywhere from the cost of a bucket of TSP cleaner to a $1,200 tile surround, and the deciding factor is usually how much heat the surface actually sees. Paint and peel-and-stick tile work fine on the outer surround, but anything within a foot of the firebox opening needs a 1,000°F-rated product like Krylon High Heat Max or it will blister by the next heating season. That temperature boundary is what separates a weekend refresh from a full material replacement.
1. Painting the Fireplace

Painting the fireplace exterior is the fastest full reset in the list, and the one most likely to finish under a weekend. The surface prep matters more than the paint choice: brick holds decades of soot and creosote that latex will slide right over. I start every paint job here with TSP cleaner, scrubbing until the water runs gray rather than black, then let it dry overnight. Skip that step and the new color flakes off by the next heating season.
Two finishes dominate. Standard interior latex or chalk paint works fine for the outer surround and mantel, areas that never get more than warm to the touch. For metal components or anywhere within a foot of the firebox opening, the heat rating becomes the whole decision. Krylon High Heat Max Brush-On is rated to 1,000°F, which covers every exterior surface that might see reflected or conducted heat. Standard paint blisters there; I’ve seen it.
For a whitewash instead of solid coverage, the ratio that gives that semi-transparent, still-textured look is 2 parts water to 1 part paint, measured by volume. Sixteen ounces of water to eight ounces of paint is the working batch size. Brush it on, rag off the excess before it sets, and the brick grain stays visible.
The interior firebox is a separate surface entirely. It contacts open flame directly, and no paint belongs there. The IRC requires mantel and trim clearances that follow manufacturer diagrams regardless of finish, so tape and measure before the first coat goes on.
2. German Smear Technique
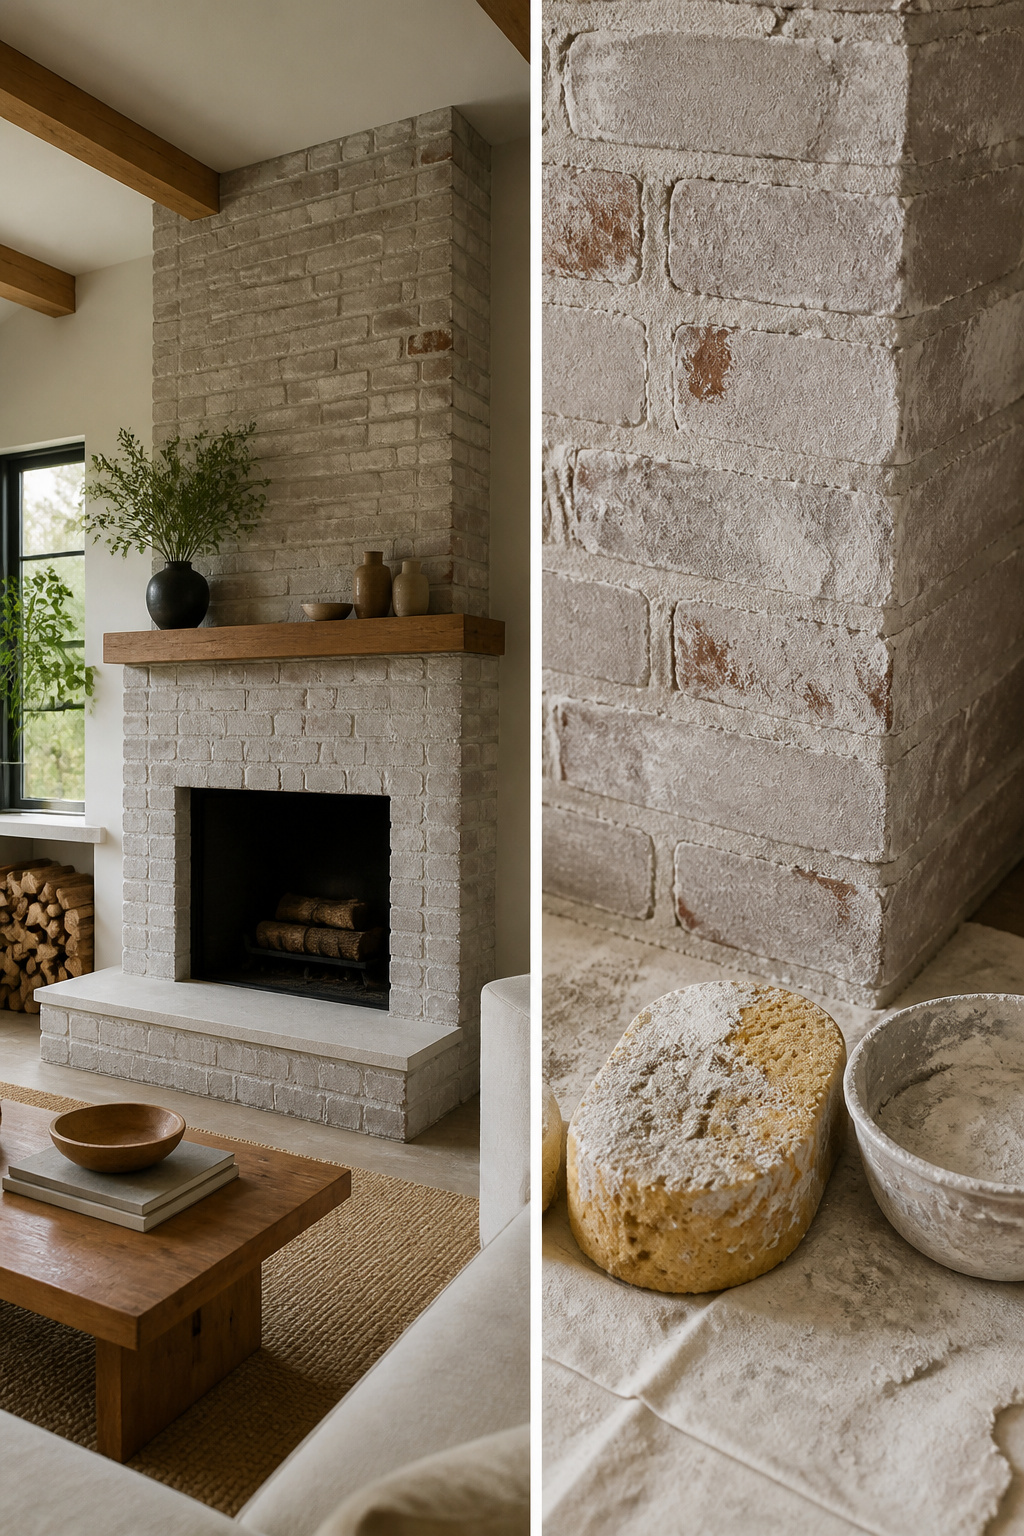
German smear is the technique to reach for when you want brick that looks like it has been weathering in a German valley for a couple of centuries. You mix mortar to a thick, runny paste consistency and work it across the surface with a sponge, starting at the top of the fireplace and moving downward. The mortar catches on the texture of the brick and sits in the mortar joints, so brick with some grab to it gives the best result; slick, glazed surfaces will fight you.
Coverage is a judgment call. A full coat reads as plaster; pulling some back with a stiff brush while the mortar is still wet leaves more of the brick visible and gets you that hand-wiped, rustic finish most people picture. Try your mix on a loose brick or a hidden corner first, because the hour it needs to set is also about how long you have to change your mind. After that, the look is permanent. White or grey mortar covers most brick shades well, and the technique hides flaws or uneven patterns underneath without requiring perfect prep beyond brushing off loose material.
3. Installing Peel-and-Stick Tiles

Peel-and-stick tile lets you cover outdated tile or plain drywall without the mortar mess, but the surface has to be flat and grease-free first. Any bump or oily film will telegraph through and weaken the bond.
- Clean the surround thoroughly and let it dry completely. Painted brick is a gamble; if the paint peels later, the tile peels with it, so strip most of it before you start.
- Measure and dry-fit the layout from the center outward, keeping the pattern symmetrical before you peel anything.
- Check the adhesive rating. Products rated for fireplace use handle heat up to 49°C (120°F) on the surround face, but do not place them right at the firebox opening where temperatures spike higher.
- Peel the backing and press each tile firmly, working row by row and smoothing out air pockets as you go.
- Trim edge tiles with a utility knife for a clean border.
The porcelain route runs steeper: 31-in. x 31-in. Sofia Charcoal tile costs $9.20 per sq. ft., and a modified thin-set bag runs $60 if you are prepping for traditional tile instead.
If you tile over a painted fireplace, you’ll be rolling the dice. If the paint peels, so will the tile. The safe approach is to remove most of the paint before tiling.
That last part matters for peel-and-stick too: the adhesive grips bare drywall or cured primer far better than old paint or glossy enamel.
4. Building or Updating a Mantel
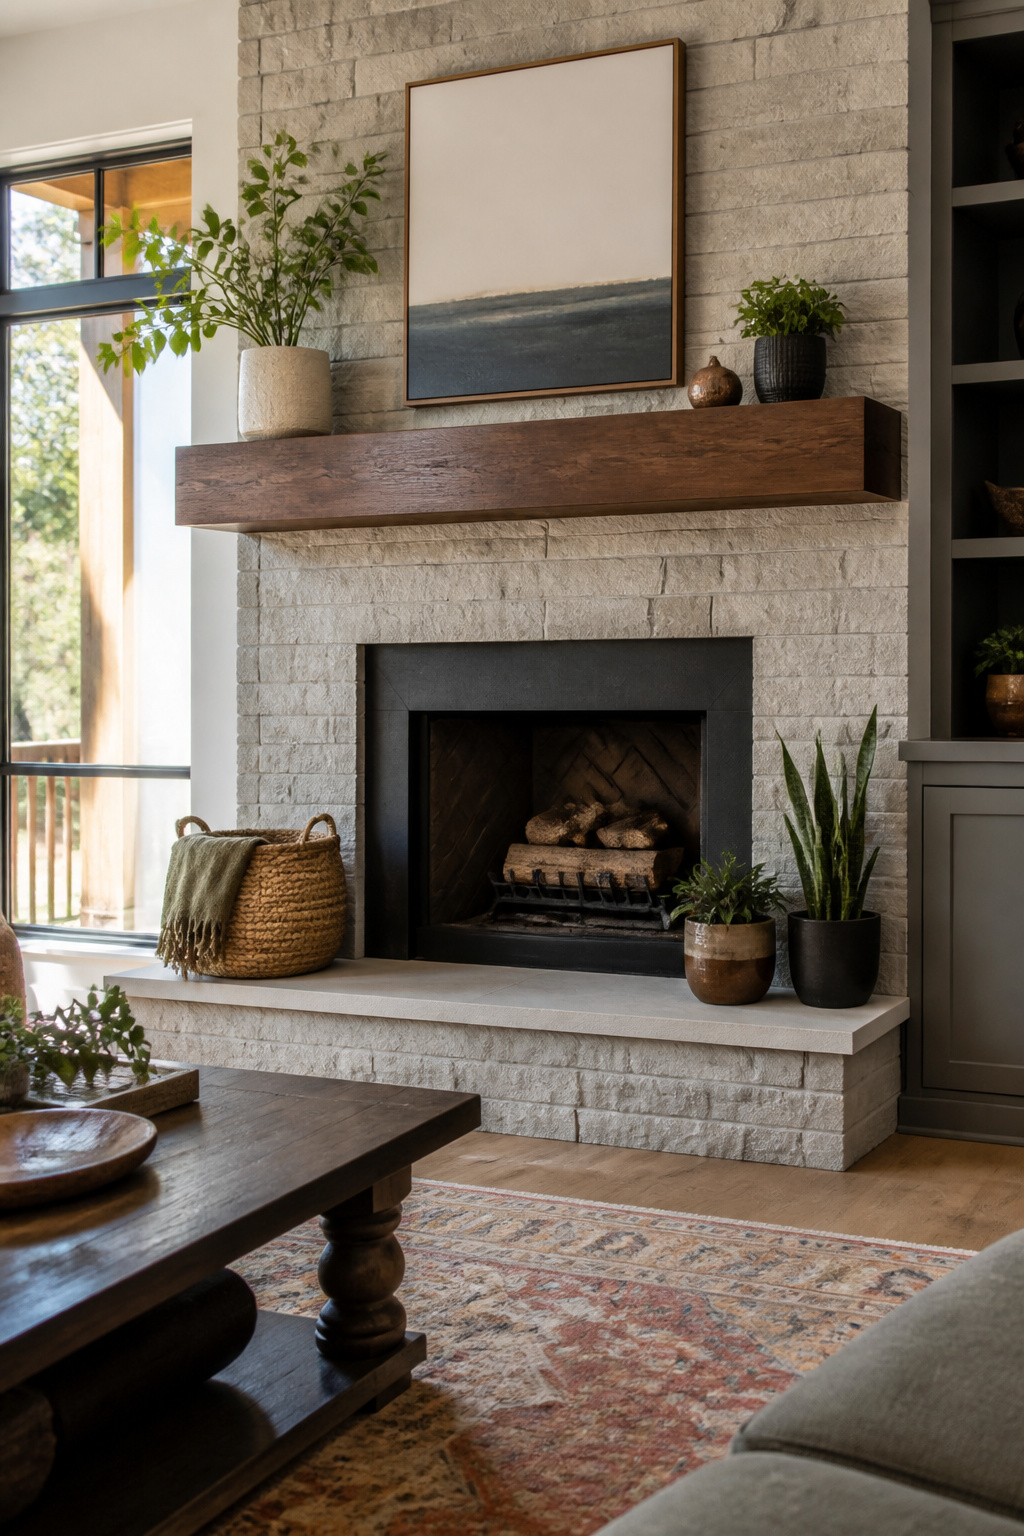
A mantel that actually fits the fireplace below it starts with the firebox itself, not a standard size pulled from a catalog. Measure the opening width and height, then let those numbers drive everything else. The shelf should extend 3 to 6 inches past the firebox on each side, and the height above the opening needs to clear at least 6 inches from any combustible material to keep the build legal and safe.
Width comes from the surround, not the wall. A 36-inch firebox with tile or brick extending another 8 inches per side gives you a natural span to build toward, and the overhang beyond that surround is what creates the visual weight.
For construction, dimensional lumber or solid wood both work. Basic straight cuts on a miter saw get you the shelf and front face; a rabbet or simple butt joint with trim covers the seams. Mounting against masonry means tapcon screws or lag shields into the brick, while stud mounting lets you hit wood directly with lag bolts into blocking. Either way, locate your anchor points before the wood ever leaves the truck.
An existing mantel in rough shape gets sanded, stained, or painted instead of replaced. Painted mantels take fresh interior paint straight over the old coat; stained ones need light sanding first to open the grain. A thrifted mantel with good bones plus some added trim around the edges finishes out at a fraction of new construction, which typically runs $1,000–$5,000 for an average build.
5. Adding Shiplap or Wood Panels
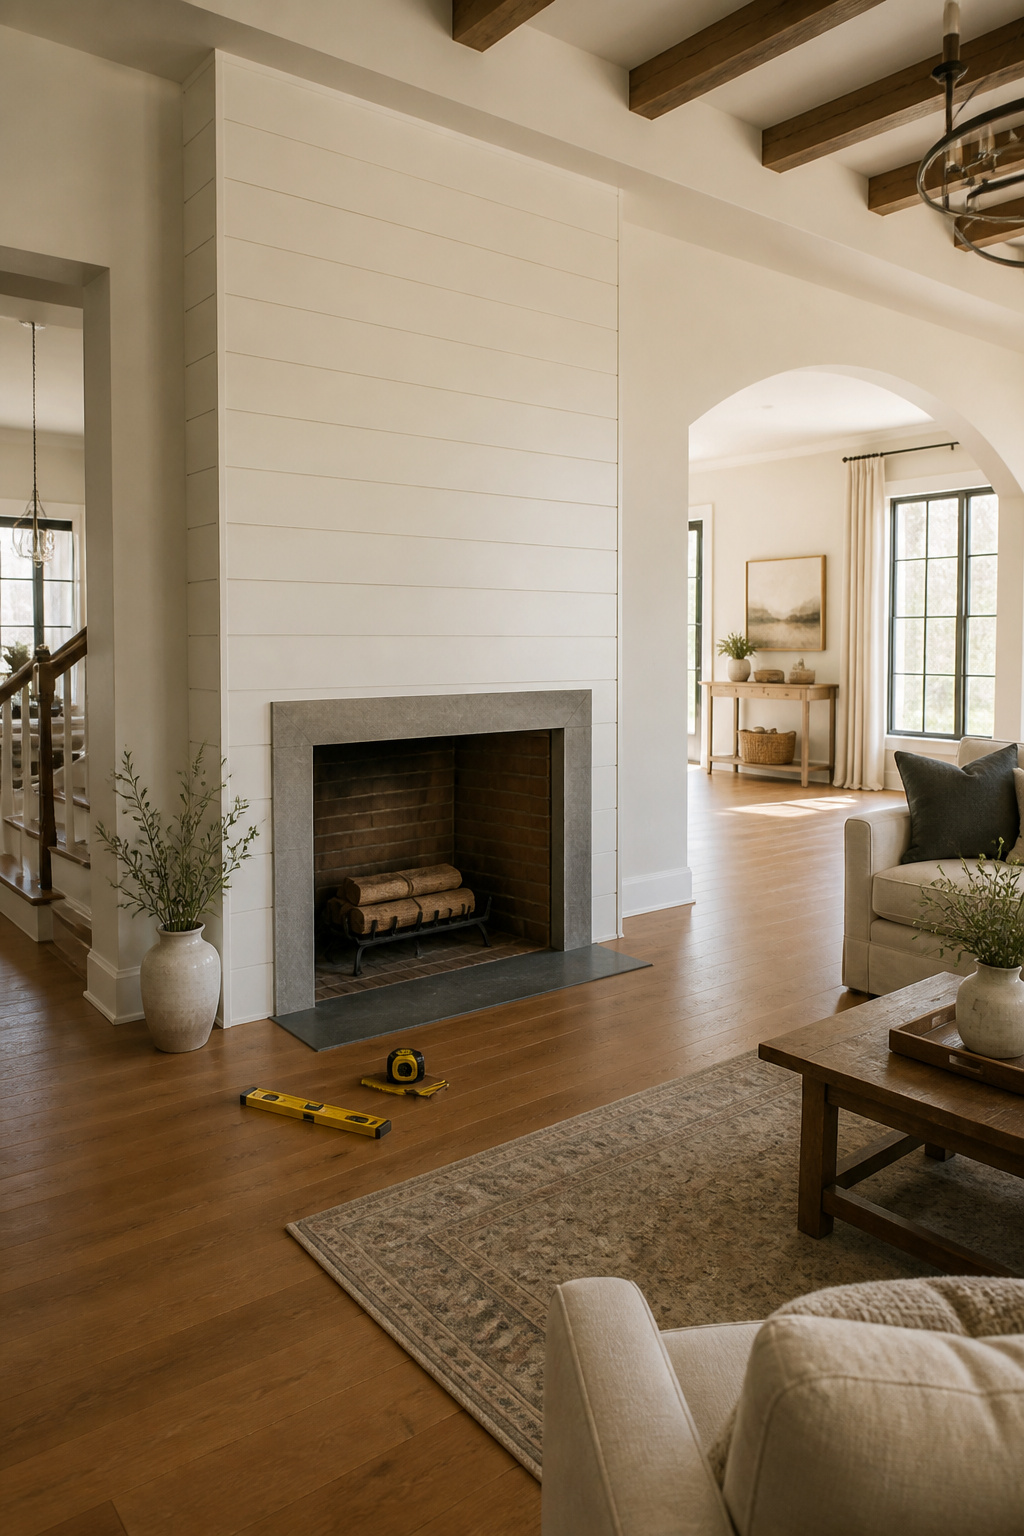
Wood panels around a fireplace read as modern and warm at the same time, but the warmth is visual, not literal. Combustible materials need a 6-inch minimum clearance from the firebox opening, a hard rule from the National Fire Code and IRC that shapes every cut you make. Mark that boundary first, before any plank touches the wall, and fill the gap with a non-combustible border such as tile or cement board. That strip becomes a design feature in its own right, not just a safety spacer.
Horizontal boards feel farmhouse-settled; vertical draws the eye up and suits tighter surrounds. Either way, stagger end joints so seams never line up, and fasten into studs with nails or staples. Finish with caulk along edges and a coat rated for interior use, not whatever exterior paint is left in the garage. For firebrick that needs patching before you start, a high-heat fire-resistant mortar is the right material, not standard joint compound that will crumble with the first winter of fires.
6. Cleaning and Accessorizing
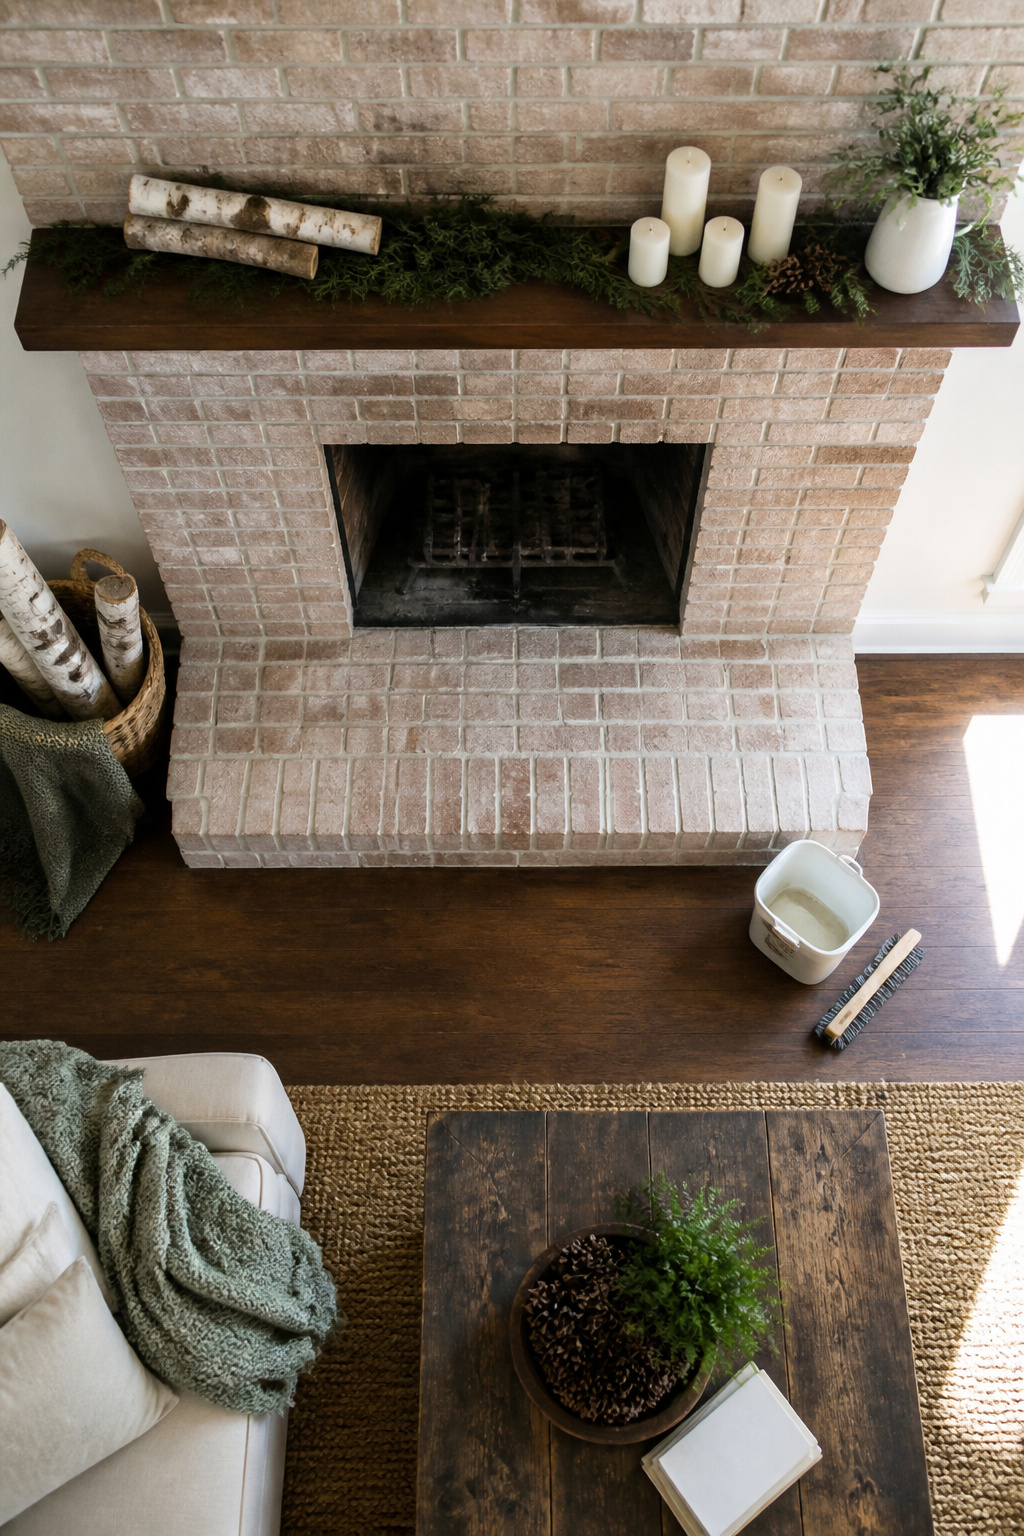
A deep clean of the surround is the cheapest update in this whole list, and sometimes the only one you need.
- Brick: Trisodium phosphate mixed to the package directions and a wire brush cut through the soot that detergent only smears. Let the brick dry a full 24 hours before you even think about paint; the surface has to read bone-dry, not just look it.
- Stone and tile: These take gentler tools. A nylon brush and a pH-neutral cleaner lift smoke film without etching soft stone or clouding grout. Skip the acid-based bathroom cleaners; they leave haze that reads as wear.
- Accessories sit outside the firebox, but they still have to respect clearances. The IRC ties mantel and trim placement to your unit’s tested listing or the manufacturer’s diagram. A new screen or a seasonal stack of birch logs dresses the opening without creeping toward the flame.
- Rotate the mantel the way you rotate a bookshelf. Heavy objects migrate in winter when the fire is running; lightweight pieces, candles, a shallow bowl, take summer. The rhythm keeps the wall from going stale.
- The real discovery: scrubbing sometimes reveals brick color you forgot was there. One afternoon with TSP and a brush, and the whole project budget shrinks to the cost of a bucket. Postpone the paint until you’re sure it still needs it.
What This Costs
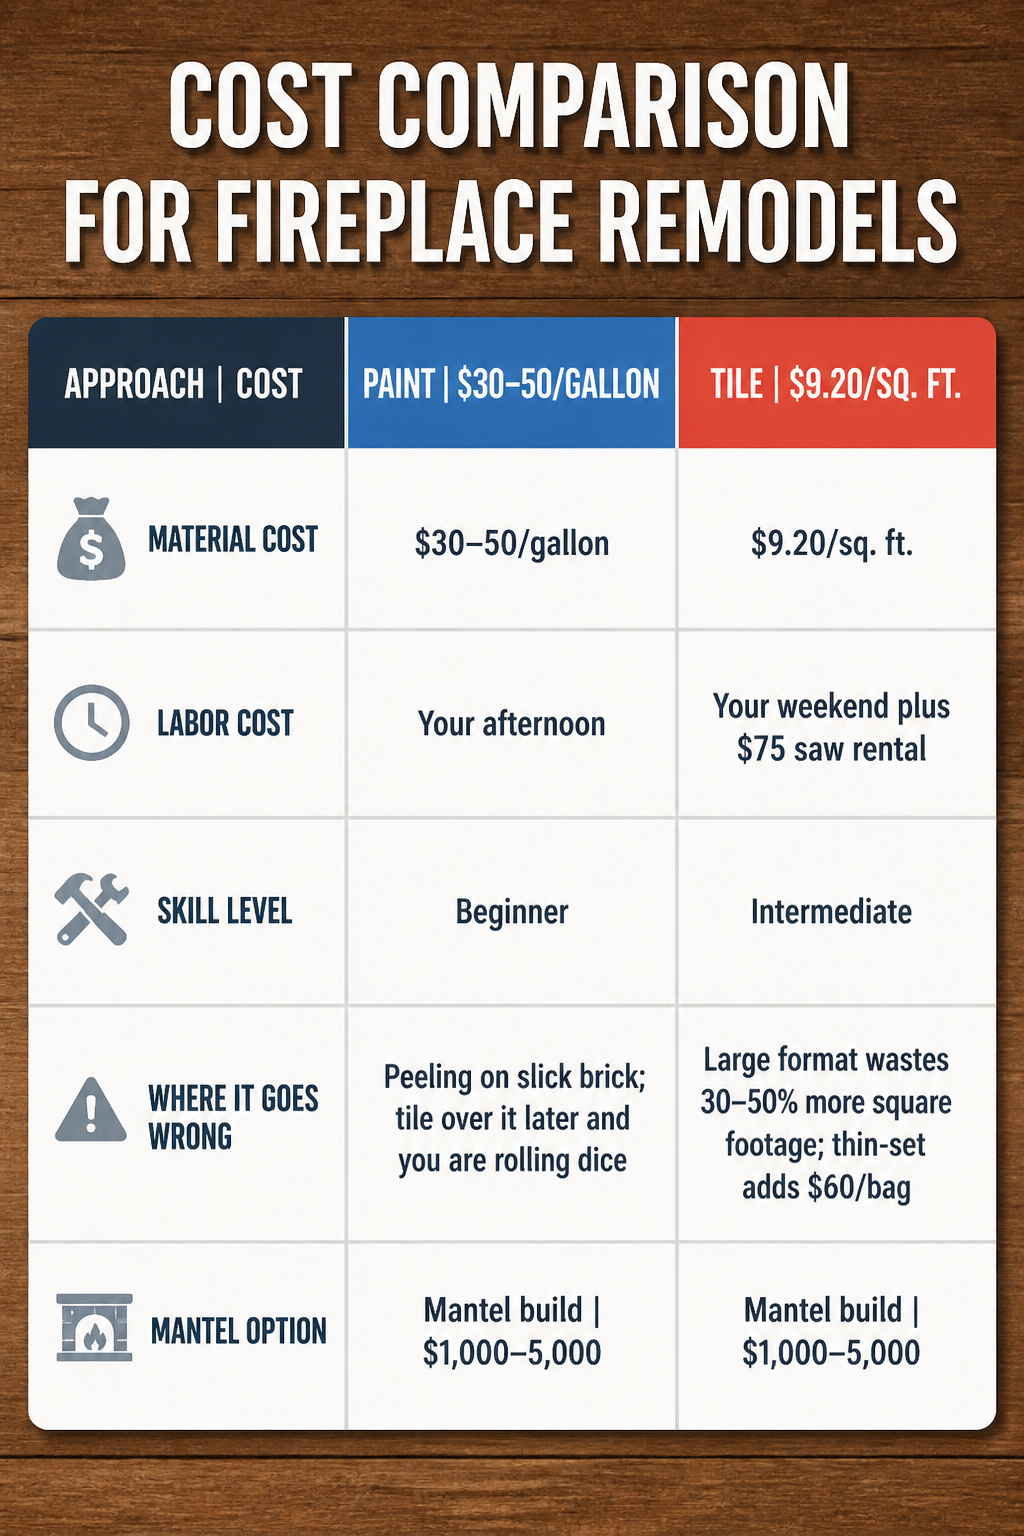
A full fireplace remodel lands between $600 and $1,200 in materials, which is where the savings against professional work actually sit. Angi puts the average pro job at about $1,200, and that is starting point, not ceiling. A shiplap build can come in under $600 if you keep the scope tight.
| Approach | Material Cost | Labor Cost | Where It Goes Wrong |
|---|---|---|---|
| Paint | $30–50/gallon | Your afternoon | Peeling on slick brick; tile over it later and you are rolling dice |
| Tile | $9.20/sq. ft. | Your weekend plus $75 saw rental | Large format wastes 30–50% more square footage; thin-set adds $60/bag |
| Mantel build | $1,000–5,000 | 6–8 hours moderate skill | Cheap lumber bows; proportions matter more than the wood species |
The tile job that ran $1,200 total had $900 in Sofia Charcoal porcelain alone. You can halve that with less expensive tile, but the modified thin-set is not where you cut. The fiber reinforcement keeps large tile from sagging on the wall and buys working time. Skip it and you are rushing against gravity.
Paint is the obvious bargain at $30–50 per gallon, yet it is also the easiest corner to overcut. Painted brick that was not properly prepped will shed tile right back off if you ever upgrade. That $50 can become a $900 do-over.
Tools That Stay Out
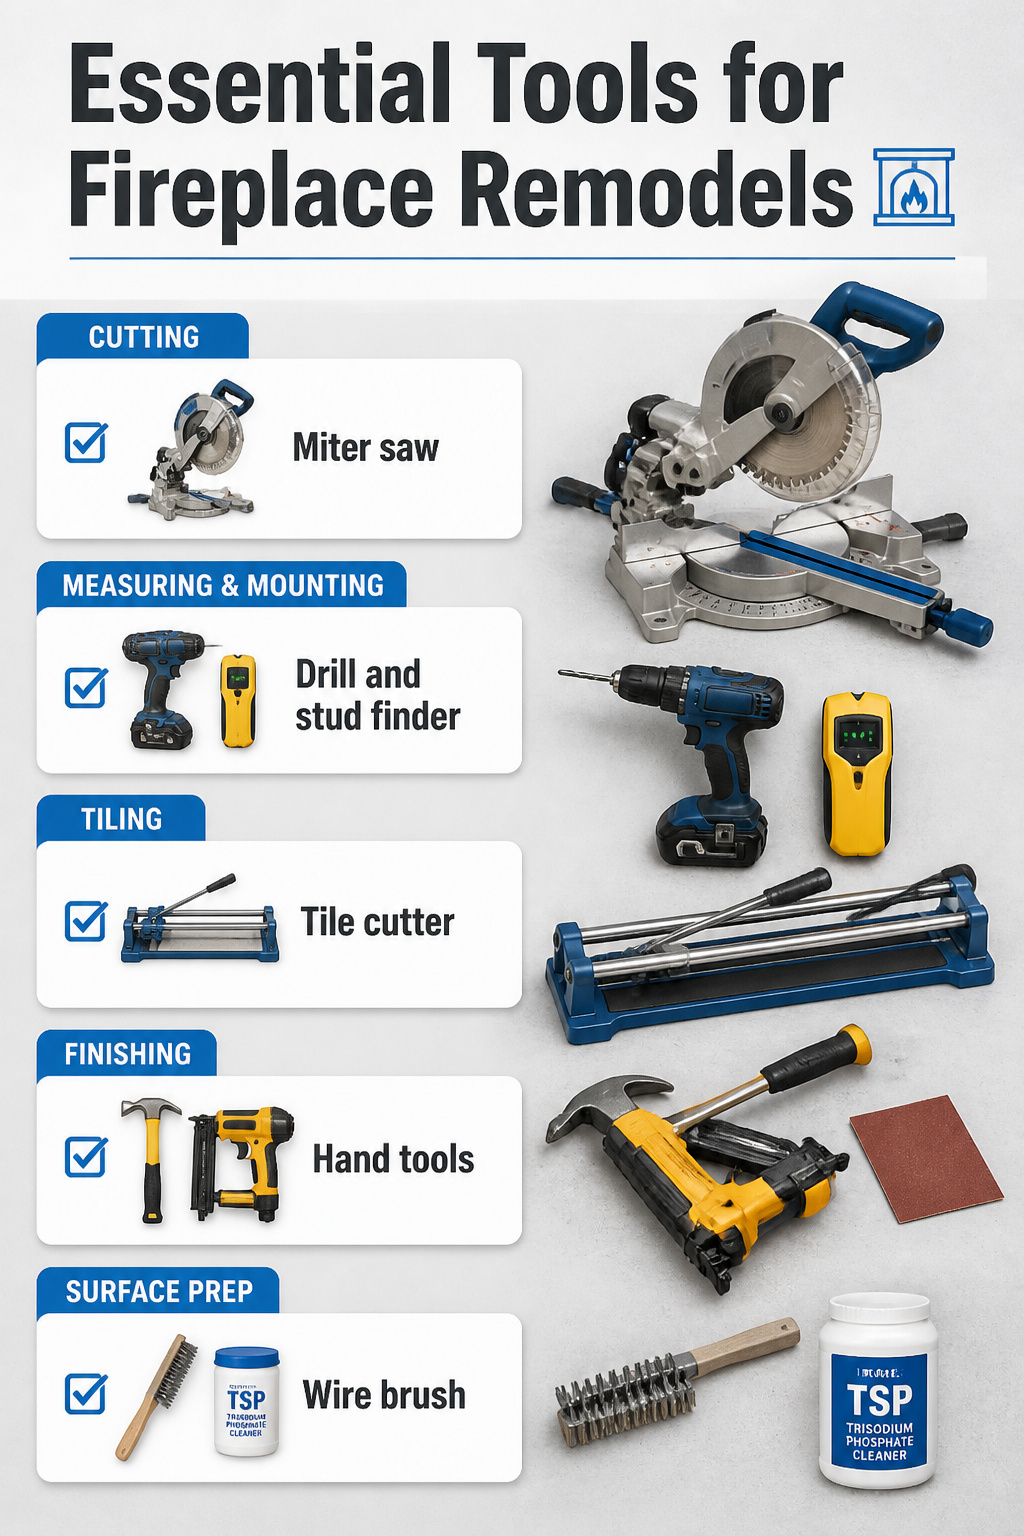
Most fireplace remodels pull from a toolbox you probably already own, though a few jobs need something heavier.
- A miter saw handles the angled cuts for mantel legs and crown molding that a handsaw and miter box struggle to keep square.
- A drill and stud finder pair up for mounting anything that carries weight; finding the stud behind brick or old plaster is the step people skip and regret.
- A tile cutter only matters if your surround work uses real ceramic or stone; peel-and-stick options let you skip this entirely.
- Hand tools finish the job: a level longer than your torpedo, a nail gun or hammer for trim, and sandpaper for easing edges.
Paint and adhesive-based installs stay in the realm of what hangs on your pegboard already. Mantel builds and tile surrounds are where borrowing or renting enters the picture. The one purchase worth making regardless is a wire brush and trisodium phosphate cleaner if your brick has soot; surface prep with the wrong tools leaves you redoing the finish in a year.
Heat Clearances and Material Ratings
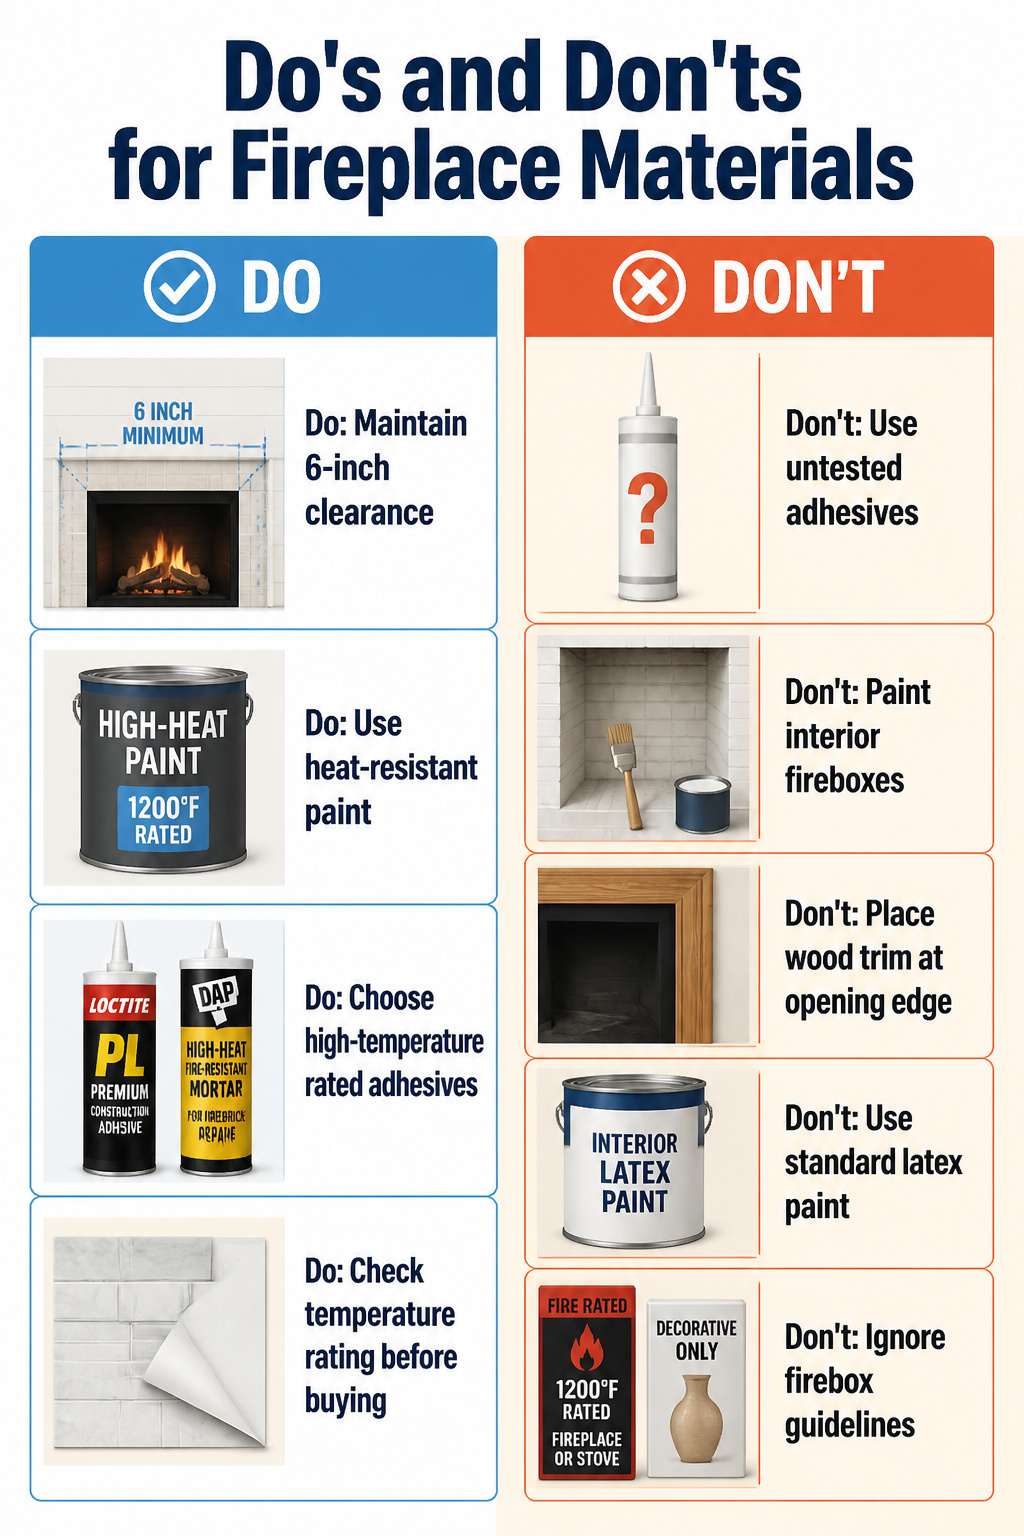
The 6-inch minimum clearance from the firebox opening is where most DIY fireplace remodels run into trouble. Combustible materials like shiplap or wood planks need that buffer, and even then, a non-combustible layer like tile belongs directly around the opening itself. Some zero-clearance fireplace models allow shiplap as facing material, but only with that protection in place.
Heat-resistant paint matters just as much as placement. Standard wall paint on a surround will blister and discolor; the product needs a high-heat rating formulated for thermal stress. The same logic applies to adhesive. Construction-grade or high-temperature rated bonding products, like Loctite PL Premium or DAP’s high-heat fire-resistant mortar for firebrick repair, are designed for the temperature swings a surround endures. Peel-and-stick tiles near a heat source fail when the adhesive softens, so checking the product’s temperature rating before buying saves a redo.
The mistakes I see most often: painted interior fireboxes, which belong left alone or repaired with proper firebrick mortar; wood trim pushed right to the opening edge; and grabbing whatever latex paint is already in the garage. Fire-rated and decorative-only products look identical on the shelf. The label stating the temperature rating and intended use, fireplace or stove, is the difference between a lasting update and a weekend spent scraping off regrets.
How Long Each Update Takes

Most weekend warriors mix up active hours with real calendar days. Paint goes on in two hours but needs sixteen to cure before you light a fire. Grout looks set in four hours and still cracks if you rush the mantel mount.
| Project | Active Hours | Total Calendar Time | Where the Wait Hides |
|---|---|---|---|
| Paint refresh | 3–4 | Same weekend | Latex cure before first flame |
| German smear | 6–8 | Two days | Second coat needs overnight set |
| Tile surround | 10–12 | 3–4 days | Grout cure, then sealant cure |
| Simple mantel build | 3–5 | One afternoon | None, if you pre-drill |
| Shiplap wall | 5–6 | One long day | Paint or stain dry, optional |
Active working time is rarely the bottleneck. Two days of German smear means maybe three hours slinging mortar, then walking away. Tile stretches because grout demands stillness. The afternoon mantel build stays an afternoon only if lumber is already cut to length. Pre-cut shiplap boards turn a potential weekend into a Saturday you actually finish.
Frequently Asked Questions
How do I paint a fireplace?
Apply paint only to exterior brick surfaces, never the interior firebox. Scrub first with TSP cleaner until rinse water runs gray instead of black, then let the brick dry overnight. Standard interior latex works for the outer surround and mantel; use a high-heat rated product like Krylon High Heat Max Brush-On for metal or anywhere within a foot of the firebox opening, since standard paint blisters there.
What is the German smear technique?
German smear gives brick a weathered, centuries-old look by coating it with wet mortar worked across the surface with a sponge from top to bottom. Brick with texture grabs the mortar best; slick or glazed surfaces resist it. Pull some mortar back with a stiff brush while still wet for the rustic, hand-wiped finish most people want, and test your mix on a loose brick or hidden corner first because the hour it needs to set is your only window to change the look.
How do I install peel-and-stick tiles?
Clean the surround thoroughly and let it dry completely, then measure and dry-fit your layout from the center outward before peeling any backing. Press each tile firmly, working row by row and smoothing out air pockets as you go. Check that the product is rated for fireplace use; these handle heat up to 49°C (120°F) on the surround face but should never sit right at the firebox opening where temperatures spike higher. Strip most old paint first, since peeling paint later means peeling tile.
How do I build a new mantel?
Start by measuring your actual firebox width and height, not pulling a standard size from a catalog. The shelf should extend 3 to 6 inches past the firebox on each side, and any combustible material needs at least 6 inches of clearance above the opening to stay legal and safe. Build from dimensional lumber or solid wood with basic miter saw cuts; mount against masonry with tapcon screws or lag shields, or into studs with lag bolts. A thrifted mantel with added trim costs far less than the $1,000–$5,000 typical for new construction.
What are the best materials for a fireplace remodel?
The right materials are the ones rated for where they sit. High-heat paint for metal or areas near the firebox, not standard latex that blisters. Heat-rated adhesives like Loctite PL Premium or high-heat fire-resistant mortar for firebrick repair, not construction-grade products that soften. Peel-and-stick tiles only where temperatures stay below their rating. Wood, shiplap, and other combustibles need a 6-inch minimum clearance from the firebox opening with non-combustible tile or cement board filling that gap. The label stating temperature rating and intended use matters more than how the product looks on the shelf.





