A pvc shoe rack is a storage unit built from plastic pipe and fittings, assembled with cement or left dry-fit for later changes. The catch is that glue makes it permanent, so one wrong joint means cutting a replacement piece. Dry-fit first with clamps, then commit only after the spacing actually works with your shoes. A 10-foot stick of 6-inch pipe yields ten slots and costs about $42.48 at the hardware store, or the store may cut it for you on a slow weekday afternoon.
Easy and Movable PVC Pipe Shoe Rack
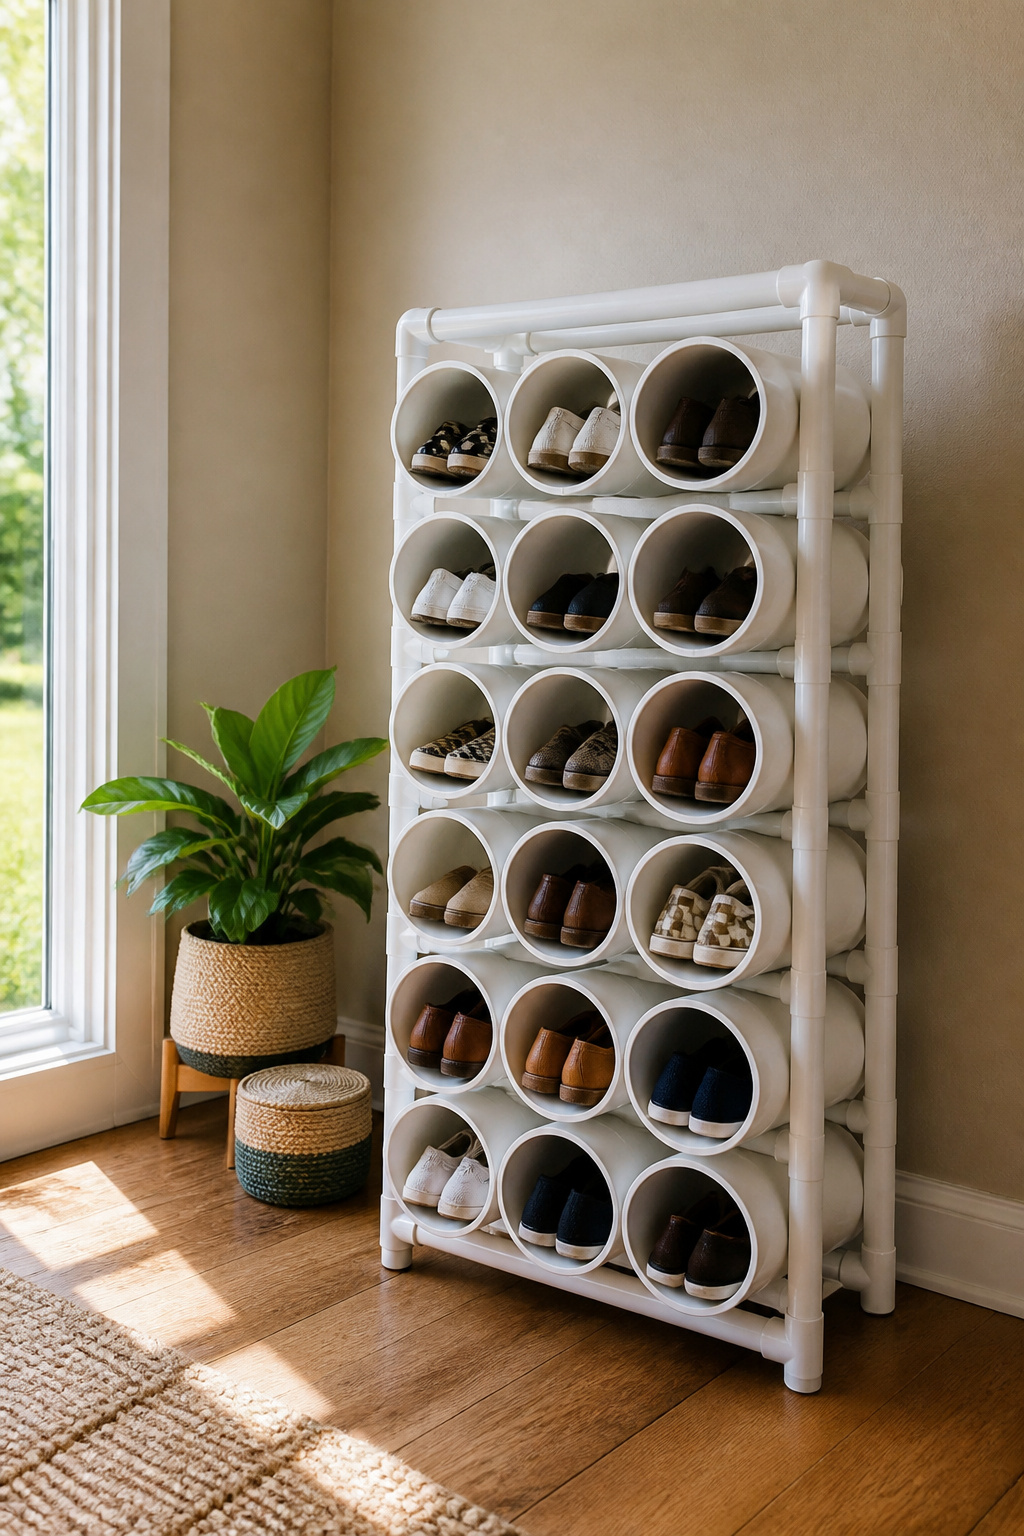
A freestanding PVC shoe rack starts with ten-inch pipe lengths and a plan for how many pairs you need to hold. Six-inch diameter pipe fits most shoes; anything larger is overkill unless you are stacking boots.
The clamp-and-mark step is what keeps this from becoming a frustrating game of PVC pickup. Lay the pipes in the configuration you want, hold them with clamps, and mark every spot where two pipes touch. Remove the clamps to glue at those marks, then clamp again while the PVC cement sets. Skip the marking and the pieces slide out of place the second you let go.
Once the glue is fully dry, prime and paint. Spray paint works fine over PVC primer, and the color hides the hardware-store white that otherwise screams "utility closet." The whole thing stays light enough to drag from entryway to closet when seasons change, which matters more than most plans account for.
Wall-Mounted PVC Closet Shoe Rack

Floor space in a closet disappears faster than anyone plans for, and the wall above the rod usually stays bare. A vertical PVC shoe rack built from two 10-foot lengths of 6-inch diameter pipe turns that empty wall into storage without eating a single square foot of floor.
Each pipe runs about $42.48, so the pair puts you at roughly $85 before hardware. Six L brackets with two pre-drilled holes per side, plus twelve nuts and bolts, are what actually fasten the cubbies to the wall. The brackets sit at the top corners, bottom corners, and two side points; mark through the holes, drill, and mount.
Cutting the pipe yourself with a hand saw or miter saw works, though a Lowe’s employee once spent thirty minutes on ten 12-inch sections with a hacksaw and called it a pain. Ask on a slow weekday if you want the store to handle it, and wash the pieces with dish soap before assembly. The scuff marks come off with a magic eraser if you care, but primer and spray paint cover them either way.
Two-Tier PVC Shoe Rack

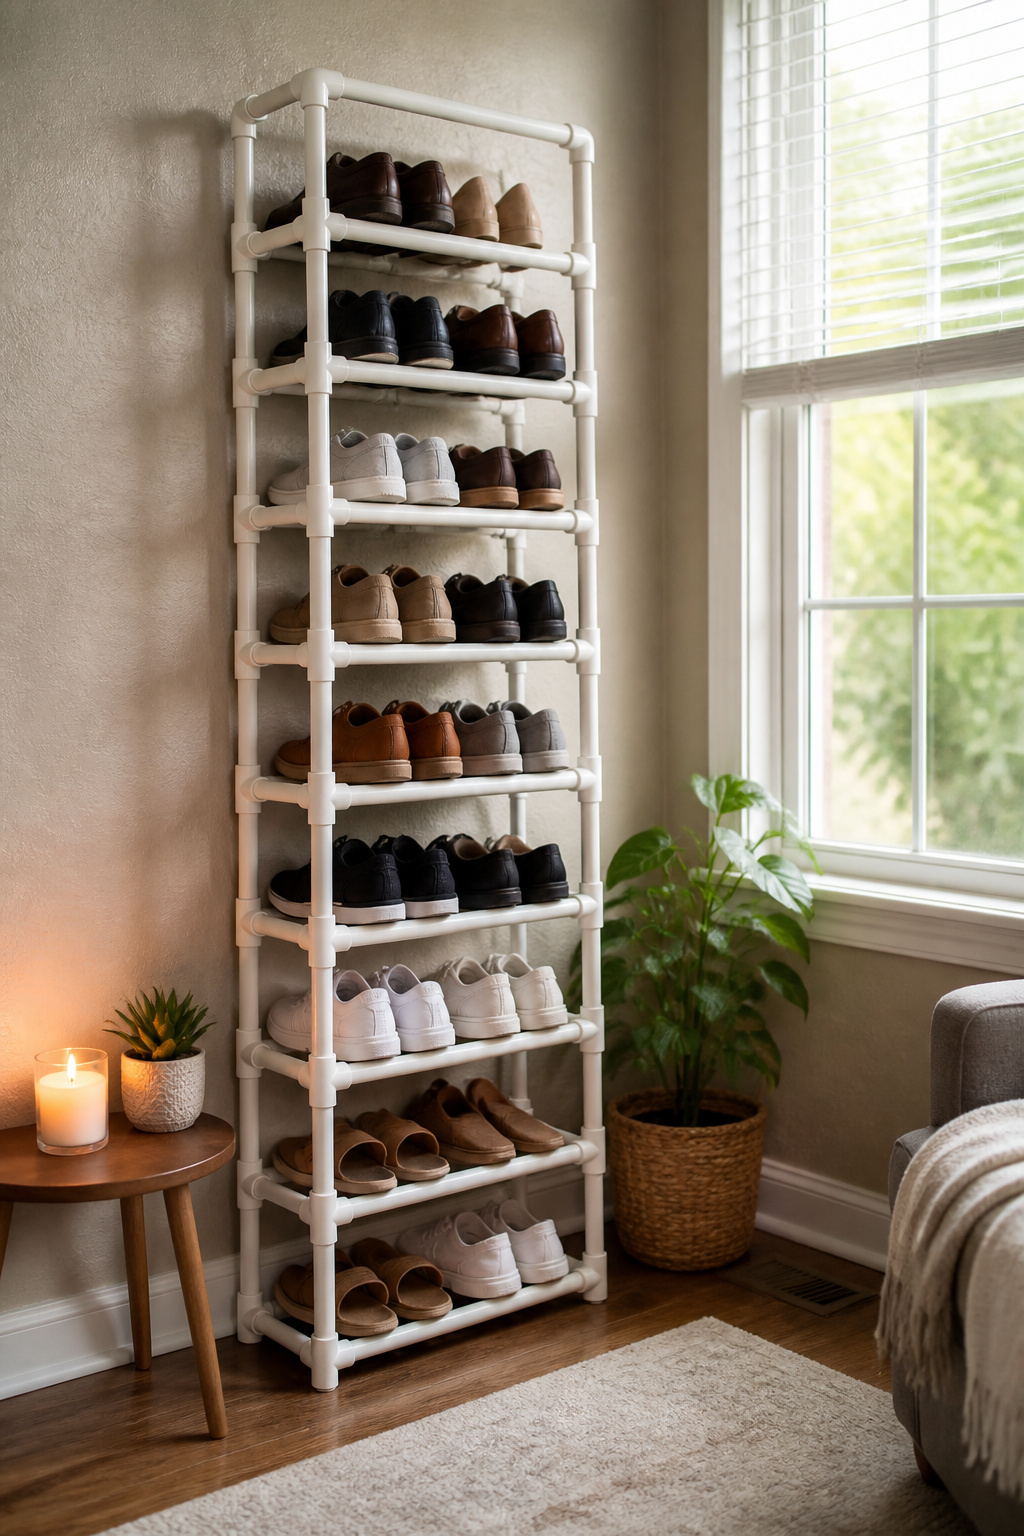
A two-tier frame changes how the whole thing goes together. The vertical posts run through 20 Tee fittings, one stacked above another, and those Tees become the connection points for every horizontal rail. The top opening of each Tee faces outward to hold the side rails, while the through-opening lets the vertical pipe continue to the next level.
For the pipe, you are cutting 60 feet of 1 1/4-inch PVC into the lengths the frame needs. The long pieces become the uprights and the outer rails; the short pieces bridge between Tees to create the depth for two rows of shoes on each tier. The Tee fittings do the hard work of keeping everything square. Without them you would be measuring angles and hoping the glue sets before something drifts.
A miter saw or hand saw handles the cuts, plus a tape measure and a marker you can read on pale pipe. The assembly is fussier than a single-level rack because the middle rails have to land at the same height on all four posts or the shelves rack. Clamp one corner square, check the opposite corner with the tape, and adjust before the next fitting goes on. The sources note this one is still workable for beginners, just slower.
PVC Pipe Shoe Organizer
A 10-foot PVC pipe yields ten 12-inch lengths once you account for blade width, and that is the sweet spot for an adult sneaker or flat. One source squeezed twelve 10-inch pieces out of the same stick for smaller shoes, though that calls for tighter packing and a steadier hand with the saw.
The cut edges are the part nobody wants to think about but everybody regrets skipping. PVC shears leave a burr that will snag canvas and scratch leather; 220-grit sandpaper run by hand around each rim turns that rough collar smooth. The pipes wash clean with dish soap, then you decide whether the industrial white stays or goes. Primer and spray paint stick fine if you want color, though the glue joints need bare pipe to bite.
Assembly runs bottom to top: a base row of three to five pieces, glued at the contact points with PVC cement or Gorilla Glue, clamps or a heavy book holding until set. Stack the next row the same way. The bond is permanent, so lay out your footprint on the floor before the first dab of adhesive.
Low-Cost PVC Shoe Rack
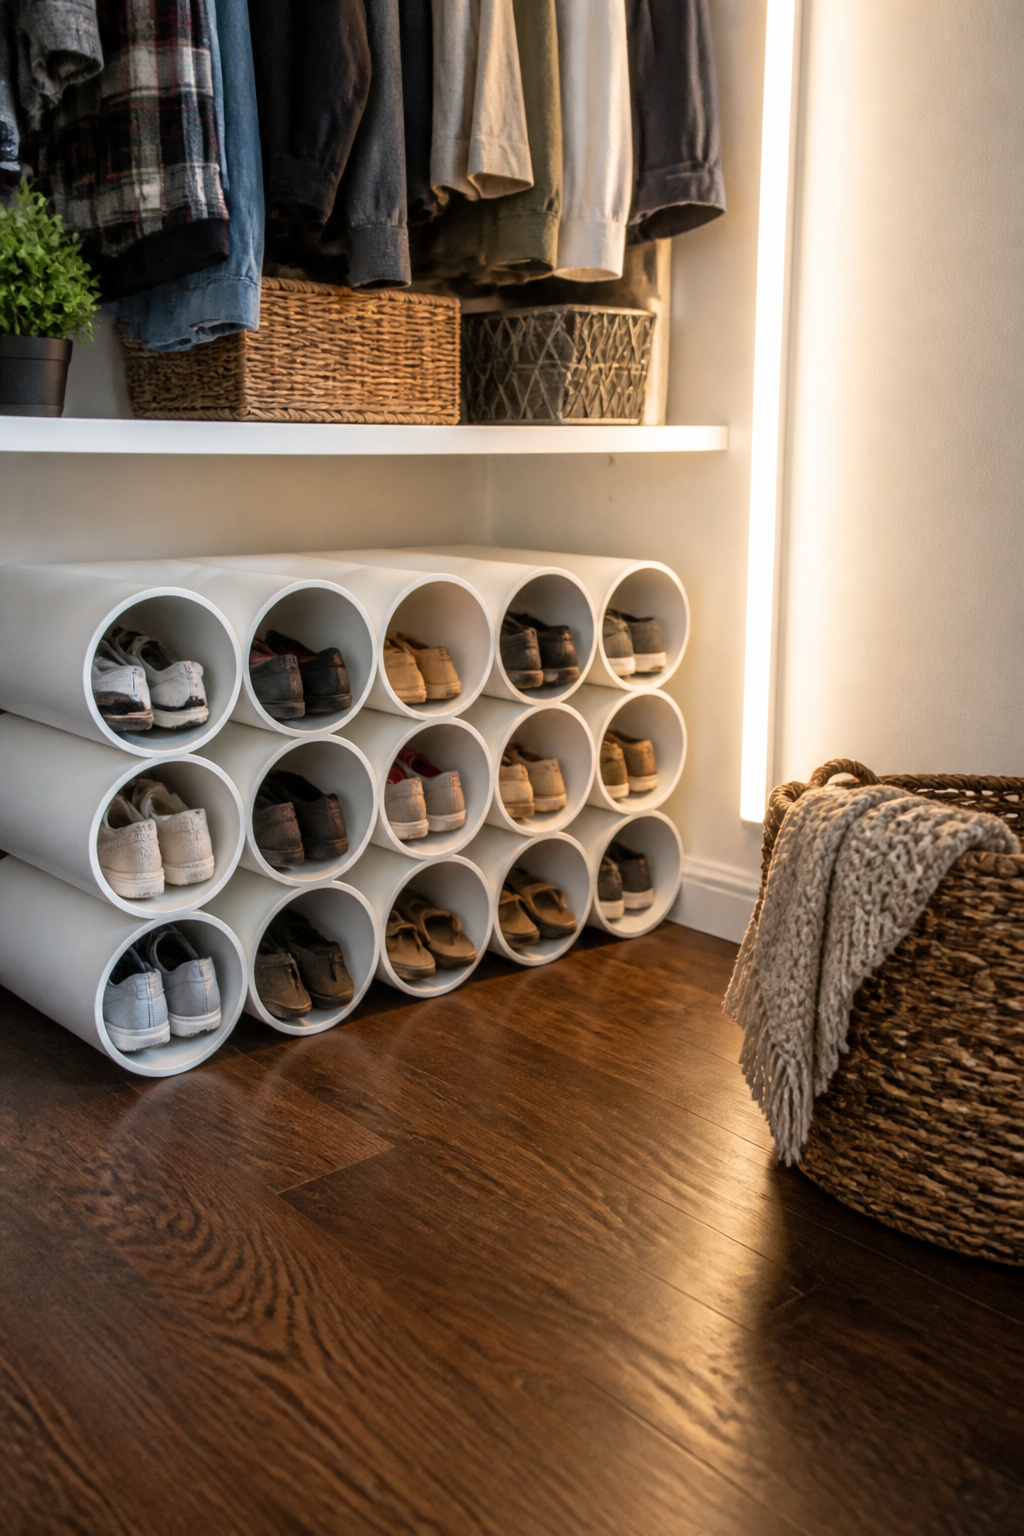
A 6-inch diameter PVC pipe cut into 12-inch lengths gives you the cheapest possible shoe rack, and the math works out neatly: one 10-foot stick from the hardware store yields ten slots, or twelve if you shave each piece down to 10 inches and your shoes still fit. No fittings, no brackets, no drill. The only tool you need is something that cuts pipe, and if you do not own a chop saw or a hacksaw, the store may cut it for you on a slow weekday afternoon. That courtesy saved someone about half an hour of hand-cutting once; your mileage depends on who is working and how busy they are.
Glue is where this design commits. Run a thick line down the inner wall of each pipe, press them edge-to-edge into rows, and weight the ends while the adhesive sets. Gorilla Glue or PVC cement both work. Stack rows until you hit the height that matches your collection. What you gain in cost and simplicity, you lose in flexibility: this thing is permanent once cured, and moving it means moving the whole assembly. One person who skipped the cement kept their organizer modular, but that trade is for another section. For a Saturday afternoon and under ten slots, glued pipe on the closet floor is the entry point.
Pipe Sizes and What Fits

The pipe diameter you choose for the compartments matters more than most first builds expect. 6 inches is the standard that works for most adults who are not wearing giant sizes, and it is the size I see called out as the default in project instructions. An 8-inch diameter gives you breathing room for bulkier sneakers or ankle boots, though it starts eating closet depth faster than you might want. Heels and flats slip easily into a 6-inch tube; anything with a tall shaft or thick sole wants the extra space.
For the frame itself, the math flips. A 1 1/4-inch pipe handles the structural work, the joints and legs and whatever keeps the shoe tubes from rolling across the floor. That thin wall stock is rigid enough for a rack that sits still, and it keeps the weight low enough that you can still drag the thing out to sweep behind it.
One builder I read went with 4-inch pipe for the shoe compartments and found the height spacing workable only after lengthening the pieces to accommodate taller shoes. That is the tradeoff: smaller diameter saves space but shrinks what fits inside. My own call would be to measure the tallest shoe you own before cutting anything, then add half an inch for the wiggle you will want when sliding them in blind on a dark winter morning.
Tools and Assembly Choices
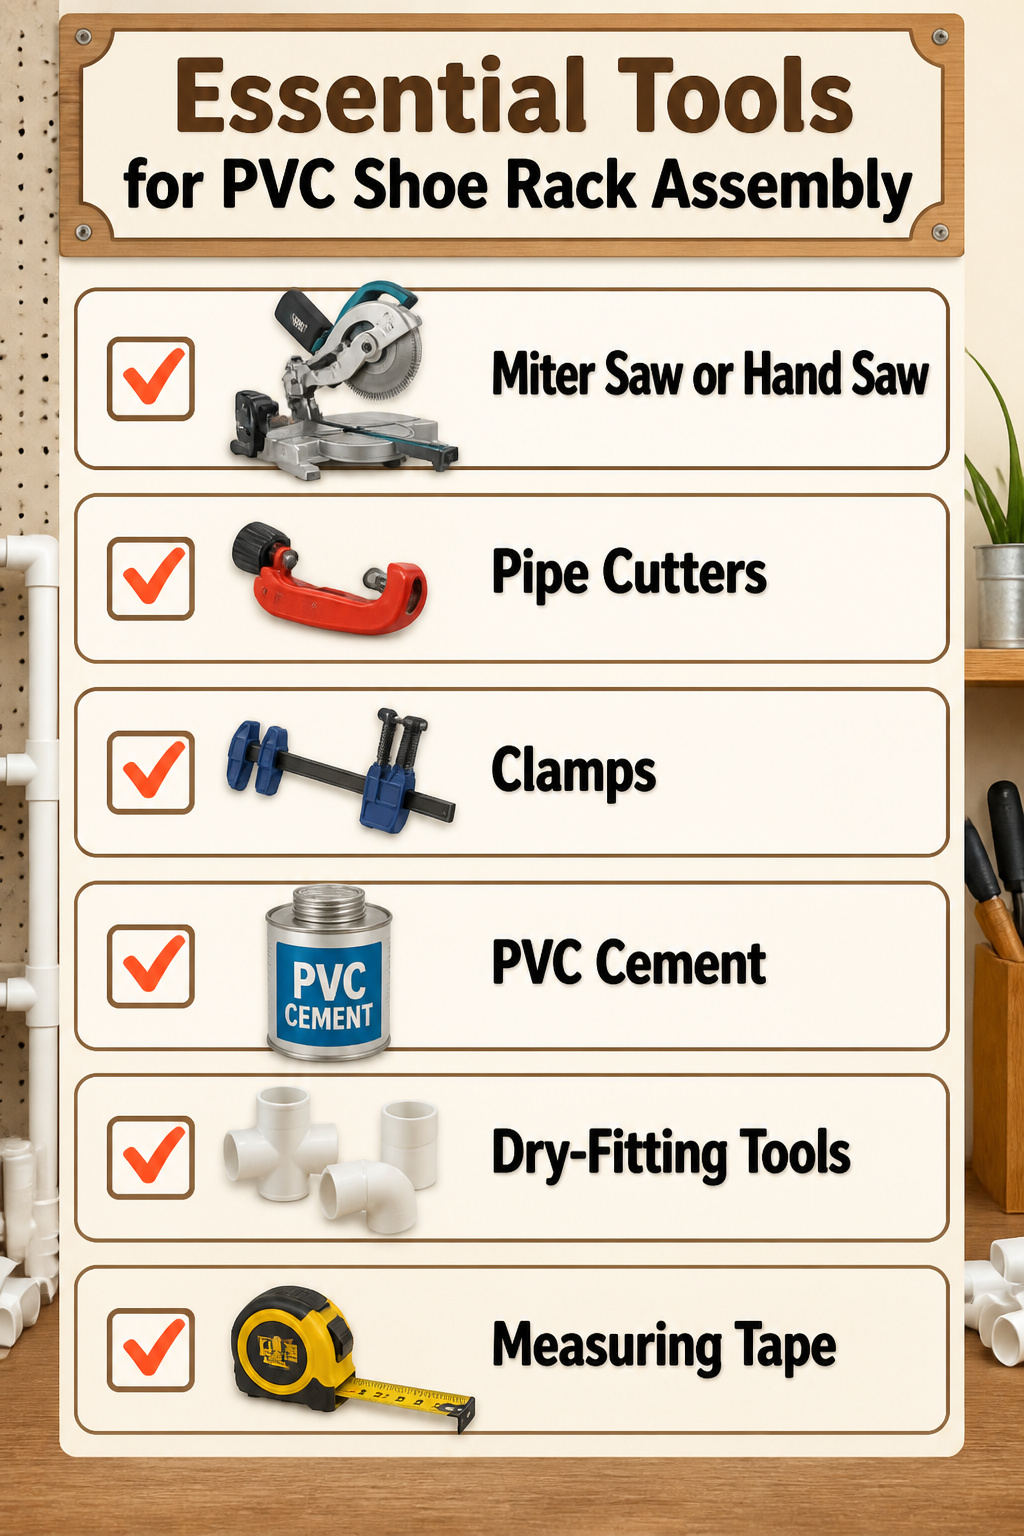
A miter saw or a hand saw gets the cleanest cuts in PVC pipe, and the difference shows once the pieces are standing on end. Pipe cutters work too, but the ridge they leave can make a level row sit crooked. Clamps matter more than the glue itself at first; they hold the arrangement while you decide whether the spacing actually works with your shoes. Dry-fit everything before you break out the PVC cement, because the moment glue touches the plastic the joint is permanent. That stability is the payoff if the configuration is right, but one misplaced tee fitting and you are cutting a replacement piece. The sources disagree on whether cement is even necessary. One build skips it entirely and stays sturdy, which matters if you might want a different layout in a year or two. For something that lives in a closet and never moves, glued joints make sense. For a rack by the door that could become a planter stand later, dry-fit wins.
Painting and Decorative Finishes
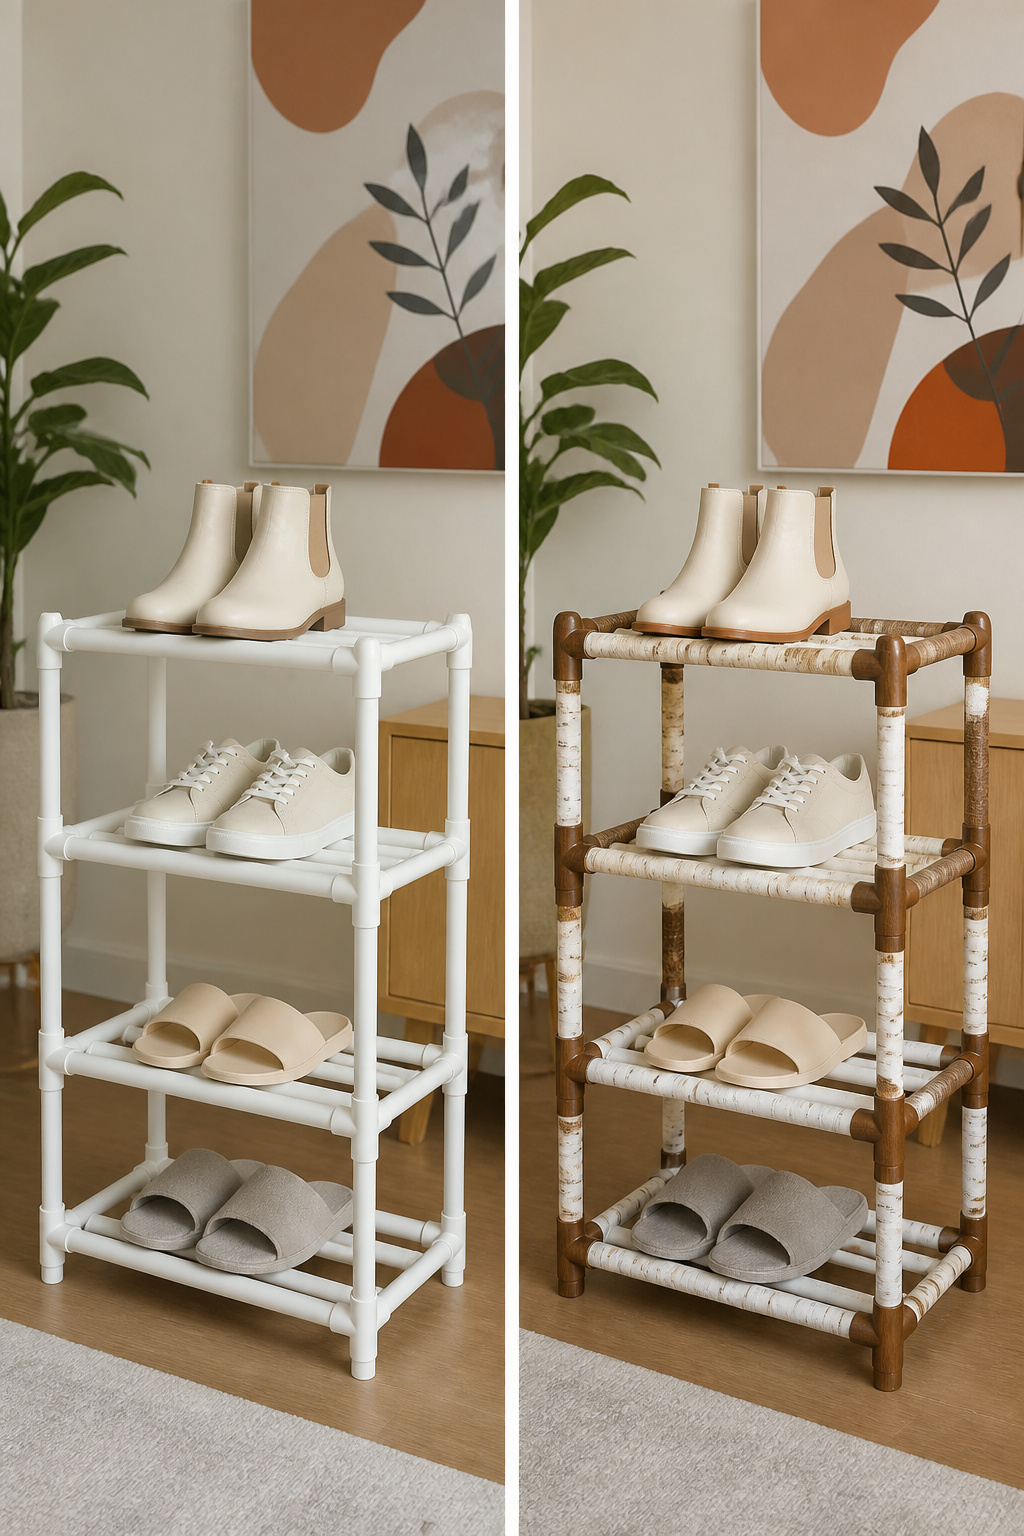
Paint won’t grip PVC on its own. The first time I tried, the acrylic craft paint scraped right off with a fingernail. A dedicated adhesion primer is the non-negotiable first layer if you want the finish to last past the first week.
Spray application wins for speed and even coverage on all those curved surfaces. Brush work is possible, but every pipe segment has two rims and a cylinder to cover; spray cuts the labor in half and leaves no streaks. One project used standard spray primer followed by regular spray paint, and another went further: brown acrylic on the pipe ends to mimic log faces, then birch bark wallpaper wrapped around each tube. That second approach needs a gap left at the seam where pipes meet, because PVC glue bonds plastic to plastic. Glue wallpaper to wallpaper and the joint rips apart.
The wallpaper method came from someone who’d held onto the paper for months waiting for the right project. The lesson there: decorative finishes turn garage-grade material into something that reads as intentional furniture, but only if the practical details, like that exposed glue seam, get planned before the pretty layer goes on.
Frequently Asked Questions
What size PVC pipe is best for a shoe rack?
Six-inch diameter pipe fits most adult shoes, including heels and flats, without wasting closet depth. Go up to eight inches if you wear bulky sneakers, ankle boots, or have larger feet. Measure the tallest shoe you own and add half an inch before cutting so you can slide pairs in easily on dark mornings.
How do you assemble a PVC shoe rack?
Cut the pipe to length, then clamp the pieces in your chosen layout and mark every spot where two pipes touch. Remove the clamps, apply PVC cement at those marks, and clamp again while the adhesive sets. Dry-fit everything first because the bond is permanent the moment glue hits the plastic.
Can you paint PVC pipes?
Yes, but only if you start with a dedicated adhesion primer; acrylic craft paint scraped right off with a fingernail in one attempt. Spray primer followed by spray paint works fastest on curved surfaces. One builder added brown acrylic ends and birch bark wallpaper for a log look, leaving glue seams bare so the PVC cement could bond plastic to plastic.





