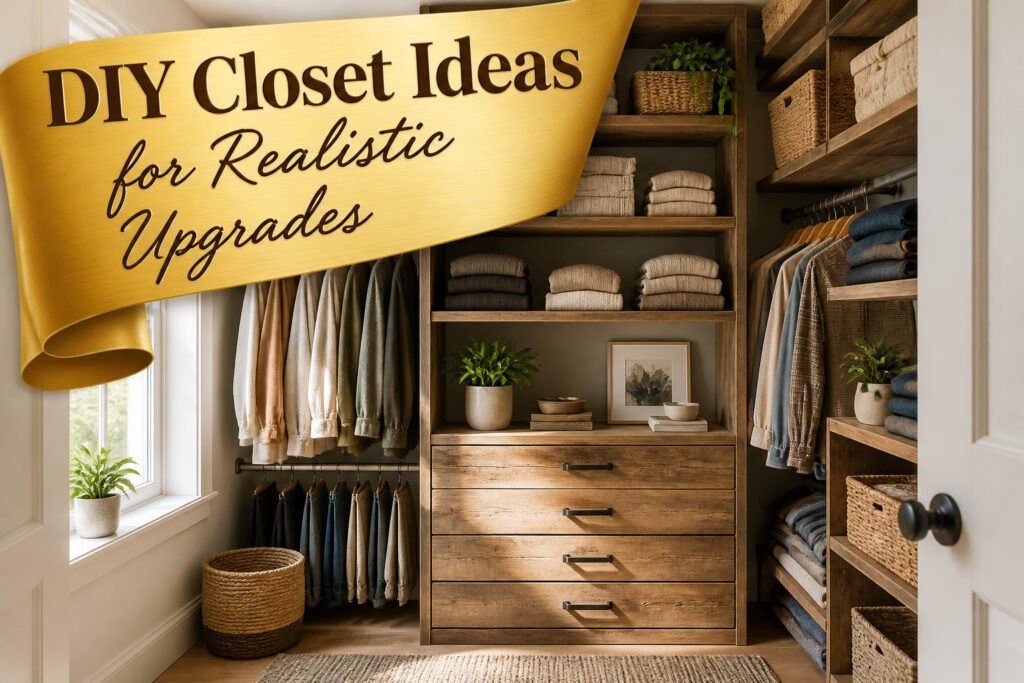
A finished closet project lives or dies on whether you measured the things that matter after the easy part was done. Depth, vertical clearance, and the half-inch bow in a 1960s wall have killed more builds than bad materials ever did. I learned that cutting a dresser back to fit still left six inches of dead space behind it, and that a one-inch drawer setback costs real storage you will miss every morning. The $30 melamine sheet and the battery puck light that actually hits your clothes instead of the shelf edge are the details that separate a photo-ready install from one you still use in two years.
1. IKEA Pax Closet Builds
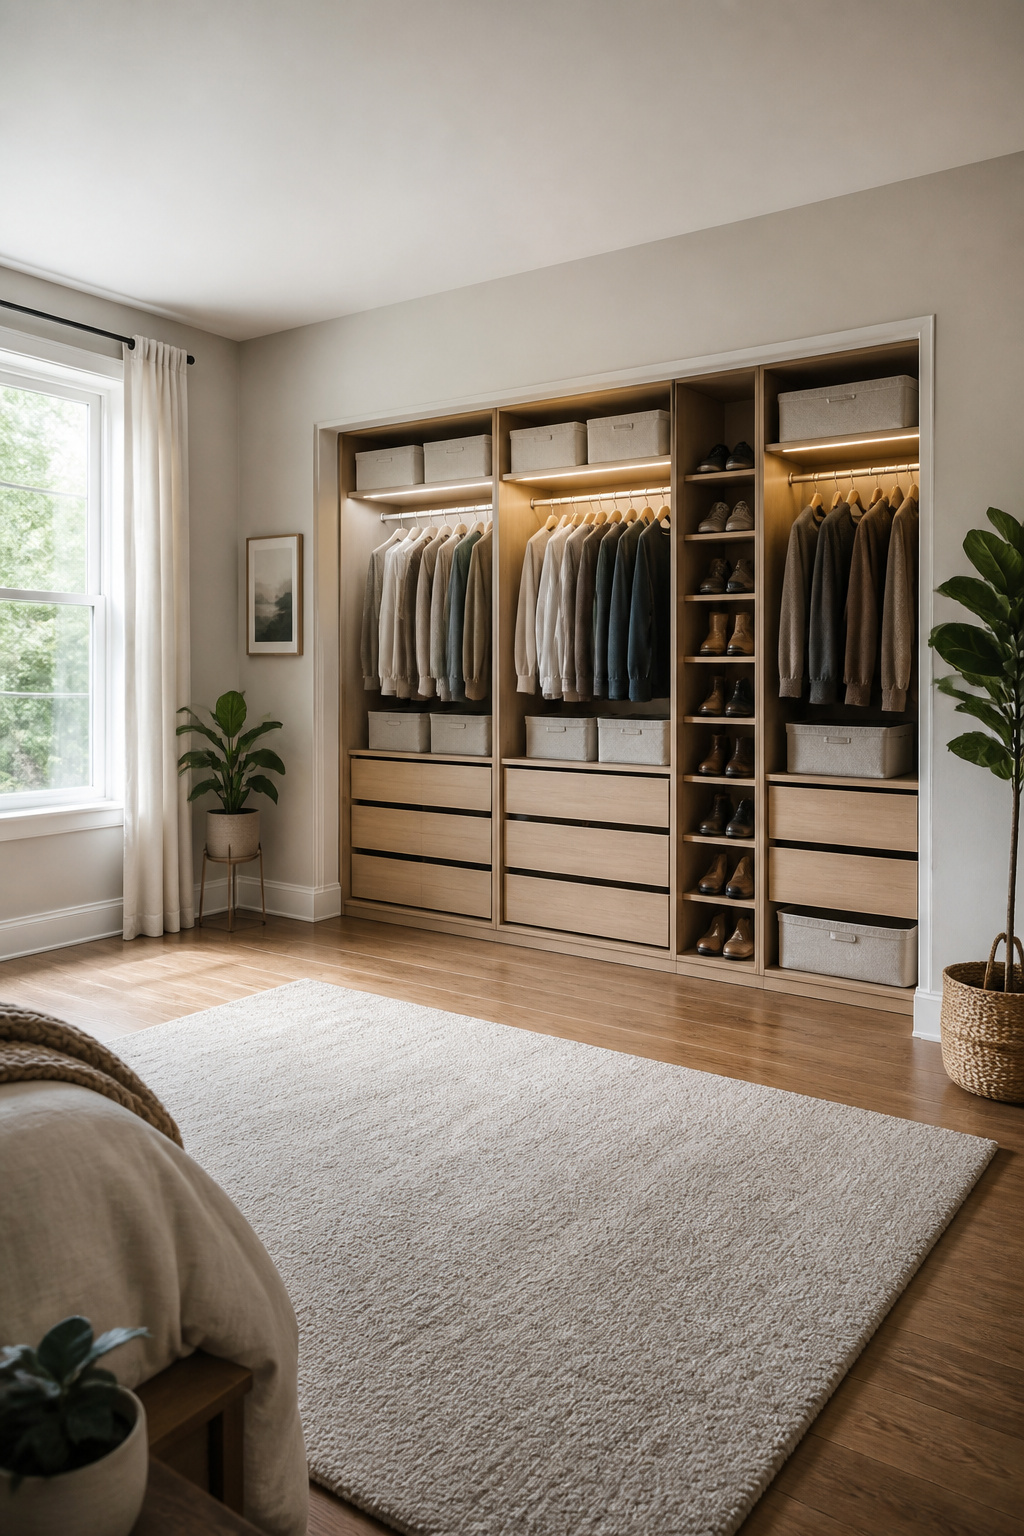
IKEA’s Pax system shows up more than any other approach when people talk about diy closet ideas, and the reason is straightforward: the frames come in fixed widths, but the guts swap out in minutes. I used two 39-inch frames and a 29-inch in a 92-inch alcove, leaving a six-inch gap I filled with a shallow shoe tower built from the same rail system.
The modularity mattered more in practice than I expected. I started with all hanging rods for a shared closet, then pulled half the rods and dropped in drawers when my kids got old enough to dress themselves. The bins with DIY labels came later, after watching a three-year-old hunt for socks through a pile of folded shirts. The frames stayed put. Only the insides moved.
Lighting is where the system stops being modular and becomes something else. IKEA’s LED strips clip into the frames at factory-defined points, so the glow lands where the hardware wants it, not necessarily where your face is when you’re choosing a shirt. I added a battery-powered puck light on an independent timer instead. The built-in option looks cleaner in photos. My fix actually lights the clothes.
2. Cubby and Drawer Organizers
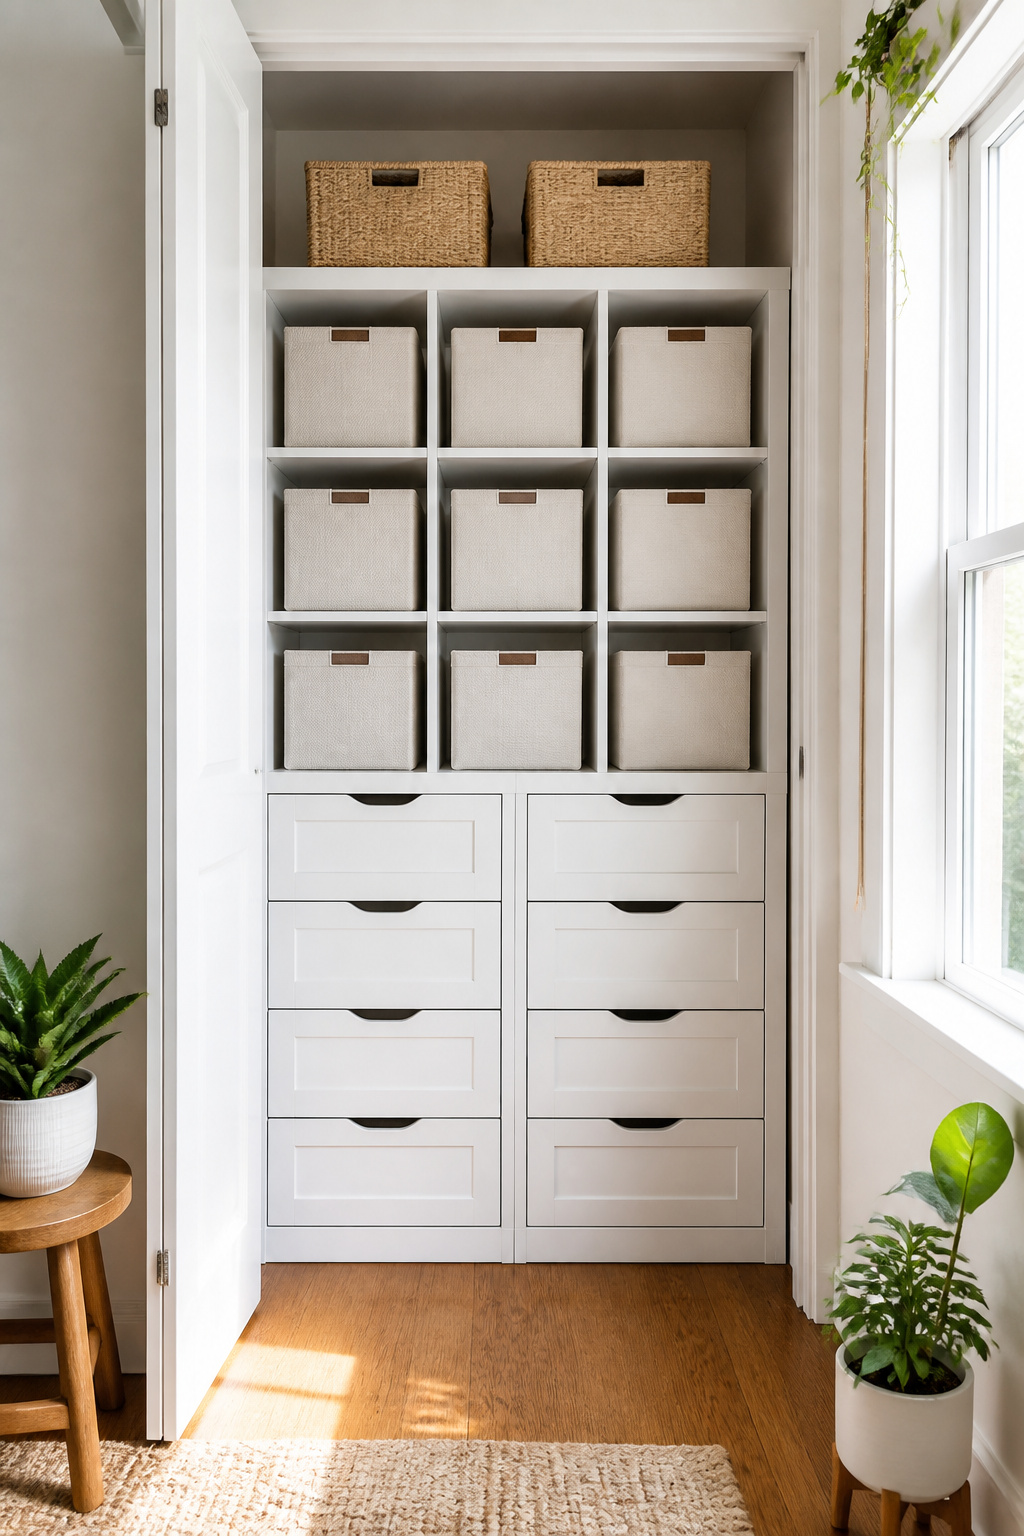
A boxed unit with drawers changes how a closet actually works. I built mine from MDF after trying wire organizers and piecing together cabinetry in earlier rentals, and the difference was immediate. Small items stopped disappearing, and the reach-in closet looked finished rather than temporary.
The compartment sizes mattered more than I expected. I used premium pine 1×8 for the drawer boxes, screwed at 90-degree joints with countersunk holes the face plates would hide, and the uniform measurement let me batch out the boxes before fitting faces to each opening. What worked was keeping the boxes consistent and adjusting only the faces to the closet box opening, not the other way around. I lined the bottoms with leftover wallpaper, which kept folded items from sliding around and made the whole thing feel less like shop work.
Where I misjudged was depth. The boxes sat back one inch from the trim face to allow for the drawer faces and quarter-inch shaker trim, and that inch cost me. These drawers could have been deeper. The next closet I build, I am pushing the boxes flush and finding the trim space somewhere else. The one-inch setback is not worth the storage you lose.
3. Melamine Board Makeovers

Melamine board runs about $30 a sheet for 3/4-inch stock, and that price is what sold me over plywood for my last closet rebuild. I had Lowe’s rip five sheets into 16-inch strips right at the store, which saved me a morning of wrestling a full panel through my table saw at home. The cut quality from their panel saw was cleaner than anything I manage in my garage, so the shelf edges started out square.
Cutting the smaller pieces myself still meant dust everywhere. Melamine chips if your blade is dull, and mine was on its way out. The real problem I never solved well was edge banding. I bought iron-on veneer tape, burned a couple spots, left gaps at the corners, and finally just painted the exposed edges with two coats of white trim paint. It looks fine from three feet back, which is the usual viewing distance for closet shelving, but up close you can tell it is a cover-up, not a finish.
Plywood would have taken stain or paint more honestly at the edges, and it is stronger for heavy loads. For a closet that holds folded sweaters and storage bins, though, melamine’s already-white surface meant no painting at all. That saved me a weekend, and the smooth face wipes clean where plywood grain would have caught dust. For my purpose, the time trade won.
4. Adjustable Shelving

Adjustable shelving is where most closet projects either earn their keep or waste vertical space that could have held twice as much. The flexibility comes from 32 mm hole spacing, the standard system that lets you move shelf pins up or down in roughly inch-and-a-quarter increments. I started my first shelf at 35 inches off the floor, which sits just under the 36-inch allowance recommended for lower hanging clothes in a double-rod setup. Shoes went on that bottom shelf, shirts above, and everything looked organized for about three weeks. Then the taller boots arrived, and the sneakers I had stacked two-deep kept tipping. Moving the shelf up one hole, then another, finally gave the boots their clearance without the whole column looking scattered. The top shelf landed at 79 inches, leaving about 16 inches of overhead space on an eight-foot ceiling, a height I chose because it keeps the upper storage reachable at 5-foot-3 without demanding a step stool for daily use. Shelf and rod systems work best when you treat the initial layout as a draft, not a commitment.
5. Shoe and Accessory Storage
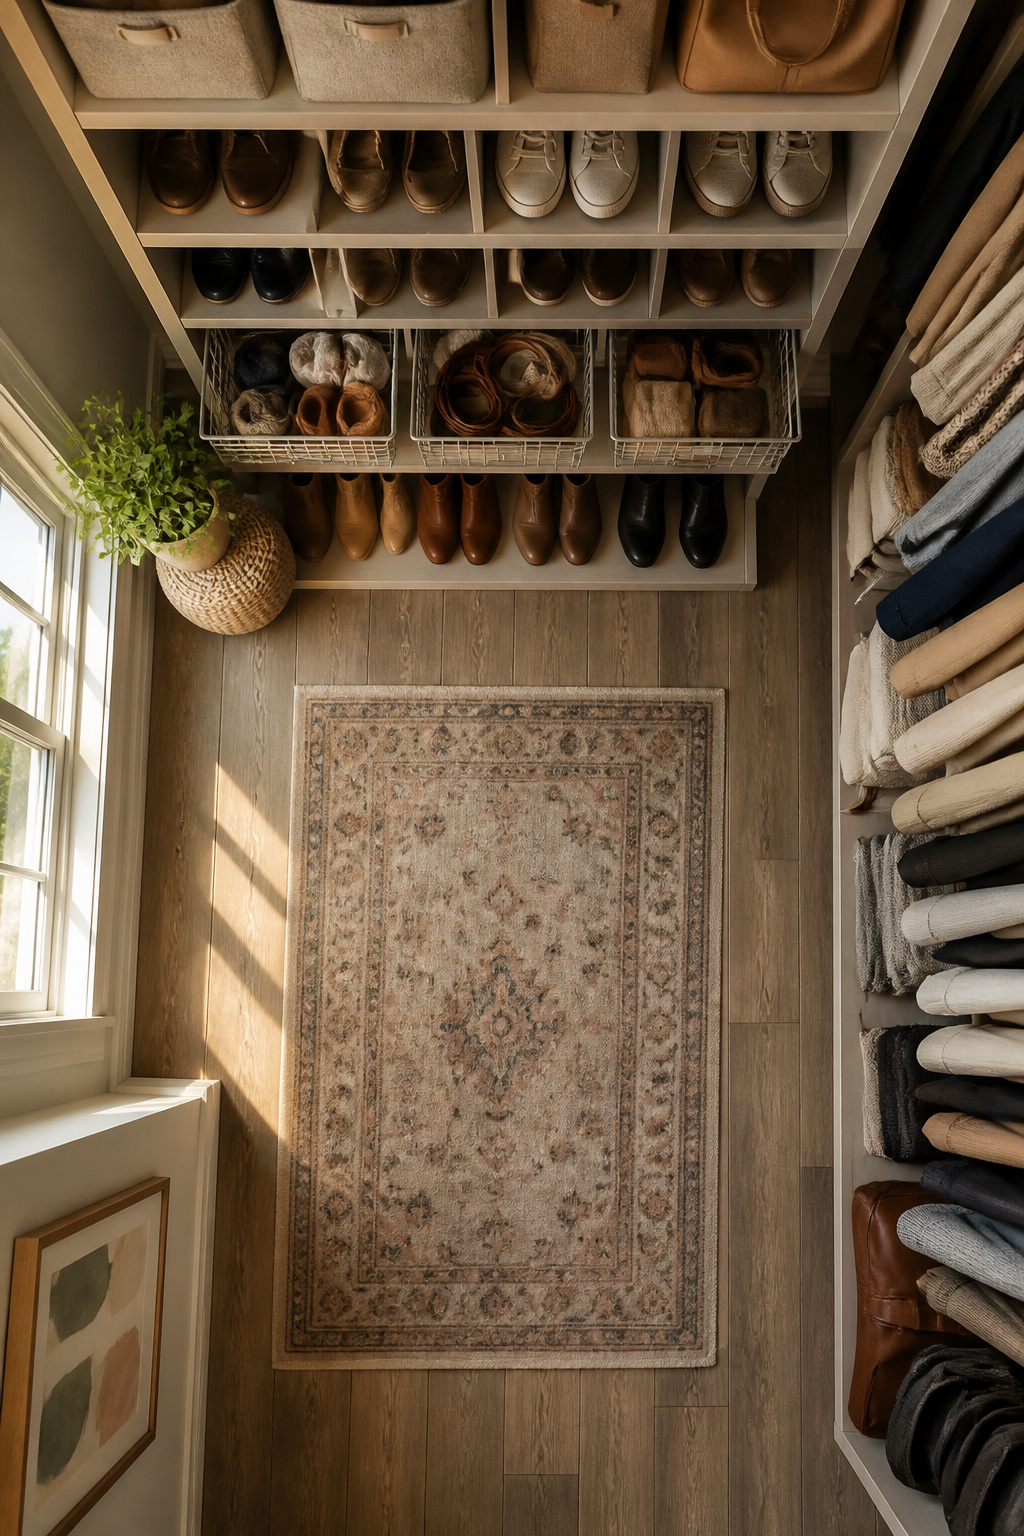
Shoes and accessories are where most closets fall apart, because the small stuff has no obvious home. I started with boots, which are the hardest shape to store without the shaft folding over and creasing the leather. Adjustable shelving turned out to be the answer: one shelf set low for tall boots, the next raised to fit heels and flats underneath. The ability to move a shelf by an inch or two matters more than I expected, since boot heights vary by brand and season.
For sneakers and smaller shoes, square cubby organizers keep pairs upright and visible. I tried the same approach with belts, hanging them on small hooks screwed into the wall at waist height, and it failed within a week. The hooks crowded together, the belts slid off the ends, and the whole arrangement looked messy no matter how carefully I spaced them. Wall-mounted cubbies or a shallow bin would have been the better call.
Hanging wire baskets underneath existing shelves now hold the belts, along with scarves and the socks that always seemed to vanish into drawers. For handbags, simple wall hooks keep everything visible if you have the vertical space. A clear acrylic tray on the top shelf corrals sunglasses and the small leather goods that otherwise migrate to junk drawers. The rolling cart I considered never made it into the closet; it would have blocked access to the hanging rods, and the whole point of an afternoon project is finishing with something that actually works.
6. Closet Lighting
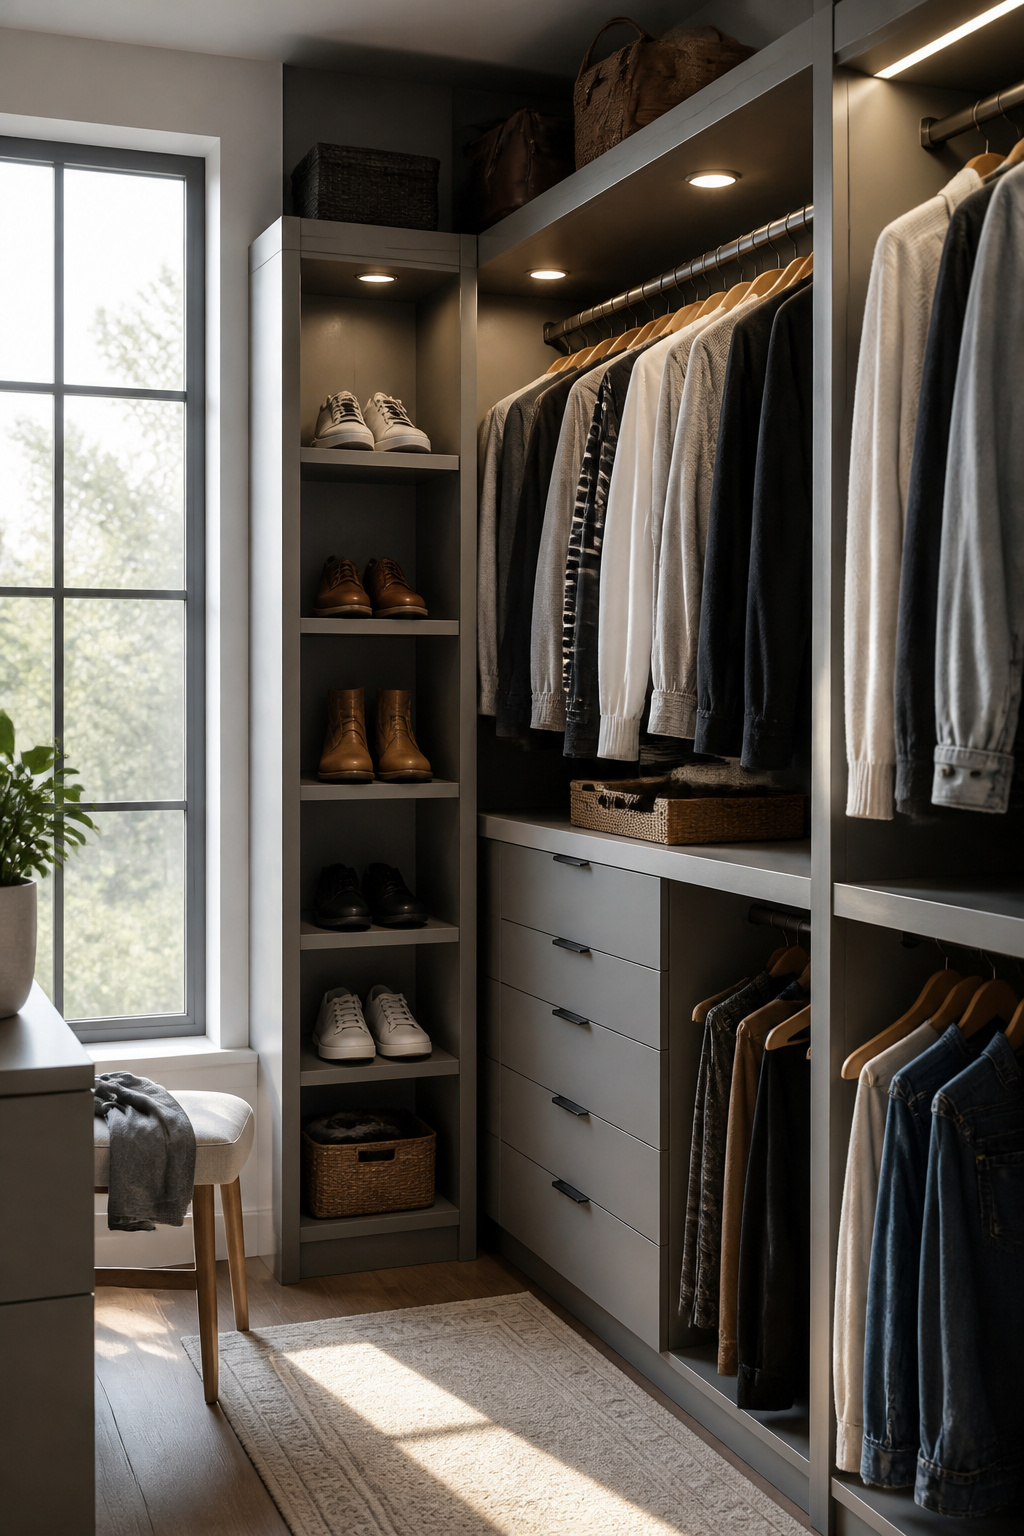
The back corner of my closet stayed dark for two years because I planned the lighting from the doorway instead of from where I’d actually be standing. Stick-on LED strips along the front shelf edge look bright on installation day and still leave your shoes in shadow. I learned that the hard way.
Puck lights, the kind you press to turn on, went up with adhesive on the underside of two shelves. They run on batteries, so no wiring, which meant I had light in ten minutes and a replacement schedule I now ignore until dimming annoys me. The wired portion, a plug-in LED bar above the hanging rod, took an afternoon of drilling and cable management I would not repeat for a rental.
Color temperature matters more than brightness. I chose 3000K, warm white, because anything cooler makes a closet feel like a hospital corridor at 6 a.m. The sources split on approach: some favor stick-on convenience everywhere, others build in integrated units for a finished look. Soft task lighting does make everything look better, but only where it actually reaches. My mistake was linear thinking in a three-dimensional space; the corner needs its own puck, angled, not another strip aimed past it.
7. Clear Storage Bins
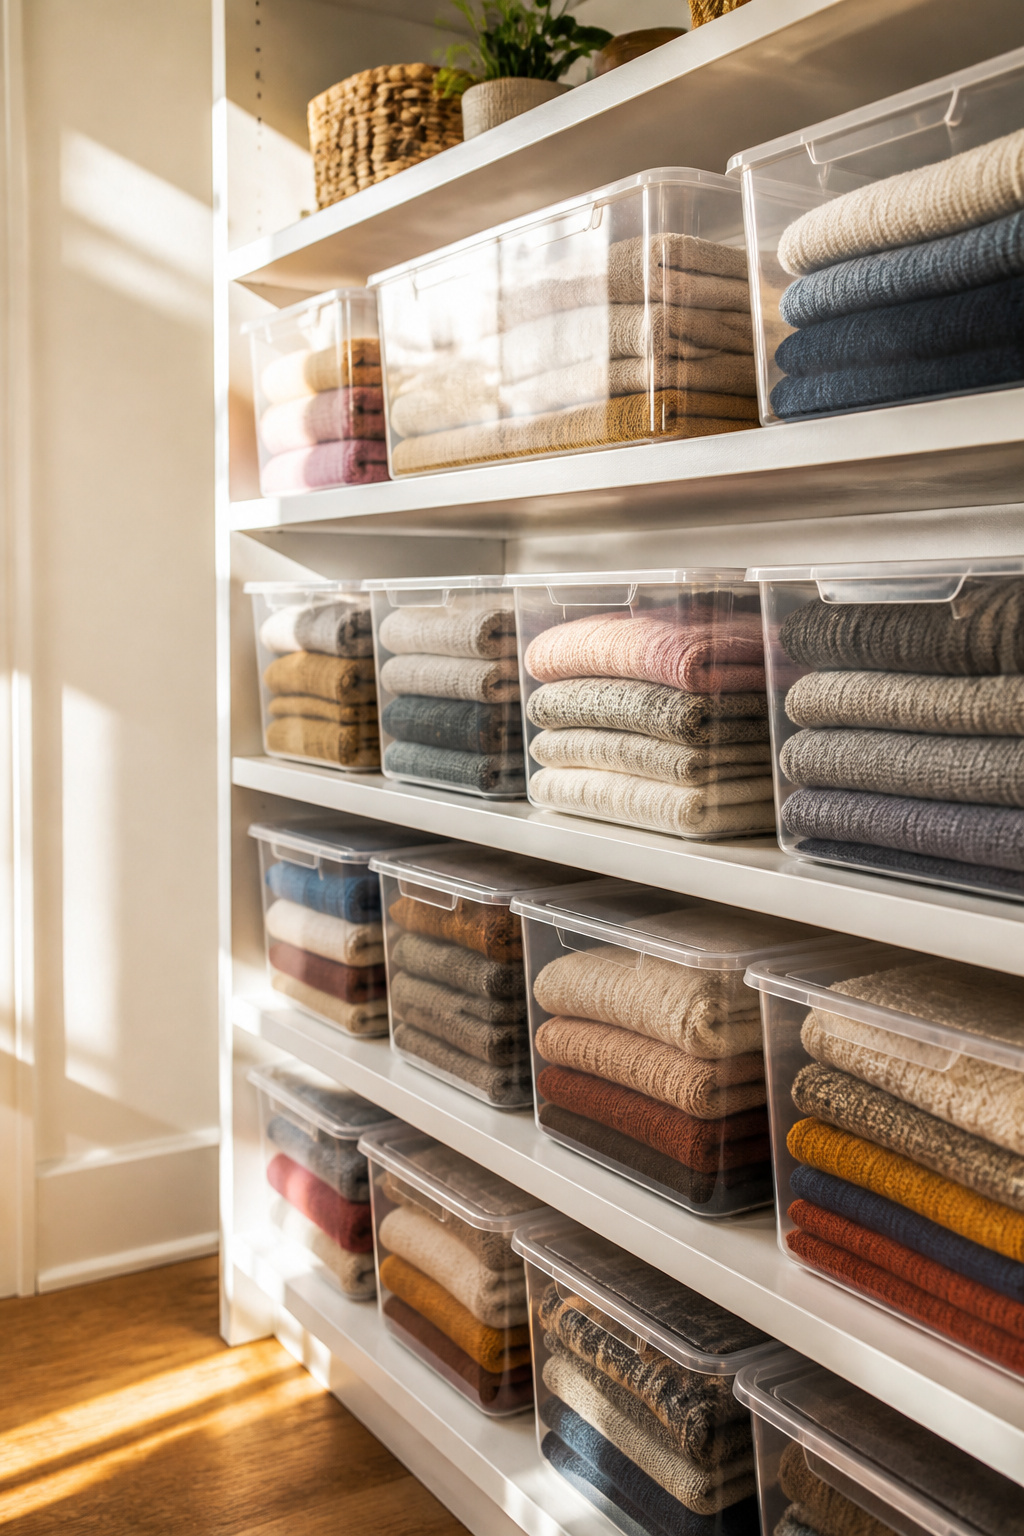
Clear storage bins earn their shelf space because you can see what is inside without lifting the lid. The standard smaller ones hold 3–5 sweaters apiece, which is a useful benchmark when you are deciding how many to buy. I misjudged this myself and ended up with too many of the larger size, the ones meant for 6–8 sweaters side by side. They sat half-empty for months because I did not own that many heavy knits.
The tall bins were the bigger mistake. I had measured the closet width and depth but not the vertical clearance between shelves, so the 12-inch height I bought turned out to be useless on the middle levels. They fit only on the top shelf, where I needed a step stool to reach them, which defeated the purpose of easy visibility. For anyone working with standard builder-grade shelving, the lower-profile bins are the safer bet unless you know you have 14 inches or more of headroom.
8. Repurposed Furniture
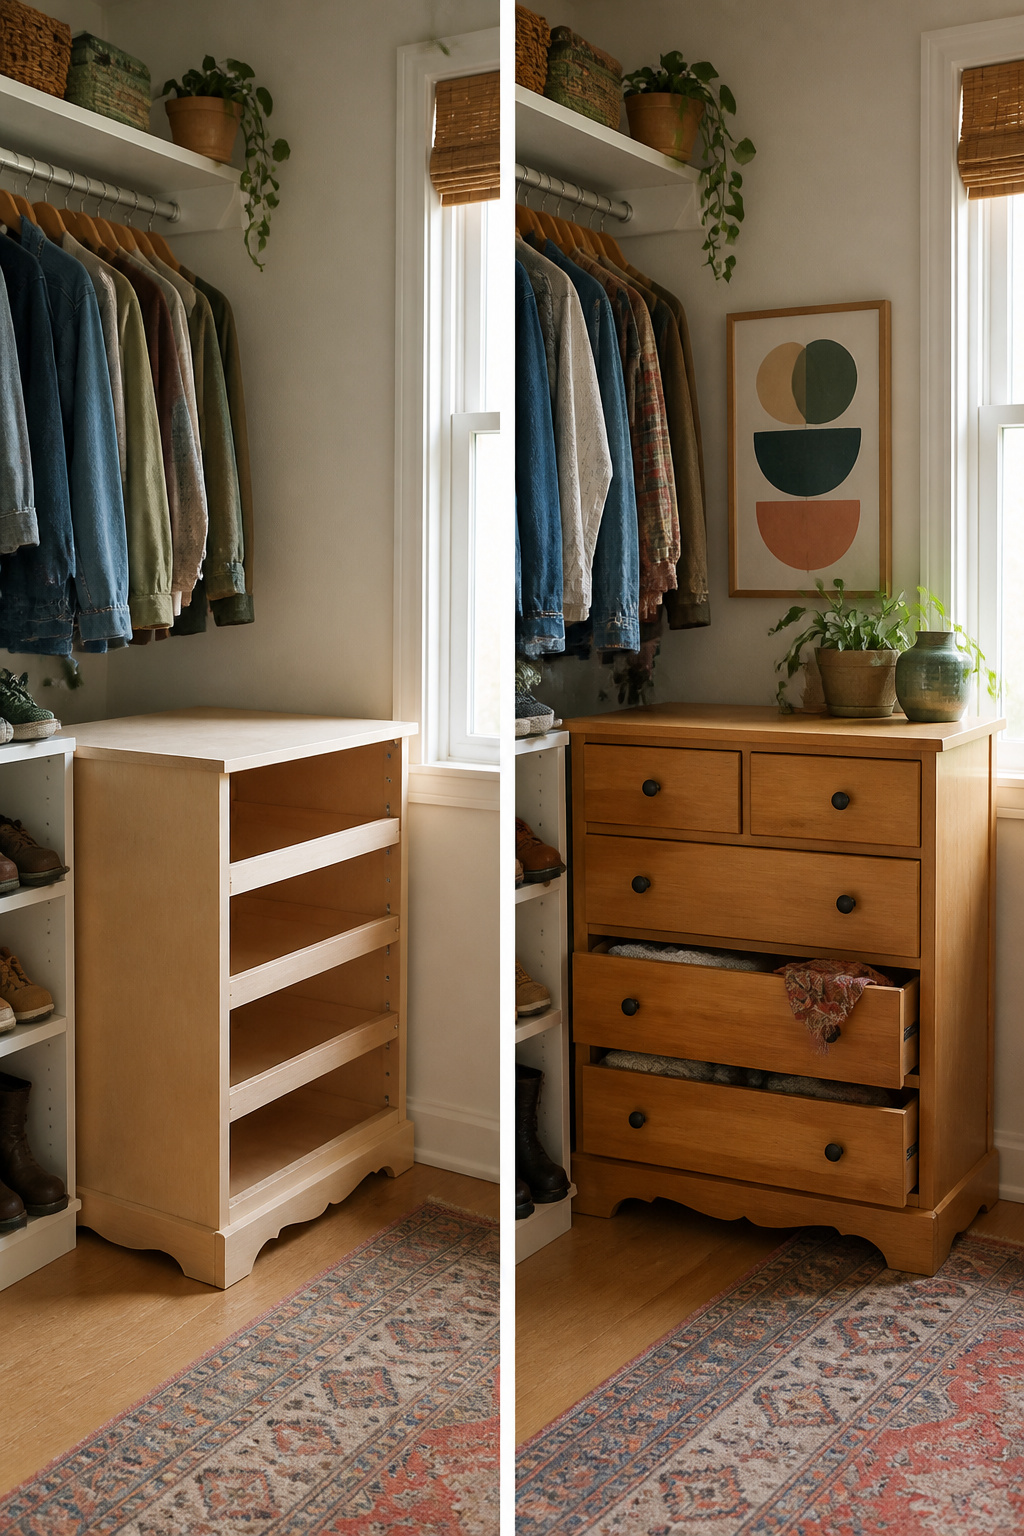
A dresser with the back sawn off sounds clever until you try to square it against a wall that bows half an inch over 36 inches. I learned that the summer I dragged home a 1960s maple chest, four drawers, solid wood, free from a neighbor’s curb. The plan was simple: cut away the rear panel, slide it into the closet, and gain drawer storage without building boxes from scratch.
The chest was 18 inches deep. My closet was 24 inches from door frame to back wall. Six inches of dead space behind it, or pull it forward and lose hanging length in front. Neither option showed up in the inspiration photos. I spent an afternoon with a circular saw trimming the back rail, then another evening shimming the left side because 1950s construction and 1960s furniture share one trait: nothing is actually rectangular.
Store-bought organizers at least account for the usual irregularities. A boxed unit built from MDF can be scribed to the wall, trimmed in place, painted to match. The dresser arrived with a face I liked and dimensions I couldn’t change. The black paint and hardware I added looked sharp, but the gap along the back still collects the odd sock that slips through.
If you enjoy the hunt and own a belt sander, repurposed furniture rewards patience. For a reach-in closet you want finished this afternoon, building from MDF is faster than correcting someone else’s 60-year-old assumptions.
9. Door and Unused Space
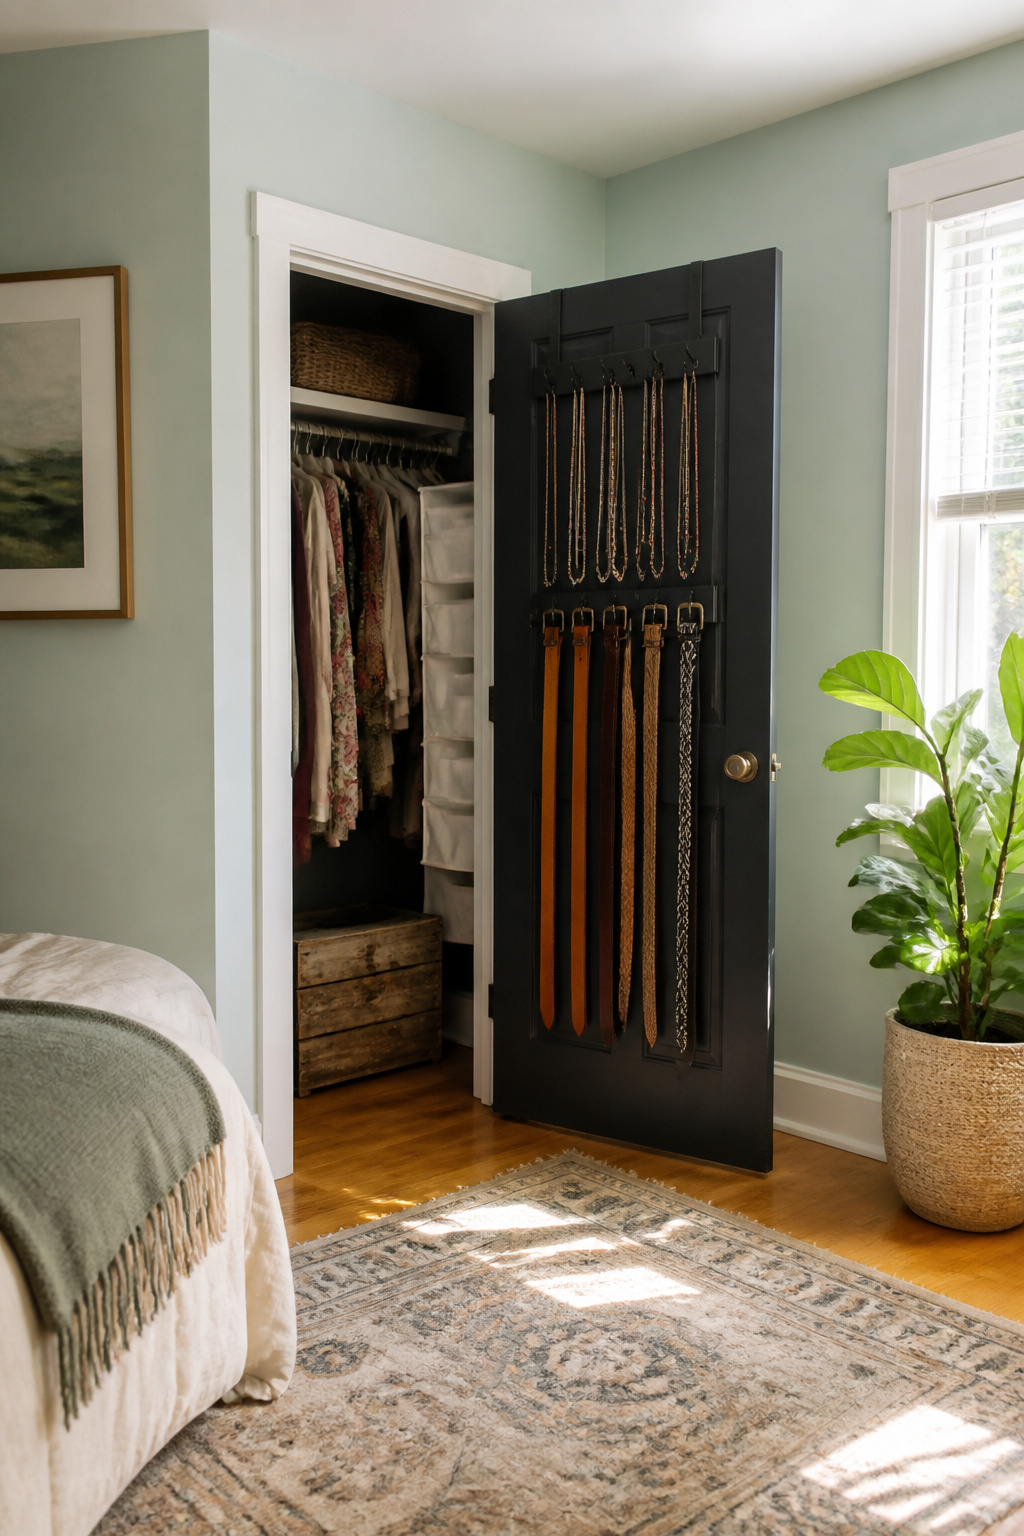
The back of a closet door is dead space until it isn’t. I tried a wire rack first, the kind that hooks over the top rail, and the weight of my belts made it bang against the jamb every time I shut the door. That lasted three days before it came down.
What worked better was a shallow hook rack mounted directly on the door itself, painted inside with black chalk paint so silver and gold chains actually show up against the background. The belts hang flat, the necklaces don’t tangle, and the door closes quiet because nothing swings.
For the kid closet I helped my sister rethink, we looked at a bookshelf screwed to the back of her son’s door, the way some organizers do it. The idea is solid, but shallow storage wins on doors: deep pockets or shelves catch sleeves and bump elbows. Her books go on a wall shelf now, and the door holds a slim fabric organizer for socks and small toys.
10. Custom Drawer Designs
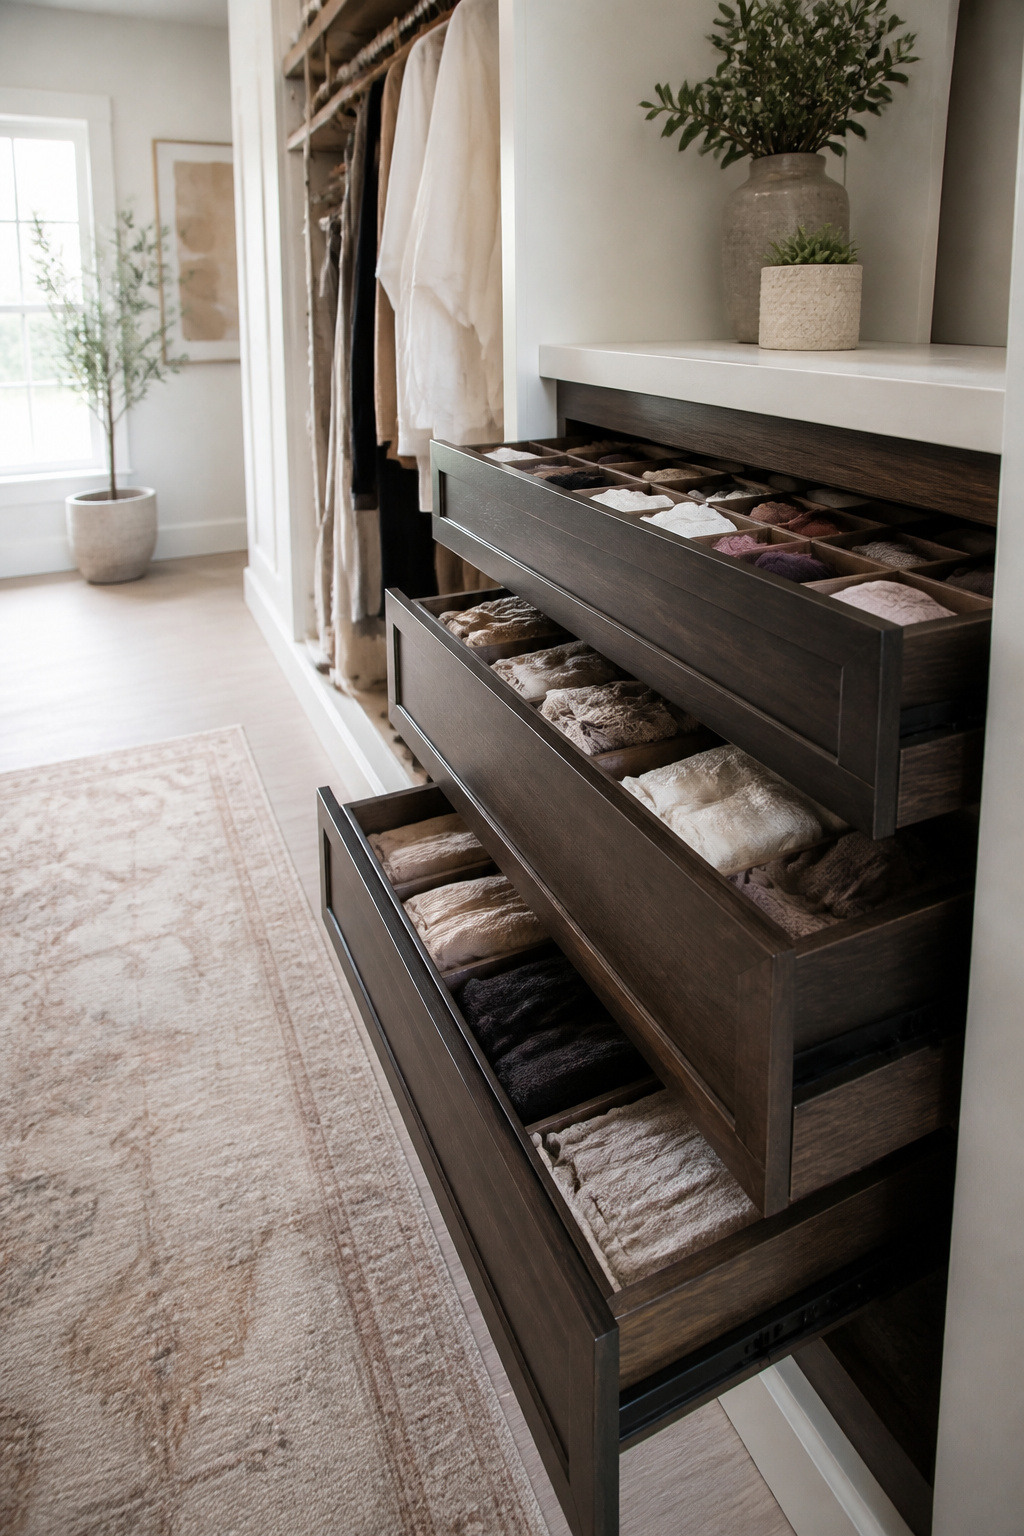
Custom drawer designs live or die on the measurement you take before you buy a single board. The first closet I built, I measured the box opening and built the drawer to match it, forgetting the face plate had to sit flush with the trim. The drawer jammed by a quarter inch. Now I build drawers to a uniform size, then cut faces to fit the actual opening after the box is square.
Soft-close slides added about eight dollars per drawer and I would not skip them again. The slam of a 1×8 pine drawer at 6 a.m. is a mistake you make once.
For dividers, three inches works for socks and intimates, six for folded tanks. I tried adjustable dividers first and they drifted; fixed 1×4 cleats screwed to the box bottom keep rows where I put them. Thecreatedhome’s build used square dowels as cleats with 1/4 inch plywood bottoms, which is lighter than solid wood and plenty strong for clothes. Line the bottom with something if you want; leftover wallpaper works fine and costs nothing.
Double Rods and Hanging Strategy

Double rods earn their space by splitting one tall bay into two shorter ones. The standard call is 36 inches for the lower rod and 44 inches above it, measured from the floor to the hanging bar. My own closet in the guest room runs slightly tighter: 35 inches on the bottom, 44 on top, with the top shelf parked at 79 inches under an eight-foot ceiling. That inch of stolen clearance still lets shirts and pants hang free, and the gap above the shelf swallows folded sweaters I rarely wear.
The sort order matters more than the hardware. I hung blouses and going-out jackets on the upper rod, everyday jackets and sweaters below. Color grouping keeps the eye from bouncing around at 7 a.m. Velvet hangers helped; nothing slides off when I rush.
The mistake came three weeks in. One maxi dress, hung on the top rod for lack of a better plan, pooled on the shoes beneath it. Long garments need a single full-height bay reserved somewhere, or the double-rod logic collapses. I ended up shifting that dress to the short end of the closet, where the rod runs solo from 66 inches up.
What I Keep in Reach
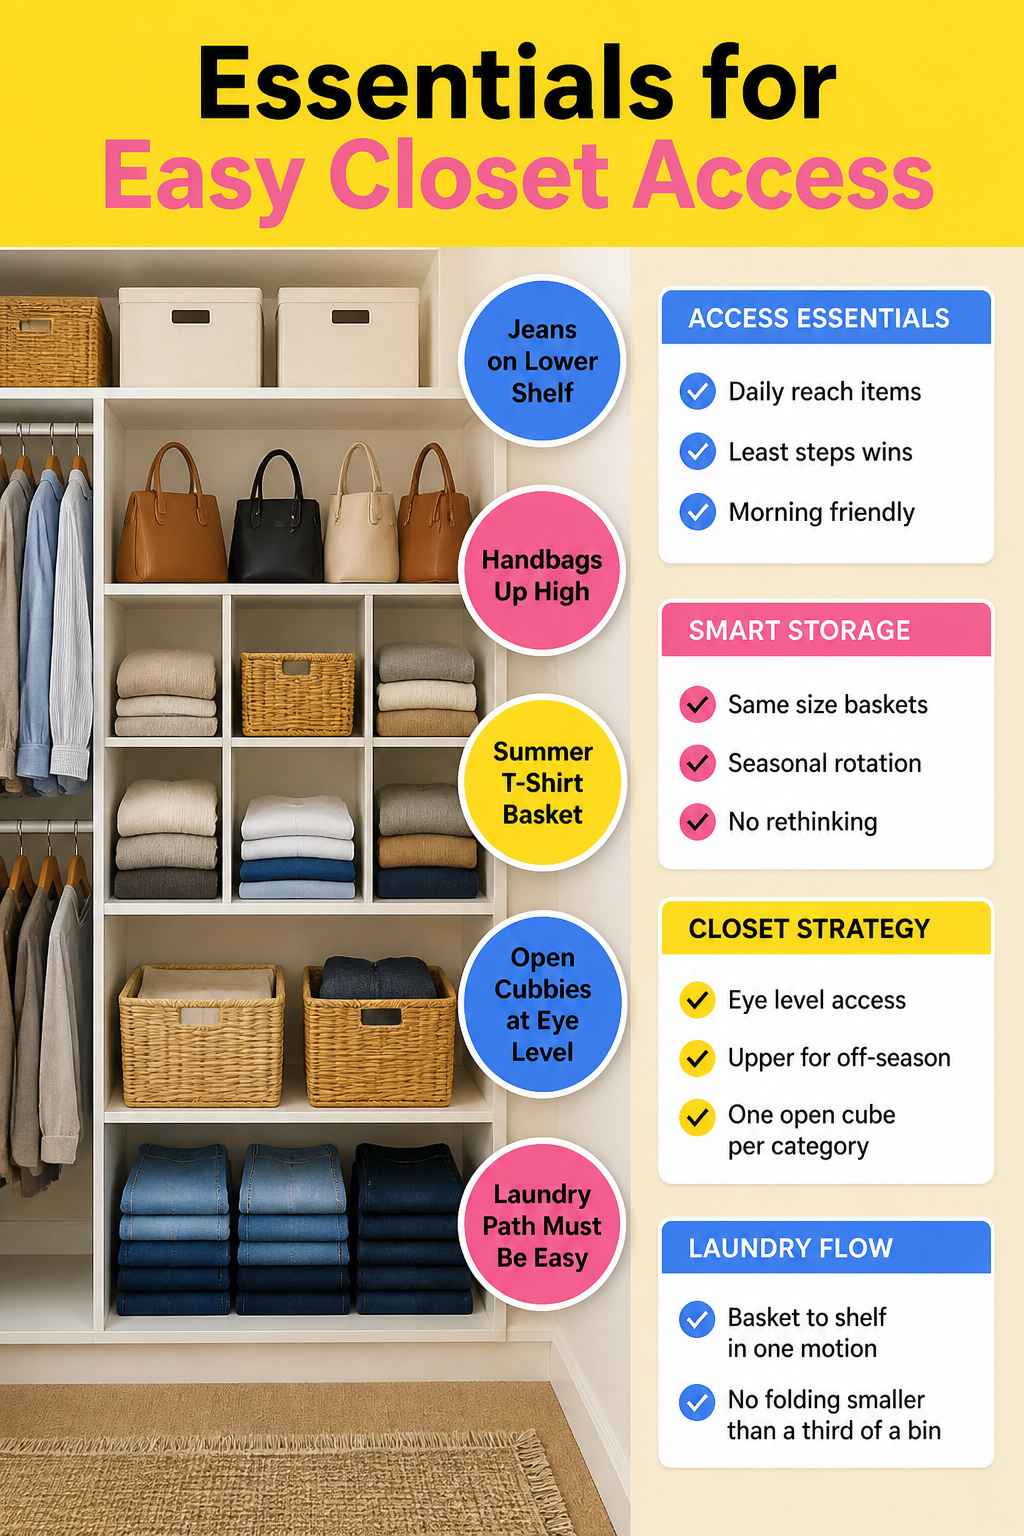
Sorting by color and type looks flawless on Saturday afternoon and falls apart by Tuesday morning. My system only held once I stopped designing for the shelf and started designing for the half-awake version of myself.
Jeans live on the lower shelf, right where my hand falls before coffee. Handbags stay up high because I switch them every few weeks, not every few hours. The basket for summer t-shirts sits empty six months of the year, then swaps with sweaters when the weather turns. That rotation only works because the baskets are the same size and sit in the same spots; no rethinking required.
Vertical space mattered less than I expected. Stacking bins to the ceiling sounds efficient until you’re digging through three layers before work. I kept one open cube per category at eye level and accepted that the upper rows are for off-season storage, not daily use.
The real test is putting laundry away. If the path from basket to shelf takes more than one motion, the clothes stay in the basket. My cubbies work because nothing gets folded smaller than a third of a bin; anything tighter and I skip it.
What the Projects Cost

Melamine board runs about $30 a sheet, and that number sits at the heart of most closet builds I have priced out. A single reach-in can eat three to five sheets once you account for shelves, dividers, and the false backs that keep everything looking built-in. The last closet I tackled needed four sheets ripped to 16-inch strips, plus hardware and edge banding, and the materials landed around $180 total.
IKEA cuts the math a different way. Four Billy bookcases, two closet rods, and some white shelving board put a whole system under $100 per closet if you are willing to work around baseboards with a small MDF panel. Compare that to the $700 the same family spent on a prefab baby closet system, and the savings stack up fast.
Having a closet professionally built would have run close to $2,000 by one estimate. Doing it myself, wallpaper to brackets, came to about $340. The gap is labor, obviously, but also the markup on materials you can source yourself. Where the money actually goes: sheet goods first, then hardware, then the small stuff like edge tape and wall anchors that always costs more than you expect.
Tools I Had and Tools I Bought
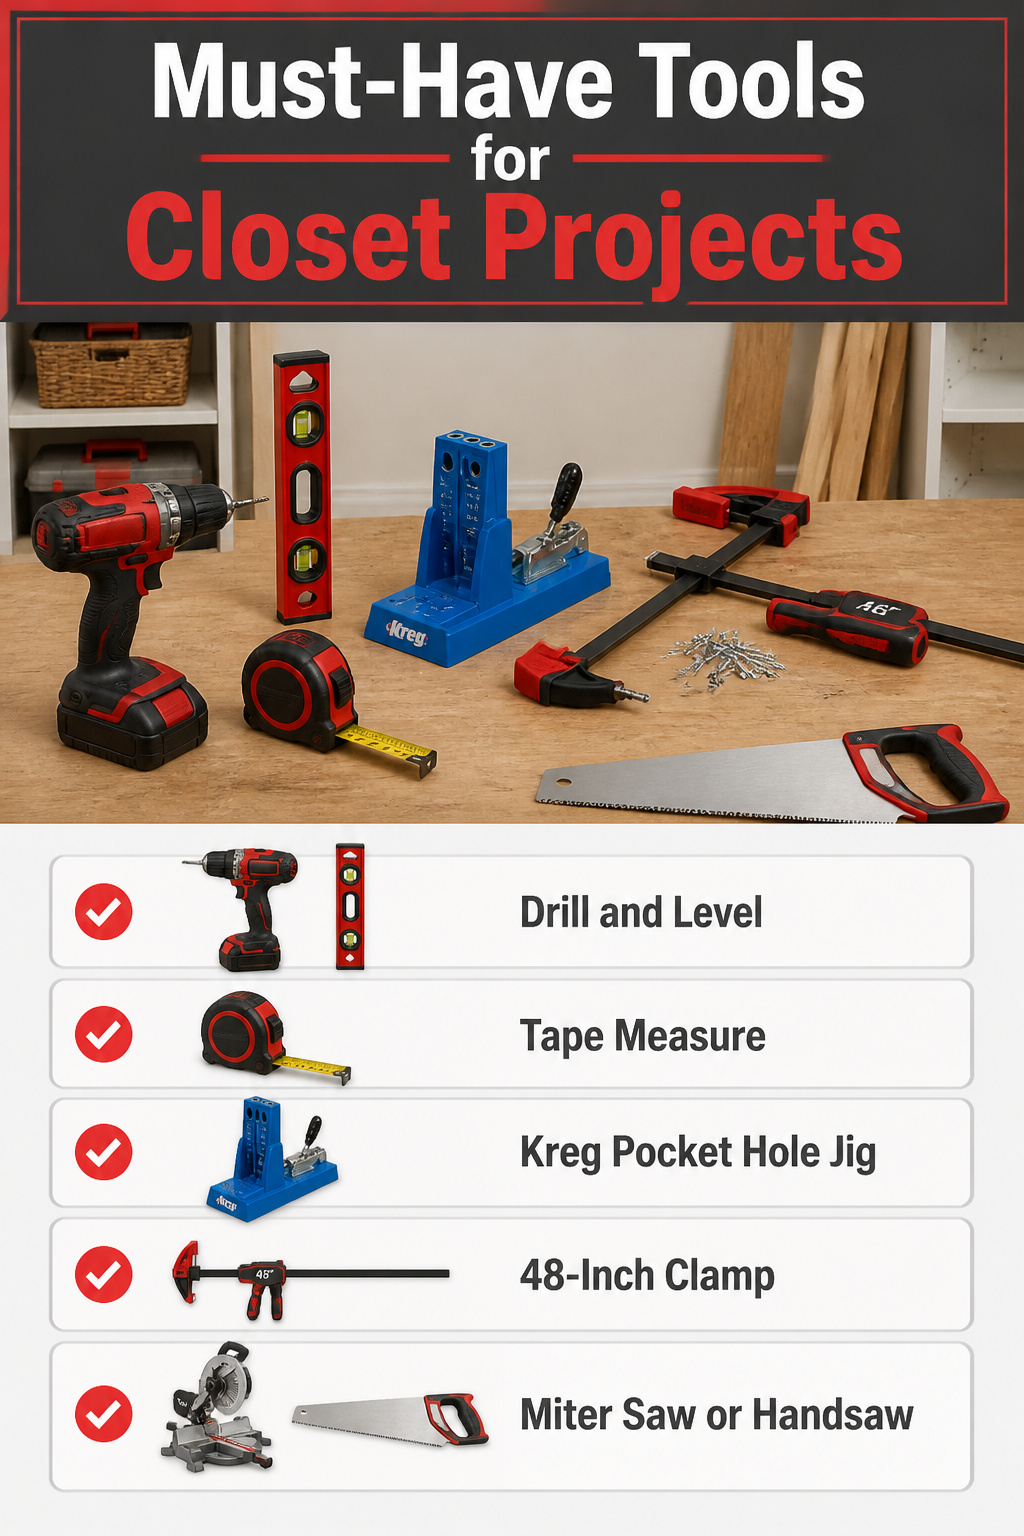
A drill and a level were already in the junk drawer, along with the usual tape measure and stud finder that come with owning any house for more than a year. The Kreg pocket hole jig was the one item I borrowed from a neighbor; for the three shelves I built, it turned a Saturday afternoon into strong joints without visible screws on the face. I bought a 48-inch clamp and a fresh pack of #8 wood screws, about $22 total. The IKEA Billy hack that filled my second closet needed nothing beyond a handsaw to add the MDF base panel so the back notch cleared the molding. A miter saw would have been faster, but the handsaw kept the project under two hours and under $100 per closet.
Frequently Asked Questions
What are some easy DIY closet organizing ideas?
Easy DIY closet organizing ideas include clear storage bins so you can see contents without lifting a lid, hanging wire baskets underneath shelves for belts and scarves, and battery-powered puck lights angled into dark corners instead of relying on front-facing LED strips that leave shoes in shadow. Uniform bins that swap seasonally in the same spot keep morning decisions automatic, and soft-close drawer slides spare everyone the 6 a.m. slam.
How can I maximize space in a small closet?
Maximize space with double rods set at 36 inches and 44 inches off the floor, turning one tall bay into two shorter ones, but reserve a full-height section somewhere for maxi dresses and long coats. Adjustable shelving with 32 mm hole spacing lets you raise or lower shelves by roughly an inch and a quarter as boot heights change. Shallow storage on the back of the door, mounted directly to the surface rather than over-the-rack hooks that bang the jamb, adds function without stealing rod or shelf space.
What materials are best for DIY closet organizers?
Melamine board at about $30 a sheet works well for reach-in closets with folded clothes and bins because the white surface needs no painting and wipes clean, though exposed edges require paint or iron-on veneer tape. MDF boxes scribe to irregular walls and trim in place, which repurposed furniture cannot do without shimming and belt-sanding. Plywood edges stain more honestly and handle heavier loads, but costs more in time than melamine for light-duty storage.





