Painting a tile backsplash means coating existing ceramic wall tile with primer and enamel so the surface looks new without demolition. The catch is that standard paint peels within a month on glossy tile; bonding primer and urethane enamel are what separate a finish that lasts from one that fails. TSP scrubbing and a light sanding with 120-grit paper come first, and the full cure between coats is twenty-four hours, not the few hours latex paint needs.
1. Clear Countertops and Protect Surfaces

Everything comes off the counters first, and a drop cloth goes down before any cleaning starts. The counters need that protection right away, especially if you are using TSP later. The tape can wait until after the tile is cleaned and sanded, but the outlets get attention now: covers come off, and the outlets themselves get taped. Most people skip the old caulk between the counter and the backsplash, but cracked or peeling caulk should go at this stage rather than after you have started painting. Painter’s tape between the countertop and backsplash is non-negotiable for clean lines, and the upper cabinets need tape too unless your cabinet paint matches the backsplash color exactly. Plastic sheeting on the floor or counter catches the drips that drop cloths miss.
2. Clean the Tiles
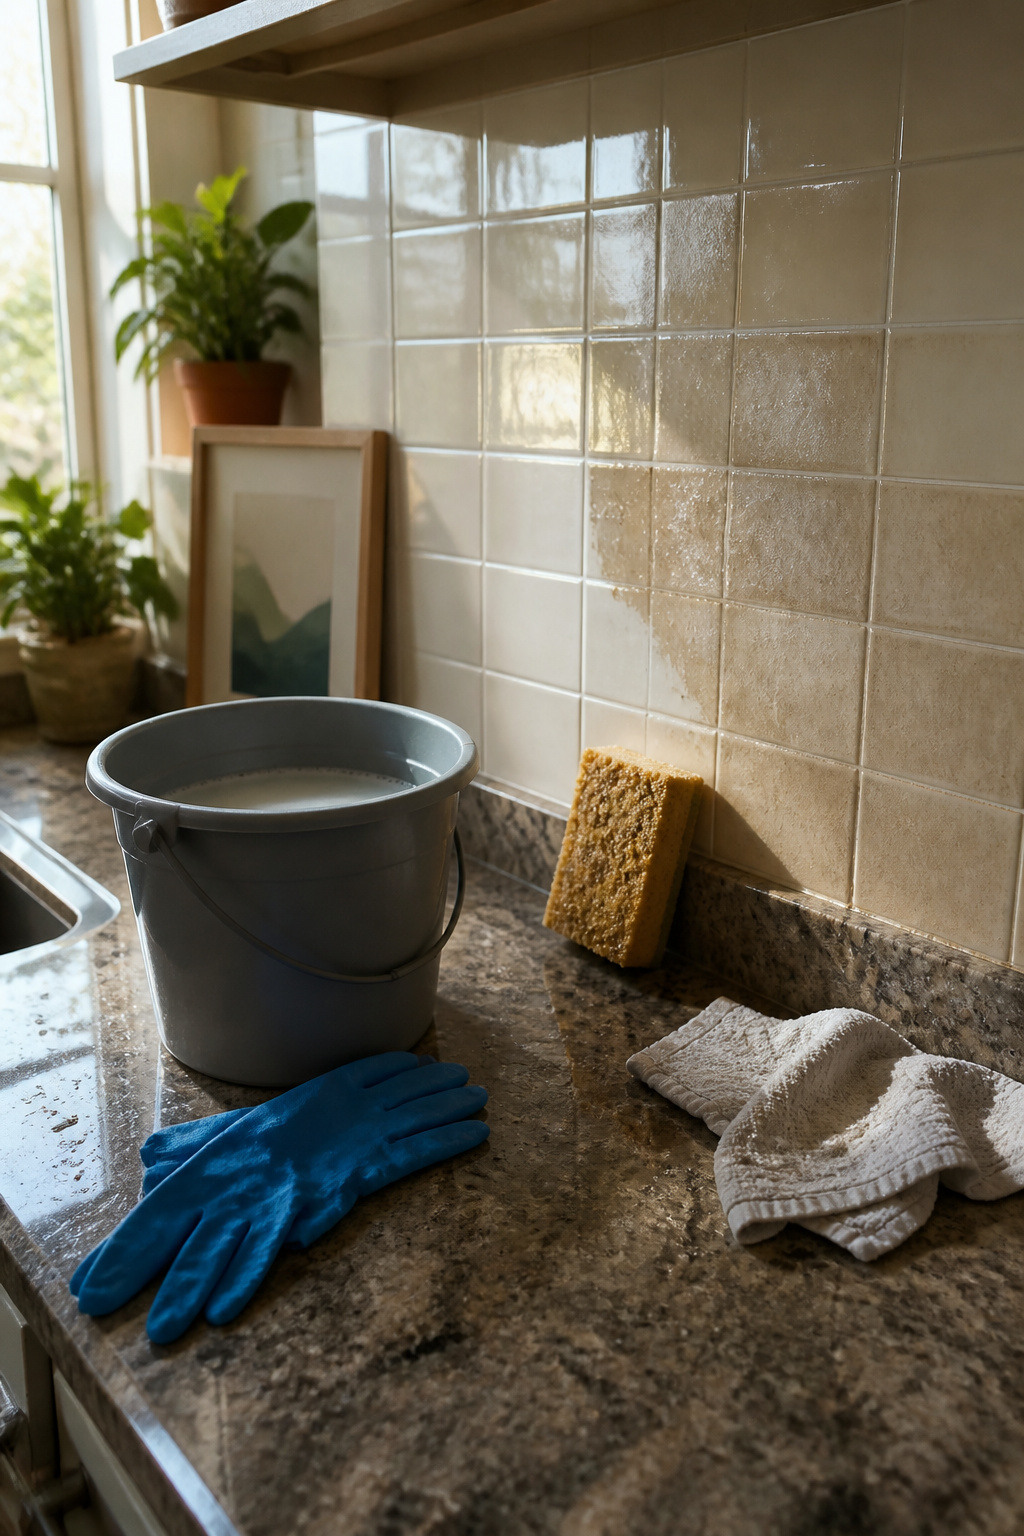
TSP is where this job lives or dies. Five out of every six people who have painted tile and lived to tell about it will say the same thing: skip this step and the paint peels inside a month.
I mixed the powder into a bucket of water per the package directions, pulled on nitrile gloves, and scrubbed every square inch with a sponge. The deglossing matters as much as the degreasing. Kitchen backsplashes collect a film of cooking oil so thin you cannot see it, but primer can feel it. TSP is the only prep step that handles both problems at once.
After the scrub, I went back over everything with plain water and a rag to rinse. Let it dry completely before you tape off the caulk line at the counter. Wet tile traps moisture under primer, and trapped moisture quits the job you have not even started yet.
3. Sand the Tiles
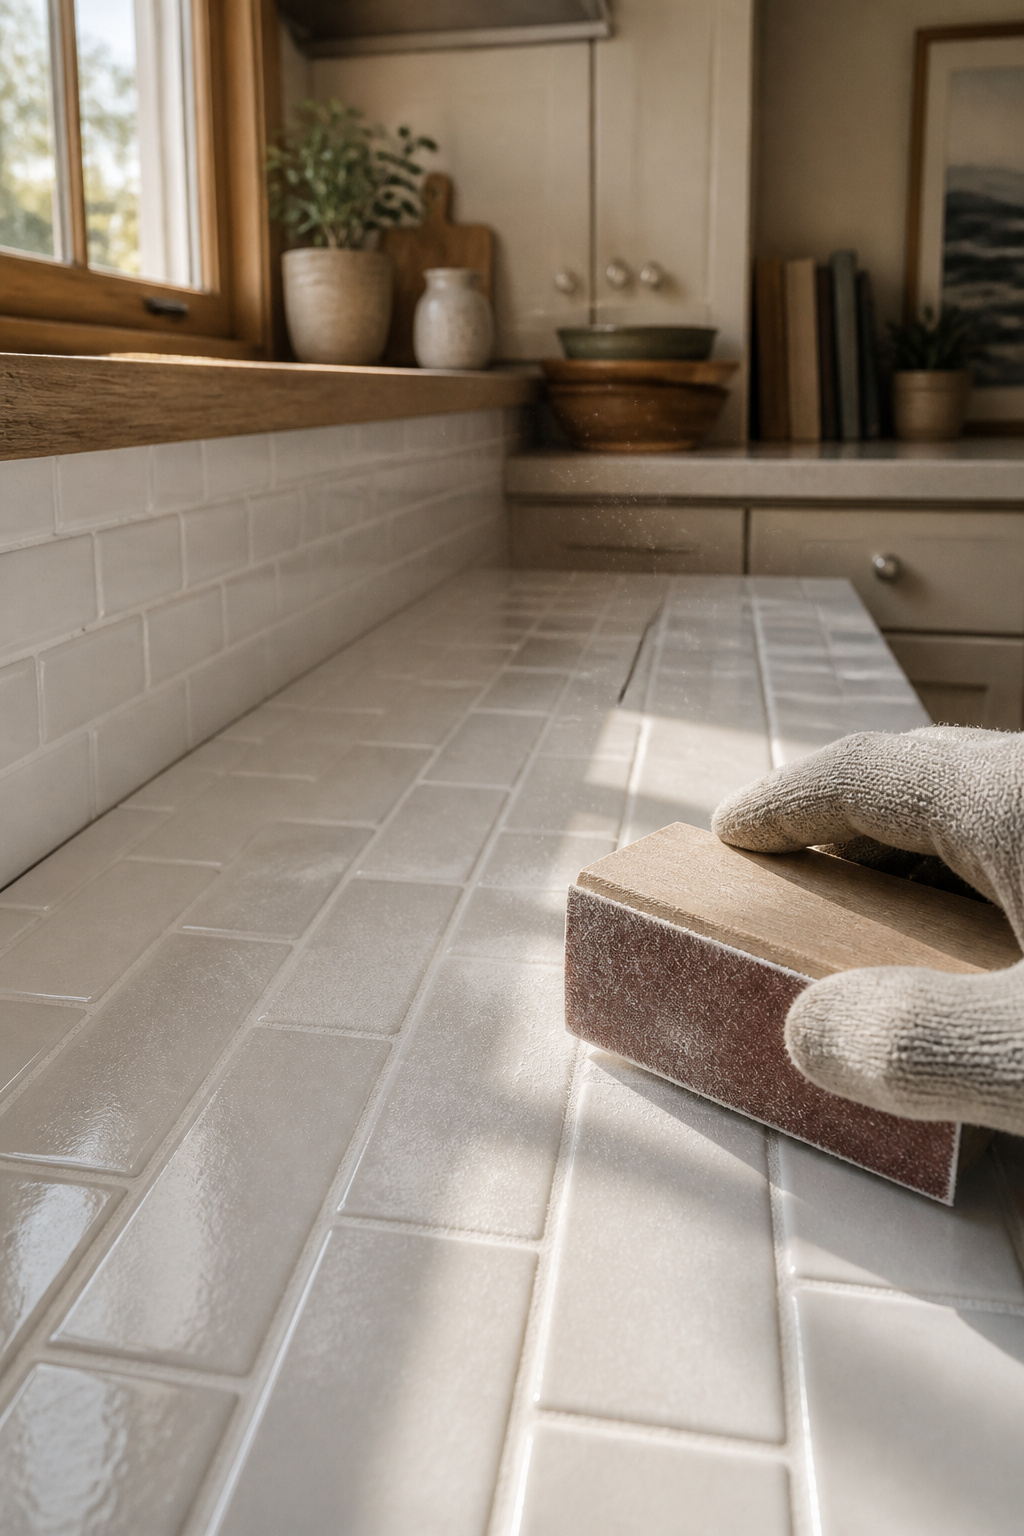
Glossy ceramic tile will reject paint the same way a non-stick pan rejects an egg, so the surface needs a light scar before anything else goes on. 120-grit or 220-grit sandpaper is the right range for this job. The point is not to reshape the tile or grind through the glaze, only to knock off the shine and leave a uniform haze that primer can bite into.
I used a sheet wrapped around a scrap block of wood, though a sanding block from the hardware store works the same way. A few passes by hand are enough. One blogger who painted her backsplash noted that matte tile needed only a quick scuff, while glossier tile called for slightly more pressure, but neither case demanded heavy sanding. An orbital sander saves time if you have one, though it is not necessary for a small backsplash.
Work over the whole surface, including the grout lines, then wipe away the dust with a damp rag. The tile should feel slightly rough to the touch, like eggshell, not scratched or scored. Stop there. Sanding too aggressively only creates grooves that show through the finished paint.
4. Prime the Tiles
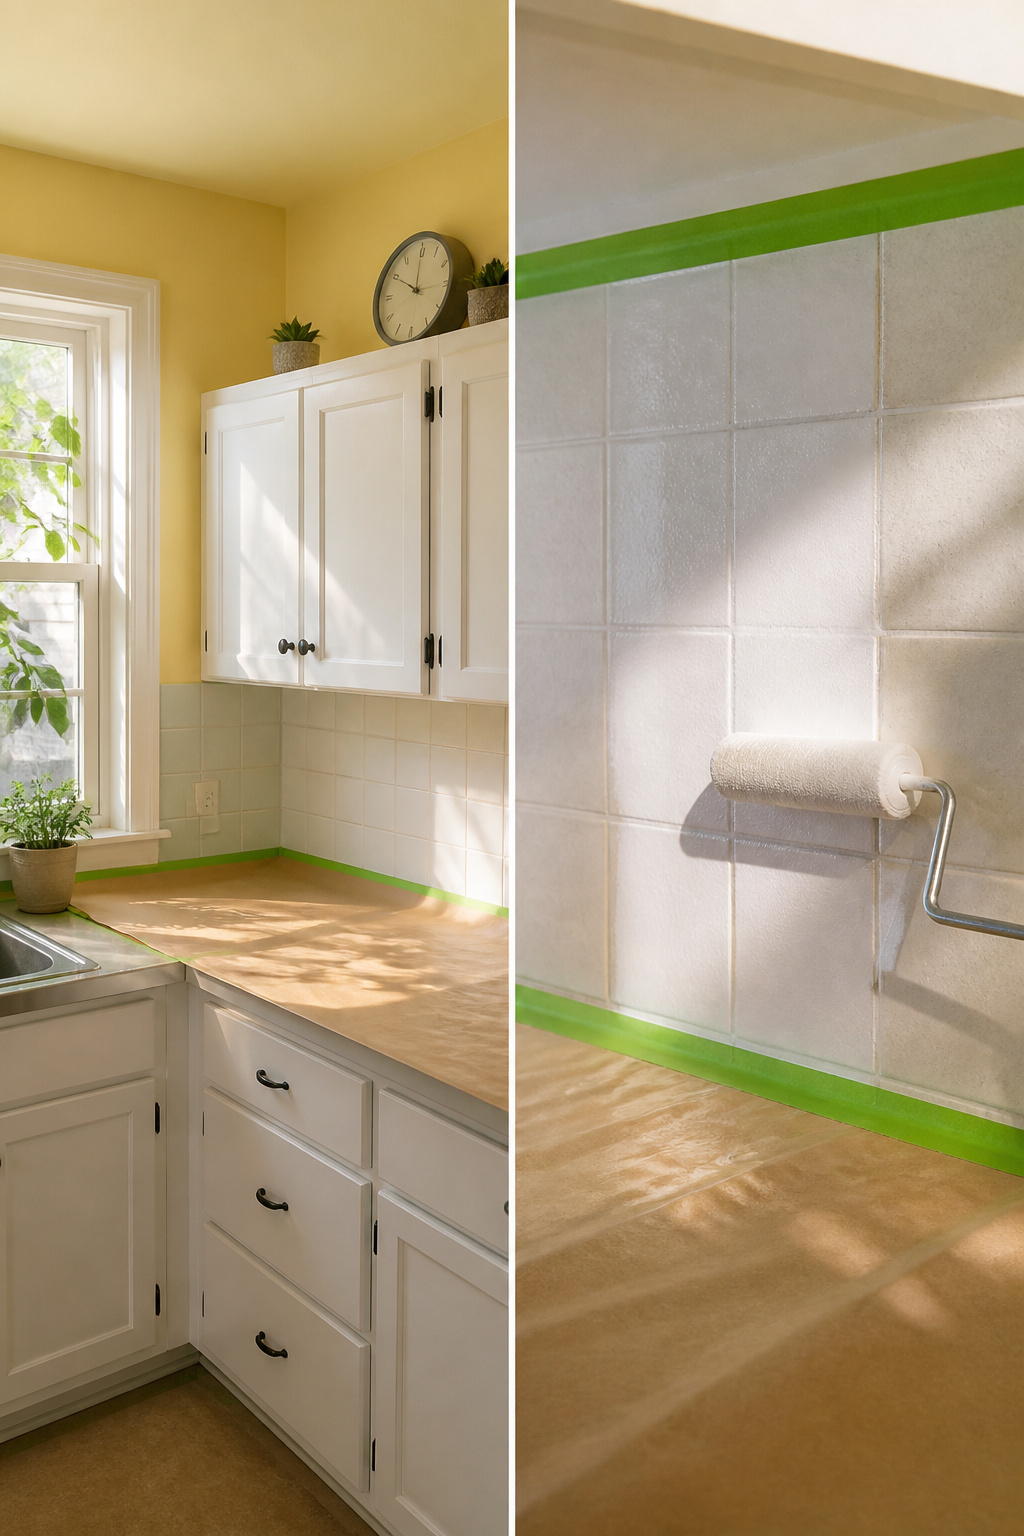
Bonding primer is what separates a backsplash that lasts from one that peels up at the edges six months later. Tile is slick by design, and standard primer grips it about as well as tape on glass. A bonding formula made for glossy surfaces gives the paint something to hold onto.
Two options keep coming up: Extreme Bond Primer and INSL-X STIX Waterborne Bonding Primer. Both are built for exactly this problem, and six separate write-ups on this project back the step as non-negotiable. The primer goes on thin and looks worse than you expect, like a stain that did not quite take. That is normal. What matters is that it dries in under an hour, so you are not losing an afternoon to watching paint cure.
Cut in first with a brush along grout lines and seams, then roll the flat faces while the cut-in is still wet. Rosin paper against the counter catches drips without fighting you the way drop cloths do. Check the seams as you move; primer runs there and sets before you notice.
5. Paint the Tiles
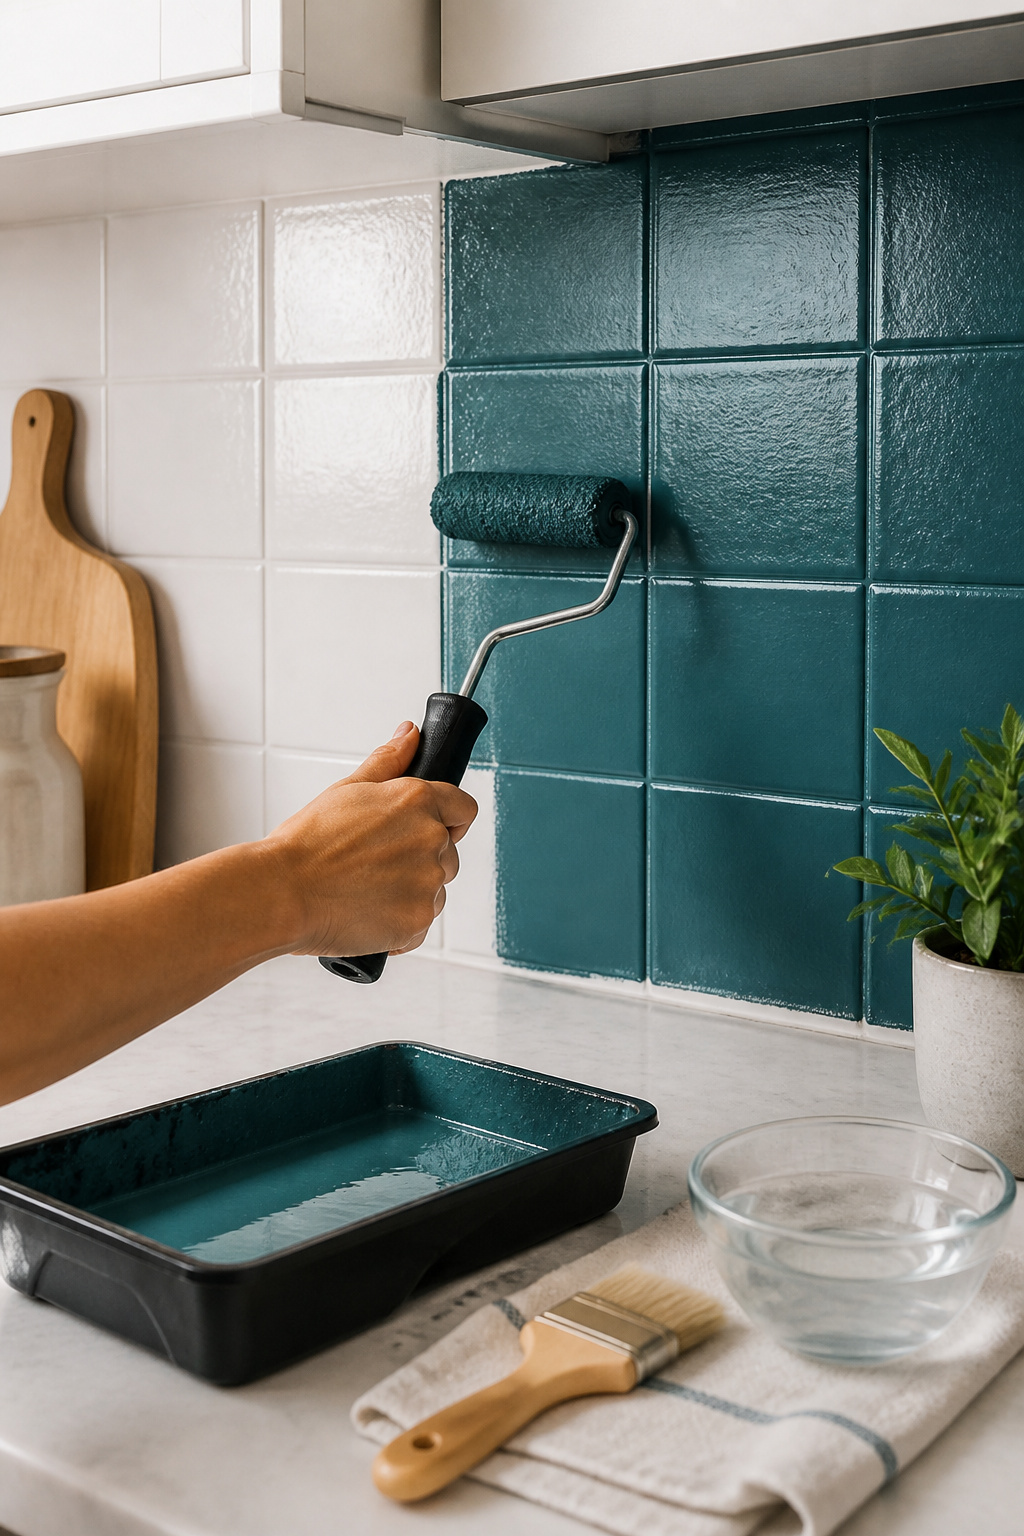
Quality enamel or urethane paint is what separates a backsplash that lasts from one that chips by Thanksgiving. Sherwin-Williams Emerald Urethane Trim Enamel and Benjamin Moore Aura are the two that keep coming up in accounts from people who actually live with the results. Both are formulated to take the abuse a kitchen dishes out: grease, water, the occasional flying spaghetti sauce.
If the first coat goes on thin and even, one may be enough. Two coats is the safer bet, especially behind the sink where water pools. The catch is the wait: 24 hours between coats, minimum. Urethane trim enamel in particular hits a tacky stage fast, and brushing or rolling over it then leaves streaks that do not level back out. Work in small sections, cutting in the grout lines with a brush and immediately rolling the faces before the paint starts to grab.
Satin finish is the practical choice for most kitchens. Semi-gloss holds up to scrubbing but shows every uneven tile; matte reads beautiful in a bathroom with Aura Bath & Spa, though that line is formulated for humidity rather than grease. The Emerald Urethane, applied with a mini flocked foam roller and laid off gently, self-levels to a finish that looks factory-applied if you resist the urge to keep working it.
6. Caulk the Edges
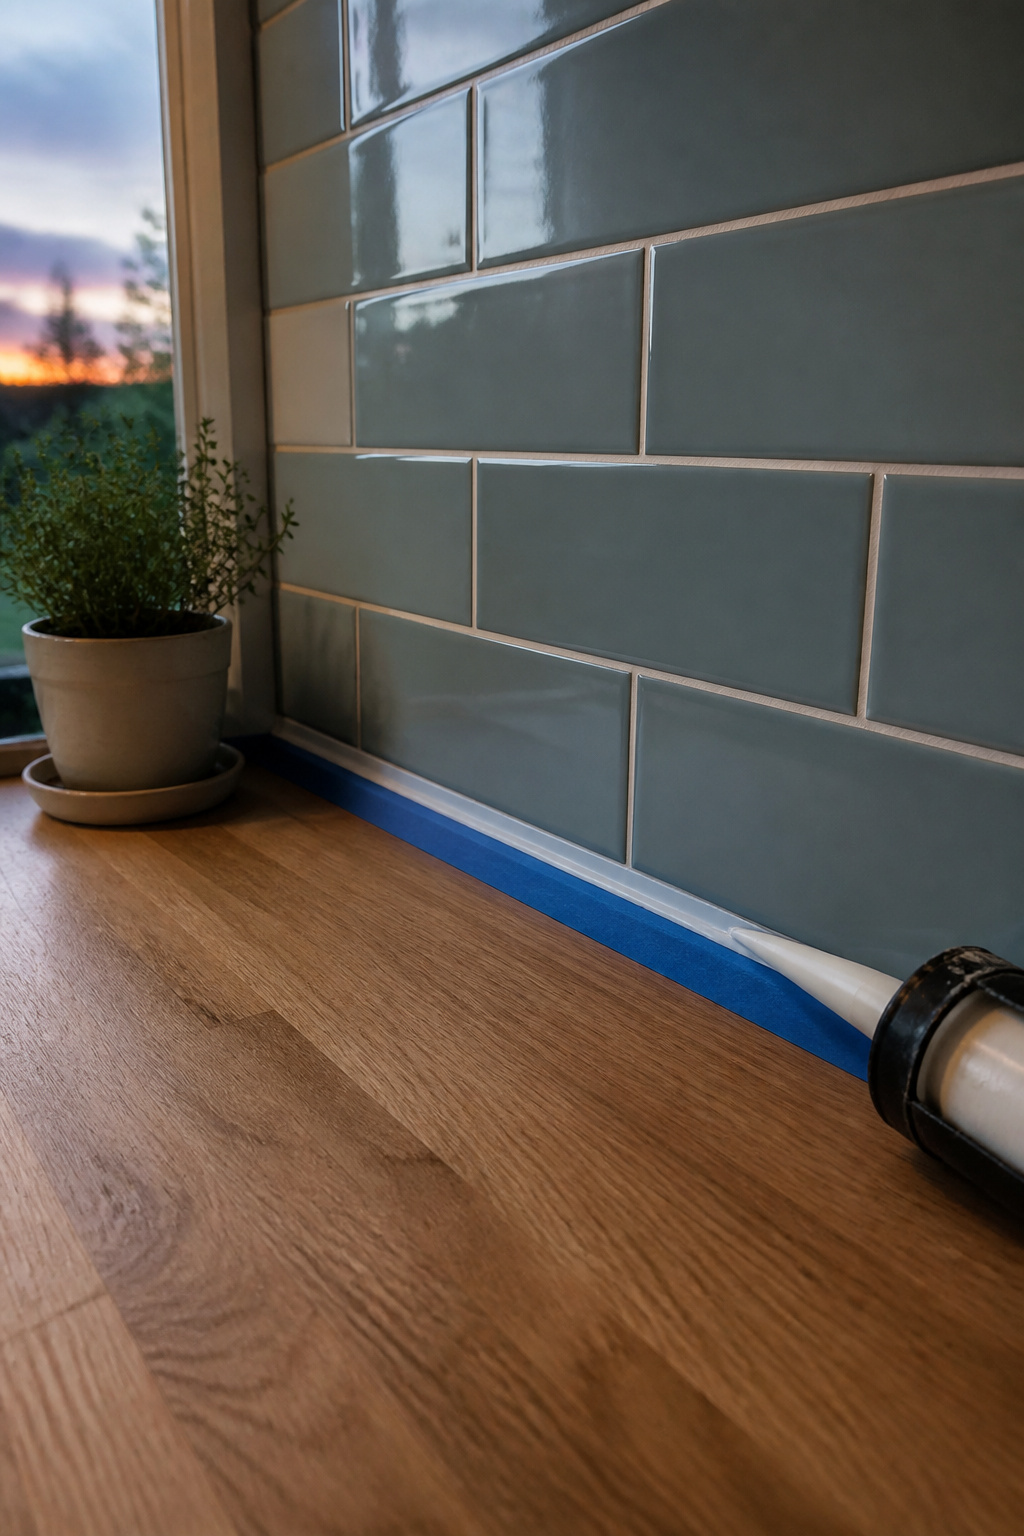
The gap between the backsplash and countertop collects water and crumbs even when the seal looks fine from across the room. A fresh bead of waterproof silicone caulk in white closes that line and covers any paint that crept under the tape edge. Hannah Bollinger used a caulking tool to keep the line clean, and removing old caulk before you start painting makes this step far easier than trying to work around dried residue later. This is optional if your existing seal is solid, though the finished look is noticeably sharper with it done. Plan a separate day for it; the paint needs to be fully cured before you add anything on top.
What You Need
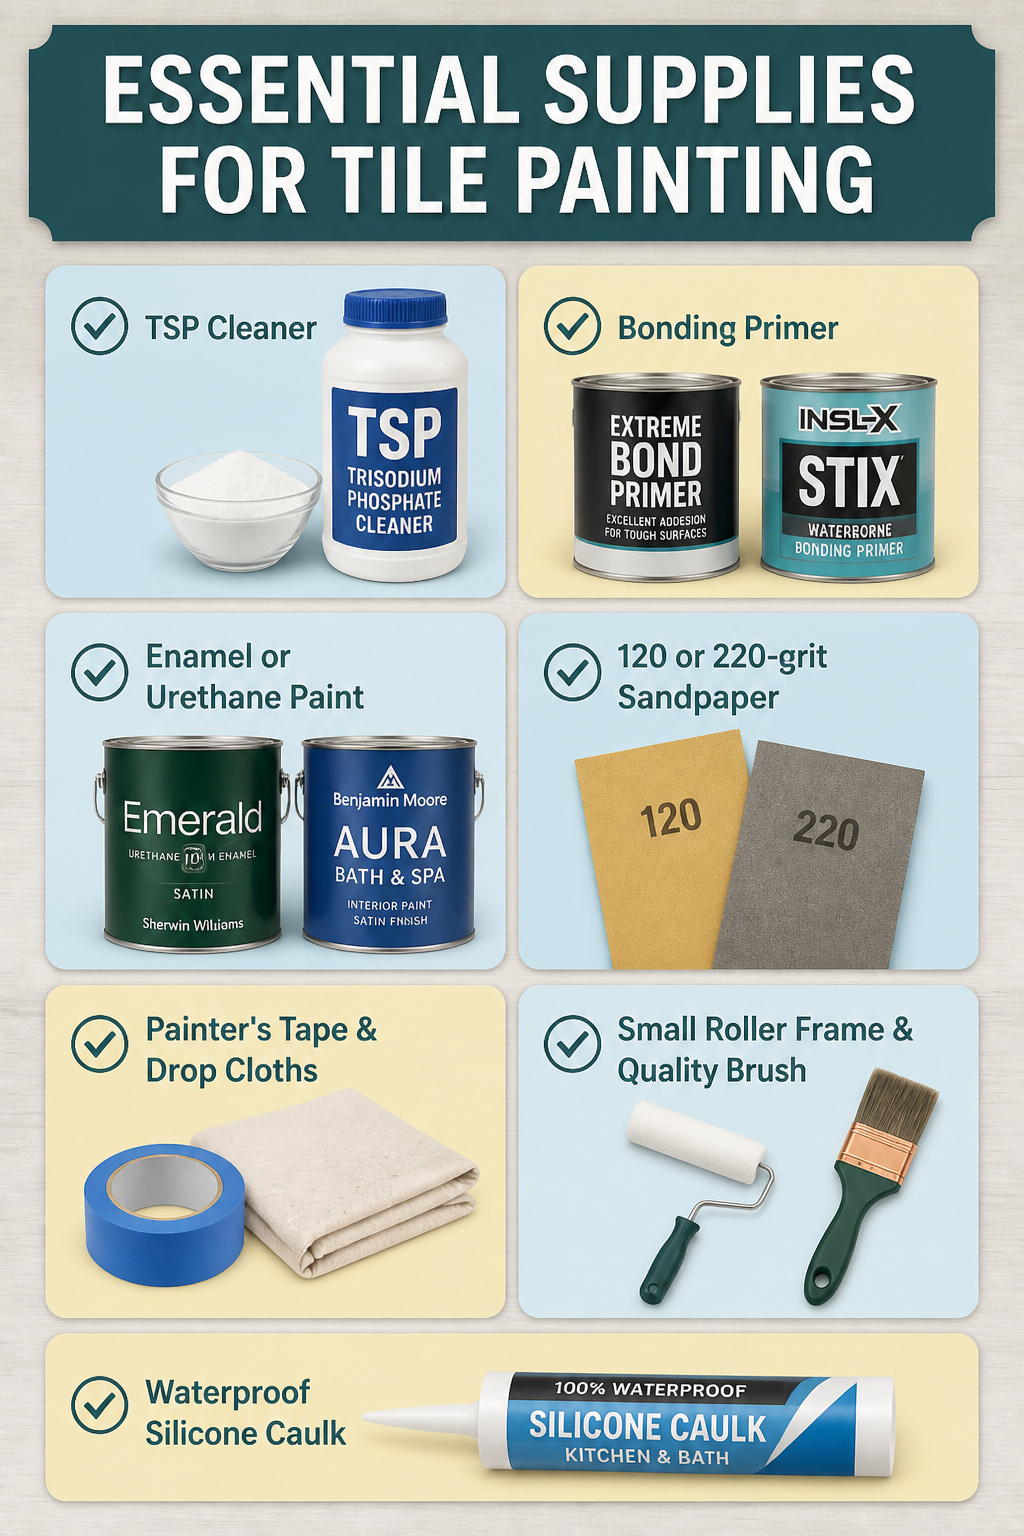
A painted backsplash lives or dies on what goes underneath the paint. Most of the supplies sit in the garage already, but the primer and paint are worth buying fresh.
- TSP for cleaning tile that has years of grease behind a stove
- Bonding primer: Extreme Bond Primer or INSL-X STIX both grip glossy tile without sanding through the glaze
- Enamel or urethane paint: Sherwin Williams Emerald Urethane Trim Enamel in satin, or Benjamin Moore Aura Bath & Spa for humid spots near the sink
- 120-grit or 220-grit sandpaper to rough the surface, not strip it
- Painter’s tape and drop cloths, plastic or canvas
- Small roller frame and a quality brush; foam rollers work for the flat field, bristles for grout lines
- Waterproof silicone caulk for the seam where tile meets counter
I skip Krud Kutter if TSP is already under the sink. Both do the same job.
Paint That Holds Up
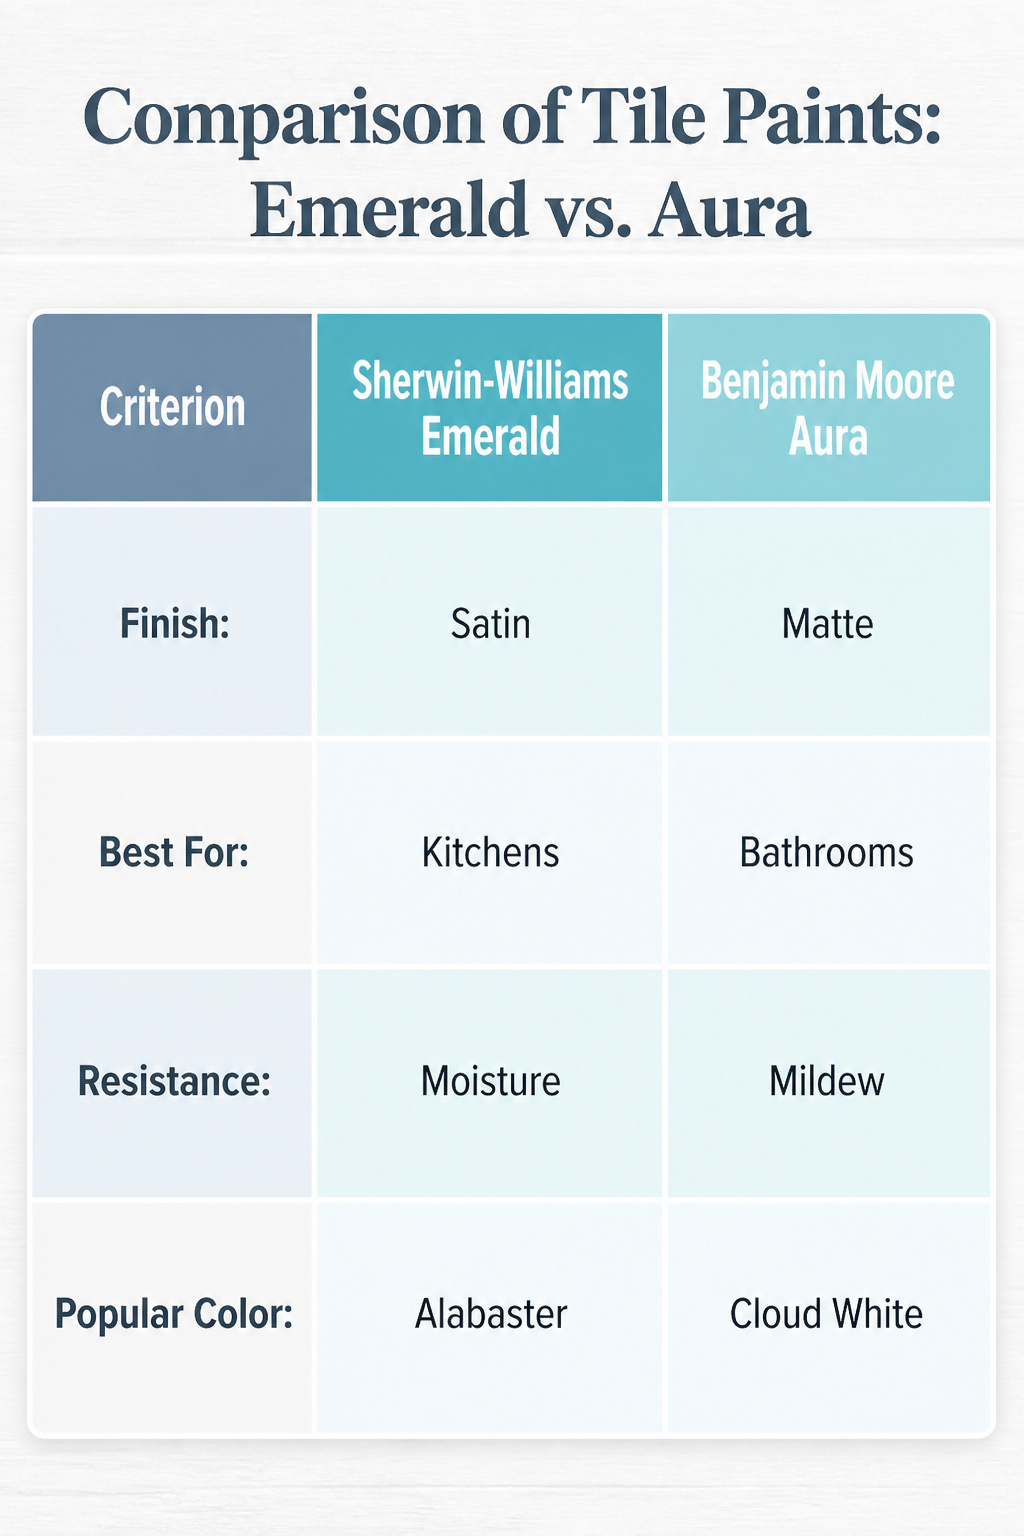
Urethane or enamel paints built for tile are what separate a backsplash that lasts from one that chips by Thanksgiving. Sherwin-Williams Emerald and Benjamin Moore Aura both come up repeatedly for this job, and the difference between them is where you plan to cook.
Emerald is an acrylic latex that grips ceramic hard and holds up against moisture. The finish stays intact behind a stove where steam and splatter hit daily. For color, Alabaster is the white that keeps coming up; it reads clean without that sterile laboratory feel.
Aura Bath & Spa, on the other hand, is the call for bathrooms or anywhere humidity lingers. The matte finish resists mildew and the Color Lock technology keeps pigment from washing out over time. Cloud White is the shade sources name for this line; it is slightly warmer than Alabaster and softens a small kitchen.
Between the two, Emerald wins for pure adhesion on kitchen tile, while Aura takes the edge in damp spaces. Both need two coats over a bonding primer; skipping that base layer is where most painted tile fails.
How Long It Lasts
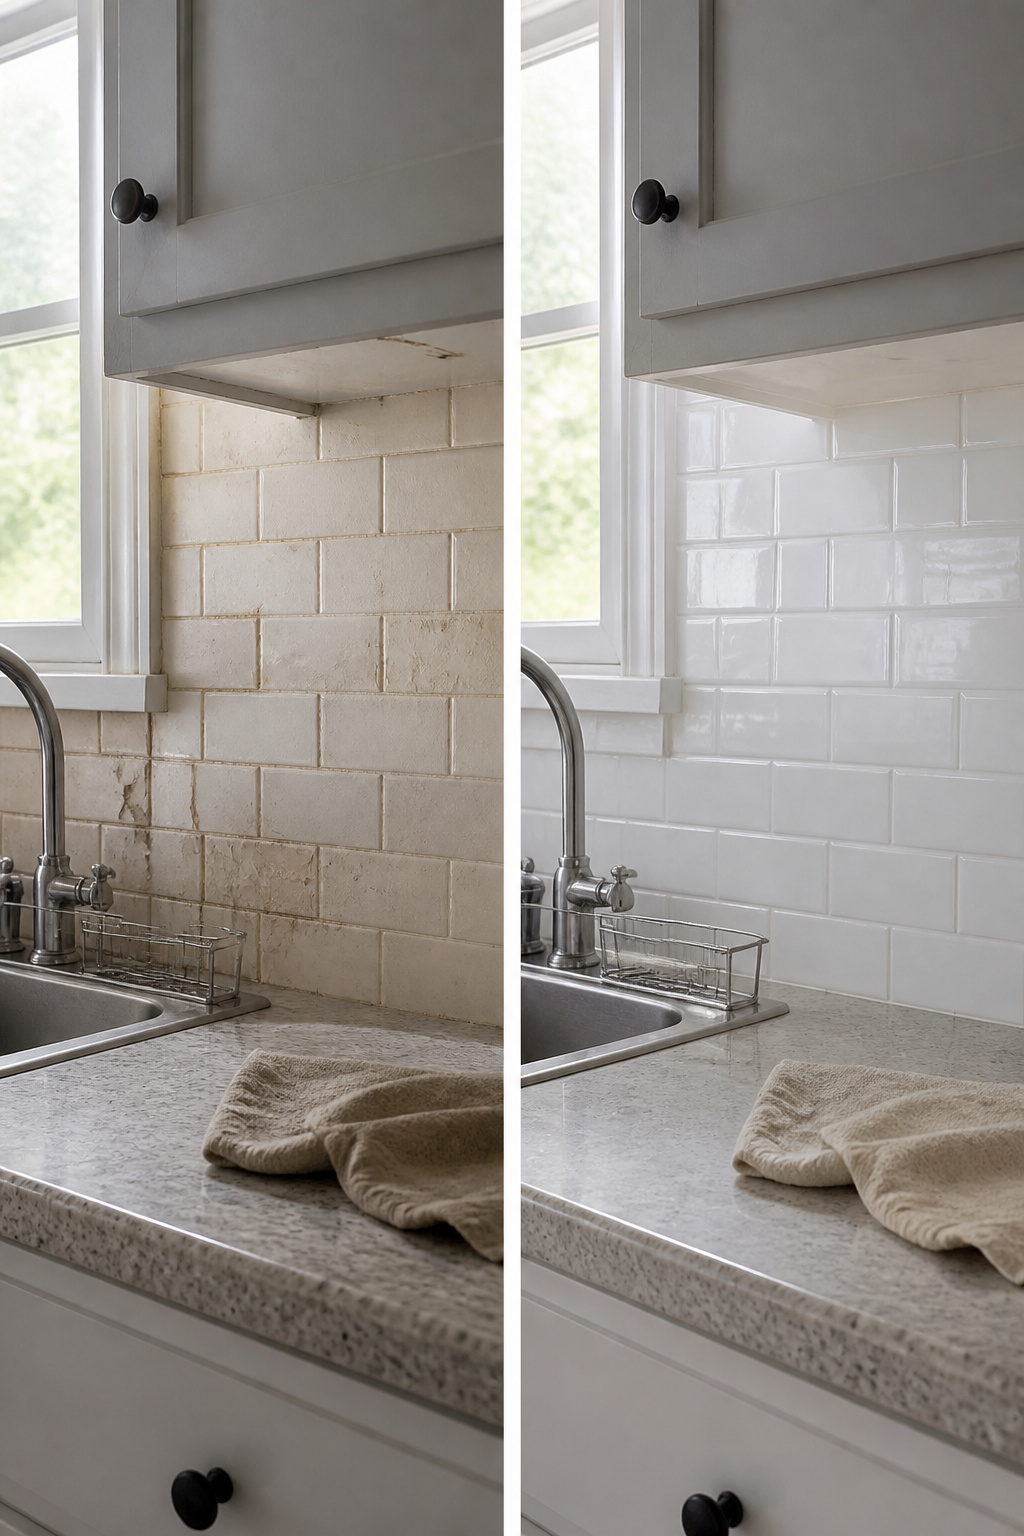
A painted backsplash lasts a year and a half and counting behind a working sink, provided the prep and the paint are right. The difference between a finish that holds and one that peels is almost never the tile itself, whether it is glossy or matte. It is the primer and the topcoat.
Bonding primer changes the equation. Without it, even quality paint sits on the surface and waits for steam and a sponge to lift it. With it, the coat becomes part of the wall. Urethane enamel, specifically the trim-grade kind, is what the long-term results trace back to. It is built for hard use and wet conditions, which is exactly what splatter behind a range amounts to.
The manufacturers are more cautious than the DIY accounts. They point out that tile paint survives best where it is touched least, and they warn against locations with constant moisture contact. A kitchen backsplash is a middle case: not as wet as a tub surround, not as dry as a decorative accent wall. The sink area is the test. The year-and-a-half mark with no visible wear is the figure that exists, and it came from the hardest-use zone in the room.
Cleaning painted tile is where the record goes quiet. No source specifies what to use afterward, so the safest move is the gentlest one: plain water and a soft cloth until something more is confirmed. Scrub pads and harsh cleaners are an obvious risk, but the exact boundary is not documented, so I will not invent one.
Frequently Asked Questions
Can you paint tile?
Yes, tile can be painted with proper preparation. The key steps are cleaning with TSP, sanding to remove the glossy surface, applying a bonding primer, and finishing with a quality urethane or enamel paint. A painted backsplash can last a year and a half or more behind a working sink when done right.
Do I need to sand tile before painting?
Yes, sanding is necessary because glossy ceramic tile rejects paint like a non-stick surface. Use 120-grit or 220-grit sandpaper to knock off the shine and leave a uniform haze the primer can grip. You are not trying to grind through the glaze, just dull the shine enough that the surface feels slightly rough, like eggshell.
What type of paint should I use on tile?
Use a high-quality enamel or urethane paint made for hard use. Sherwin-Williams Emerald Urethane Trim Enamel and Benjamin Moore Aura are the two that keep coming up in long-term accounts. Both are built to handle grease, water, and the abuse a kitchen dishes out. Satin finish is the practical choice for most kitchens.
How long does painted tile last?
A painted backsplash lasts a year and a half and counting behind a working sink when the prep and paint are right. The difference between a finish that holds and one that peels is almost never the tile itself; it is the bonding primer and the topcoat. Urethane enamel made for trim is what the long-term results trace back to. The manufacturers note tile paint survives best where it is touched least, so the sink area is the real test.





