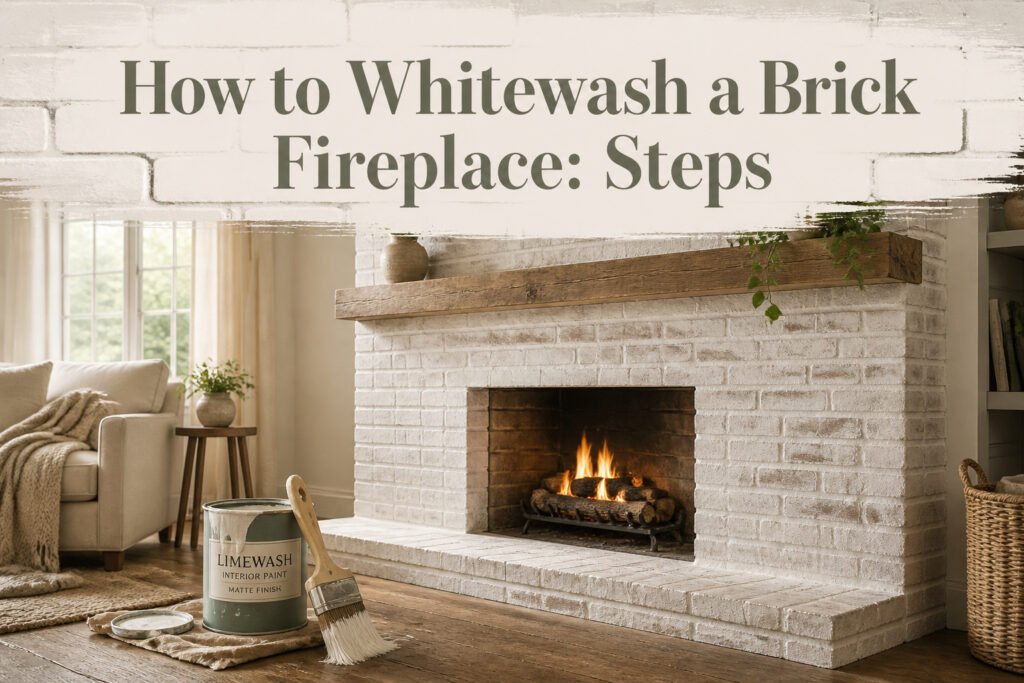
A whitewashed brick fireplace costs under $20 and a few hours of active work, but the finish lives or dies on a ratio most people guess at. The 1:1 paint-to-water mix that feels safe reads as flat paint; the 1:3 mix that looks too thin on the stir stick catches light like aged limestone once it settles into the pores. The catch is timing. Work more than two feet of surface at once and the edges set before you can feather them, leaving hard lines no sponge will blur.
1. Clean the Brick
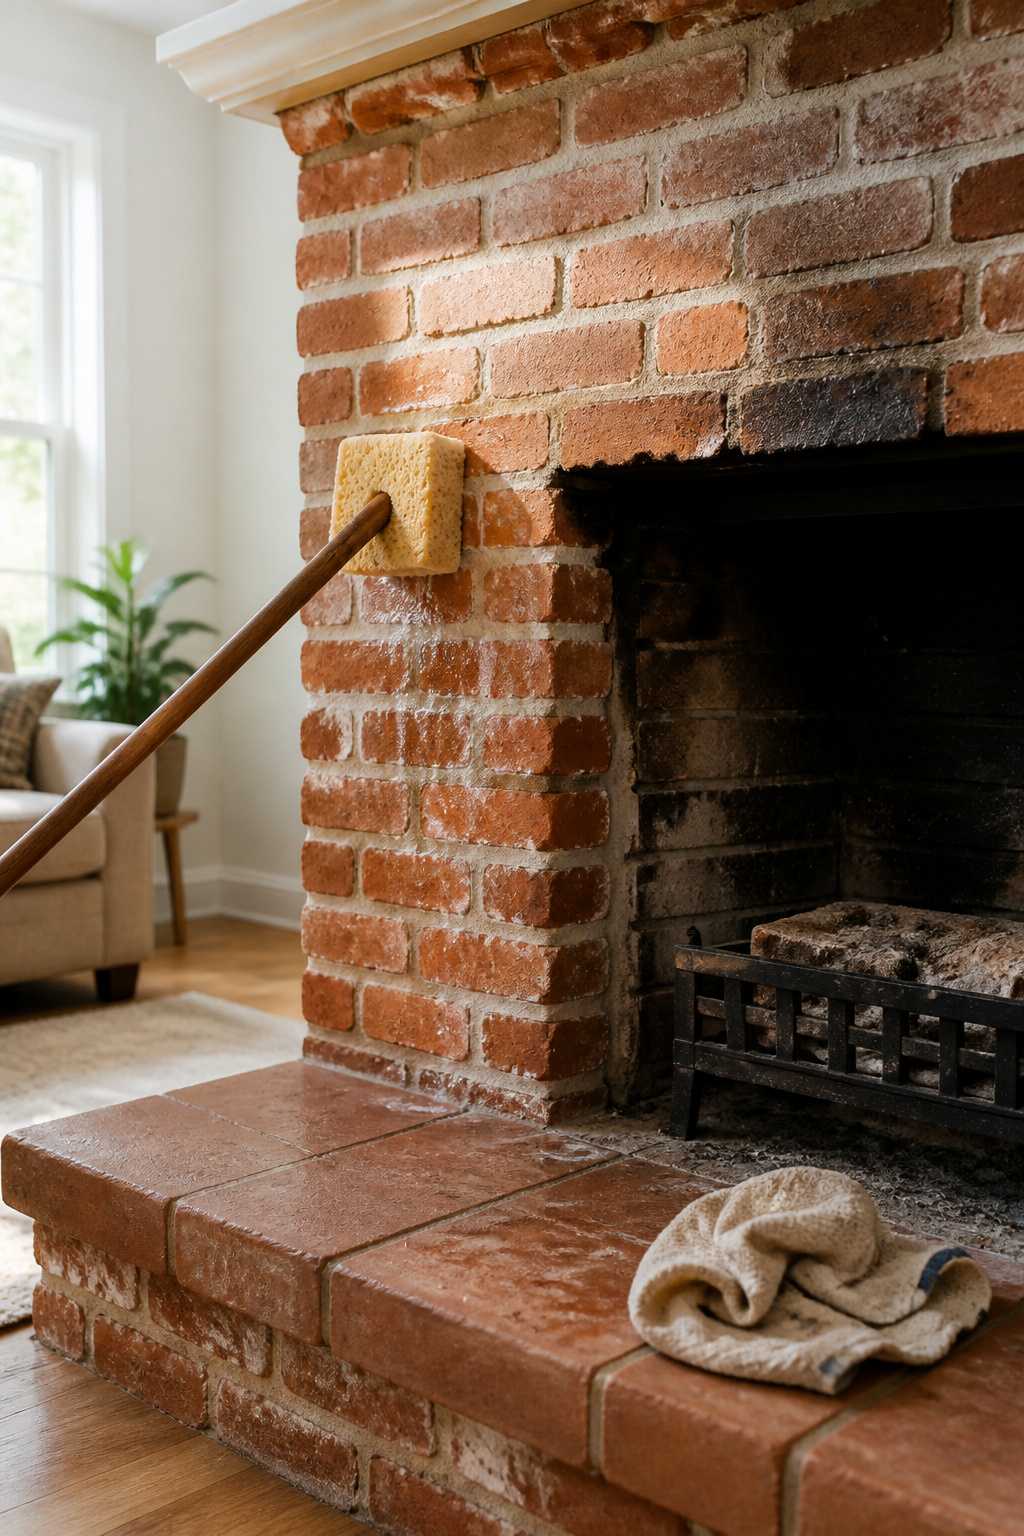
The brick in my living room was laid in the 1970s, that deep orange people either love or can’t wait to tone down. Before any paint went near it, the surface needed real attention. A dry rag took care of the loose dust and a few cobwebs, but the soot was another matter. Years of fires had left a film that water alone wouldn’t touch.
A soft sponge with one part vinegar to two parts water cut through the residue without leaving anything behind. That ratio mattered: stronger vinegar risks etching the mortar, weaker just pushes soot around. For the stubborn patches near the firebox, a soft bristle brush worked the cleaner into the pores without gouging the face of the brick.
Some people reach for TSP on really grimy fireplaces, and it does the job. On my orange brick, though, the vinegar solution handled everything without the extra rinse cycle TSP demands. The brick needs to be fully dry before you move on; dampness will dilute your whitewash and give you streaks you can’t brush out. An overnight wait is the safest bet.
2. Prepare the Whitewash Mixture
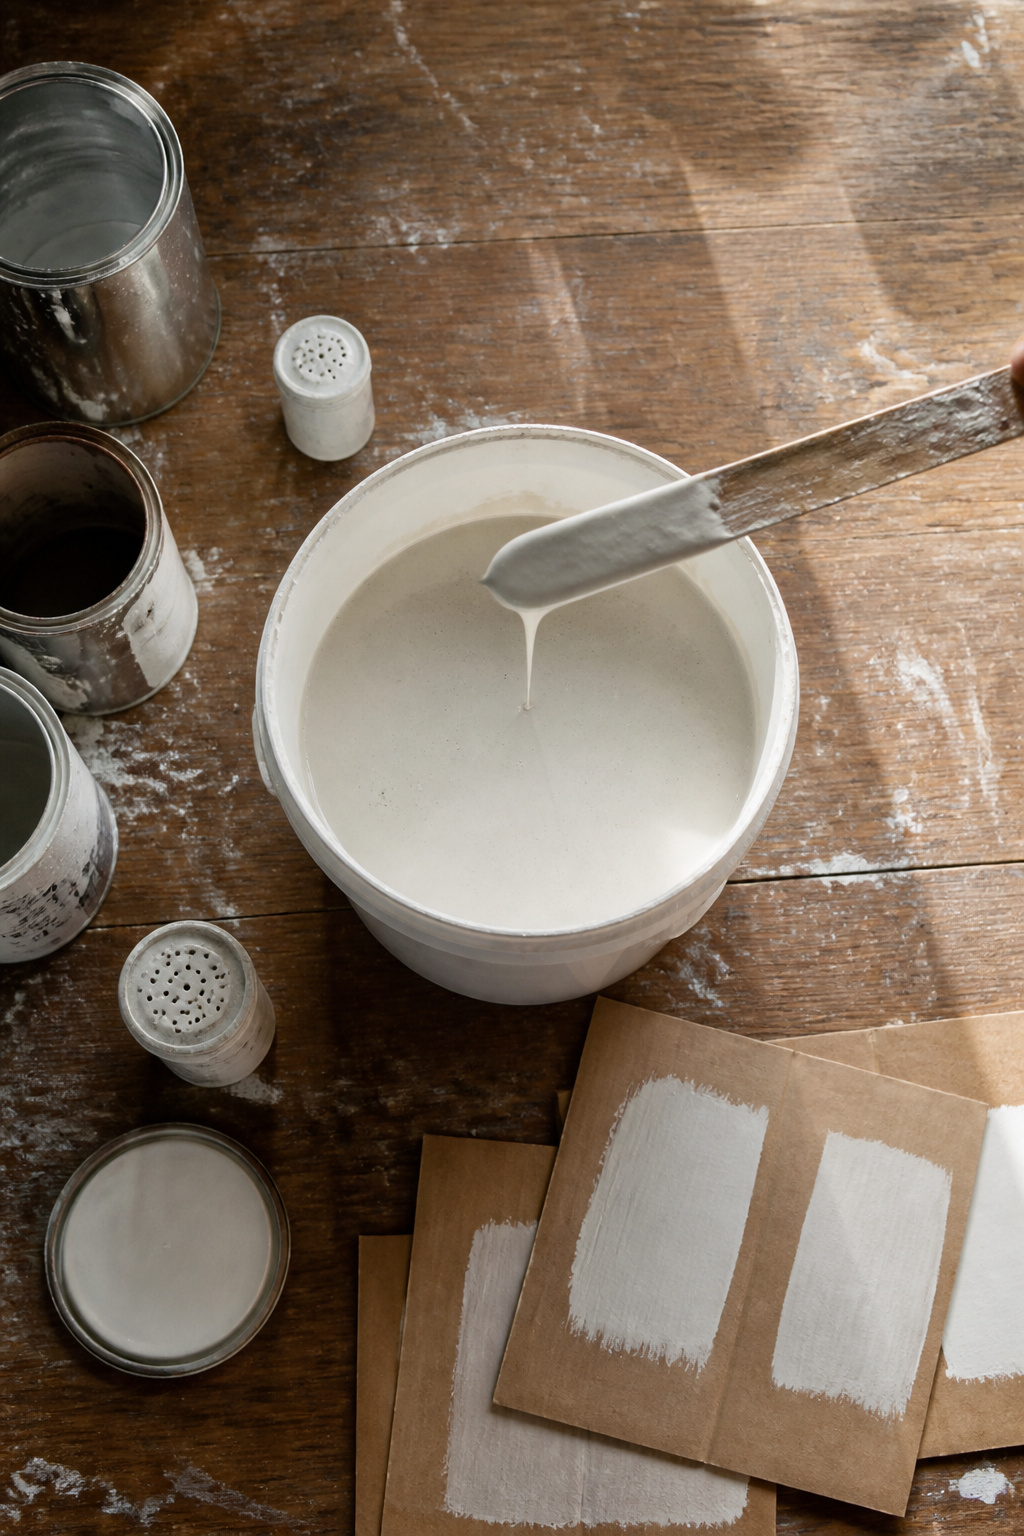
The ratio of paint to water is where most whitewash jobs go wrong. Sources cluster around two camps: 1:1 for opacity, 1:3 for that ghosted brick look, and the difference matters more than most people expect.
I tested both on cardboard before touching the fireplace. The 1:1 mix, like the Simply White in eggshell finish Young House Love used, went on thick and started hiding texture within a single pass. Pretty, but it read as painted brick, not whitewashed brick. The 1:3 mix, closer to what Allisa Jacobs landed on, let the mortar lines and surface pits stay visible, which was the whole point of the project.
My cardboard sat in the garage for two days while I walked past it at different hours. Morning light flattened the 1:1 sample into flat white; the thinner mix caught shadows differently and actually looked like aged limestone. That settled it. I went with roughly 1 part paint to 3 parts water, mixed in a five-gallon bucket and stirred longer than felt necessary, maybe three minutes. The consistency should drip off the stir stick in loose ribbons, not run like milk.
3. Apply a Base Coat
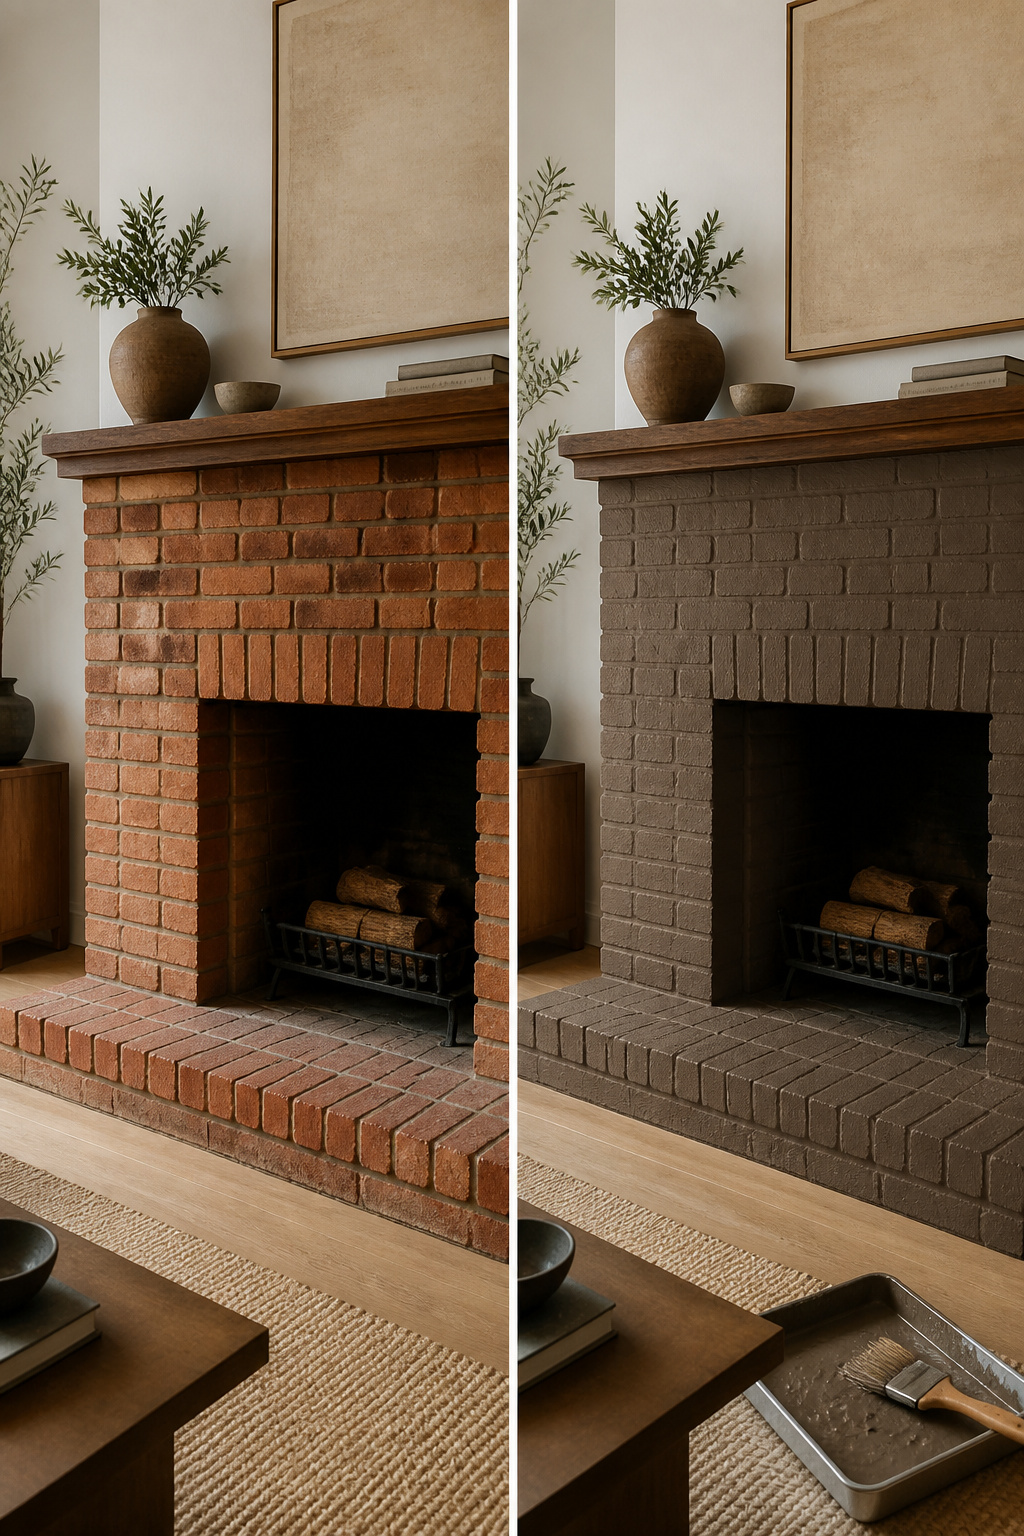
Some brick carries so much red that a thin wash just tints it pink. A base coat fixes this. Brown Derby and Windsor, worked together, knock that undertone back far enough that the whitewash reads as white instead of coral. The brush goes on dry enough that original color still shows through the cracks and grooves, and the edges get feathered so there is no hard line where one brick ends.
The base coat needs 10 to 15 minutes to dry, longer if the air is heavy. On my first fireplace, the original brick was loud, and I talked myself into skipping this step. The wash went on, and the whole thing turned the color of old watermelon. I waited, added another coat, then another. The brick soaked up moisture for days. Two coats of base would have saved the afternoon and the regret.
4. Apply the Whitewash
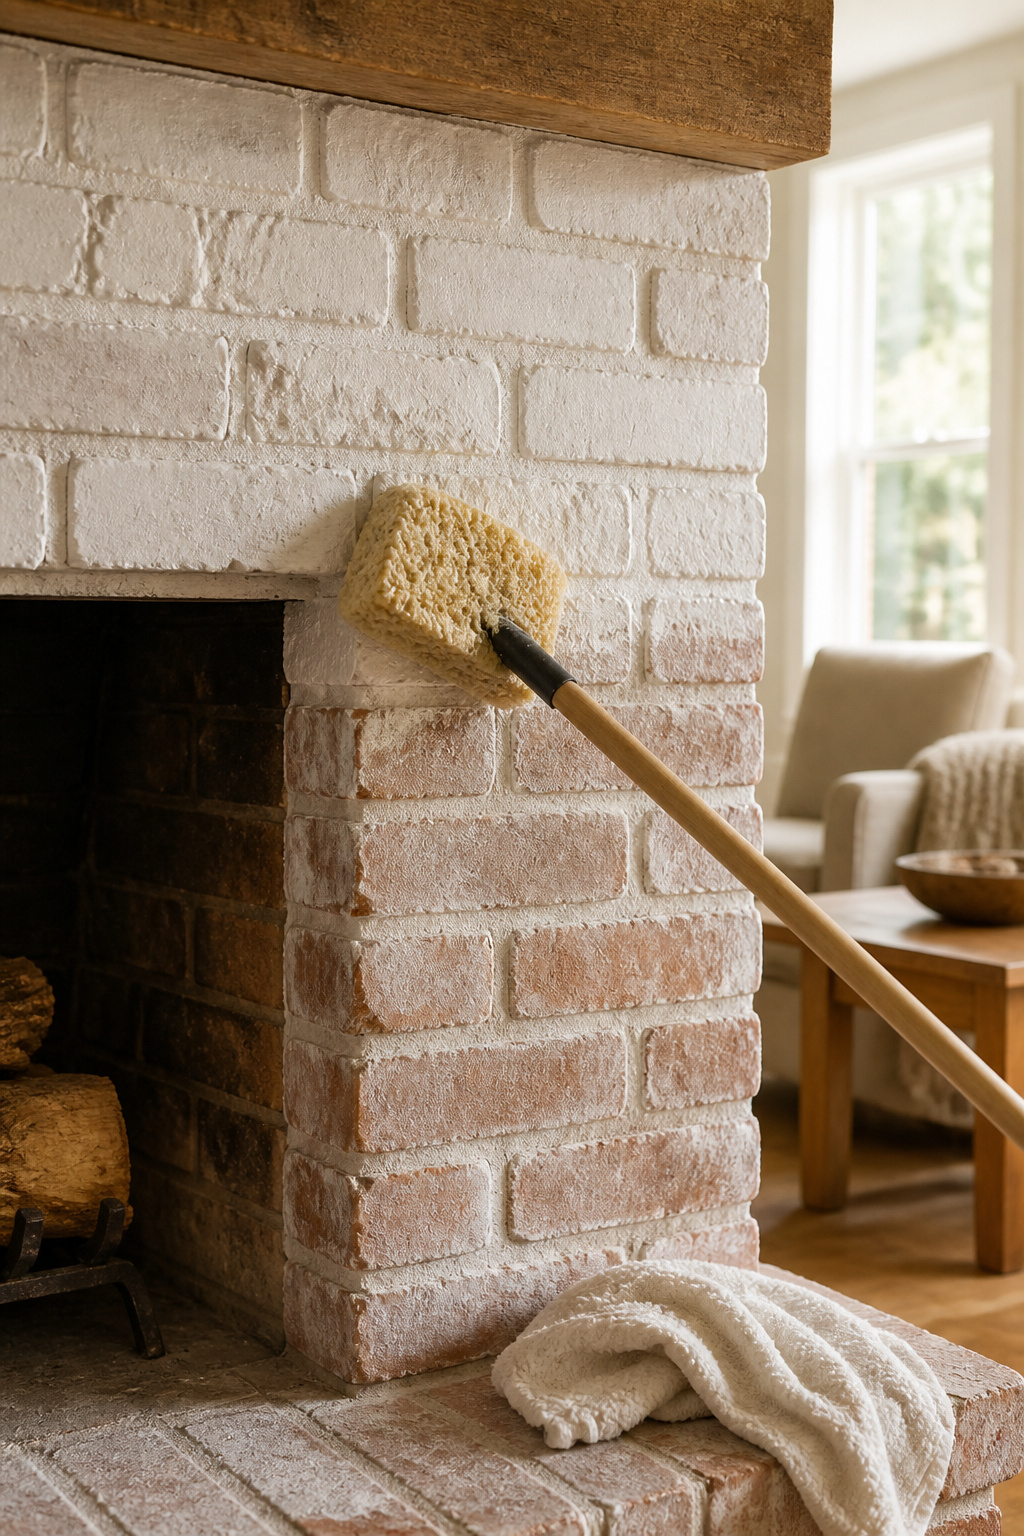
A big, soft sponge works better than a brush for loading the right amount of thin, watery mix, though a regular brush handles the mortar lines and lets you smear the wash brick by brick. Working top to bottom matters because drips fall onto wet, unfinished surface you can still blend, not onto dried work that leaves a stain.
I learned the section size the hard way. Covering too much surface at once let the edges dry before I could feather them, so I ended up with hard lines between patches instead of the seamless aging I wanted. About a two-foot square stayed wet enough to blend with the next section, using a damp sponge to soften any edge that started setting up too fast.
Three very thin coats beat one heavy one. The brick soaks up the wash quickly, and what looks like solid white at first oozes back to show the color underneath once the paint settles in. Keeping wiping rags nearby saves the finish when a drip runs heavy or the mix pools in a mortar joint.
5. Blend and Adjust
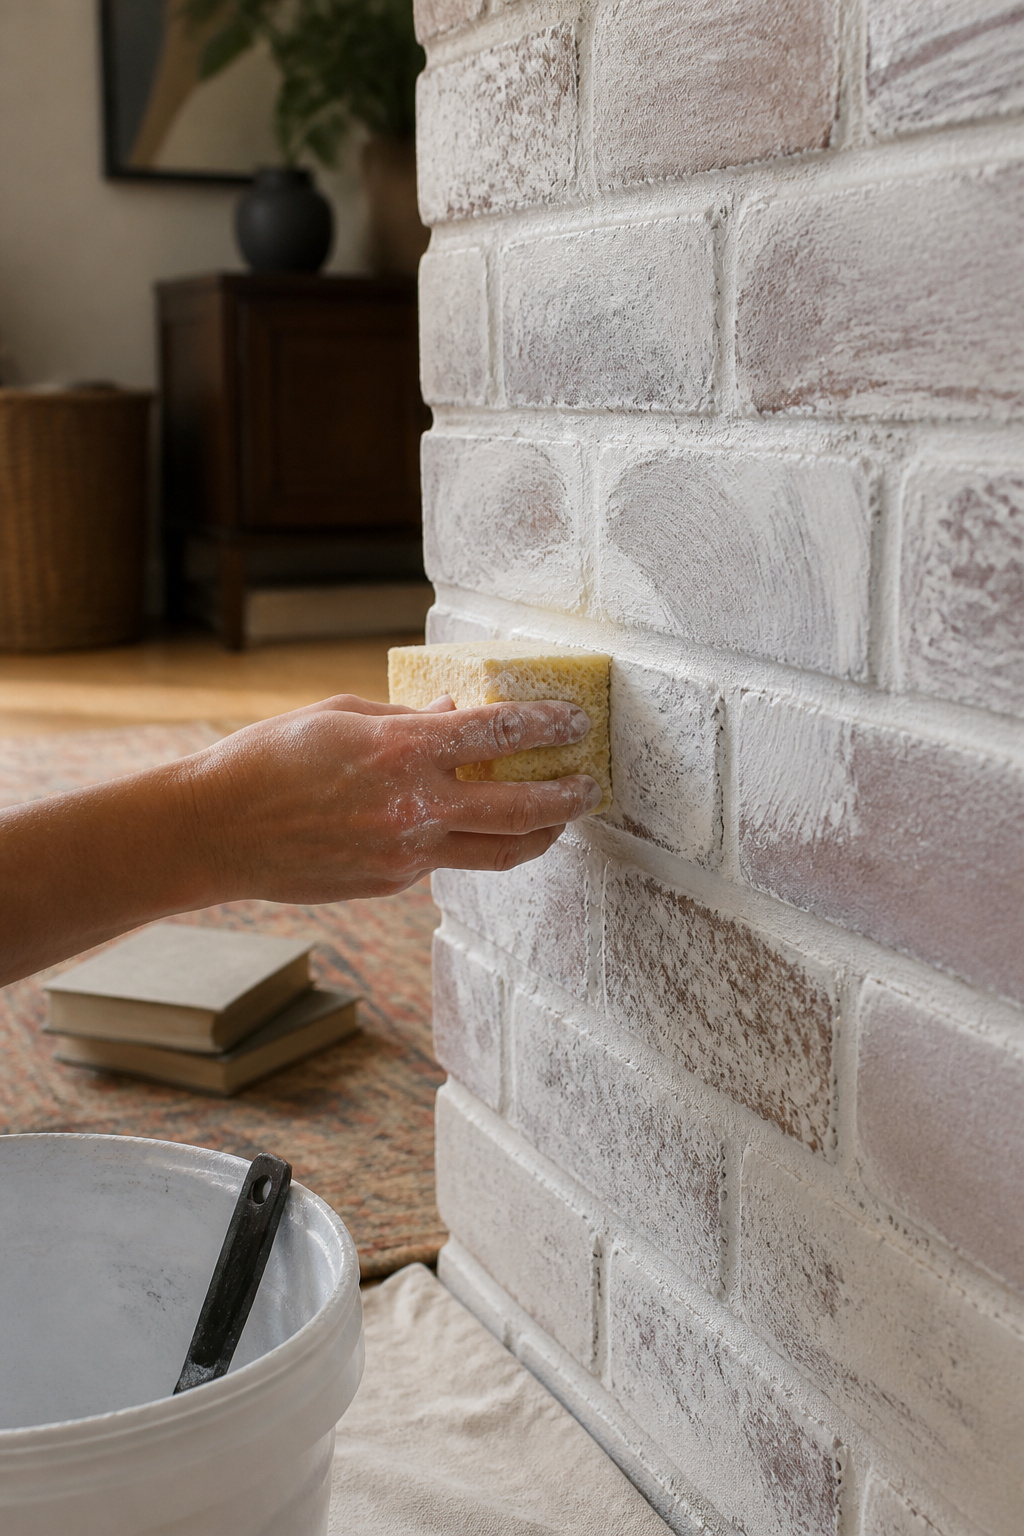
A damp sponge is the tool that saves the wash from looking painted instead of washed. Wring it until it is barely wet, not dripping. You want enough water to move the lime around, not so much that you strip it back to bare brick.
The motion is a soft, overlapping swirl, working from the outside of a section toward the middle. This feathers the edges where wet wash meets the dry area you left a minute ago. On the left column of my fireplace, I stepped away to answer the door and came back three minutes too late. The edge had set, and no amount of sponge work would blur that line. I still see it every morning.
Check your work from ten feet back every few minutes. What reads as too heavy up close often flattens out at distance, and what looks perfect at arm’s length can disappear entirely. If a brick went too white, a wet cloth takes the excess right off. Work in that same back-and-forth X pattern across the mortar joints if you want the deeper, German-smear look.
6. Let It Dry
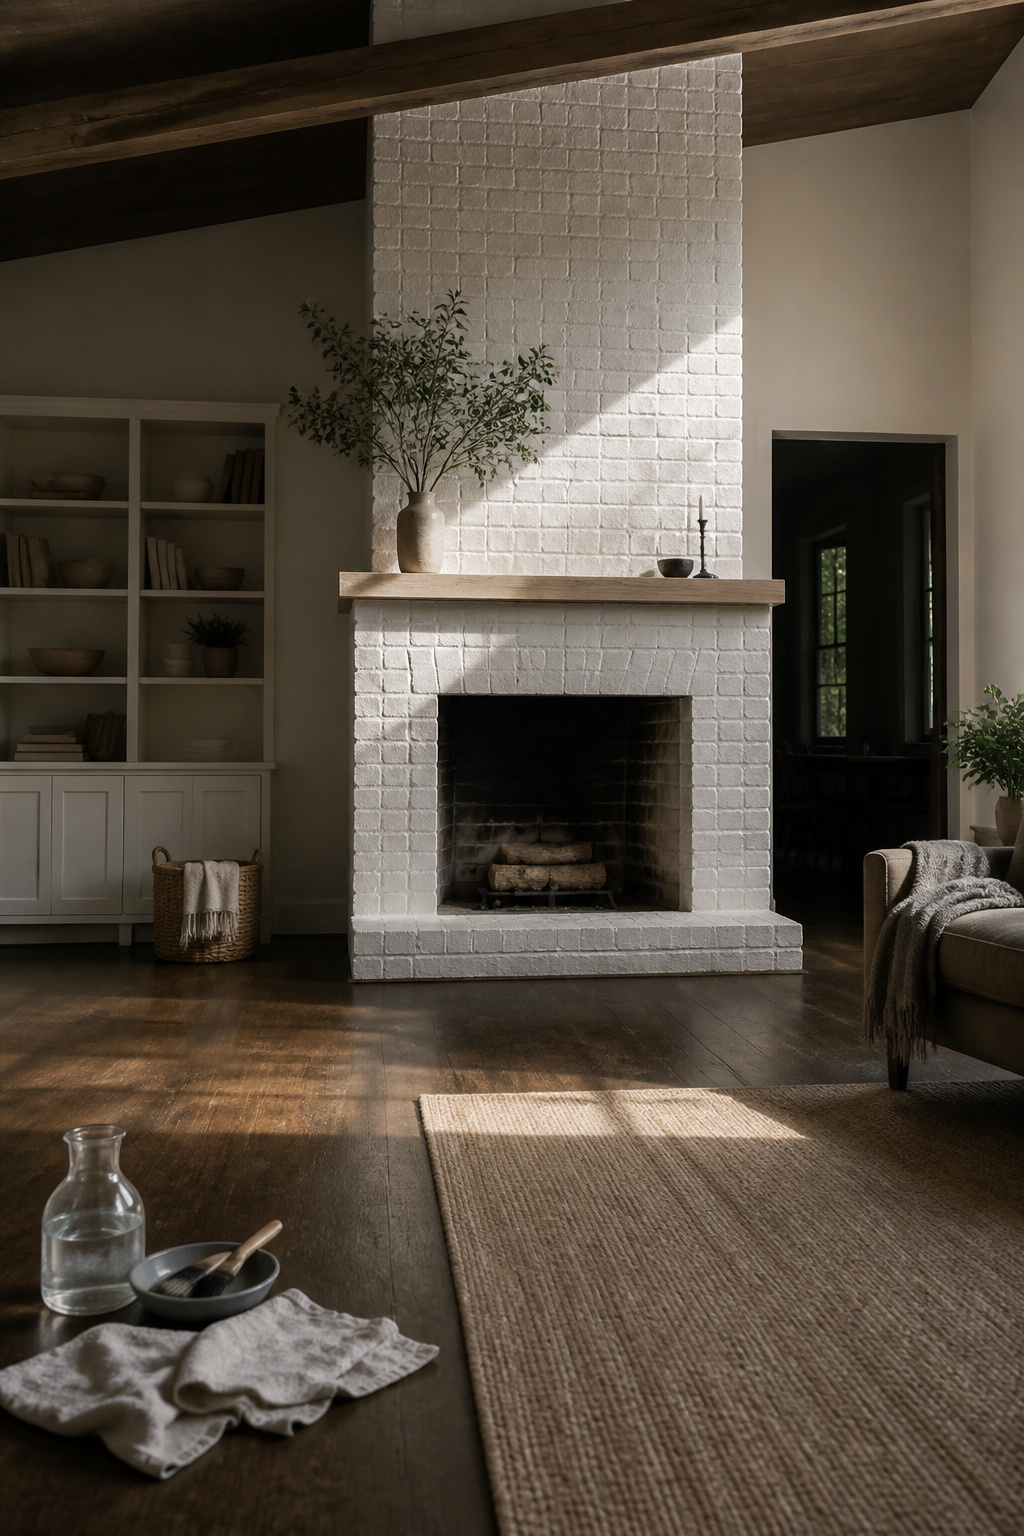
The first coat goes on thin and watery, so the brick drinks it in fast. On my upstairs fireplace, most of the moisture had soaked in within about two hours and the surface looked dry enough to judge. The basement hearth moved slower. Same mix, same brush, but the humidity down there stretched the wait to a couple of days before the brick felt truly done and the color settled.
That waiting step is where you decide if the wash is enough. Some of the original red and brown still showed through on my first pass, especially in the deeper grooves, so stepping back to evaluate in person mattered more than any photo could tell me. The finish stays somewhat transparent by design. If too much dark tone peeks through for your taste, another thin coat will push it whiter without killing the texture.
Three very thin coats total gave me the coverage I wanted, each one applied only after the last had dried. Humidity is what stretches that timeline, not the calendar. A warm, airy room lets you move faster; a damp basement does not. Rags stayed handy the whole way, since drips from the watery mix dry fast and set if you blink.
7. Apply Additional Coats
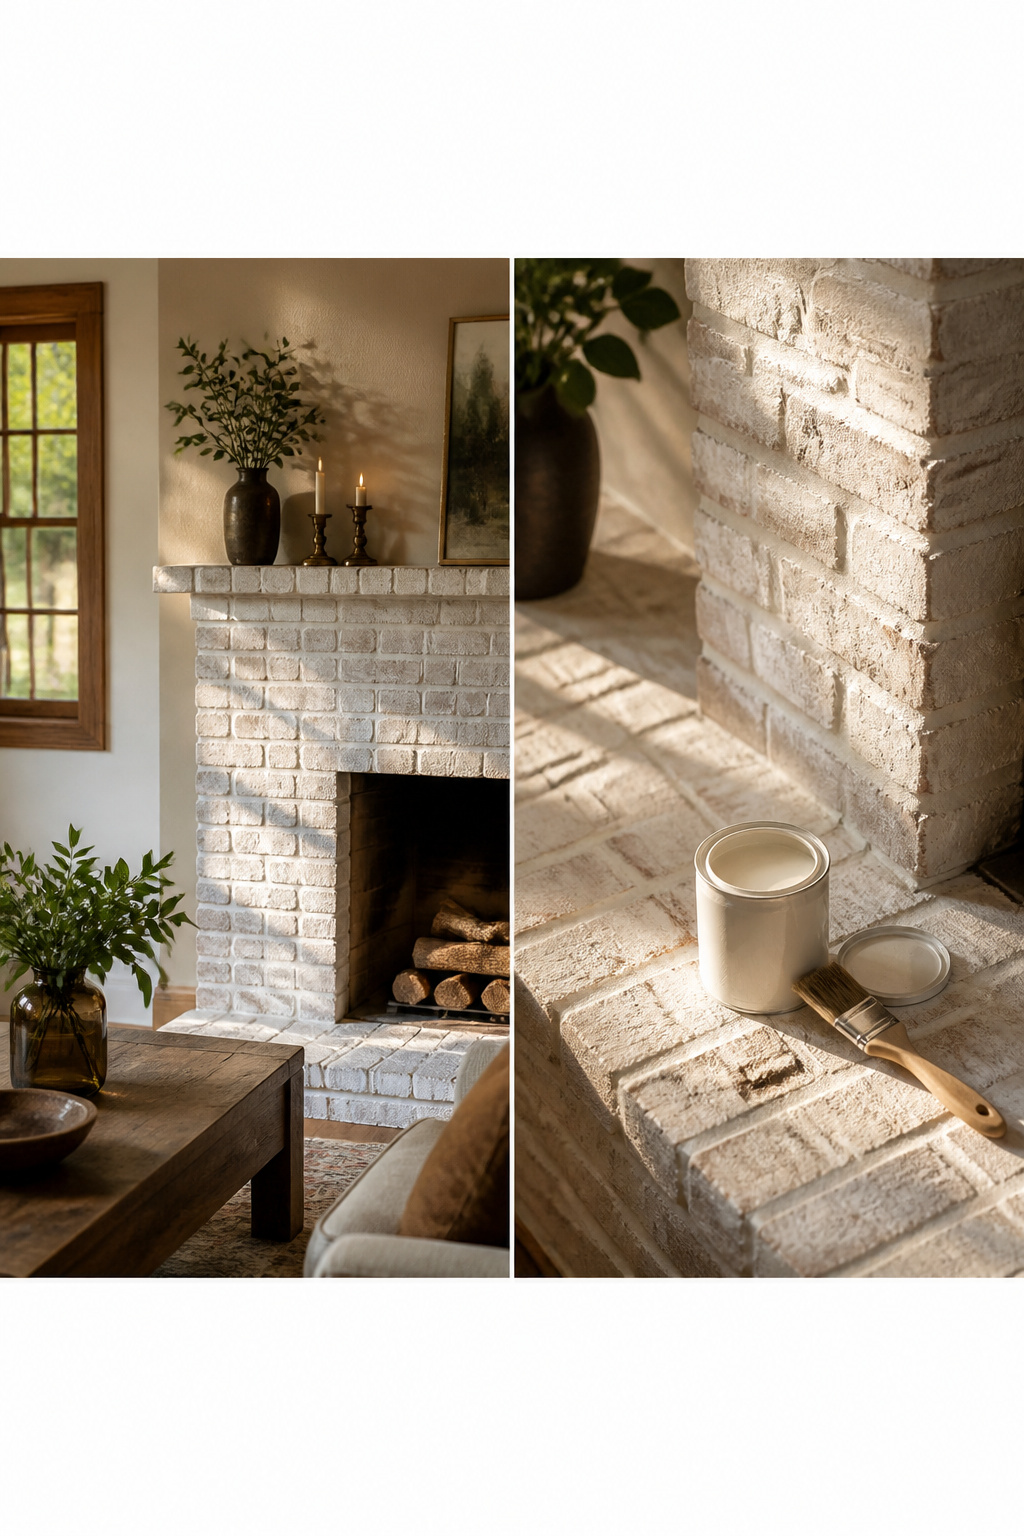
Coats two and three go on the same way as the first, but the decision gets easier each time because you have a reference. After my second coat dried, the brick still let through more red and brown than I wanted in a few spots, so I went for a third. That thin, watery mix means three very thin coats was my stopping point, not one heavy one.
I learned that the hard way on a test patch behind the screen where I tried to build opacity in a single pass. The wash puddled, dried uneven, and looked painted rather than washed, which is the opposite of the point. One thin application, let it dry, then judge. The brick soaks up moisture for a couple of days, and the finish keeps settling in after that. If you still see more brick than you want after coat three, you can keep going, but chances are you’ll have found your look before then.
What You Need
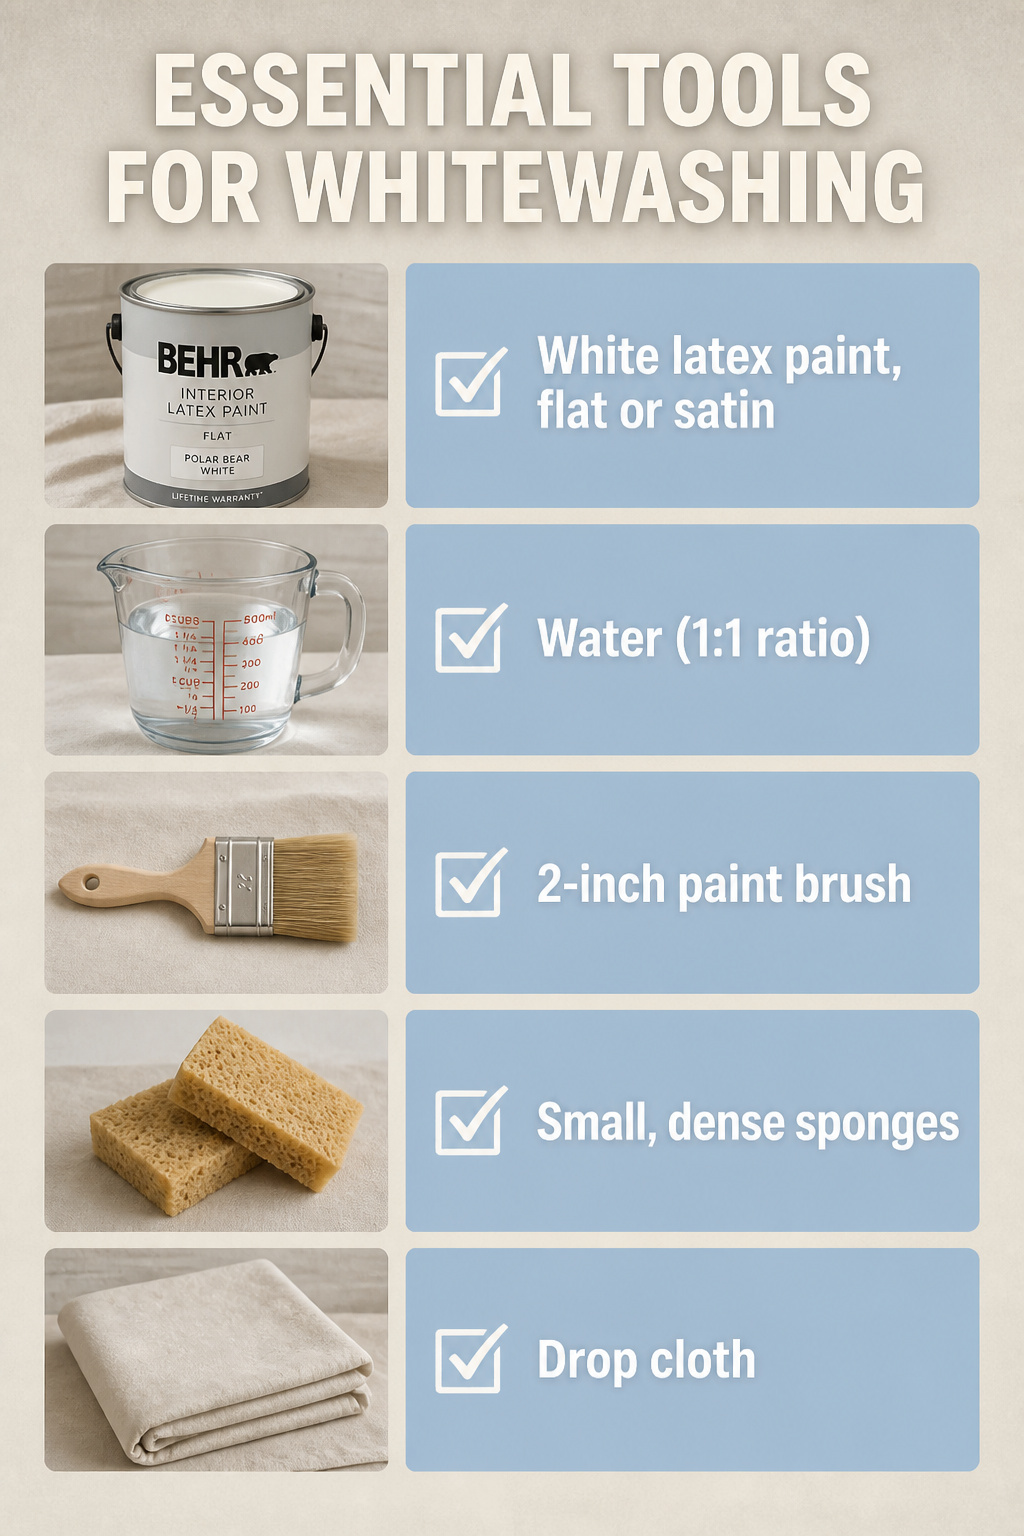
The whole project stays under $20, which still surprises me considering how much visual weight a fireplace carries in a room. A quart of white latex paint does the full job with plenty left for touch-ups. I used Behr Polar Bear White in a flat finish because that sheen reads closest to traditional whitewash, but any white or cream latex you already own works.
- White latex paint, flat or satin — the pigment base; thin it with water to whatever transparency you want
- Water — mixes with the paint; the common starting ratio is 1:1 paint to water, though some go lighter at roughly 1 part paint to 3 parts water for a more washed look
- 2-inch paint brush — cuts in edges and works the mix into mortar lines
- Small, dense sponges — blend and lift excess before it sets; paper towels fall apart and leave fibers behind
- Drop cloth — protects the hearth and floor from drips that read as accidents once dry
- Mixing container and stir stick — any paint pail or old bucket; you need room to work the ratio without slopping
Rubber gloves and microfiber cloths for cleanup round out the list, though neither is strictly necessary.
Whitewash vs. Limewash
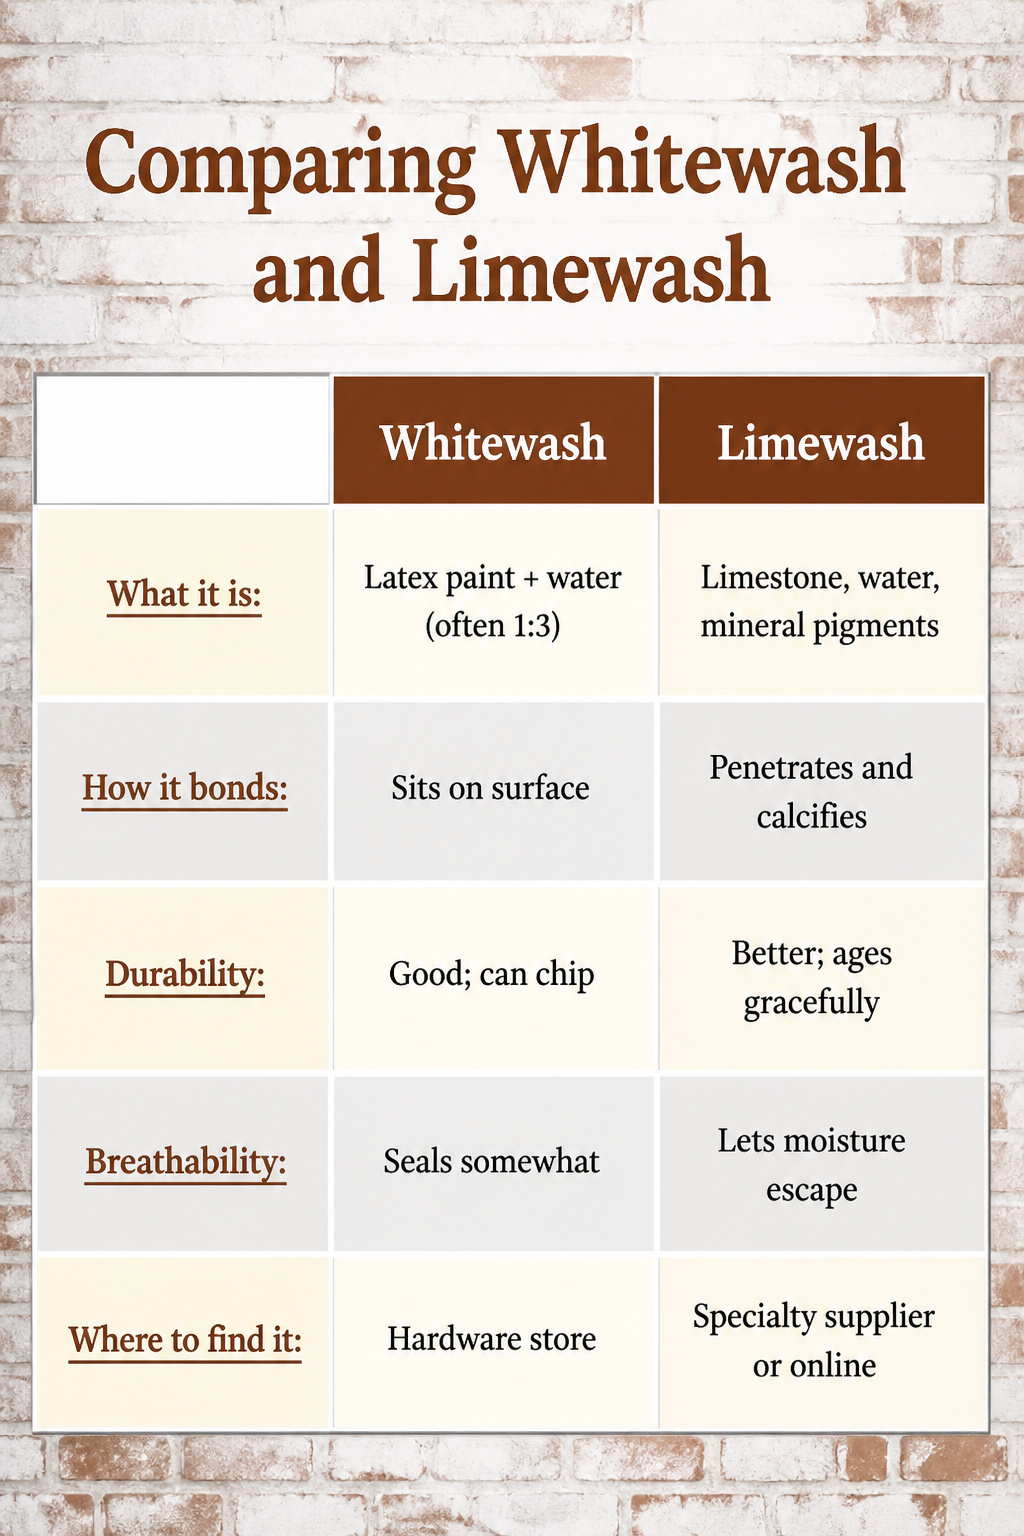
Both finishes give brick a lighter, weathered look, but they reach it through completely different chemistry. Whitewash is diluted latex paint that sits on top of the brick, which means it can eventually chip or peel where the surface takes abuse. Limewash is mineral-based, made from limestone that’s been burned and slaked; it soaks into the masonry and calcifies, so it breathes with the brick and wears away gradually rather than flaking off.
| Whitewash | Limewash | |
|---|---|---|
| What it is | Latex paint + water (often 1:3) | Limestone, water, mineral pigments |
| How it bonds | Sits on surface | Penetrates and calcifies |
| Durability | Good; can chip | Better; ages gracefully |
| Breathability | Seals somewhat | Lets moisture escape |
| Where to find it | Hardware store, probably your garage | Specialty supplier or online |
I went with whitewash because I already had half a gallon of white latex in the basement and the fireplace was a Saturday project, not a research expedition. Limewash is worth the extra effort if your brick is actively damp, if you want the finish to last decades without touching it up, or if you prefer the soft, mottled look that develops as the mineral coat erodes unevenly. For a quick update on dry interior brick, paint and water gets you 90 percent of the visual result in a quarter of the time.
Cost and Time
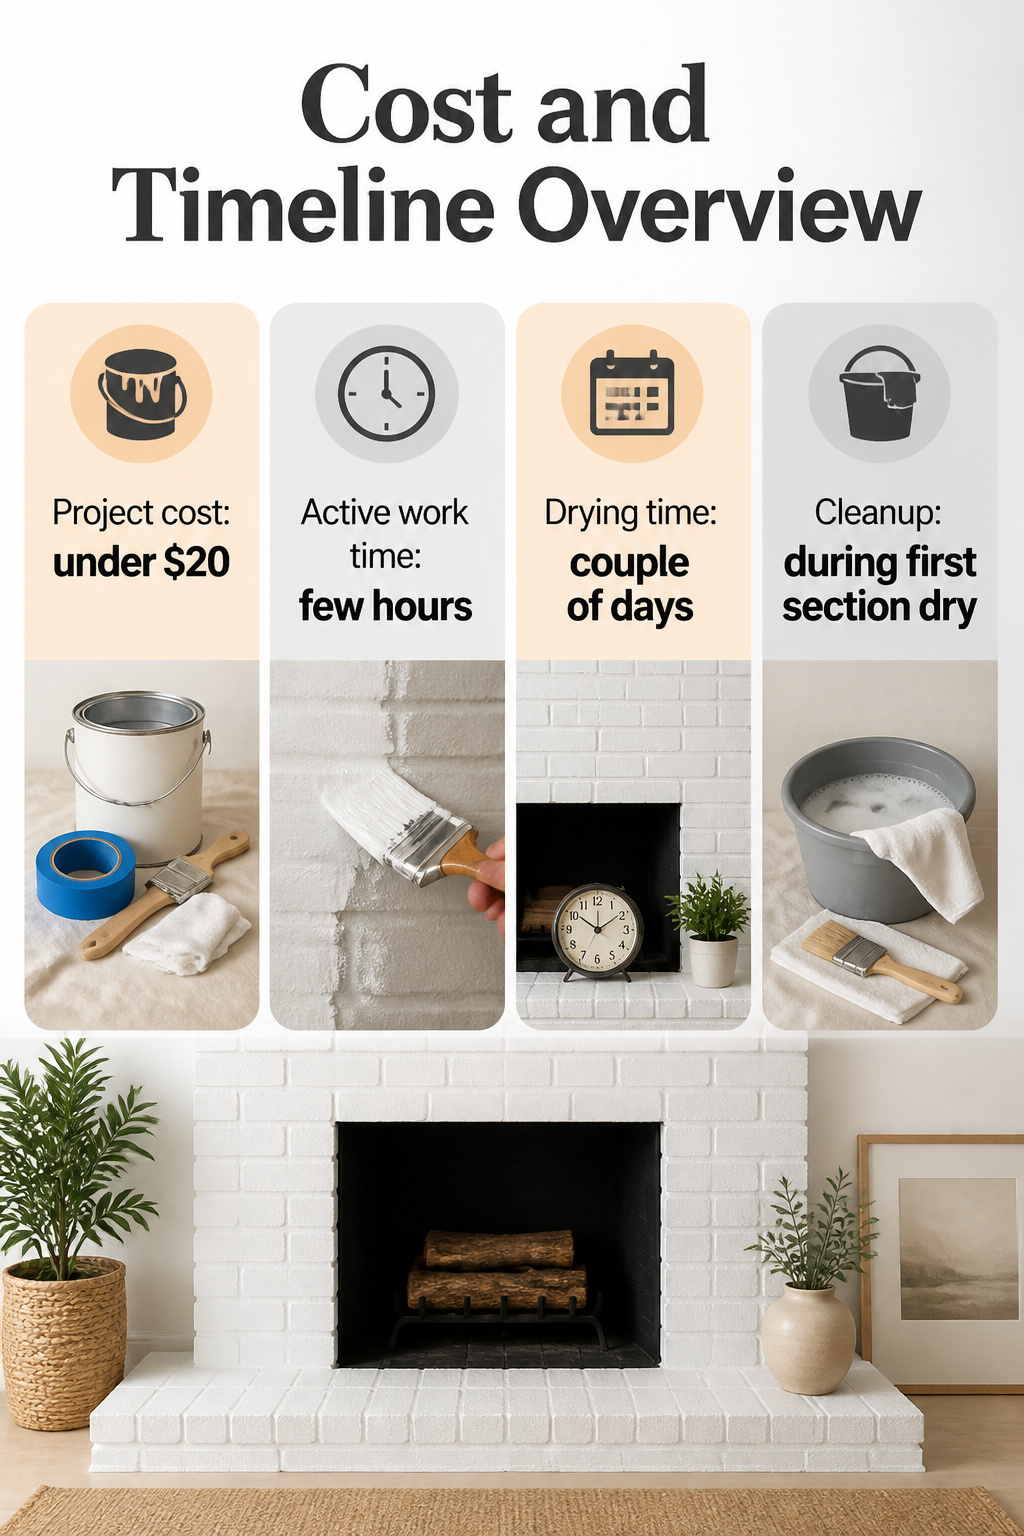
The whole project ran under $20 for paint and basic supplies, which still surprises me considering a fireplace is usually one of the main architectural features in a room. Active work took a few hours, spread across mixing, brushing, and stepping back to see where the coat looked thin. The real timeline stretch was drying. Brick soaks up moisture, so the fireplace needed a couple of days to dry completely before I could judge whether to add another coat. That waiting period is not optional work time; it is dead time where the room looks half-finished and you simply live with it. A second coat would restart the same clock. If your brick is older or more porous, expect the longer end of that range. What would not stretch the timeline: gathering materials, since everything came from the same hardware run, or cleanup, which happened while the first section dried.
Working the Grout Lines
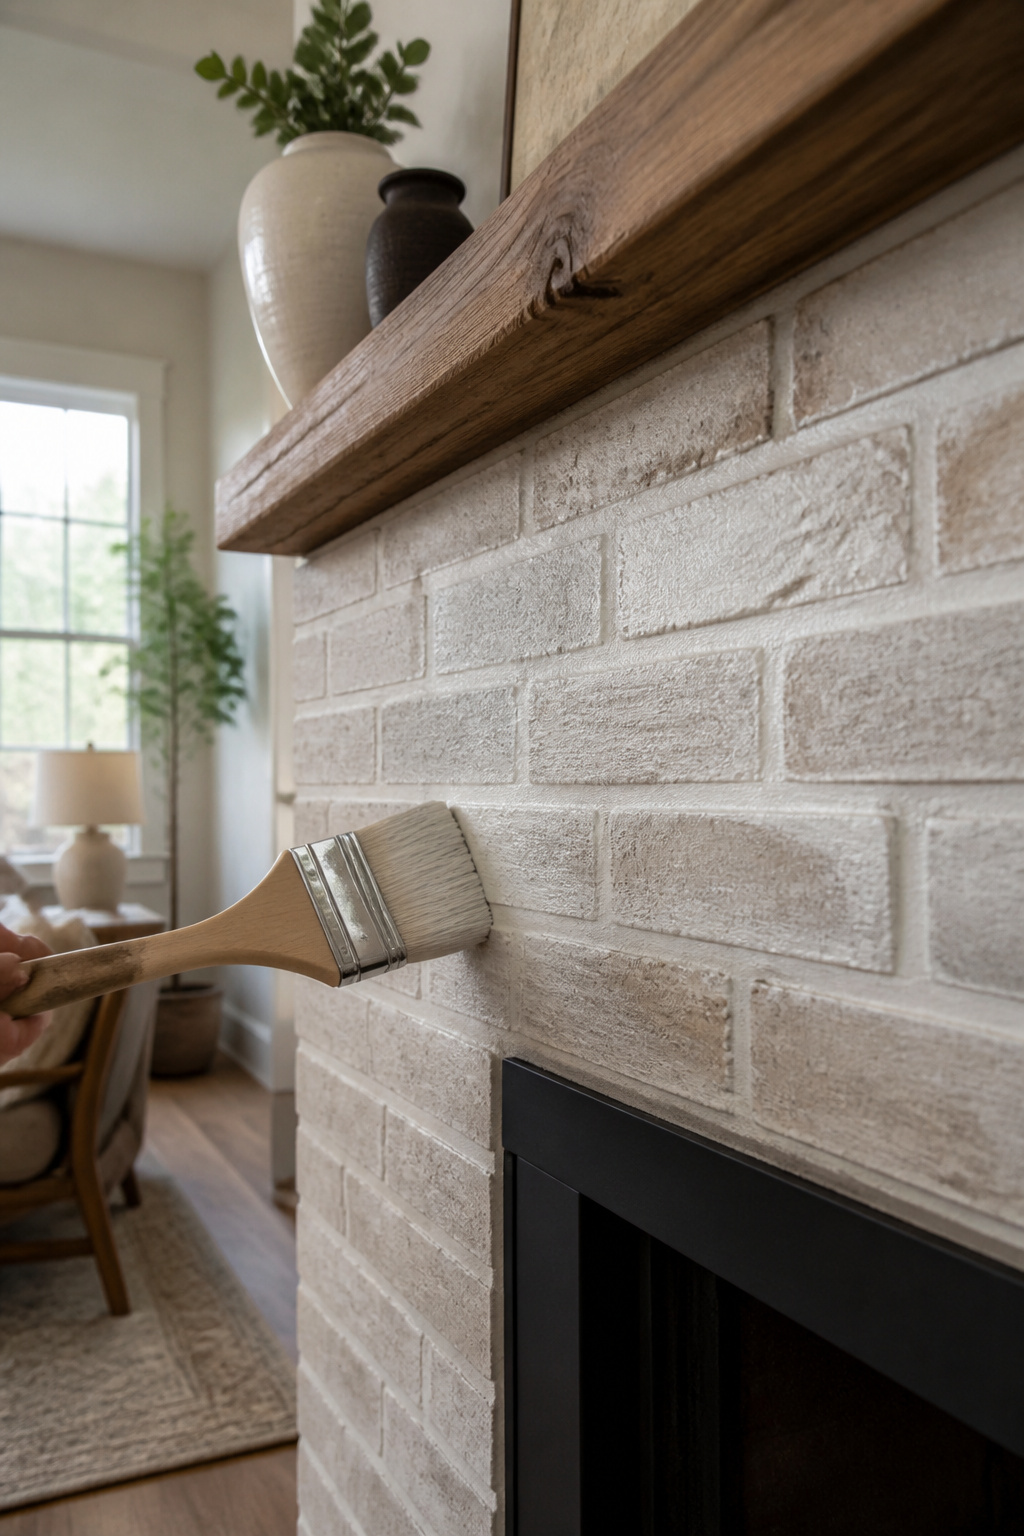
Grout drinks the wash faster than brick, and the mismatch shows up ten minutes later as dark ribbons running between the faces. The first coat on my fireplace looked like a checkerboard until I figured out the timing.
A dry brush pulled through wet wash is the move that evens it out. Before the grout goes fully matte, drag a nearly dry chip brush across the line in one light pass. The bristles wick up the excess that the porous joint has swallowed, lifting the value closer to the brick face without erasing it entirely. Wait until the surface is uniformly tacky, not wet and not dry, or the brush will either smear fresh wash or leave pale streaks on set material.
The maneuver takes a little nerve. Pulling color back out feels like undoing work, but the grout is only a quarter-inch wide. What reads as a glaring stripe from three feet away settles into a subtle shadow once the full wall is done and the eye has context. Two passes on every joint, one to lay the wash and one to regulate it, adds maybe twenty minutes to a standard surround. That is the cost of skipping the patch-and-repair stage later.
Frequently Asked Questions
How do you whitewash a brick fireplace?
Clean the brick with a vinegar solution, mix white latex paint with water at roughly 1:3, then apply in two-foot sections using a sponge and brush. Work top to bottom, blend edges with a damp sponge before they set, and let each coat dry fully before adding another. Most projects need two or three thin coats total.
What paint do you use to whitewash a fireplace?
Regular interior white latex paint, flat or satin finish, mixed with water. The article used Behr Polar Bear White in flat because that sheen reads closest to traditional whitewash, but any white or cream latex paint you already own works fine.
How long does it take to whitewash a brick fireplace?
Active work takes a few hours, but full drying can stretch to a couple of days depending on humidity and how porous your brick is. A warm, airy room moves faster; a damp basement slows things down. Each additional coat restarts the same clock.
Can you whitewash with regular paint?
Yes. Standard interior latex paint thinned with water is exactly what this project uses. No special whitewash paint or limewash product is necessary for an interior fireplace, though limewash holds up better on damp or exterior brick.





