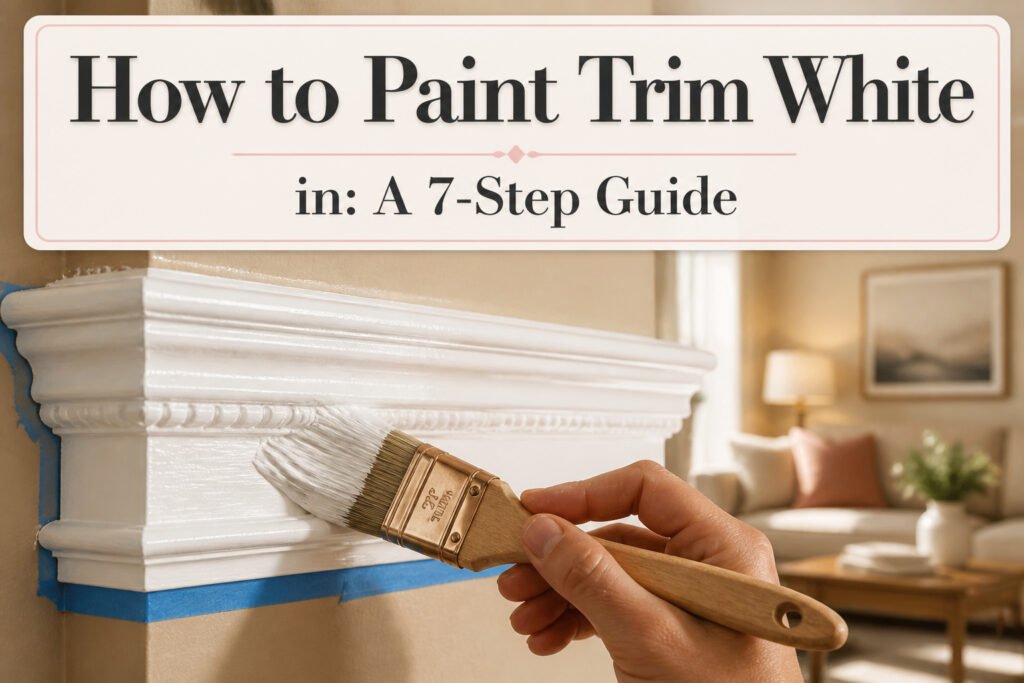
White trim in 2026 still takes a weekend and about $80 in paint and supplies for an average room. The stage most people rush is taping, which is where the work actually lives or dies. Thirty minutes pressing tape down with a putty knife saves two hours of touch-up that never quite disappears on white.
1. Prepare the Area
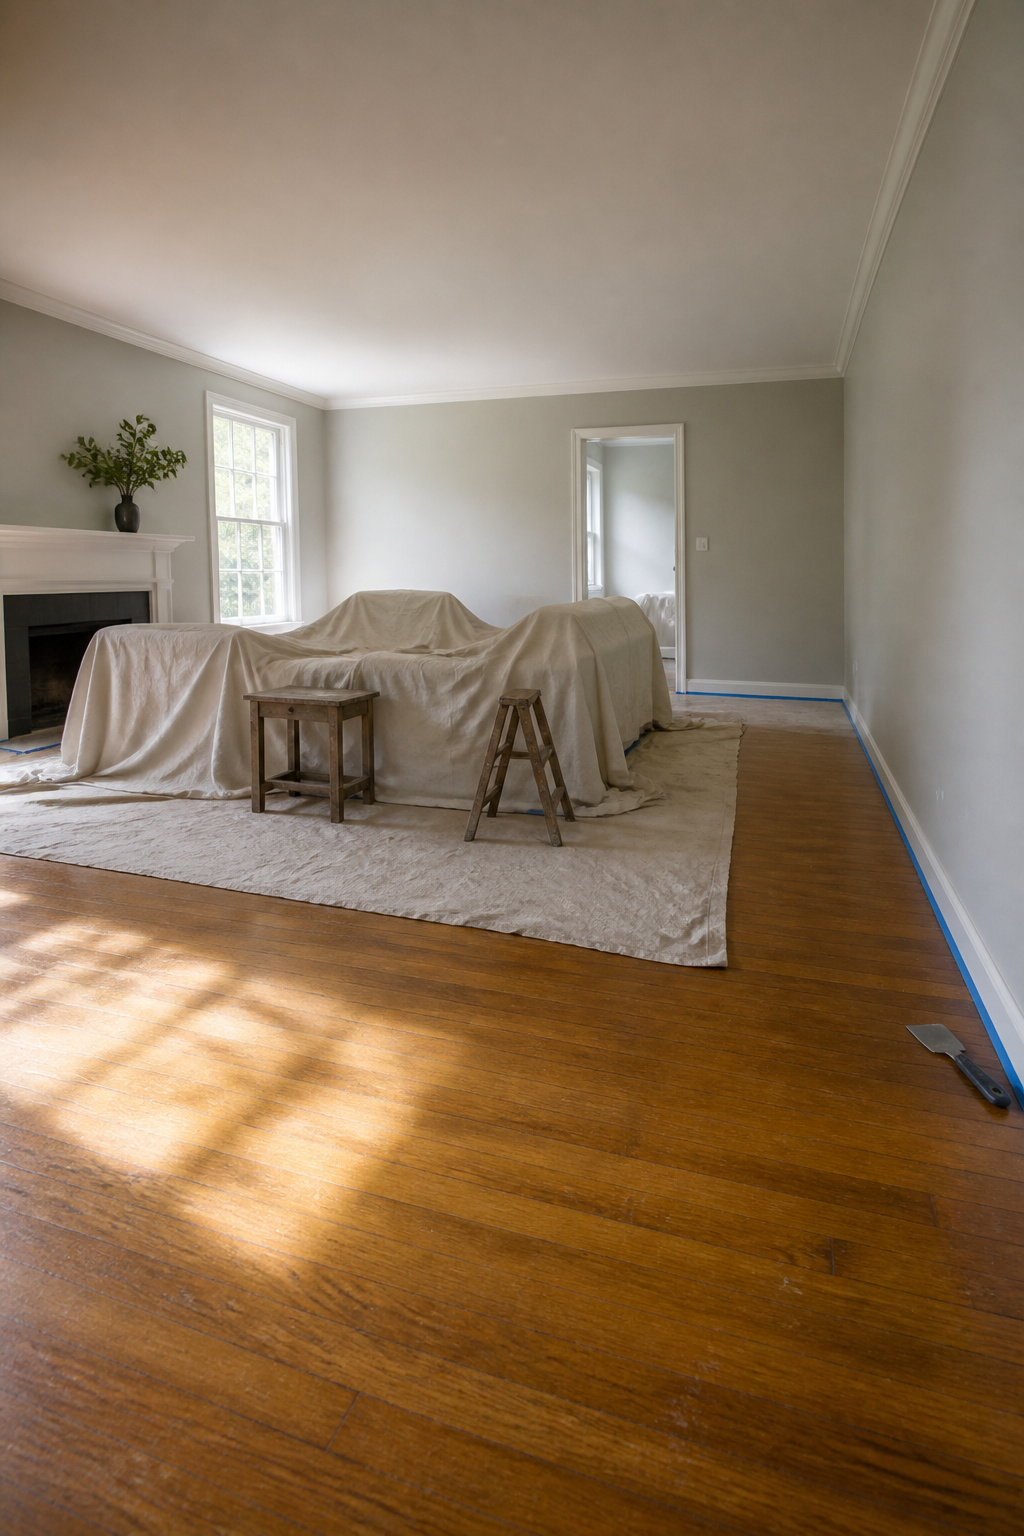
Furniture gets pushed to the center first, then the drop cloths go down. Canvas holds paint without letting it bleed through to hardwood, and the weight keeps it from sliding around. Plastic works too, especially over carpet, though it can bunch underfoot and the crinkling sound gets old fast.
Taping is where patience pays back double. ScotchBlue or Frog Tape along the wall edge of the trim, pressed down hard with a plastic putty knife or your thumbnail to seal the seam. Air bubbles are the enemy here: any gap and white paint will find it, creeping onto the wall or down onto the floor. For baseboards over carpet, slide the tape edge underneath as far as it will go, then nudge it deeper with a butter knife. Multiple layers around doorways, drop cloths layered over the tape on the floor, and the room starts to look like a crime scene. That is the point. The thirty minutes of taping saves two hours of touch-up with a detail brush, and touch-up on white never quite disappears.
2. Clean the Trim

A damp rag run along the baseboard usually reveals more than you expect. The water turns gray fast, and that grime is primer’s worst enemy. Ten separate writeups on this all say the same thing: clean trim is what separates a smooth finish from a paint job that pills and looks gritty under light.
Dust alone will do it, but most trim carries years of hand oils, vacuum scuffs, and the kind of dirt that hides in corners until wet cloth hits it. If you’re planning to skip sanding later, this step doubles in weight. The surface needs to be clean enough that primer can grip without mechanical help, and that means spending real time here, not a quick pass.
A few tablespoons of laundry detergent in the water helps on tougher marks. Black rubber scuffs from shoes almost always need a melamine sponge to lift them. Wipe the wall and floor two to three inches out from the trim too; tape won’t stick to dust, and loose tape is what lets white paint bleed onto surfaces you never meant to touch.
3. Fill Imperfections
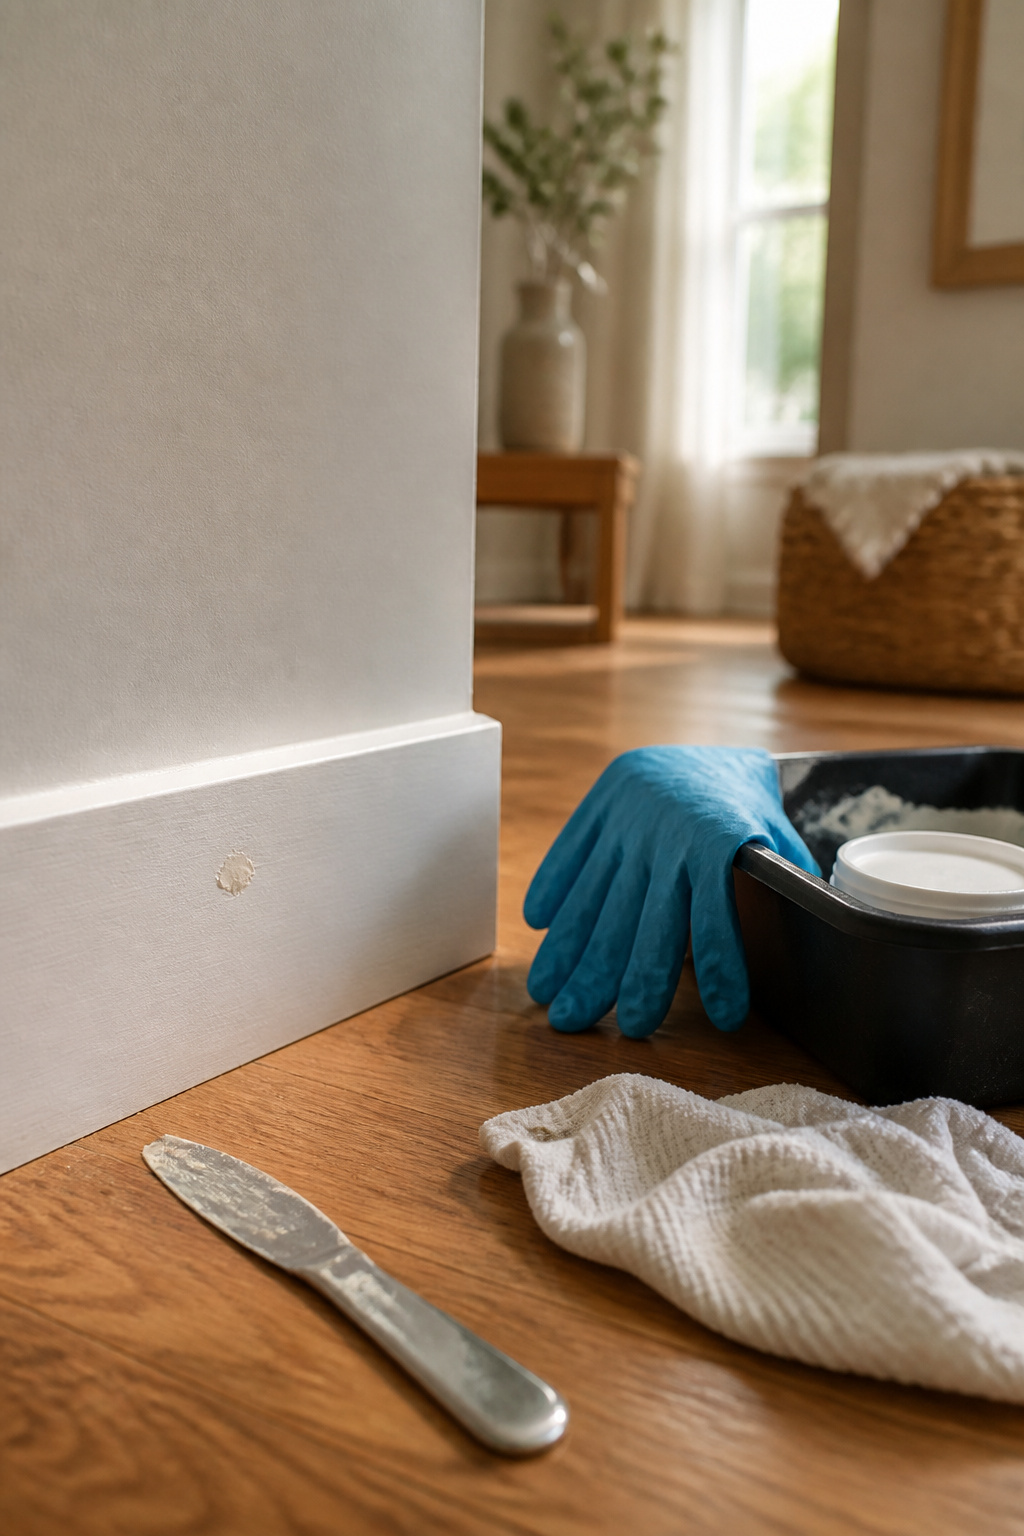
Wood filler handles the holes, caulk handles the gaps, and the distinction matters because each one moves differently as it sets. A dab of wood filler, not spackling, fills nail holes and dents; spackling can contract while drying and leave a depression that shows through white paint later. Run a bead of caulk where the trim meets the wall to close cracks that open over time, especially in older houses where trim lifts away from the surface.
Wipe excess filler or caulk with a damp rag before it skins over. Let each material dry according to the package directions; rushing this step means sanding into gummy residue or trapping moisture under primer. Some prefer filling after priming because holes stand out more against white than raw wood, though doing it beforehand works fine if you would rather keep the workflow moving in one direction.
4. Sand the Trim

A quick pass with 120-grit sandpaper takes the gloss off existing paint or sealer and gives your primer something to bite into. The trim does not need to be stripped bare; you’re just knocking down the slick surface so the new coat does not slide off later.
Sanding is optional, though most finishers treat it as cheap insurance on adhesion. If you skip it, the cleaning step needs to be thorough, and a liquid deglosser on the glossy spots is worth considering. I have seen painters go straight to primer over clean, dull trim and get away with it, but the same move over a high-gloss enamel is where peeling starts a year in.
Any patched nail holes or filled cracks from the previous step will need sanding too. Those spots often sit proud of the surface once the filler dries, and primer over a ridge telegraphs through every later coat. Run a damp sponge afterward to pick up the dust, and let the trim dry completely before tape goes down. Wet wood and painter’s tape make a poor seal; paint finds its way underneath every time.
5. Apply Primer

Primer is where a white trim job lives or dies, especially over stained wood where tannins bleed through like coffee through a paper towel. Zinsser Bullseye 1-2-3 blocks that bleed and gives the topcoat something to grip. I have seen three coats of primer go down on dark stained trim before the surface finally read as sealed; two is usually enough, but the third is not panic, it is patience.
Water-based primers have taken over most hardware shelves now, and they dry faster with less cleanup than oil. Oil still has its place on stubborn knots or decades of layered stain, though the trade is a longer dry time and solvent cleanup. Whichever base you choose, let it dry fully before sanding or painting. The can may say four hours, but overnight, closer to that 24-hour mark, removes any guesswork about whether the film is ready for the next step. If brush strokes or drips show once it is dry, a quick pass with 120-grit paper knocks them flat. Dust off thoroughly before the next coat; primer dust under paint becomes texture you will notice every time the afternoon light hits the trim.
6. Paint the Trim

Two coats of semi-gloss or satin white paint go on once the primer is fully cured. Water-based formulas typically need at least 2 hours between coats, though checking the specific can’s label is worth the thirty seconds. I learned that the hard way pressing a thumb into what looked dry and leaving a moon crater near the baseboard.
Benjamin Moore Simply White reads warmer than most pure whites and has become my usual pick for trim against bold wall colors. Sherwin-Williams Emerald Urethane Trim Enamel levels out beautifully on door frames. Behr Ultra Pure White is the crispest, brightest option of the three if you want that modern, almost clinical contrast.
A 2 to 2.5 inch angled brush cuts clean along edges, but rolling the broad flat sections first speeds things up. Long, smooth strokes with the brush blend the rolled areas in and keep brush marks from telegraphing through. Working in four- to six-foot sections lets you maintain a wet edge without overworking the paint. Some spots, especially over darker original stain, may need a third coat. The bright white creeping across stained wood makes the repetition bearable.
7. Remove Tape

Peeling tape off dry trim paint taught me the difference between a crisp edge and a ragged one the hard way. The second coat on my hallway baseboards had cured overnight before I remembered the tape, and strips of warm white came up with the blue paper, leaving me with touch-ups that never quite matched. Pull the tape while the paint is still slightly wet and the line stays clean; the film hasn’t locked onto the adhesive yet, so it releases without tearing. Latex paint skins over fast, maybe an hour or two in a warm room, which is less time than most people guess. Work at a low angle, pulling back on itself slowly rather than straight up, and keep a steady hand so you don’t brush the wet edge against finished wall. If a spot has already dried, score the seam with a putty knife first, though the line rarely comes out as perfect as tape lifted at the right moment.
Tools and Supplies

A 2–2.5 inch angled sash brush is the right size for most trim work. Purdy and Wooster both make brushes that hold enough paint to keep a wet edge without loading so heavily that drips run down the casing. Skip the dollar-bin brushes; the bristles shed and the ferrules wobble, and you will spend more time picking fibers out of fresh paint than you saved at checkout.
Primer comes down to two reliable choices. Zinsser Bullseye 1-2-3 handles most interior trim without fuss, and Benjamin Moore’s Fresh Start High-Hiding Primer builds a solid base if the existing color is dark or the wood is stained.
For paint, three whites cover most rooms. Benjamin Moore Simply White reads slightly warm and works against both cool and neutral walls. Sherwin Williams Emerald Urethane Trim Enamel levels out beautifully and cures hard enough to take the knocks of daily life. Behr Ultra Pure White is the brightest, cleanest option if you want trim that pops against softer wall colors.
Painter’s tape means ScotchBlue or Frog Tape. The green Frog Tape costs more but seals better along textured walls and hardwood floors. Canvas drop cloths absorb drips and stay put underfoot; plastic slides around and paint pools on top instead of soaking in.
Paint Type and Finish
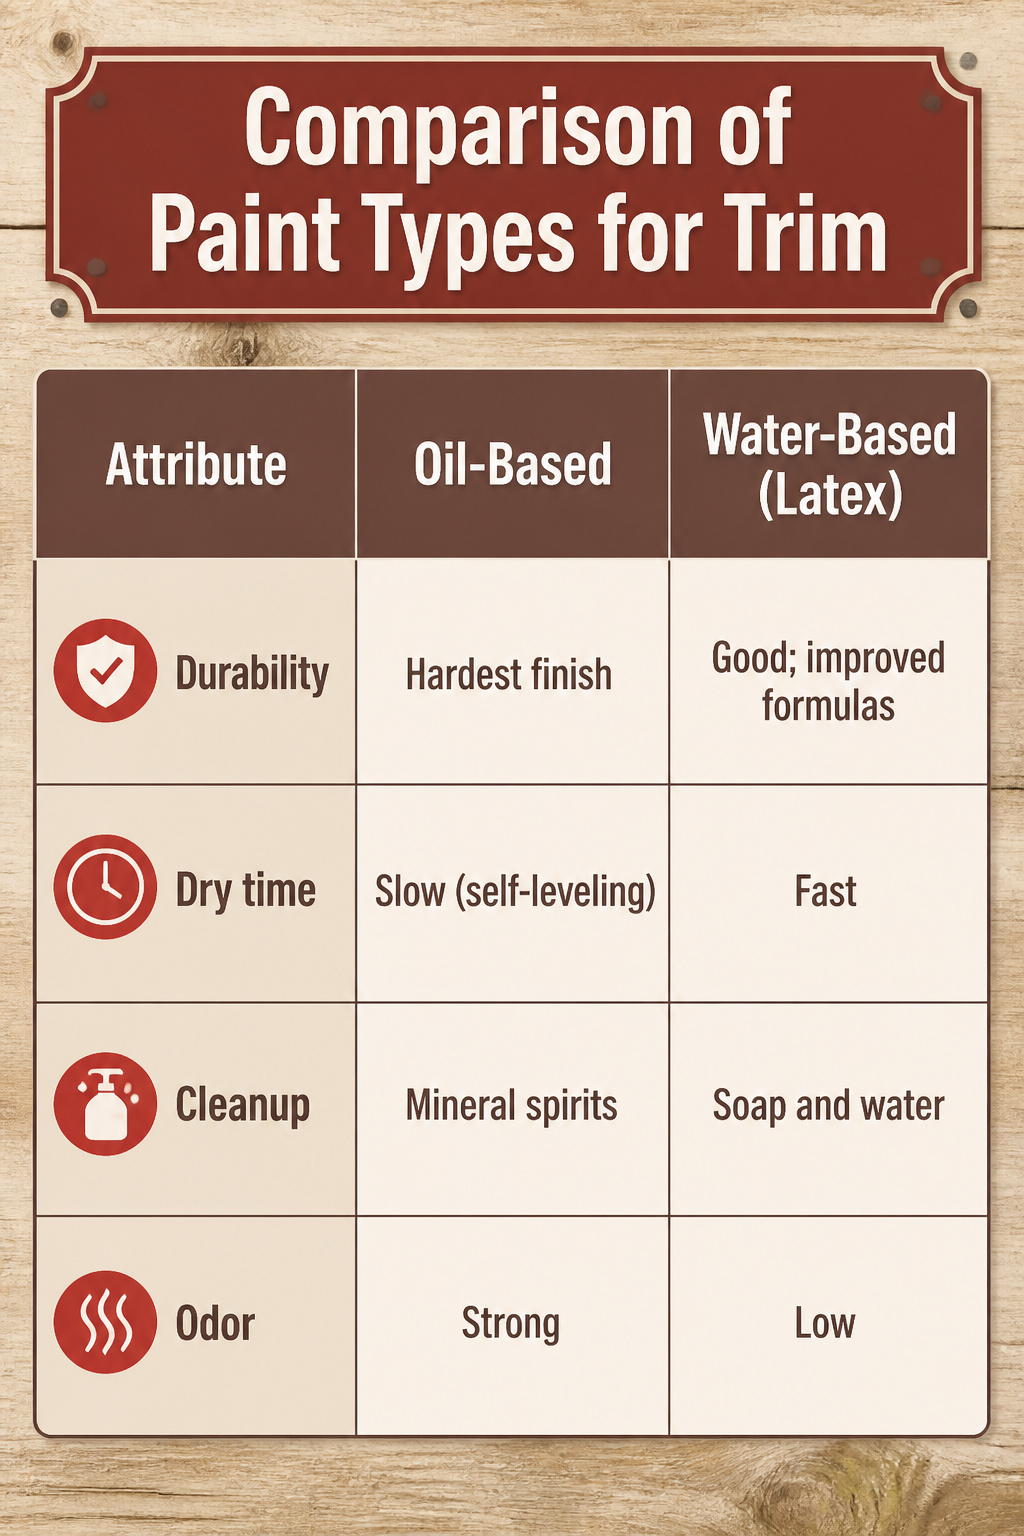
Oil-based paint still holds the crown for raw durability, and its slow drying time lets it self-level into a glass-smooth finish. The trade is real though: fumes linger, cleanup needs mineral spirits, and a full cure can take days. Water-based latex, now standard in most households, cleans up with soap and water and won’t leave your dining room smelling like a body shop for a week. If your trim already carries oil-based paint, switching to latex without proper prep and priming is asking for peels.
For finish, semi-gloss or satin covers most trim jobs. Semi-gloss takes more abuse on baseboards and cleans easier; satin hides imperfections better on older casings.
| Attribute | Oil-Based | Water-Based (Latex) |
|---|---|---|
| Durability | Hardest finish | Good; improved formulas |
| Dry time | Slow (self-leveling) | Fast |
| Cleanup | Mineral spirits | Soap and water |
| Odor | Strong | Low |
Primer follows the same split. Oil-based primer grips glossy old paint and blocks stains like water rings or wood tannins. Acrylic latex primer, such as Benjamin Moore’s Fresh Start High-Hiding formula, dries fast and works with any topcoat.
The best paint type for trim is a waterborne alkyd paint like Advance® Interior, which goes on smooth and cures to a hard, furniture-quality finish.
That "waterborne alkyd" label matters: it washes like latex but hardens like oil, giving renters and parents the easier cleanup without surrendering the durability.
Painting Without Sanding

Stained wood trim can be painted white without sanding, but skipping the grit means the prep work has to do more of the lifting. A thorough cleaning comes first, because years of dust and grime keep primer from gripping the way it needs to. After that, a deglosser steps in for the sanding you are not doing, stripping the shine off the old varnish so the new coat has something to hold onto.
One thing the sources split on is worth knowing. Some find that skipping the sander actually gives a cleaner result, since sanding can break the seal on old stain and let it bleed up through white paint in weird orange waves. Others warn that going this route makes extra primer coats non-negotiable. I would lean toward the deglosser-and-primer path for a quick afternoon project, but only if the trim is in decent shape to start.
Common Mistakes
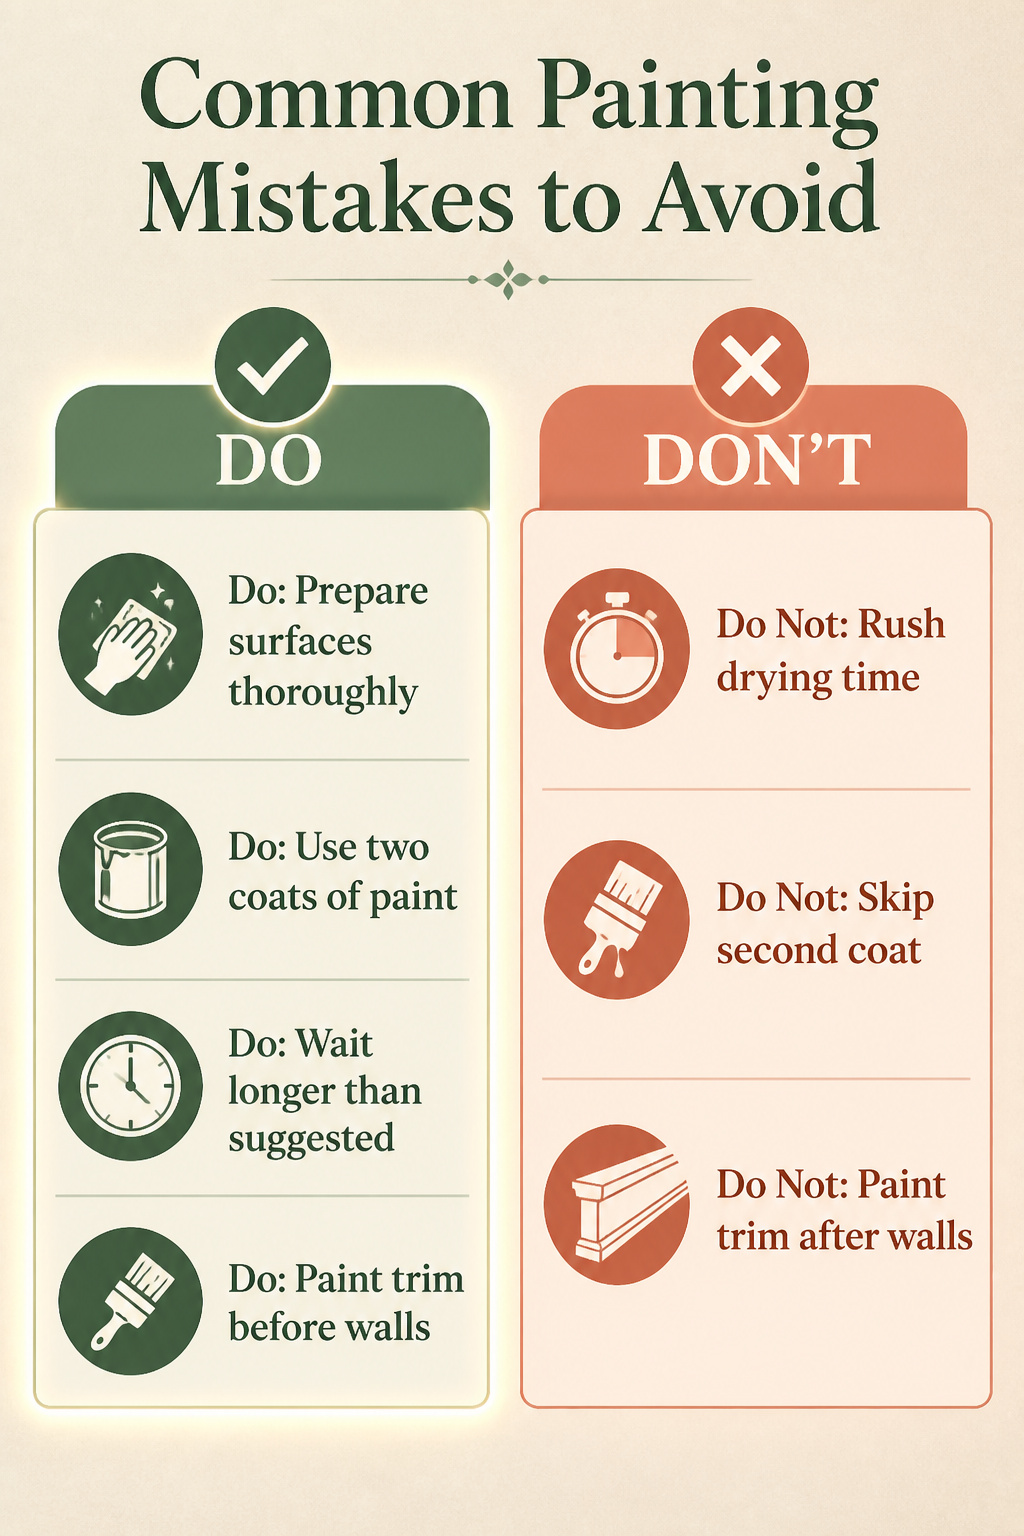
The mistakes that stick with me started with prep work I thought was good enough. Dust left behind from a quick once-over left grit in the first coat, and that texture never disappeared. Two coats of paint is the standard, but the second coat won’t save a bad surface; it just locks the problem in place.
Drying time was the other place I rushed. Paint that felt dry to the touch wasn’t cured underneath, and the next coat went on over a film that hadn’t set. Within a year that trim was peeling at the edges and chipping where chairs bumped it. Now I wait longer than the can suggests, especially in humid months.
Whether to paint walls or trim first was a debate I had backwards for a while. Trim first is the answer, and the reason is practical: cutting a clean line against the wall is easier than cutting trim against a finished wall. A little wall paint on the trim gets fixed in the final touch-up pass, not the other way around.
White Paint Colors

Warmth or coolness in a white trim paint changes how the room feels, and the wall color should tell you which direction to go. Benjamin Moore Simply White reads warmer than most whites, and it was my pick against Hale Navy walls in a living room. Sherwin Williams Alabaster runs creamy and warm, adding depth where a flatter white would disappear. If the walls lean cool, a warm white like Simply White still works, but Alabaster gives you more body to stand up to blues and greens without turning muddy.
Sherwin Williams Pure White sits slightly warm too, though it pairs with cooler walls without the clash you’d expect. The clean, neutral whites, the ones with no lean at all, read modern and pair with almost anything, but they can feel sterile in a room that already gets cold light.
For anyone with kids or just a sensitive nose, zero-VOC latex exists now. I used Benjamin Moore Natura in Simply White semi-gloss on trim through a whole house, and the lack of odor meant we slept there that night. Low-VOC and zero-VOC lines are worth asking for at the counter, not because they perform differently, but because the air clears faster.
Frequently Asked Questions
Can you paint over stained wood without sanding?
Yes, but the prep work has to carry the load. Clean the trim thoroughly to remove grime, then use a liquid deglosser on glossy varnish so primer has something to grip. Expect to apply extra primer coats, since you are not roughing the surface mechanically. Some finishers actually prefer skipping the sander, since aggressive sanding can break the seal on old stain and let tannins bleed up through white paint in orange waves.
What is the best paint for trim?
Semi-gloss or satin finish is the standard choice. Semi-gloss takes more abuse on baseboards and cleans easier; satin hides imperfections better on older casings. For paint type, waterborne alkyd formulas like Benjamin Moore Advance go on smooth, clean up with soap and water, and cure to a hard, furniture-quality finish. Sherwin-Williams Emerald Urethane Trim Enamel is another strong option for door frames.
Should you paint the walls or trim first?
Paint the trim first. Cutting a clean line of wall paint against finished trim is easier than the reverse, and any wall paint that lands on the trim gets fixed during the final touch-up pass. Protect the freshly painted trim with painter’s tape before you cut in the walls.
How many coats of paint should you use?
Two coats of paint is the standard for trim. The second coat locks in coverage and gives the finish its real durability. If you are painting over dark stained wood, two coats of primer may come first, and some spots over stubborn stain can need a third coat of paint before the bright white reads as solid.





