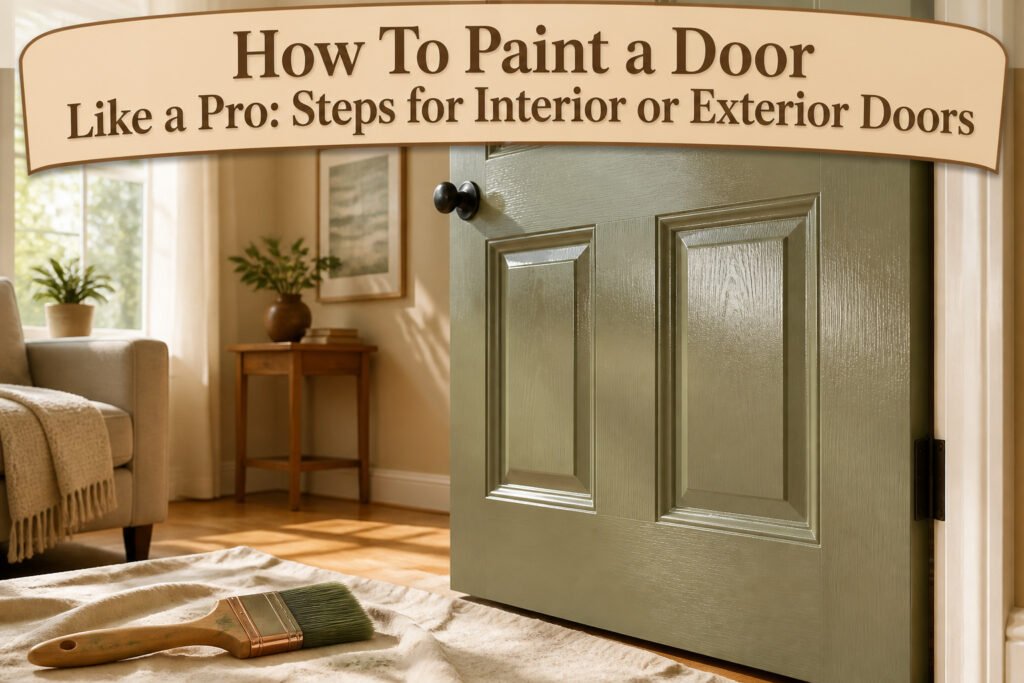
A smooth, factory-level finish on a door takes two thin coats, four to six hours between them, and about thirty dollars in supplies. Most people rush the drying and ruin the job. The real cost is not money; it is the full day you spend waiting while the paint cures. That is the stage where closing the door too early leaves it bonded to the frame, tearing the finish when you reopen it.
1. Choose the Paint Color

A door color either ties the room together or becomes the thing you notice every time you walk past it. Lighter shades like Benjamin Moore Dove White hide the dings and brush marks that doors collect faster than walls, which is why they stay the safe choice for high-traffic interiors. Darker colors add drama but demand smoother prep work; Benjamin Moore Charcoal Slate or Sherwin-Williams Repose Gray work well when you want the door to read as architectural detail rather than background.
For exterior doors, the same rule about sheen applies as inside: satin or semi-gloss. Both finishes hold up to moisture and wipe clean. Semi-gloss is the more common pick for front doors because it catches light and emphasizes panel details. Inside, matching your trim color and finish keeps things quiet; painting the door a separate color turns it into a statement. Satin works if you want the walls and doors to feel like one continuous surface. Semi-gloss steps up the definition.
2. Gather Tools and Materials

Most of what you need is probably already in a kitchen drawer or the garage. The rest runs under $30 at any hardware store.
- 120-grit and 220-grit sandpaper, or a sanding sponge if the door has panels and corners to work around
- Painter’s tape for hinges and hardware you leave in place
- A 2-inch angled brush; this size handles both flat panels and edge details without switching tools
- A small roller with 1/4-inch nap covers; the short pile keeps texture off a door’s broad surfaces
- Drop cloths, canvas or plastic, to catch the splatter you swear you won’t make
- Wood filler and a putty knife for dents and old hardware holes
- A cleaning solution: Krud Kutter if the door is greasy or exterior, mild soap and water if it’s just dusty interior work
For paint, two formulas come up consistently for doors. Sherwin-Williams SnapDry dries fast enough to close the door the same day. Benjamin Moore Advance levels out brush marks better if you have time to let it cure between coats. Both are worth the upgrade over wall paint, which is built for a different job.
3. Prep the Door

- A door painted before the 1980s may contain lead. Test first. If the test comes back positive, do not sand. Call a pro to handle the lead before you do anything else.
- Take the hardware off the door if you can. Painting around knobs wastes time and leaves ridges. Painter’s tape works on hinges and anything you leave in place. A utility knife traced around the hinge edge keeps the tape neat.
- Fill gouges with wood filler, then sand those spots smooth. The sources vary on grit here; 150 works for the filler, but I have also seen 120 used for the same job. Either gets you there.
- Sand the whole door with 120 grit to knock down old gloss and rough up the surface for adhesion. Switch to 220 grit for the final pass. The smoother that last sanding, the smoother your paint sits.
- Clean off the dust. A tack cloth picks up most of it; a damp rag works too. Pay extra attention around where the handle sat. Oils from hands collect there and residue is what makes fresh paint fail.
- A degreaser like Simple Green finishes the job. The door needs to be bare, dull, and clean before primer or paint touches it.
- You can paint the door on its hinges. Keep it propped open while it dries. Taking it down to sawhorses makes the work easier and the back edge simpler to reach, but hanging saves the re-hanging step.
4. Prime When It Matters
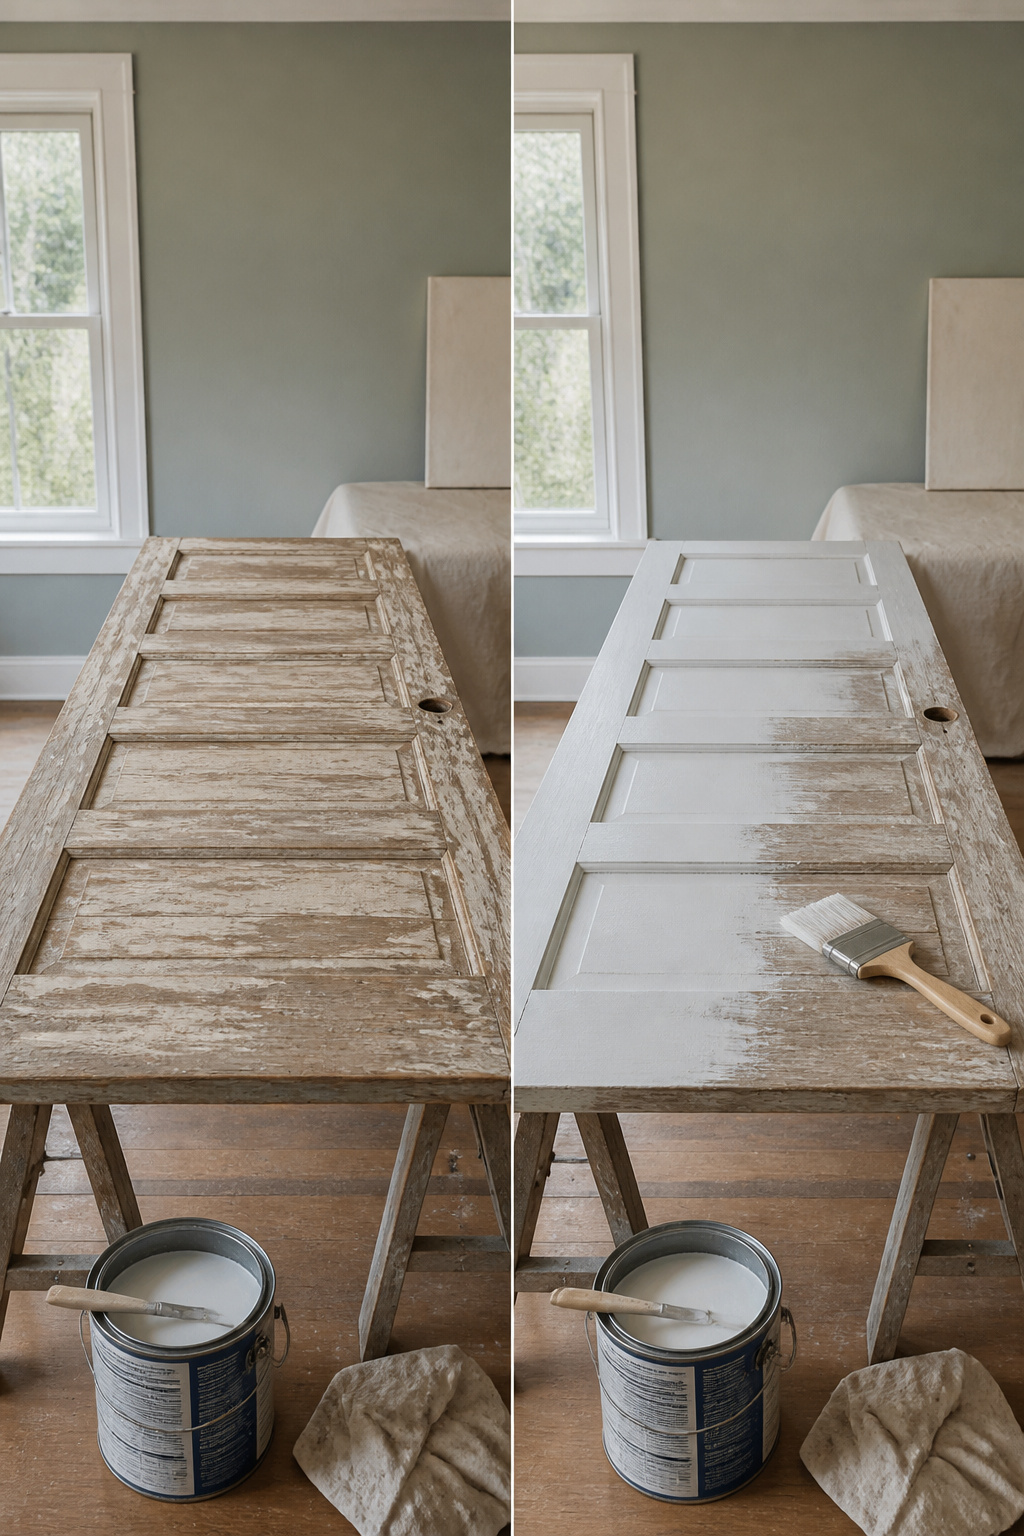
Primer is not a requirement on every door, and skipping it can save an afternoon. The existing paint on a door in good shape, cleaned and lightly sanded, often accepts fresh latex paint without complaint. Bare wood or metal, stains or knots, a drastic color change, or a switch from oil-based to latex paint are the conditions that make primer essential. Oil-based primer seals trouble spots like resin-heavy knots or water stains that would bleed through a topcoat, while a bonding primer such as Zinsser Bulls Eye 1-2-3 bridges the gap when you are moving from an old oil finish to a water-based door paint. The alcohol test settles what you are covering: rub a rag soaked in rubbing alcohol on the surface. Paint that lifts is latex; no transfer means oil-based, and that is when the bonding primer becomes necessary.
Dip a rag in rubbing alcohol and rub it on the door. If paint comes off onto the rag, that means it’s a latex paint. If no paint comes off, that means it’s an oil-based paint. In that case, you’ll need to apply a bonding primer like Zinsser Bulls Eye 1-2-3 before repainting it with a water-based door paint.
That two-minute check keeps you from guessing wrong and watching new paint fail to stick.
5. Paint in the Right Order

Edges first, always. Paint runs downhill, and the thin rim of a door is where it pools if you save it for last. I work the edge that shows when the door is open, hinge side for inswing, latch side for outswing, or both edges if both faces are getting color. That gives the edge the longest dry time before anything brushes against it.
Panels come next. A 1½-inch brush fills the recessed molding, then a 4-inch roller flattens the panel center. Feather those brush strokes where molding meets flat surface; hard lines read as mistakes under afternoon light.
The three center vertical strips follow, rolled top to bottom. Then the four horizontal rails. The two outer vertical stiles finish the job.
Paint in this order and the wet edge stays alive, so later strokes blend into earlier ones instead of leaving lap marks or touch-up spots. Two to three thin coats beat one thick one; thick paint drips, sags, and sets uneven. The roller covers the broad work faster, the brush finds the corners the roller cannot reach.
6. Dry, Sand, and Recoat

The first coat on my last door felt dry after about an hour, which is where the trouble starts. Dry to the touch does not mean ready for another coat. Most paints need 4–6 hours before you can safely recoat, and Benjamin Moore Advance runs longer than typical. Rushing it risks poor adhesion, bubbling, or flashing, a rookie mistake a single search turns up again and again.
Between coats, a quick pass with 320-grit sandpaper and a tack cloth to remove the dust gives the next layer something to grip. The second coat goes on the same way as the first.
After that, patience. Wait at least 24 hours before reinstalling hardware or fully closing the door. Paint keeps curing long after it feels dry, and for the first 30 days the surface stays fragile. Close it too soon against weatherstripping and the finish will stick, peel, or transfer. If the door presses against anything freshly painted, the contact points will mar before the cure is complete.
7. Reinstall and Clean Up

Pulling the tape free takes more patience than most of us have left by this stage, but angling it back at 45 degrees, low and slow, keeps the fresh edge from lifting. The paint should be dry to the touch, not still setting, or you will take half the coat with you. I have learned that the hard way on a bathroom door that needed a full re-cut.
Hardware goes back on after 24 hours of drying, though the paint is not fully cured yet. Be gentle for the first week; the finish remains soft underneath and will dent if you torque down a handle too hard too soon.
Cleanup depends on what you used. Latex paint rinses out with water. Oil-based needs solvent. Rollers and brushes left to dry in the open air are ruined, so wash them now while the paint is still wet. One last walk-around with the light at an angle catches the spots that need a quick touch-up before the job is done.
Brush, Roller, or Sprayer

A brush and a small roller together hit the sweet spot for most doors. The brush works the recessed molding and edges, then a 4" roller flattens the panels and rails before brush marks set. A ¼" nap roller on those flat sections erases drips and speeds the job up noticeably.
| Brush | Roller | Sprayer | |
|---|---|---|---|
| Best for | Edges, detail, molding | Flat panels, speed | Flawless, factory-smooth finish |
| Setup | Minimal | Minimal | Masking, ventilation, equipment |
| Cleanup | Quick | Quick | Thorough breakdown and solvent flush |
| Tradeoff for one door | Slow, can leave marks | Fast, slight texture | Heavy prep outweighs benefit |
For a single interior door, the sprayer rarely earns its keep. The finish is unmatched, but the taping, tenting, and cleanup turn a two-hour afternoon into a full-day project. Save spraying for multiple doors, exterior work, or when you already own the rig. Most of the time, the brush-plus-roller combo finishes faster and looks nearly as clean.
What I Messed Up So You Won’t

A few summers back I painted a south-facing exterior door at noon on an 85-degree day. The paint tacked up before I could smooth my brush marks, leaving a streaky, uneven sheen I had to sand off completely. Work in shade or indirect light, and if the door gets full sun, paint in early morning or wait for cloud cover.
Thick coats feel efficient but they sag, drip, and cure soft. Two thin coats of Benjamin Moore Advance, spaced by the full recoat time on the can, outlast one heavy layer every time. I rushed a pantry door once and shut it after two hours; the edges bonded to the frame and tore when I reopened it. Give exterior latex 24 hours before closing, longer for slower-curing formulas like Advance.
Sanding matters most on glossy factory finishes. A quick pass with 220-grit gives the primer teeth. Skip it and the new paint peels in sheets.
Tape bleed ruins the crisp line that makes a door look professional. Press the edge down with a putty knife, especially across the hinge side where paint likes to wick underneath.
Oil-Based Versus Latex Paint

Oil-based paint still wins on hardness and self-leveling, which is why old trim has that glass-smooth look. The catch is the cleanup (mineral spirits), the longer cure time, and the yellowing that keeps creeping in as years pass. Latex, especially the newer door-and-trim formulations, cleans up with water and stays color-true.
For most front doors, exterior acrylic latex is the better bet: it flexes with temperature swings, resists UV and moisture, and dries fast enough to close the door the same evening. Sherwin-Williams SnapDry and similar acrylic latex trims are built for exactly this.
| Oil-Based | Latex (Interior/Exterior) | Alkyd-Modified Latex | |
|---|---|---|---|
| Durability | Hardest finish | Very good, improving | Near oil hardness |
| Drying time | 6–8 hours to touch | 1–4 hours | 4–6 hours |
| Cleanup | Mineral spirits | Soap and water | Soap and water |
| Yellowing over time | Yes | No | Minimal |
| Best for | High-traffic interior trim | Most exterior doors, easy jobs | Doors needing oil performance without oil hassle |
Advance and products like it sit in that middle column: alkyd-modified latex that levels like oil but cleans up like latex. I keep a quart on hand for interior doors that take abuse, like the one between the kitchen and the garage. For a standard bedroom door, good latex is enough.
Time and Weather to Paint

Most doors need one to two days from start to finish, and that gap is almost all waiting. Paint wants four to six hours between coats, and hardware should stay off for a full day so nothing presses fresh film into ridges.
Weather matters more than the calendar. I painted a door once in late-morning sun that had already climbed past eighty degrees, and the surface skinned over before I could lay it off. Brush marks set like plaster, and the sheen dried in stripes no topcoat could fix. Direct sunlight pulls solvent out too fast; the coat seals before it levels, and you get texture instead of flow.
Humidity does the opposite. When the air is already holding water, the solvent lingers, and the coat stays soft long enough to catch dust or sag. Temperature swings work the same way: too cold and the resin barely crosslinks, too hot and the surface traps solvent underneath that later bubbles.
A dry morning in the sixties or low seventies, cloud cover or shade, and a forty-eight-hour window with no rain: that is the pocket. Start early, finish the second coat by mid-afternoon, and let the door hang open overnight.
Frequently Asked Questions
Do I need to sand my door before painting?
Yes, light sanding is highly recommended to ensure good paint adhesion. Sand the whole door with 120-grit sandpaper to knock down old gloss and rough up the surface, then switch to 220-grit for the final pass. The smoother that last sanding, the smoother your paint sits.
How long does it take to paint a door?
Most doors need one to two days from start to finish, and nearly all of that is waiting time. Paint wants four to six hours between coats, and hardware should stay off for a full day so nothing presses into fresh film.
Do I need primer before painting a door?
Primer is essential if your door has bare wood or metal, stains or knots, a drastic color change, or a switch from oil-based to latex paint. If the existing paint is in good shape, cleaned and lightly sanded, you can often skip it and apply fresh latex directly.
What type of paint is best for a front door?
A high-quality exterior acrylic latex paint is ideal for most front doors. It flexes with temperature swings, resists UV and moisture, and dries fast enough to close the door the same evening. Semi-gloss is the more common sheen pick for front doors because it catches light and emphasizes panel details.
Can I paint a door without removing it?
Yes, you can paint a door while it is still on its hinges. Keep it propped open while it dries, and use painter’s tape to protect the hinges and any hardware you leave in place. Taking it down to sawhorses makes the work easier and the back edge simpler to reach, but hanging saves the re-hanging step.





