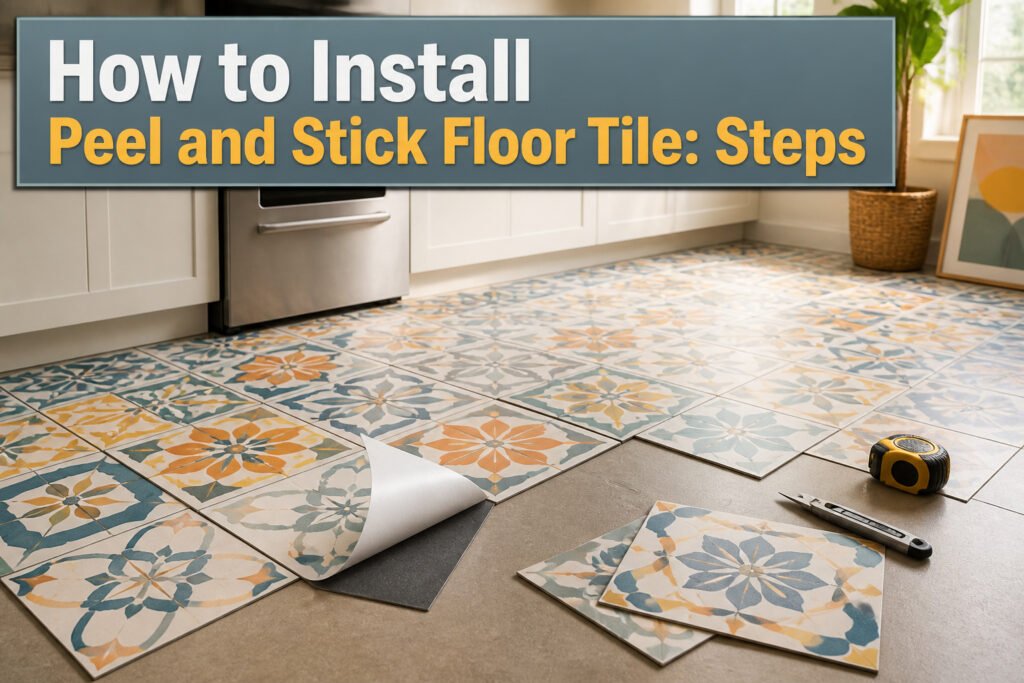
A finished peel and stick floor costs under $2 per square foot and takes one weekend, but the tiles will lift by spring if you skip the 48-hour acclimate. The adhesive bonds to dust about as well as you’d expect, which is why the vacuum stays out until the last tile drops.
1. Prepare the Subfloor

The adhesive on peel and stick tile is strong, but it will not bond over dust, crumbs, or a seam that rises even a sixteenth of an inch. A vacuum is the first tool out of the closet, not the last. Run it twice, then run a tack cloth or a barely damp microfiber over the surface. If your palm comes away dusty after you think you are finished, you are not finished.
Plywood needs every screw or nail head countersunk below the surface. Sand down high spots and seams, then fill holes or gouges with wood filler. A thin layer of leveling compound across seams will save you from feeling those edges through the tile six months later. Concrete is a different job: patch cracks and low spots with concrete patch compound, and if the surface is raw, unsealed concrete, a latex primer seals the pores so the adhesive can actually grab. Existing vinyl or linoleum can stay only if it is a single layer that is fully adhered, with no texture or embossing that telegraphs through. Clean it, degrease it, and skim with embossing leveler if needed.
Never install over floating floors, cushioned vinyl, or multiple layers of old flooring. Too much movement underneath, and the seams of your new tile will pop open. Keep that vacuum within reach during the install itself. One stray particle between the subfloor and the backing, and you have a weak spot that will show.
2. Acclimate the Tiles
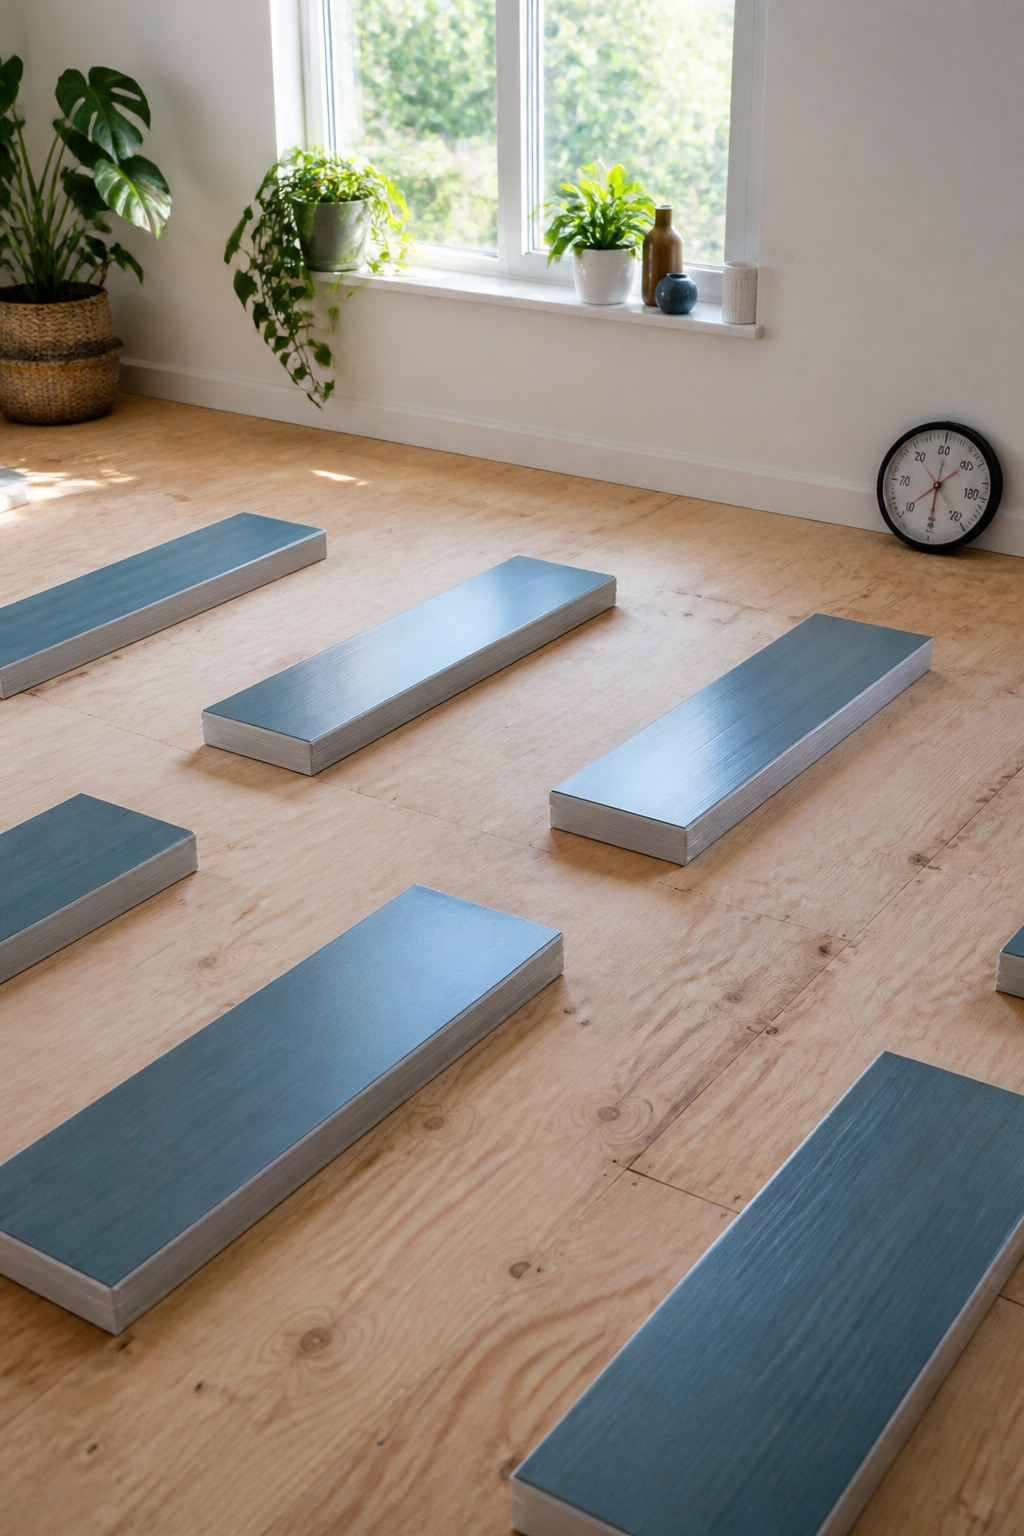
The adhesive backing on peel and stick tile stays stiff in cool air, which means edges lift and corners refuse to lie flat. 48 hours at room temperature of at least 65°F (18°C) lets the vinyl soften and the glue reach its proper tack. I lay the boxes flat in the room where they will be installed, not stacked in a garage or leaned against a cold basement wall. The temperature range matters in both directions; sources warn against installing where the room regularly falls below 55°F or climbs above 85°F. Humidity shifts during acclimation too, so the tiles adjust to the same air they will live in rather than fighting it later. Skipping this step turns an afternoon project into a floor that pops loose by spring.
3. Find the Center of the Room
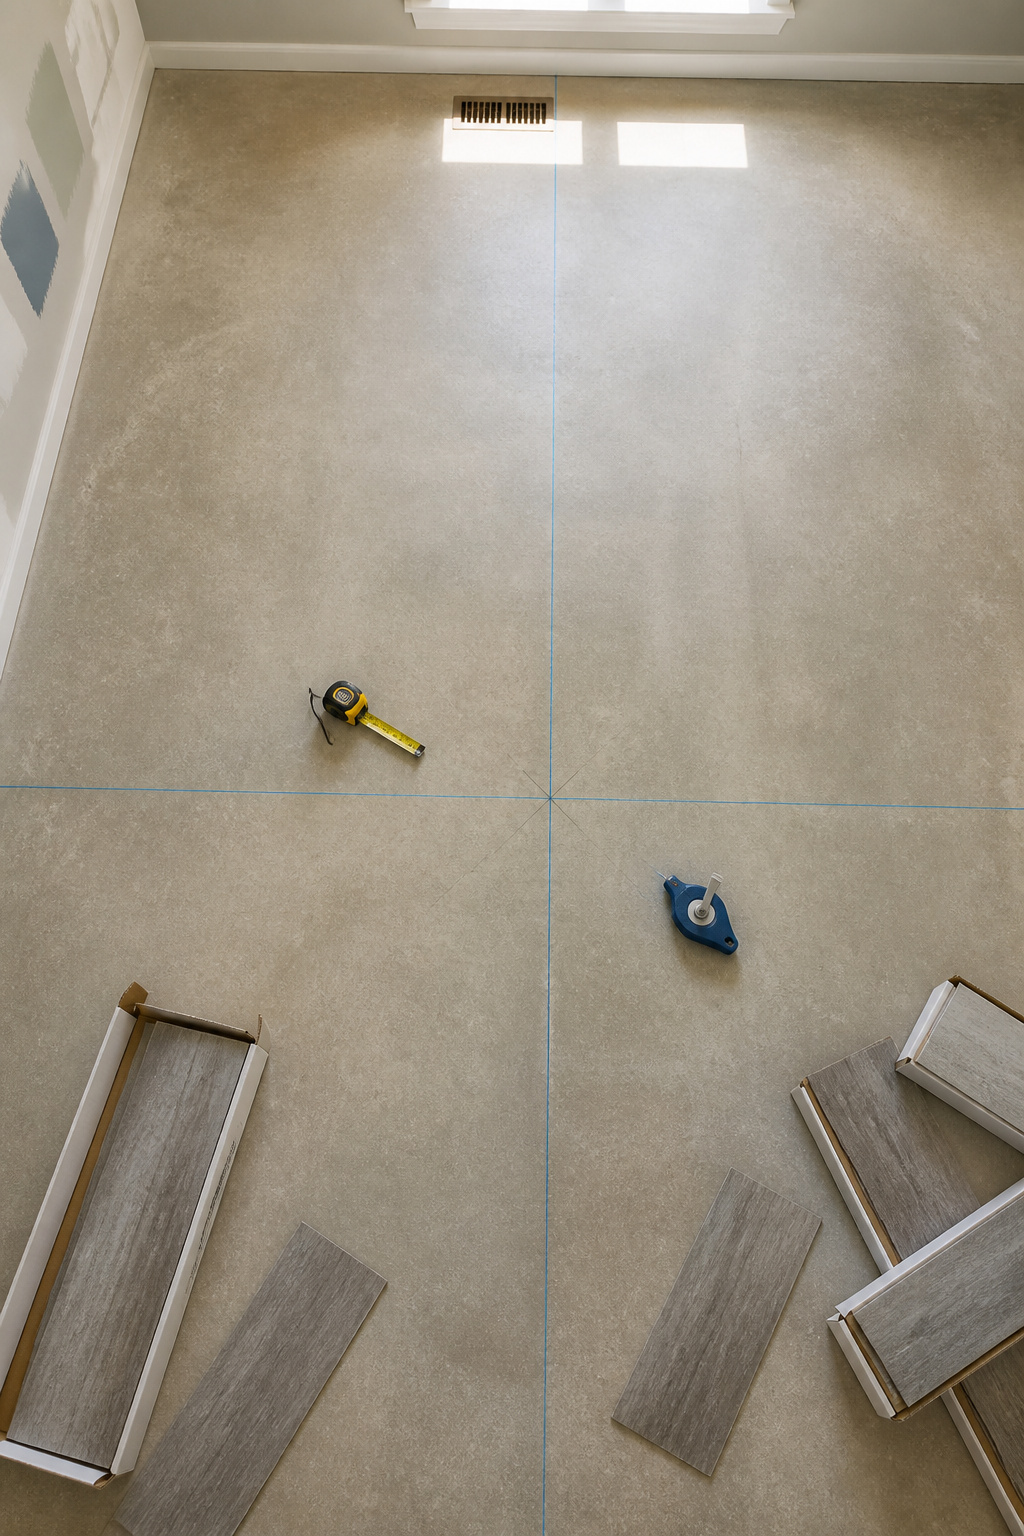
Finding the center of a room sounds like one of those steps you can eyeball, but the quarter-inch you are off by in the middle becomes three quarters by the time you reach the opposite wall. I measure the length of two opposing walls and mark the exact center on the subfloor for each, then snap a chalk line between those marks. Repeat for the other two walls. Where the lines cross is where you start.
That chalk crosshair does two jobs at once. It gives you four quadrants to work through, which keeps the pattern straight as you move outward, and it pushes any cut tiles toward the edges. Without it, you risk ending with a sliver of tile along one wall and a nearly full piece on the other. The edge cuts land in similar widths on every side, which reads as intentional rather than a layout that got away from you.
Laying a row of tiles dry, paper backing still on, confirms the math before the adhesive meets the floor. If the border pieces look wrong, the center point shifts now, not after half the room is stuck down.
4. Lay Out the Tiles
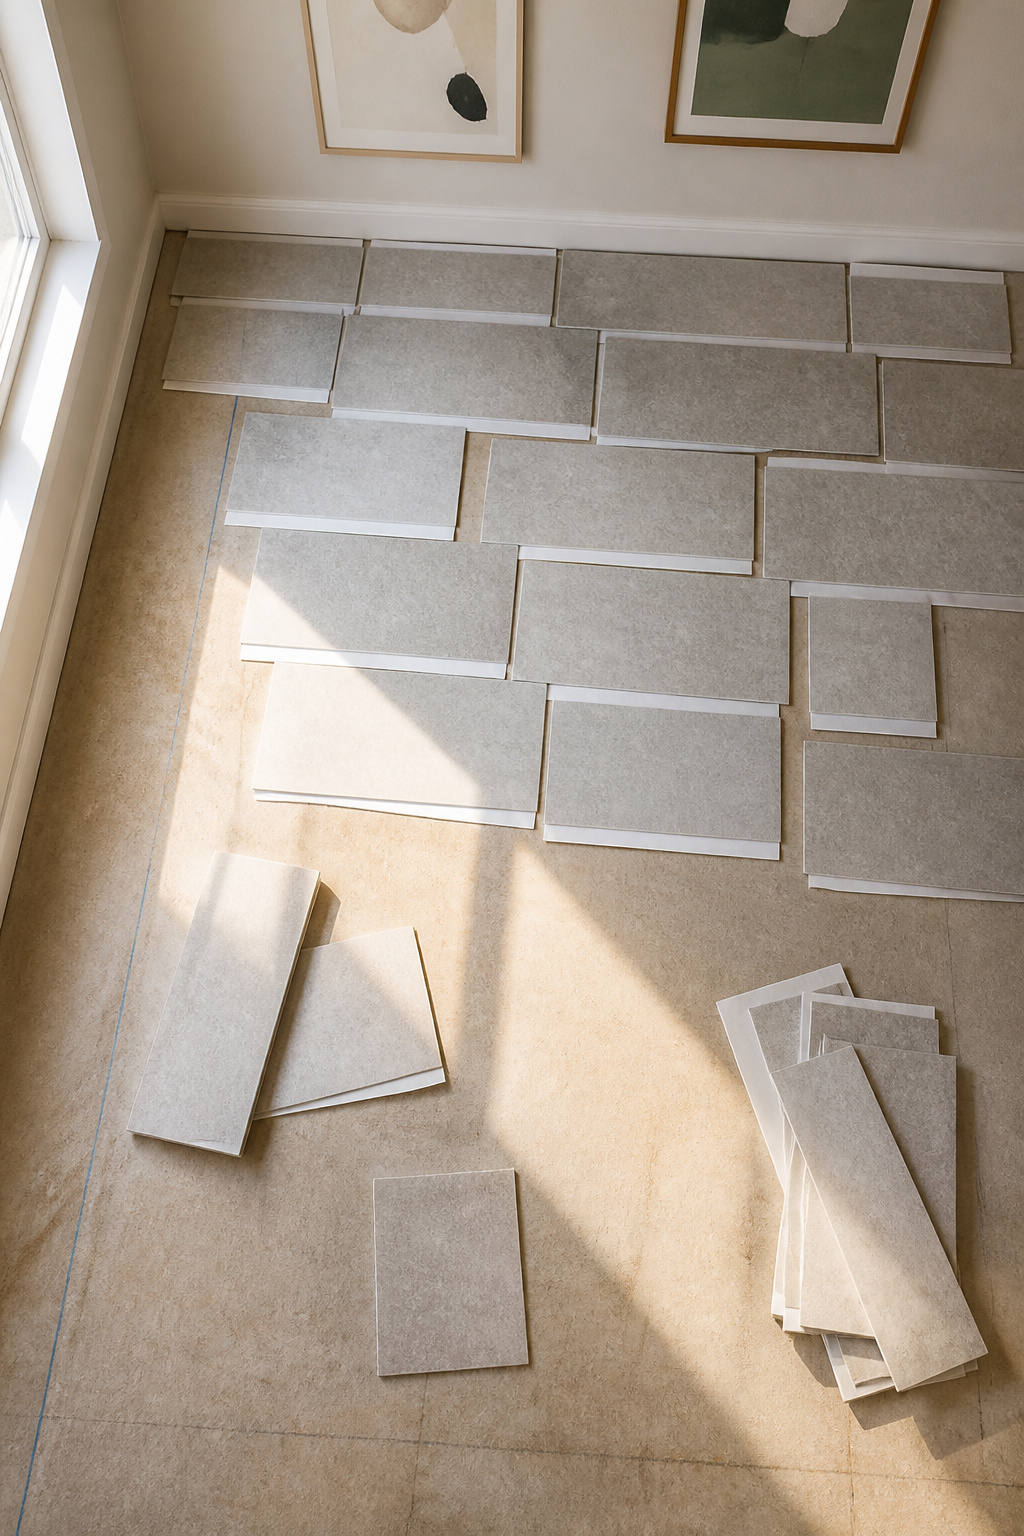
Laying out peel and stick floor tile with the backing paper still on is the step that saves an afternoon from regret. I work from the center of the room outward toward the walls, arranging full tiles until the pattern is visible across most of the floor. The backing stays on because this is only a preview, no commitment yet.
What the dry fit reveals is whether the edges will finish as reasonable cuts or as thin, fragile slivers that look wrong and lift too easily. Shift the whole grid before you peel anything if a border measures less than half a tile. One slight adjustment now, sliding every tile six inches toward the door or the window wall, replaces a dozen miserable edge pieces with solid ones.
Some patterns hide more than others. A staggered running bond, where seams offset row by row, draws less attention to minor subfloor dips than a straight grid does. The dry run shows that too, if you alternate the layout and step back.
Once the edges look right and the starting tile sits where you want it, mark that first tile or snap a chalk line. Every tile after follows from this placement, so the time spent nudging things around now is what separates a floor you notice from one you just walk across.
5. Apply the Tiles

Backing paper fights you more than it helps, so peel a few inches at the corner and fold it under rather than stripping it clean off. That flap gives you something to grip while you hover the tile over its spot. Lower the edge that meets the last tile first, keeping the seam tight, then let the rest settle as you pull the paper free. Press from the center outward with the heel of your hand, working air toward the edges.
Dust is the real enemy here, not crooked lines. A quick pass with the shop vac before each tile beats discovering grit under the adhesive an hour later. The tiles stay shiftable for maybe ten seconds after contact, so nudge now, not later. Forcing one to stretch over a gap invites it to lift by next season. Work one quarter of the room at a time in a step pattern, rotating tiles to keep the pattern from pooling in one tone.
The vinyl squeaks when it bonds. Roll until that sound quiets down.
6. Roll the Floor

A J-roller or flooring roller is the tool that separates a floor that holds from one that lifts at the corners. The adhesive on peel and stick tile is pressure-sensitive, which means the bond forms only after something heavy presses it into the subfloor. Walking across the tiles the way one of the sources describes is not the same thing; body weight shifts, it misses edges, and it does not push air out from the center toward the perimeter.
A roller between 75 and 100 pounds does what footsteps cannot. The weight is distributed evenly across a wide barrel, so every square inch of backing meets the subfloor with the same force. That pressure squeezes out trapped air that would otherwise become a bubble, then a weak point, then a lifted corner the first time a chair drags across it. The 100-pound end of the range is the better choice if you can borrow or rent one, especially over plywood that has any texture to it.
The roll happens after the last tile is down, not tile by tile as you work. Rolling too early shifts tiles that are not yet aligned; rolling too late lets the adhesive set partially before the bond is complete. One pass in each direction, working from the center of the room toward the walls, covers it.
7. Finish With Trim
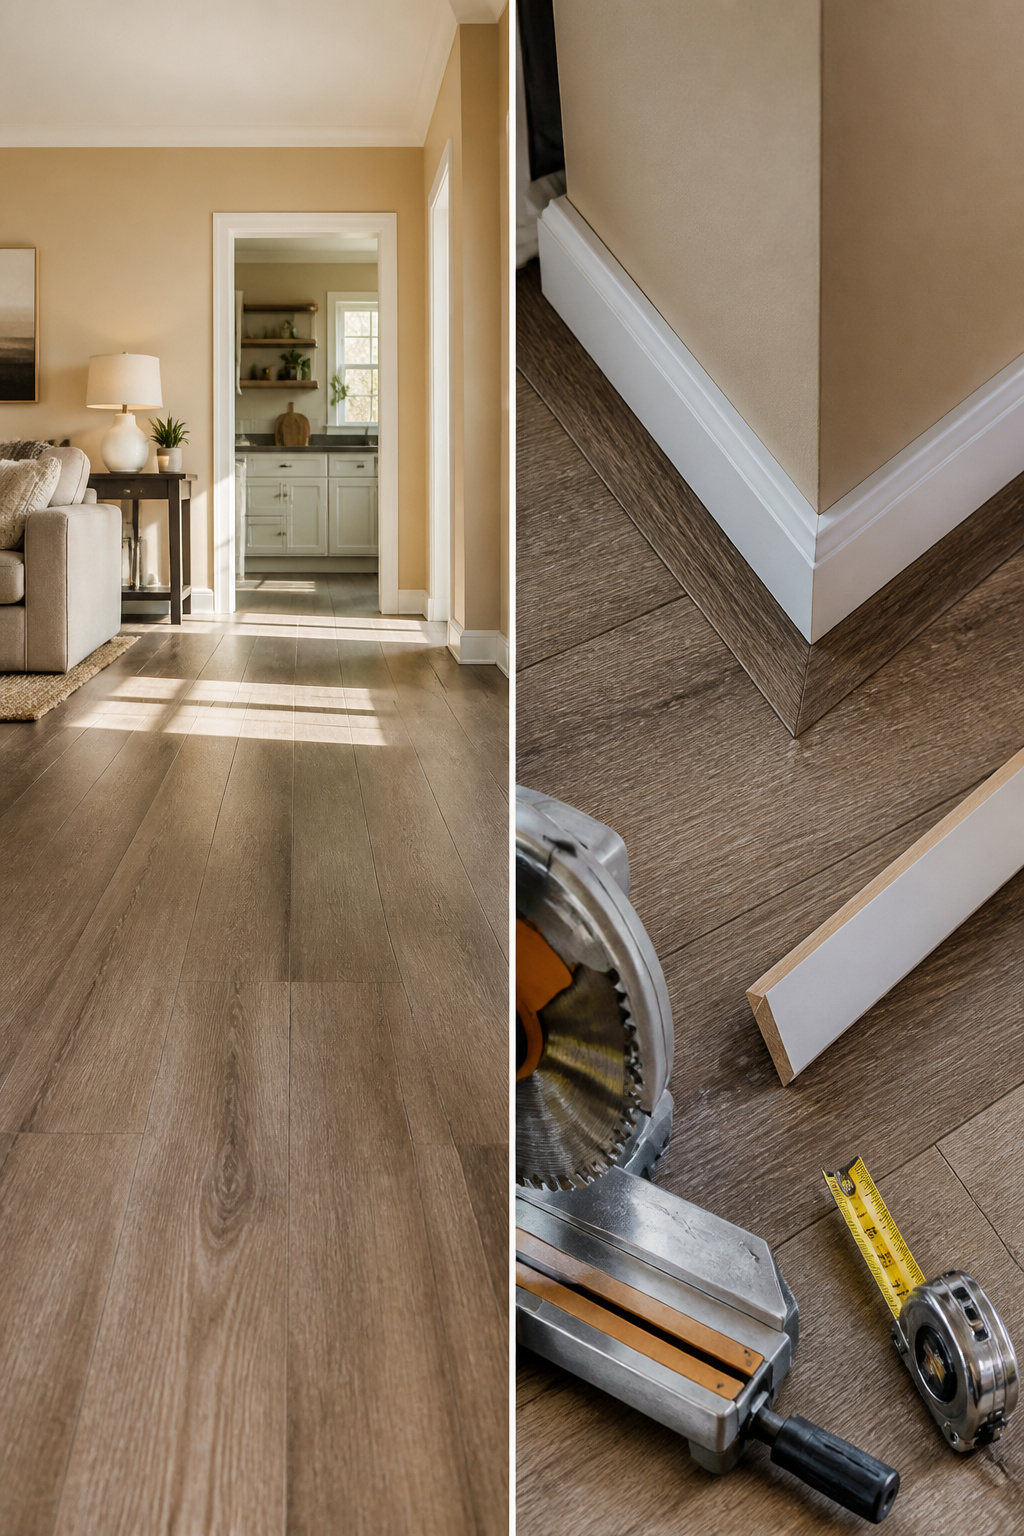
That 1/8-inch gap around the edge has to stay open so the vinyl can expand and contract without buckling, but it does not have to stay visible. Reinstalling baseboards is the cleanest finish if you pulled them before laying tile, since they drop straight down and cover the space with a solid border. If your baseboards never came off, quarter-round molding tucks into that same corner and hides the gap just as well. Either way, the gap gets covered without getting closed.
For corners that look built rather than patched, a miter saw set to 45 degrees gives you the joint you want. Measuring twice before the cut matters more with trim than it did with tile, because a quarter inch off here throws the angle, not just the edge.
Tools You Need
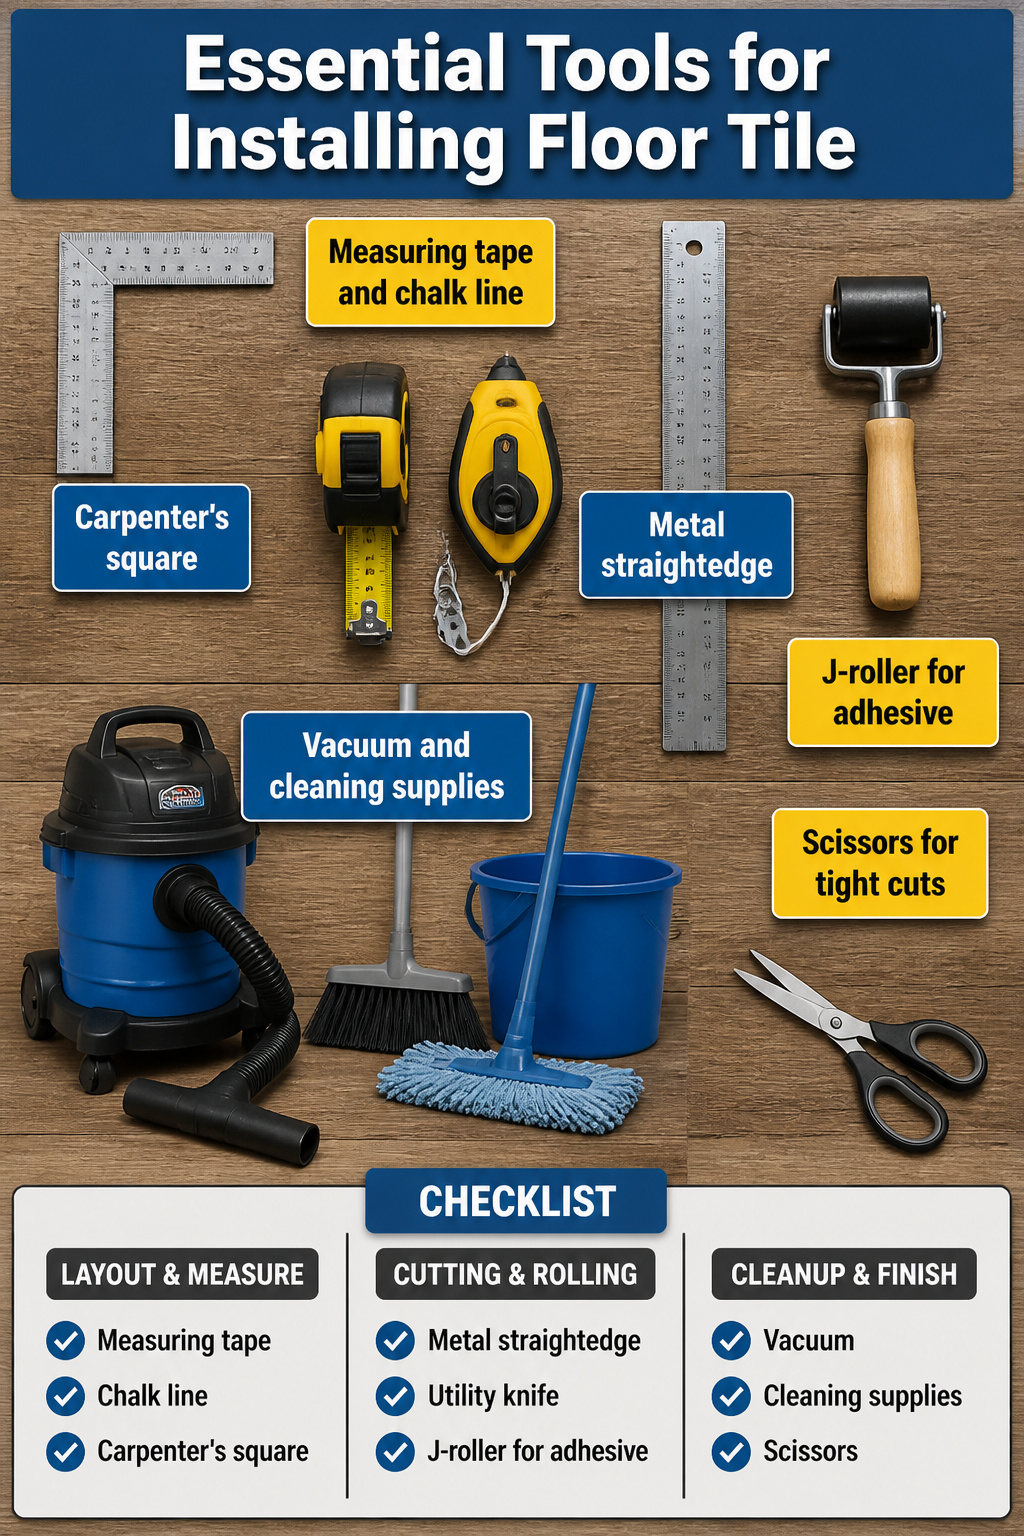
A utility knife with a fresh blade matters more than the brand. Dull blades tear vinyl instead of scoring it clean, and the straight edge you run the knife against needs to be metal, not plastic, if you want one straight cut instead of three ragged tries.
Here is what actually sits on the floor during the job:
- Measuring tape and chalk line for snapping the center gridlines that everything else follows
- Carpenter’s square to keep those corners actually square
- Straight edge or metal ruler as the fence for your knife
- J-roller or flooring roller to activate the adhesive with firm, even pressure; a rolling pin will not do it
- Vacuum and cleaning supplies, because the adhesive bonds to dust about as well as you would expect
A wet/dry shop vacuum handles the heavy debris, and a simple broom and mop finish the job. Some jobs also call for scissors around doorjambs or odd angles where the knife fights you. Keep them within reach so you are not hunting mid-cut.
Surface Preparation
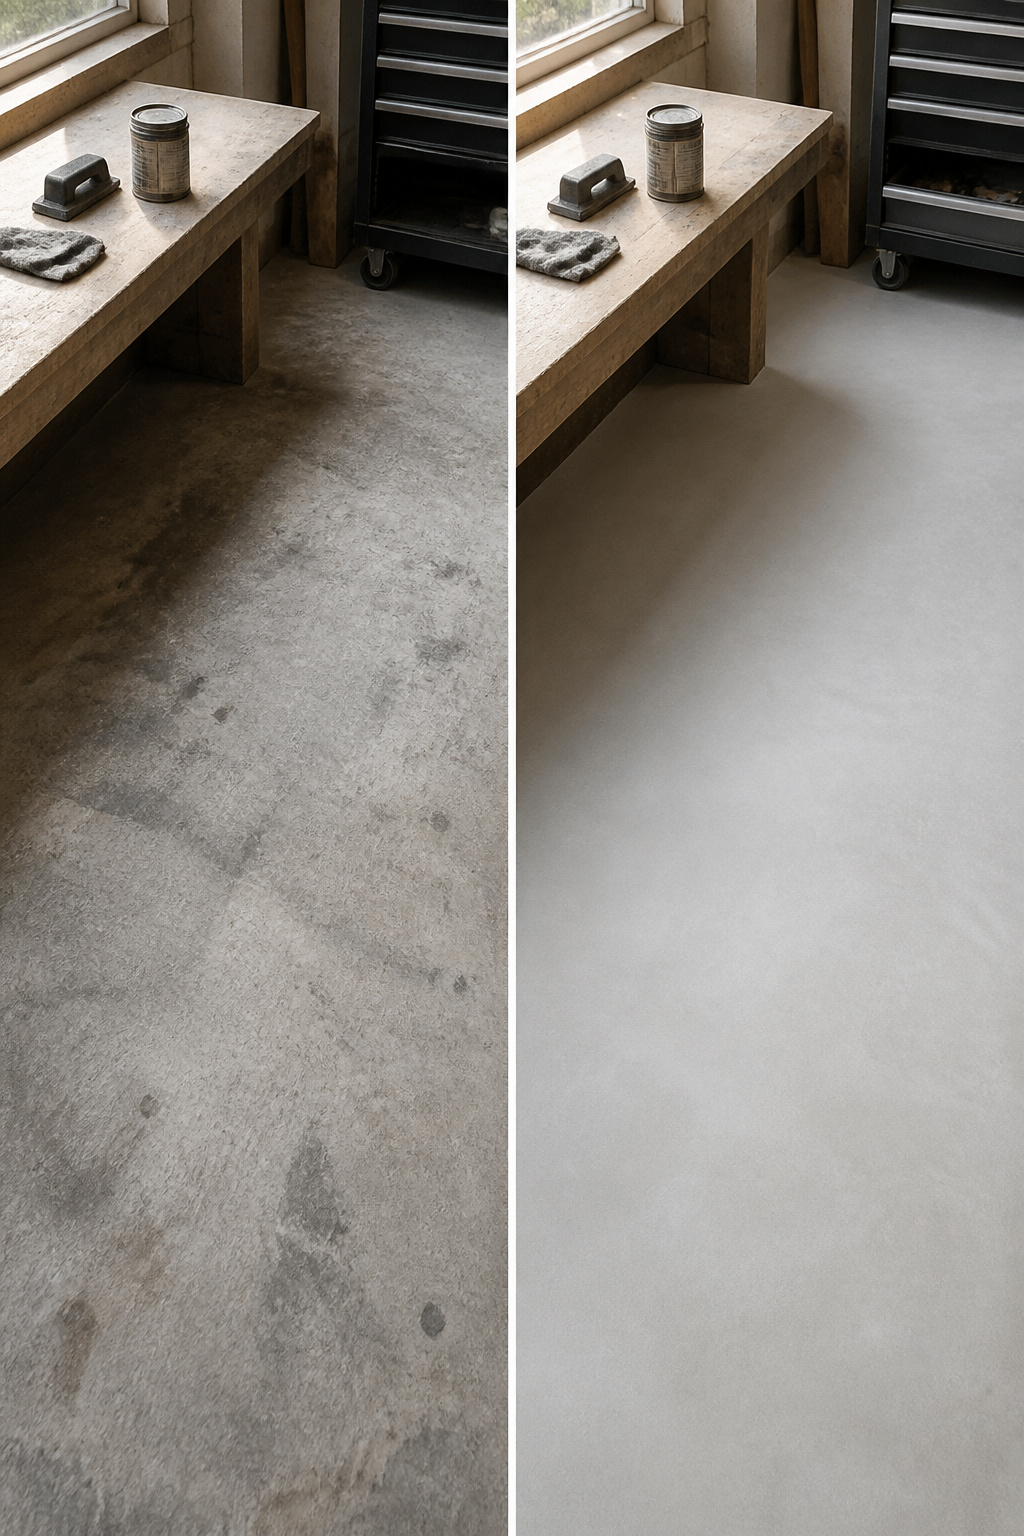
Every guide on install peel and stick floor tile hammers the same point because it really is the make-or-break move: the surface has to be clean, flat, and bone-dry. The adhesive backing is strong, but it cannot bond through dust or across a bump. A speck of grit becomes a pressure point you will feel through the tile for years.
Your prep changes with what is already down. Plywood needs sanding at seams and raised edges, plus wood filler driven into holes or gouges. Concrete means patching cracks and low spots first; if the slab is raw and porous, a latex primer seals it so the adhesive can grab. Existing vinyl or linoleum can stay only if it is a single layer still glued tight, though any texture will telegraph through. An embossing leveler fixes that, or the tile takes on the old pattern underneath.
What convinced me, reading through a dozen of these guides, was the hand-check test: run your palm across the floor after you think you are done. Dust means the bond fails. A tack cloth or barely-damp microfiber picks up what sweeping misses. Skip the primer on raw concrete and you are gambling the tile lifts inside a year.
Installation Tips
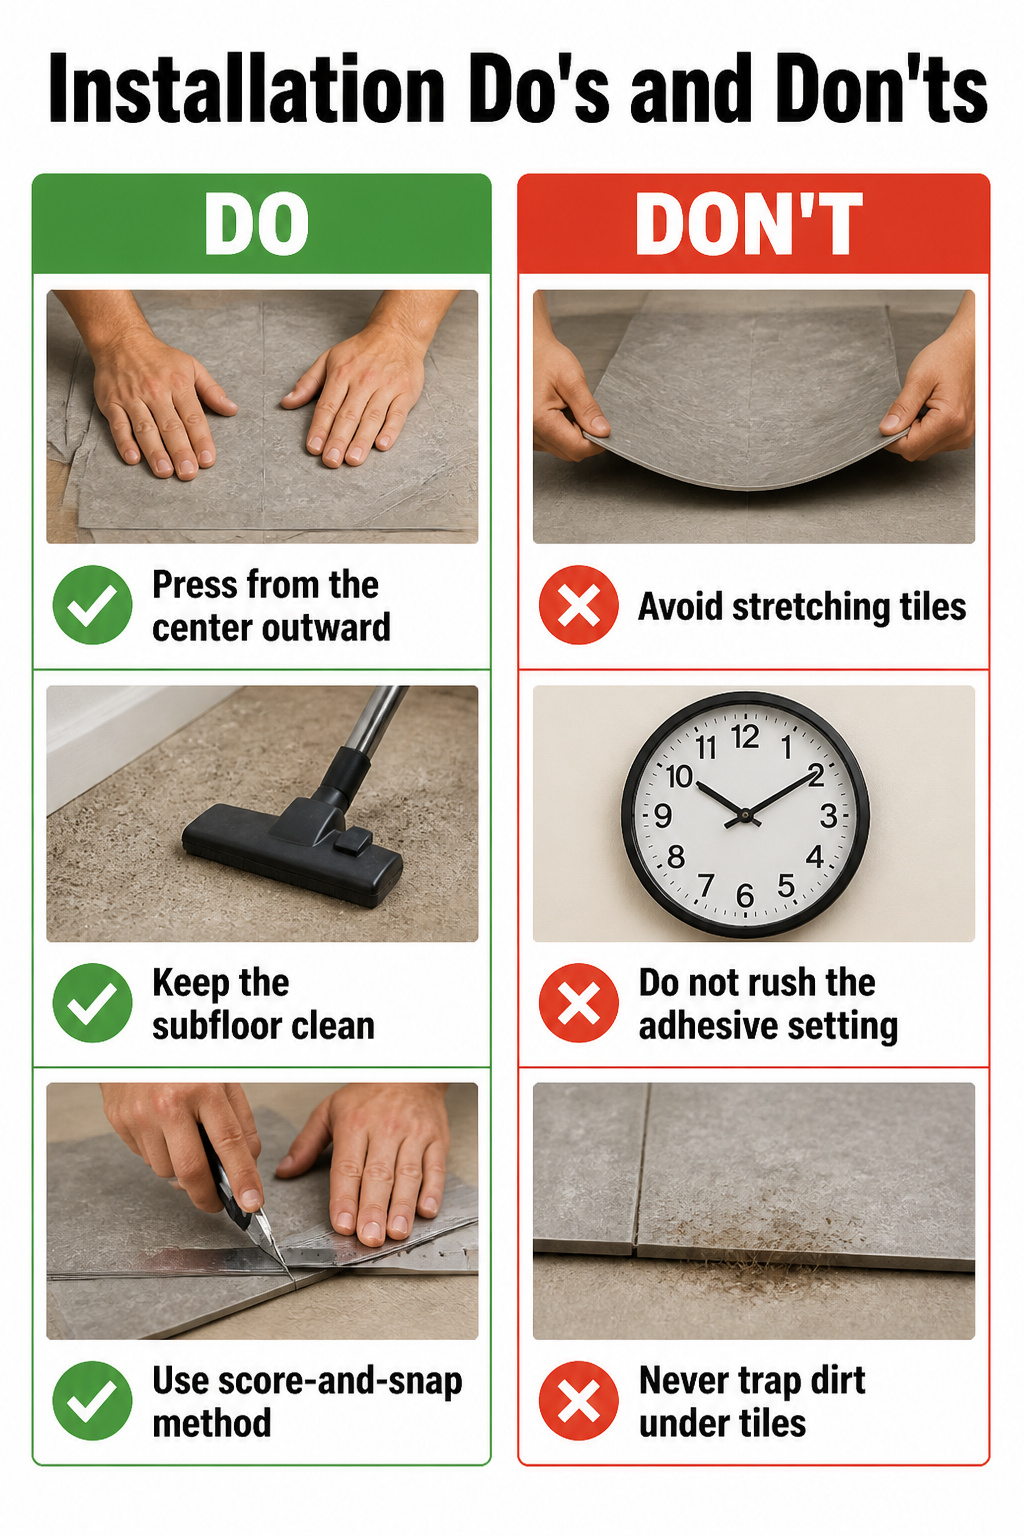
Stretched tiles are the fastest way to ruin a pattern, and the mistake happens before the adhesive ever touches the floor. Wedge or pull even slightly, and the grout lines drift off square; the adhesive layer also thins where the vinyl elongates, so the bond weakens. Peel the backing a few inches at a time, press from the center outward, and let the tile settle without tension.
Cleanliness matters more than speed. Hair and grit trapped under the tile telegraph through within days, and the adhesive grabs the debris instead of the floor. I keep a vacuum running in the background and hit the bare subfloor between every few tiles; the extra minute saves pulling half a row back up.
For cuts at the wall, the score-and-snap method stays cleanest with a sharp utility knife and a metal straightedge. Score deep along the edge, bend the tile back until it snaps, then slice through the backing paper to separate the pieces. Complex shapes around pipes call for a contour gauge first, then the same knife work slow and steady.
Installing Over Existing Floors
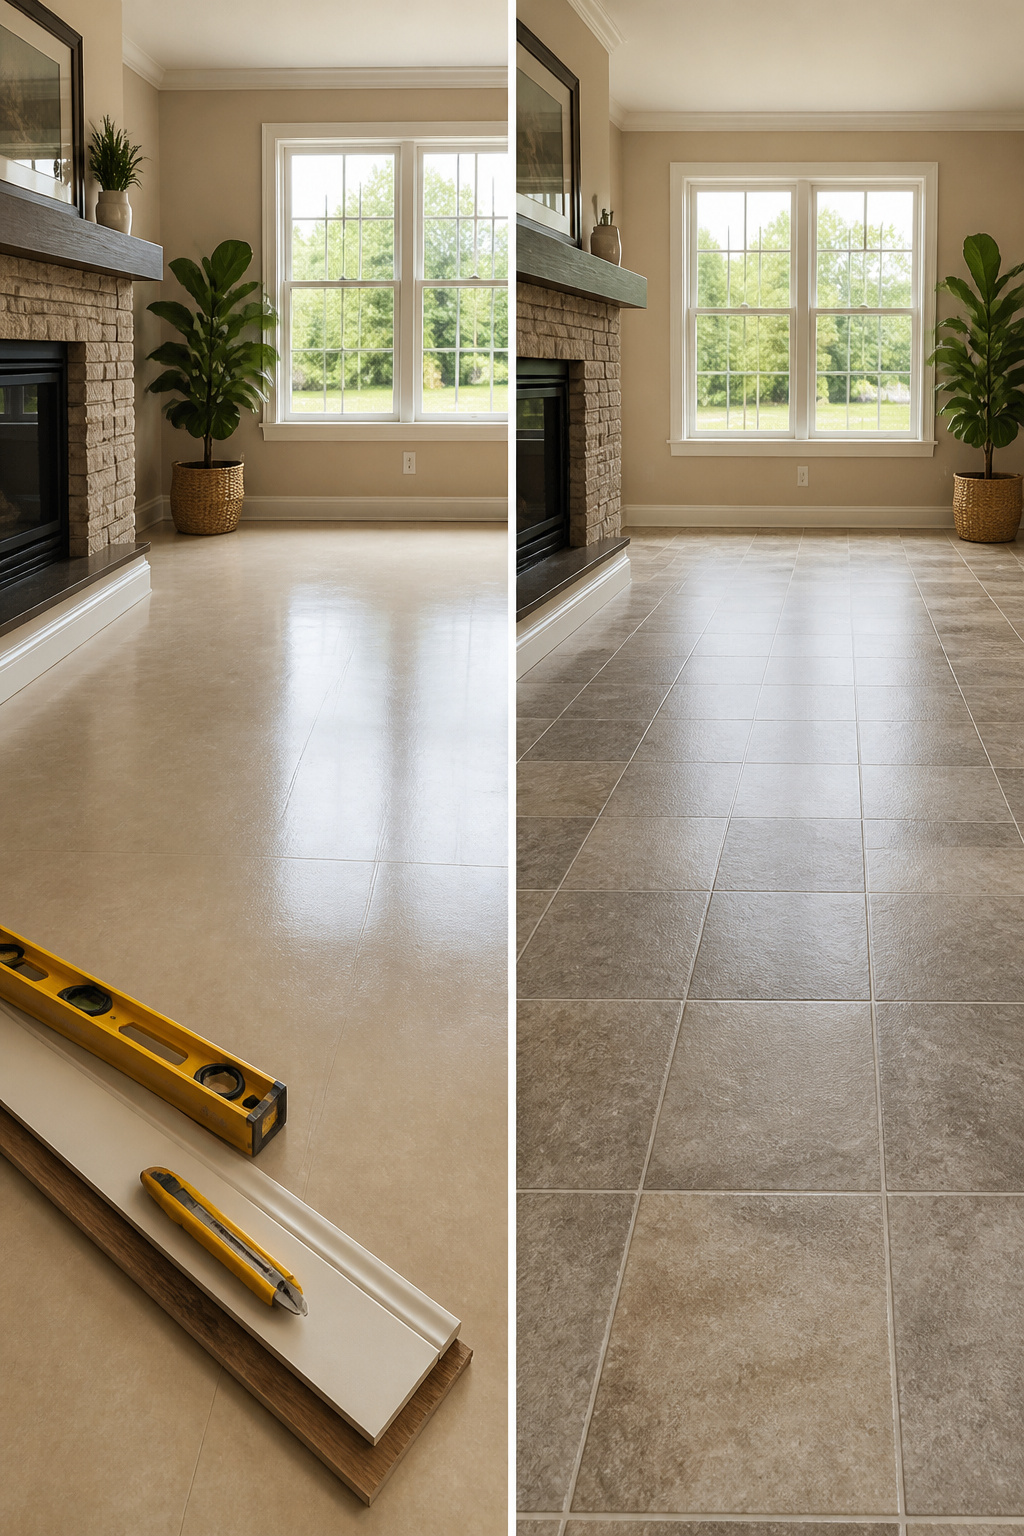
Peel and stick tiles often go straight over what is already there, which saves a weekend of demolition. The existing surface needs to be clean, smooth, level, and fully bonded to what is underneath. Sheet vinyl or linoleum that is in good shape usually works. Concrete and plywood do too, though raw concrete wants a latex primer first so the adhesive has something to grab.
The problem spots are grout lines, texture, and movement. Ceramic tile underneath will telegraph its grout lines through the new floor in a few months unless you fill them with floor-leveling compound first. Deep embossing on old vinyl needs the same treatment, skimmed flat with embossing leveler. Floating floors like laminate or LVP are out; they shift, and your seams will pop. Cushioned vinyl, multiple layers of old flooring, and anything loose or damaged belong in the same category.
One detail that is easy to rush: the final wipe. After sweeping and mopping, run a tack cloth or barely damp microfiber over the surface. Dust you cannot see will still find its way into the adhesive and leave bumps you feel every time you walk across the room.
Cleaning and Maintenance
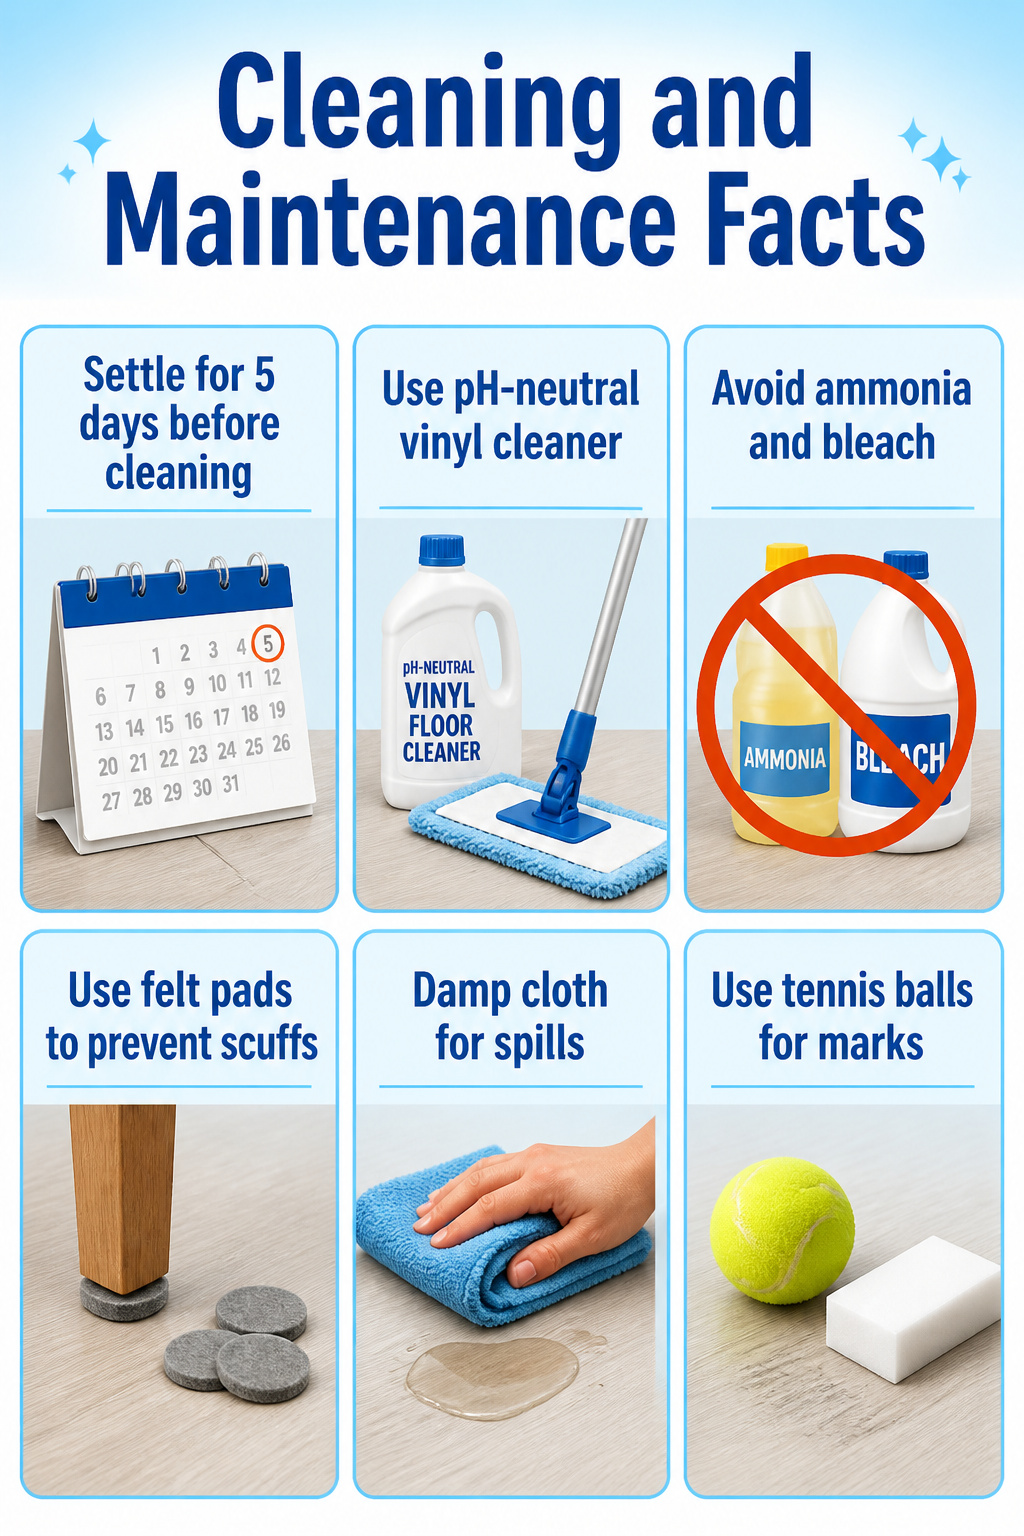
Peel and stick floor tile settles for at least five days before it sees any cleaner stronger than plain water. Sweep, vacuum, or dust as needed during that wait. Afterward, a pH-neutral vinyl floor cleaner and a microfiber mop handle the routine scrubbing. Ammonia, bleach, detergents, and soaps all strip the wear layer or leave a film that traps dirt, so they stay in the cabinet. Wax and one-step cleaners shorten the floor’s lifespan the same way. Felt pads under furniture legs prevent the scuffs that no cleaner fixes, and spills wipe up with a damp cloth before they stain. A tennis ball or melamine foam eraser lifts minor marks without adding chemicals to the mix.
Cost and Lifespan

Most peel-and-stick tiles run under $2 per square foot, which changes the math on whether a weekend project is worth the time. The laundry room floor that convinced me these tiles had a real place in the house cost less than $200 to cover, tools I already owned aside. That is rental-grade ceramic territory for the price of a nice dinner.
Lifespan estimates spread wide, from 3 years in a high-traffic kitchen to 20 in a powder room that sees mostly socks. The difference is not the tile; it is the prep and the traffic. A corner that starts to lift can be swapped out in ten minutes with a spare from the original box, which stretches the floor’s useful life without stretching the budget. I keep a few extras on hand for exactly that, stored flat where they will not warp before I need them.
For a space you are not ready to commit to long-term, that replaceability is the value. Ceramic or hardwood demands a decision measured in decades. These tiles ask for an afternoon and a willingness to pull up a square if the dog scratches it.
Replacing Damaged Tiles

A damaged tile doesn’t mean living with the flaw or redoing the whole floor. The adhesive on peel-and-stick flooring stays workable when you know how to coax it.
Warming the tile with a hairdryer loosens the bond enough to lift the piece without tearing what’s underneath. Work the heat across the surface for thirty seconds or so, then slide a putty knife under a corner and pry gently. The tile should release in one piece if the subfloor was prepped right the first time.
Once the old adhesive is scraped smooth and the floor is clean, lay the replacement exactly as you did the original. Butt the new tile up to its neighbors and press it home. The repair takes maybe ten minutes, and the floor looks like nothing happened.
Frequently Asked Questions
Can I install peel and stick over my existing floor?
Yes, if the surface is clean, smooth, level, and fully bonded. Sheet vinyl or linoleum in good shape usually works, and concrete or plywood do too. You will need to fill grout lines from ceramic tile or deep embossing with leveling compound first, and you should never install over floating floors, cushioned vinyl, or multiple layers of old flooring.
Do I need to leave an expansion gap?
Yes, leave about 1/8 inch of space around the entire perimeter. Vinyl expands and contracts with temperature and humidity changes, and that gap keeps the floor from buckling against the walls. Cover it with baseboards or quarter-round molding so the gap stays hidden but open.
What is the best way to cut the tiles?
Score the tile deeply with a sharp utility knife against a metal straightedge, then bend it back until it snaps and slice through the backing paper to separate the pieces. For odd angles or non-straight cuts around doorjambs, scissors work better than fighting the knife.





